

防水コネクタは、湿気、埃、振動にさらされるプロジェクト(例:自動車配線、船舶用電子機器、屋外設置)にとって不可欠です。コネクタの圧着が不十分だと、腐食、ショート、機器の故障につながる可能性があります。このステップバイステップガイドに従うことで、プロ仕様の防水性能を常に実現できます。
必要なツールと材料
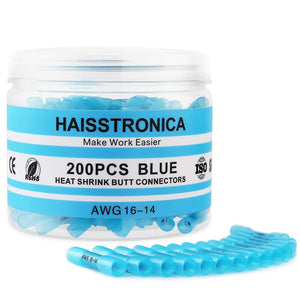
- 防水コネクタ: ワイヤゲージに適したサイズを選択します (一般的なタイプ: バットスプライス、リング端子)。
- 圧着工具: 調整可能なダイを備えたラチェット式圧着工具 (例: HAISSTRONICA の軍用グレードの工具)。
- 熱収縮チューブ: 防水シールのために粘着ライナー付きのチューブを選択します。
- ワイヤーストリッパー: ワイヤーストランドを損傷しないように精密に剥がします。
- はんだごて(オプション) :より線の強度をさらに高めます。
- マルチメーター: 圧着後の導電性をテストします。
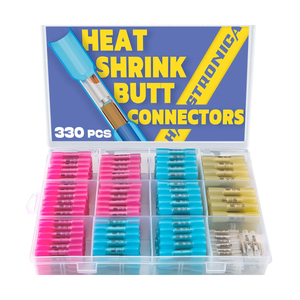
👉 熱収縮電気コネクタを正しく取り付ける必要がある場合は、Haisstronica の電気圧着熱収縮バットコネクタ AWG 22-10 を信頼してください。

ステップバイステップの圧着プロセス
1. ワイヤーを準備する
- 絶縁体を剥がす: ワイヤーストリッパーで絶縁体を 1/4 インチ~ 1/2 インチにカットします。このとき、ワイヤーの芯線に傷が付かないように注意してください。
- 錫撚線(オプション) : 導電性と張力緩和を向上させるために、被覆を剥がした端に少量のはんだを塗布します。
2. ワイヤをコネクタに挿入する
- 剥がした部分が完全に固定されるまで、ワイヤをコネクタに差し込みます。
- 熱収縮コネクタの場合は、チューブが接続ポイント全体をカバーしていることを確認してください。
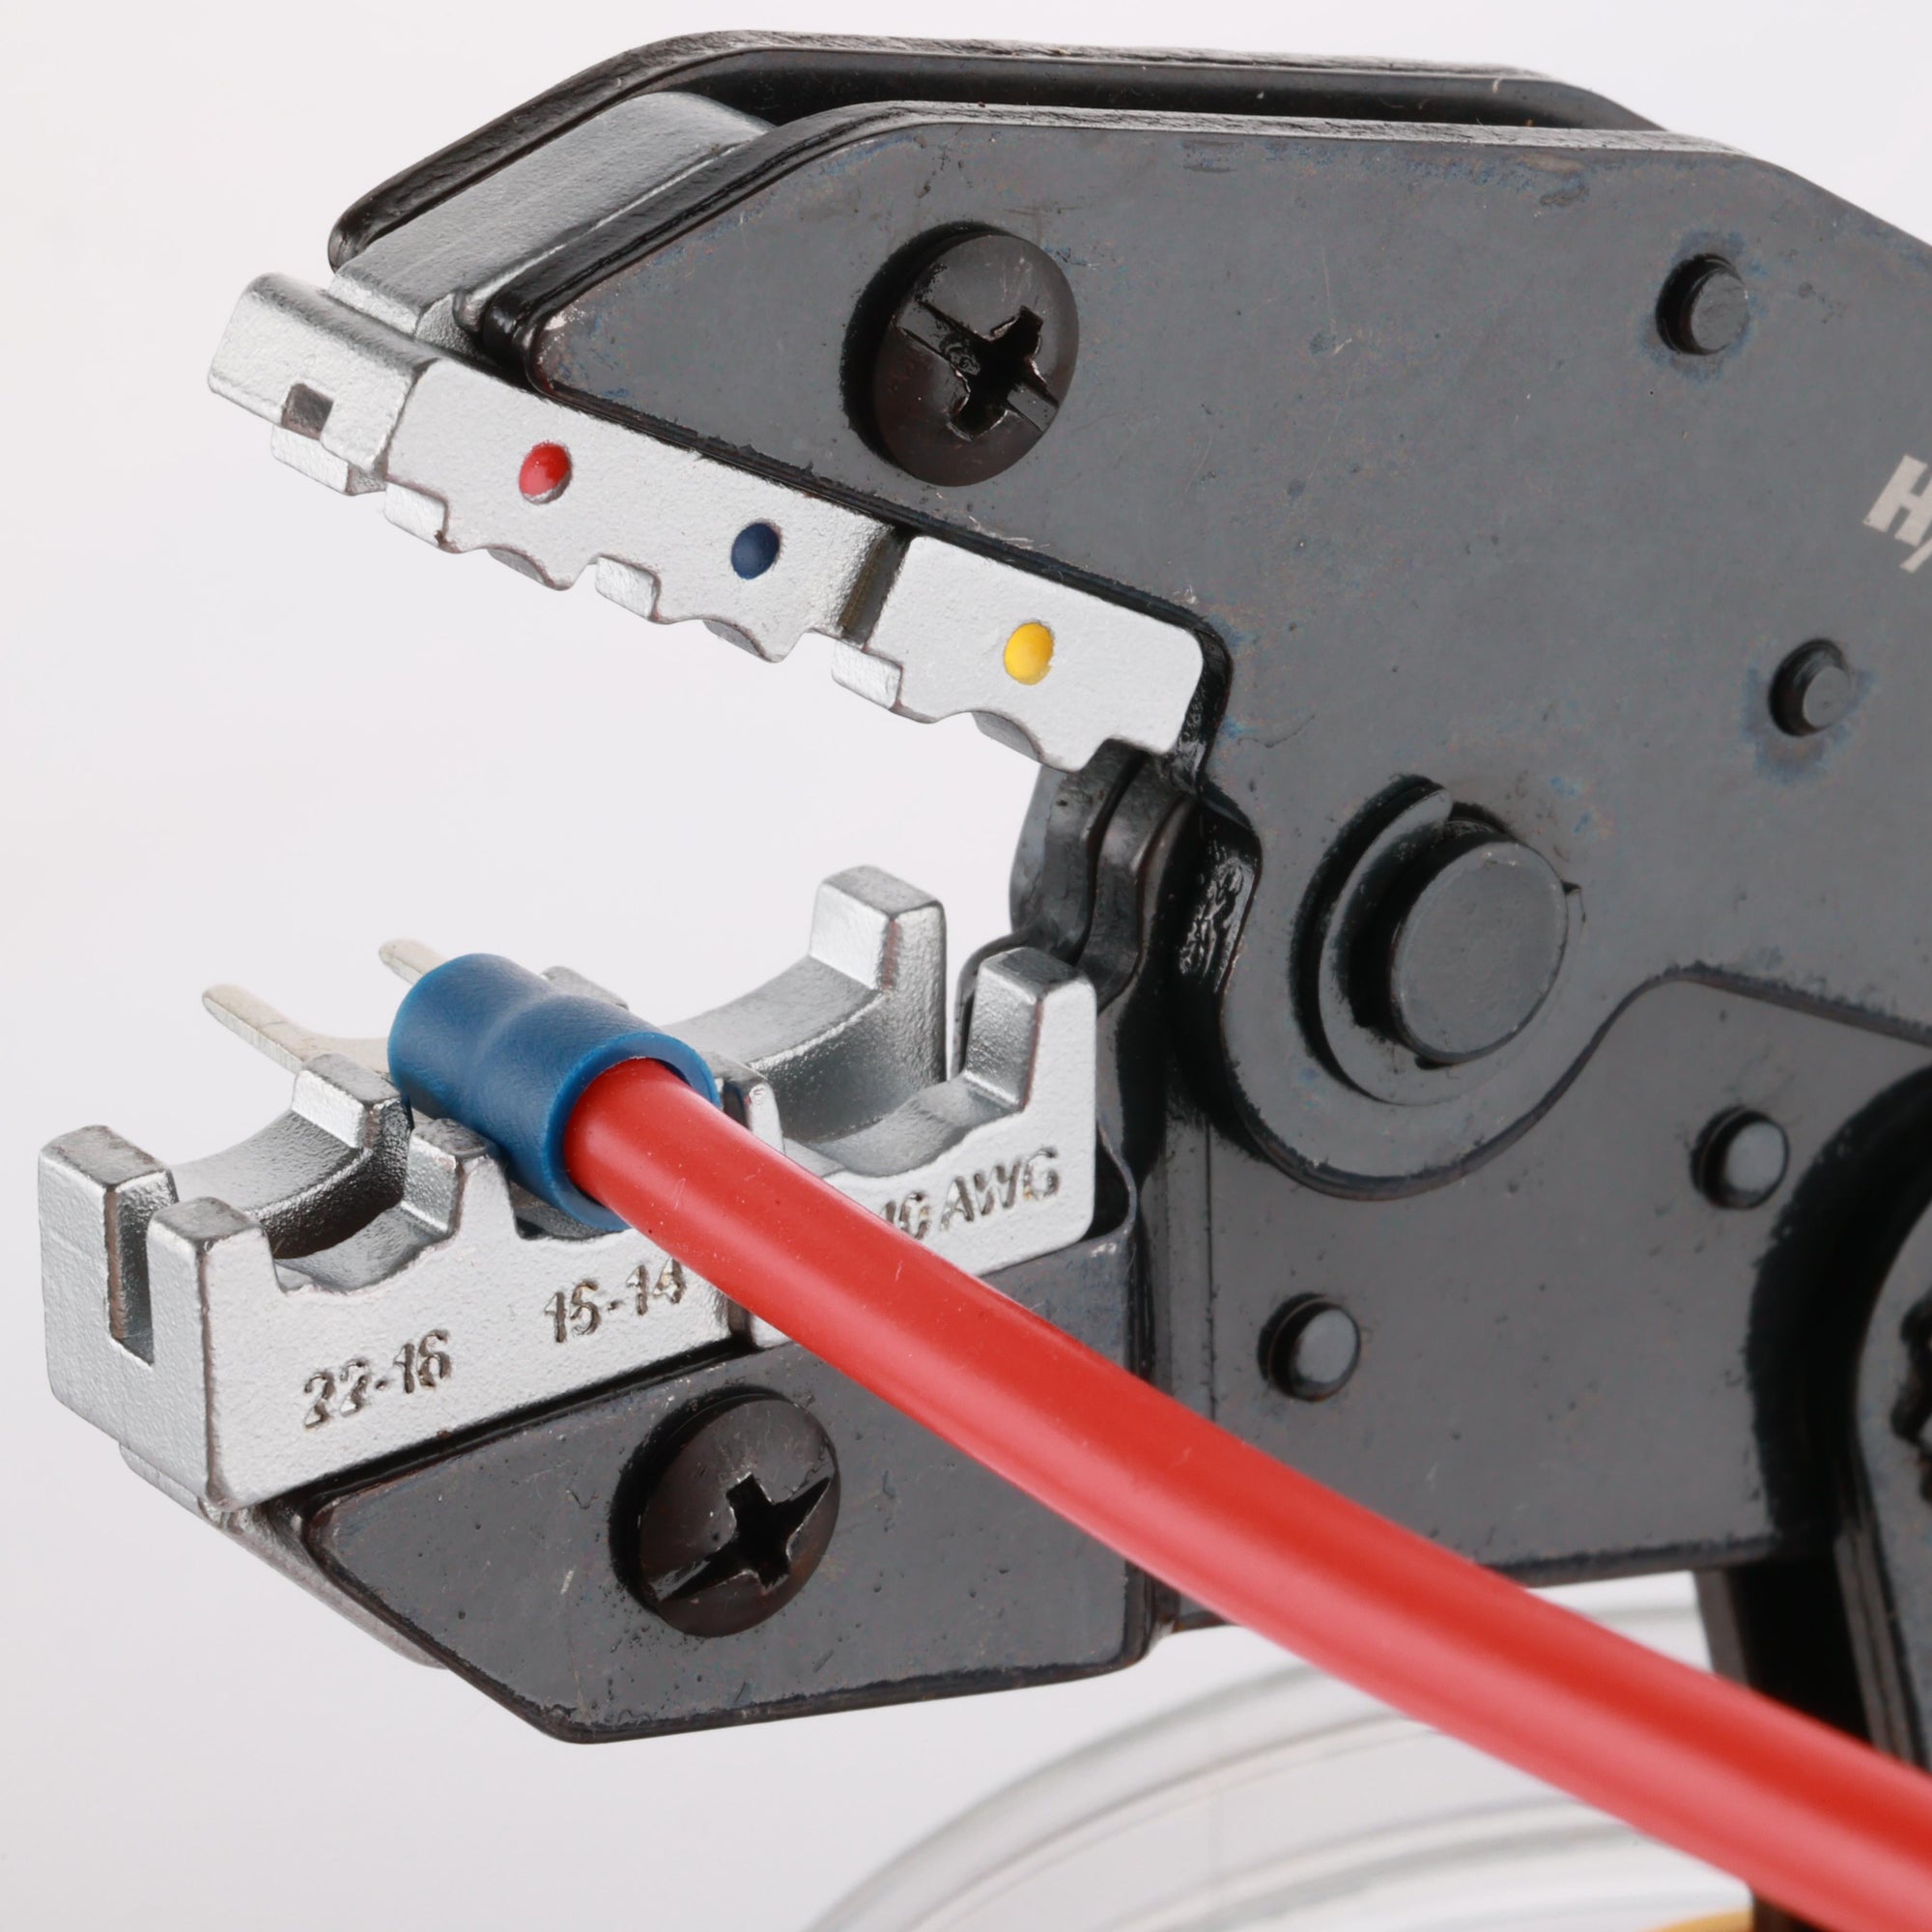
3. コネクタを圧着する
- クリンパーの位置を決める: コネクタのクリンプバレルをツールのダイに合わせます (製造元のガイドラインを確認してください)。
- 圧力をかける:圧着工具を滑らかな動きでしっかりと押し付けます。ワイヤーを損傷する可能性があるため、過度に圧着しないでください。
- 圧着を検査します。バレルは隙間なくワイヤの周りをしっかりと圧縮する必要があります。
4. 熱収縮チューブを付ける
- 圧着部分にチューブを差し込みます。
- ヒートガンまたはライターを使用してチューブを均等に収縮させ、接続部が完全に覆われるようにします。
5. 接続をテストする
- マルチメーターを使用して導通と抵抗を確認します。
- ワイヤーを軽く引っ張って機械的強度を確認します。
👉 圧着バットコネクタには、 Haisstronica 電気圧着熱収縮バットコネクタ AWG 22-10 を選択して強力に仕上げます。

避けるべきよくある間違い
- コネクタのサイズが間違っていると、接触不良や配線の損傷が発生します。
- 加熱不足:熱収縮チューブに隙間が残ります。
- スキップワイヤの準備: 汚れや擦り切れた撚線は導電性を低下させます。
成功のためのプロのヒント
- 色分けされたコネクタを使用する: トラブルシューティングを簡素化します (例: プラスは赤、マイナスは黒)。
- ラベル接続: 複雑な設定での混乱を防ぎます。
- コネクタを適切に保管する: 使用していないときは、乾燥した密閉容器に保管してください。
防水コネクタを使用する場合
- 屋外プロジェクト: 雨、雪、紫外線にさらされます。
- 海洋環境: 海水にさらされる環境では、耐腐食性のシールが必要です。
- 高振動エリア: 車両、機械、またはロボット。
よくある質問
Q: 防水コネクタは再利用できますか?
A: いいえ。一度圧着すると、コネクタは永久に変形し、密閉性が失われます。
Q: 熱収縮チューブにはヒートガンが必要ですか?
A: はい。ヘアドライヤーでは適切な密閉に必要な熱を発生できない場合があります。
Q: 防水コネクタに最適なワイヤゲージは何ですか?
A: ほとんどのキットは10~22 AWGのワイヤに対応しています。互換性については製品仕様をご確認ください。
結論
防水コネクタは、信頼性と安全性という点で、わずかな投資で大きな成果をもたらします。このガイドに従い、HAISSTRONICAの防水圧着キットなどの高品質なツールを使用することで、ダウンタイムをなくし、長期的なパフォーマンスを確保できます。
ユーザーフレンドリーなおすすめ
0.7mm厚の錫メッキ銅コアを採用したこれらのコネクタは、低抵抗で安全な接続を実現します。半透明の粘着剤付きスリーブは3:1の収縮率で、防水性と耐張性を確保します。クリーンな設置に最適なワイヤコネクタです。各ワイヤコネクタの熱収縮チューブと太いバレルのバットコネクタワイヤを組み合わせることで、滑りにくくしっかりとした接続が実現します。

今すぐ購入:[ HAISSTRONICA 防水コネクタキット] +送料無料+春のセール20%オフ→[ Haisstronica ]