Quick Answer — Can Solder Seal Connectors Handle Both?
Yes – quality solder seal connectors can handle both stranded and solid wire splices with ease. These heat shrink solder sleeves (also called solder stick connectors or solder & seal splices) are designed to create strong, sealed joints on any copper wire within their AWG size range. Stranded wire typically works best because the solder flows between the fine strands, but you can absolutely use them on solid wire too – the key is proper technique. For example, if you’re joining a solid core wire to a stranded wire, it’s wise to twist the stranded conductor around the solid one before heating. This ensures good contact and helps the solder “wet” both conductors fully. In short, as long as you choose the correct connector size for your wire gauge, a solder seal butt splice will create a secure electrical connection on either type of wire.
Beyond just compatibility, remember that soldered joints become rigid once the solder cools. This isn’t a problem for most scenarios – the heat shrink tubing provides strain relief – but in extreme vibration situations you’ll want to support the joint. In fact, marine wiring standards note that solder should not be the sole mechanical support in a flexing situation (because solder turns flexible strands into one solid conductor that could crack under stress). Fortunately, heat-shrink solder sleeves address this by combining solder with an adhesive-lined sleeve that grips the insulation as it shrinks, effectively acting as a built-in wire sealer to reinforce the joint. The result is a sealed, strong splice that can handle everyday vibrations in automotive or boat wiring. Bottom line: Solder seal connectors can join both solid and stranded wires. Just match the right connector size to your wire, prepare the conductors properly, and heat it evenly. You’ll get a solid (pun intended!) bond that’s waterproof and electrically sound.

Solid vs Stranded 101 — Structure, Where They’re Used
To understand any wire connection decision, you first need to know the difference between solid vs stranded wire. It really comes down to construction: solid wire is a single, solid conductor of metal, whereas stranded wire is made of many thinner strands twisted together into one conductor. This simple distinction gives each type its unique characteristics and best-use scenarios.
Solid copper wire is stiff and holds its shape. Because it’s just one chunk of metal, it has slightly lower resistance (better conductivity) and often higher current capacity for a given gauge than an equivalent stranded wire. Solid wires are also a bit more rugged in stationary installations – with no air gaps or separate strands, they are less prone to corrosion over time and can handle being clamped down tightly. Where do you find solid wires? Think household electrical wiring (behind walls and in outlets), where wires are run in straight lines and don’t need to flex once in place. Solid wire is also common in building infrastructure, many exterior lighting wire runs, and other permanent connections that require a stable, long-lasting conductor. Because it’s cheaper to produce and install (one conductor, no complex lay-up), solid core is a cost-effective choice for large projects with long runs. However, it doesn’t like to be bent back-and-forth repeatedly – too much flexing can cause a solid wire to snap (just like a paperclip breaking after you bend it a few times).
Stranded wire, on the other hand, is all about flexibility. Made of many fine strands, it can wiggle, bend, and tolerate vibration far better than solid wire. This makes stranded wire the go-to for anything that moves or shakes: automotive wire connections, marine wiring, appliance cords, robotics, you name it. For example, the wires in your car or boat — delivering power to lights, speakers, or the engine sensors — are almost always stranded. Those tiny strands share the current load and collectively equal the gauge needed, while the wire stays pliable enough to route through an engine bay or around a dashboard. Stranded wires do have slightly higher resistance per gauge (the microscopic gaps between strands add a bit of impedance) and a bit more surface area that can expose to the environment, meaning they can be marginally more prone to corrosion if not sealed. But in practice, these differences are minor for most DIY projects. The big trade-off is flexibility vs. rigidity. Stranded cable is also easier to insulate with soft, pliable jackets, and many waterproof connectors and wire connector kits are designed with stranded wire in mind since it’s so common in gadgets and vehicles.
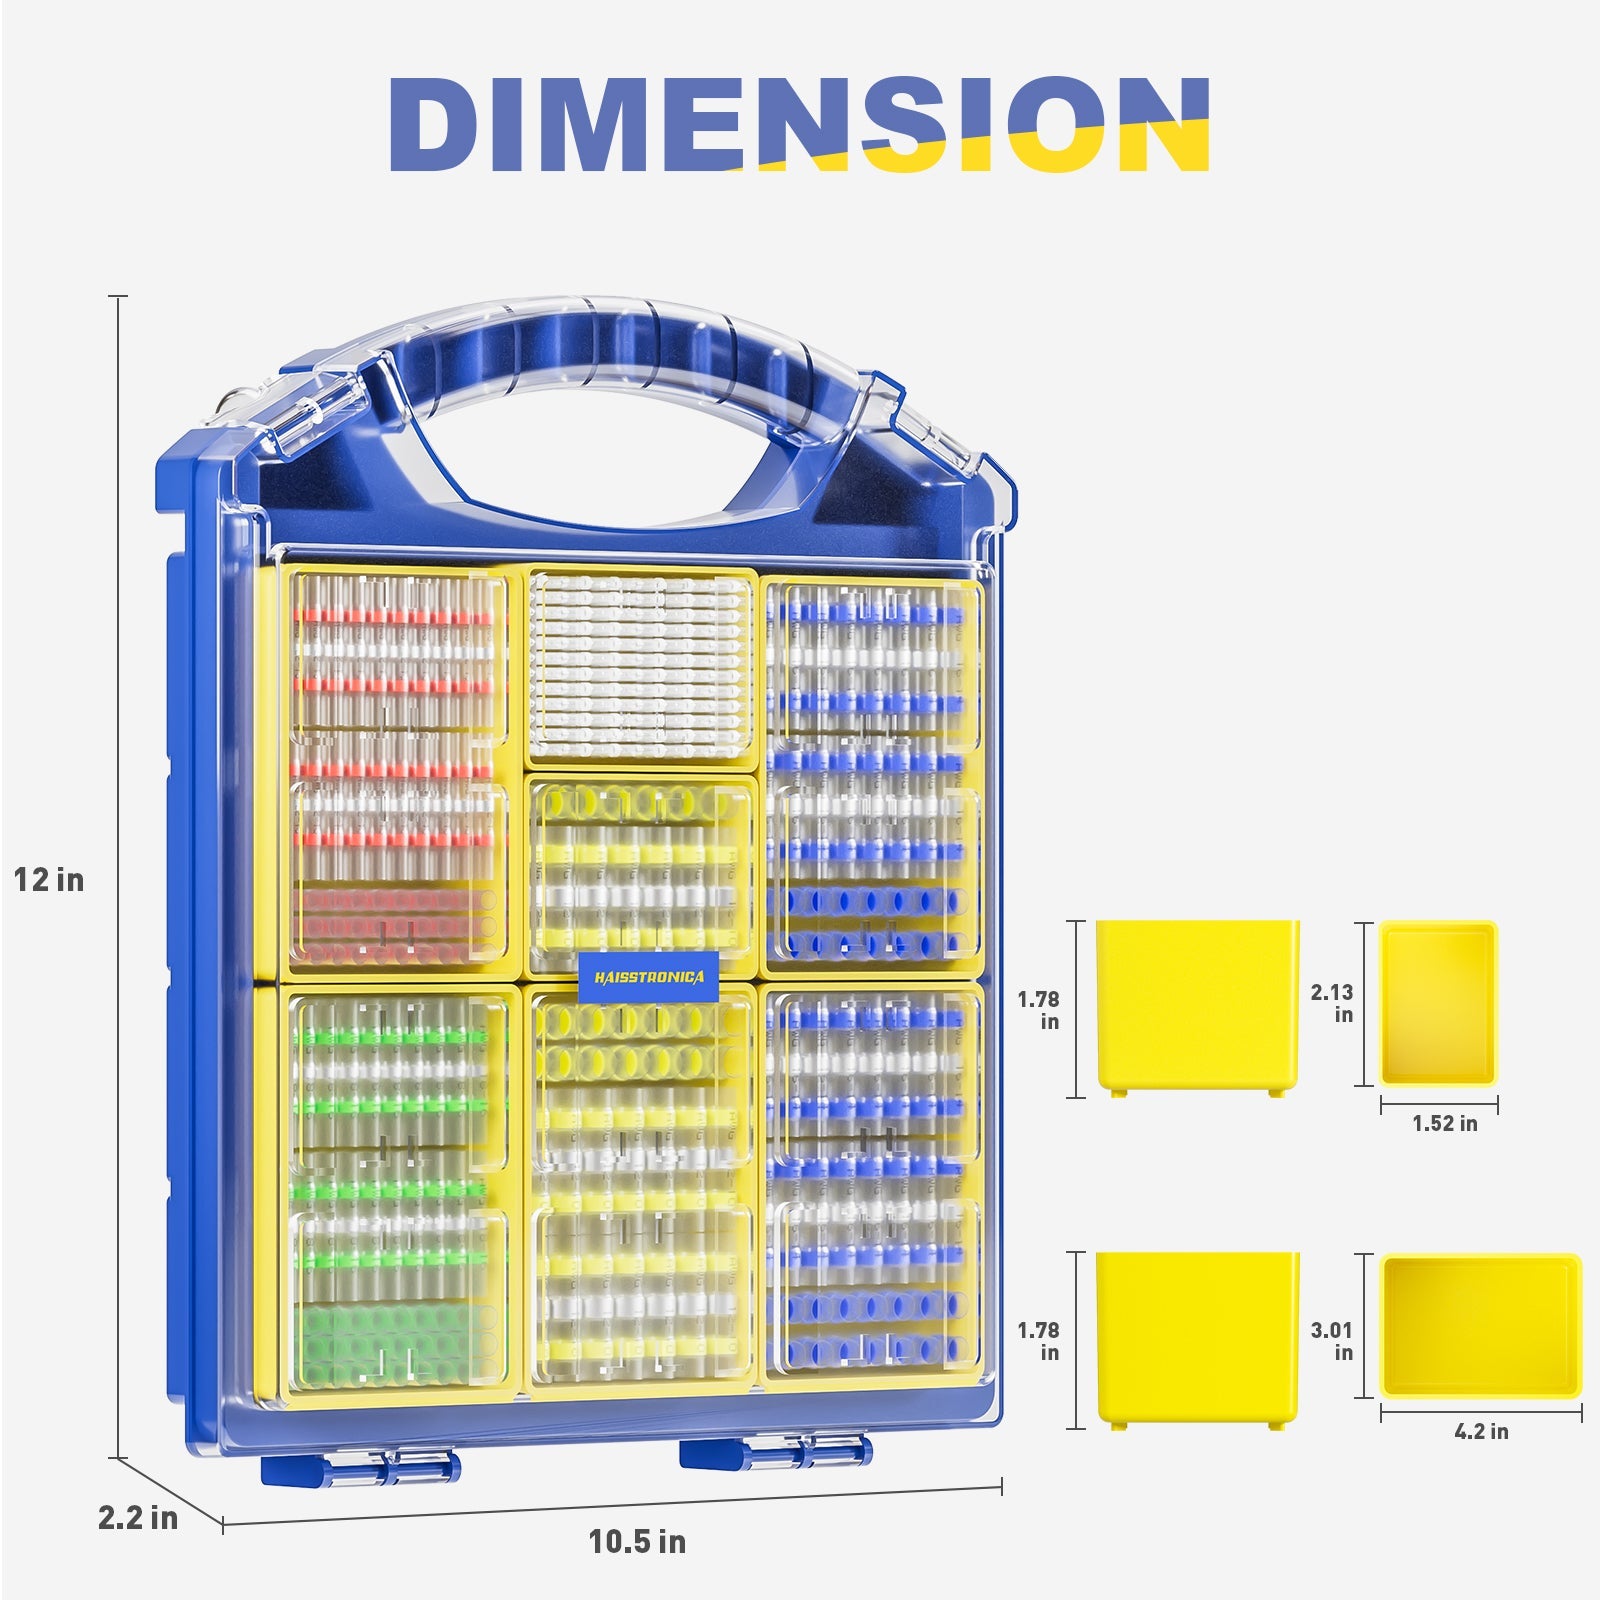
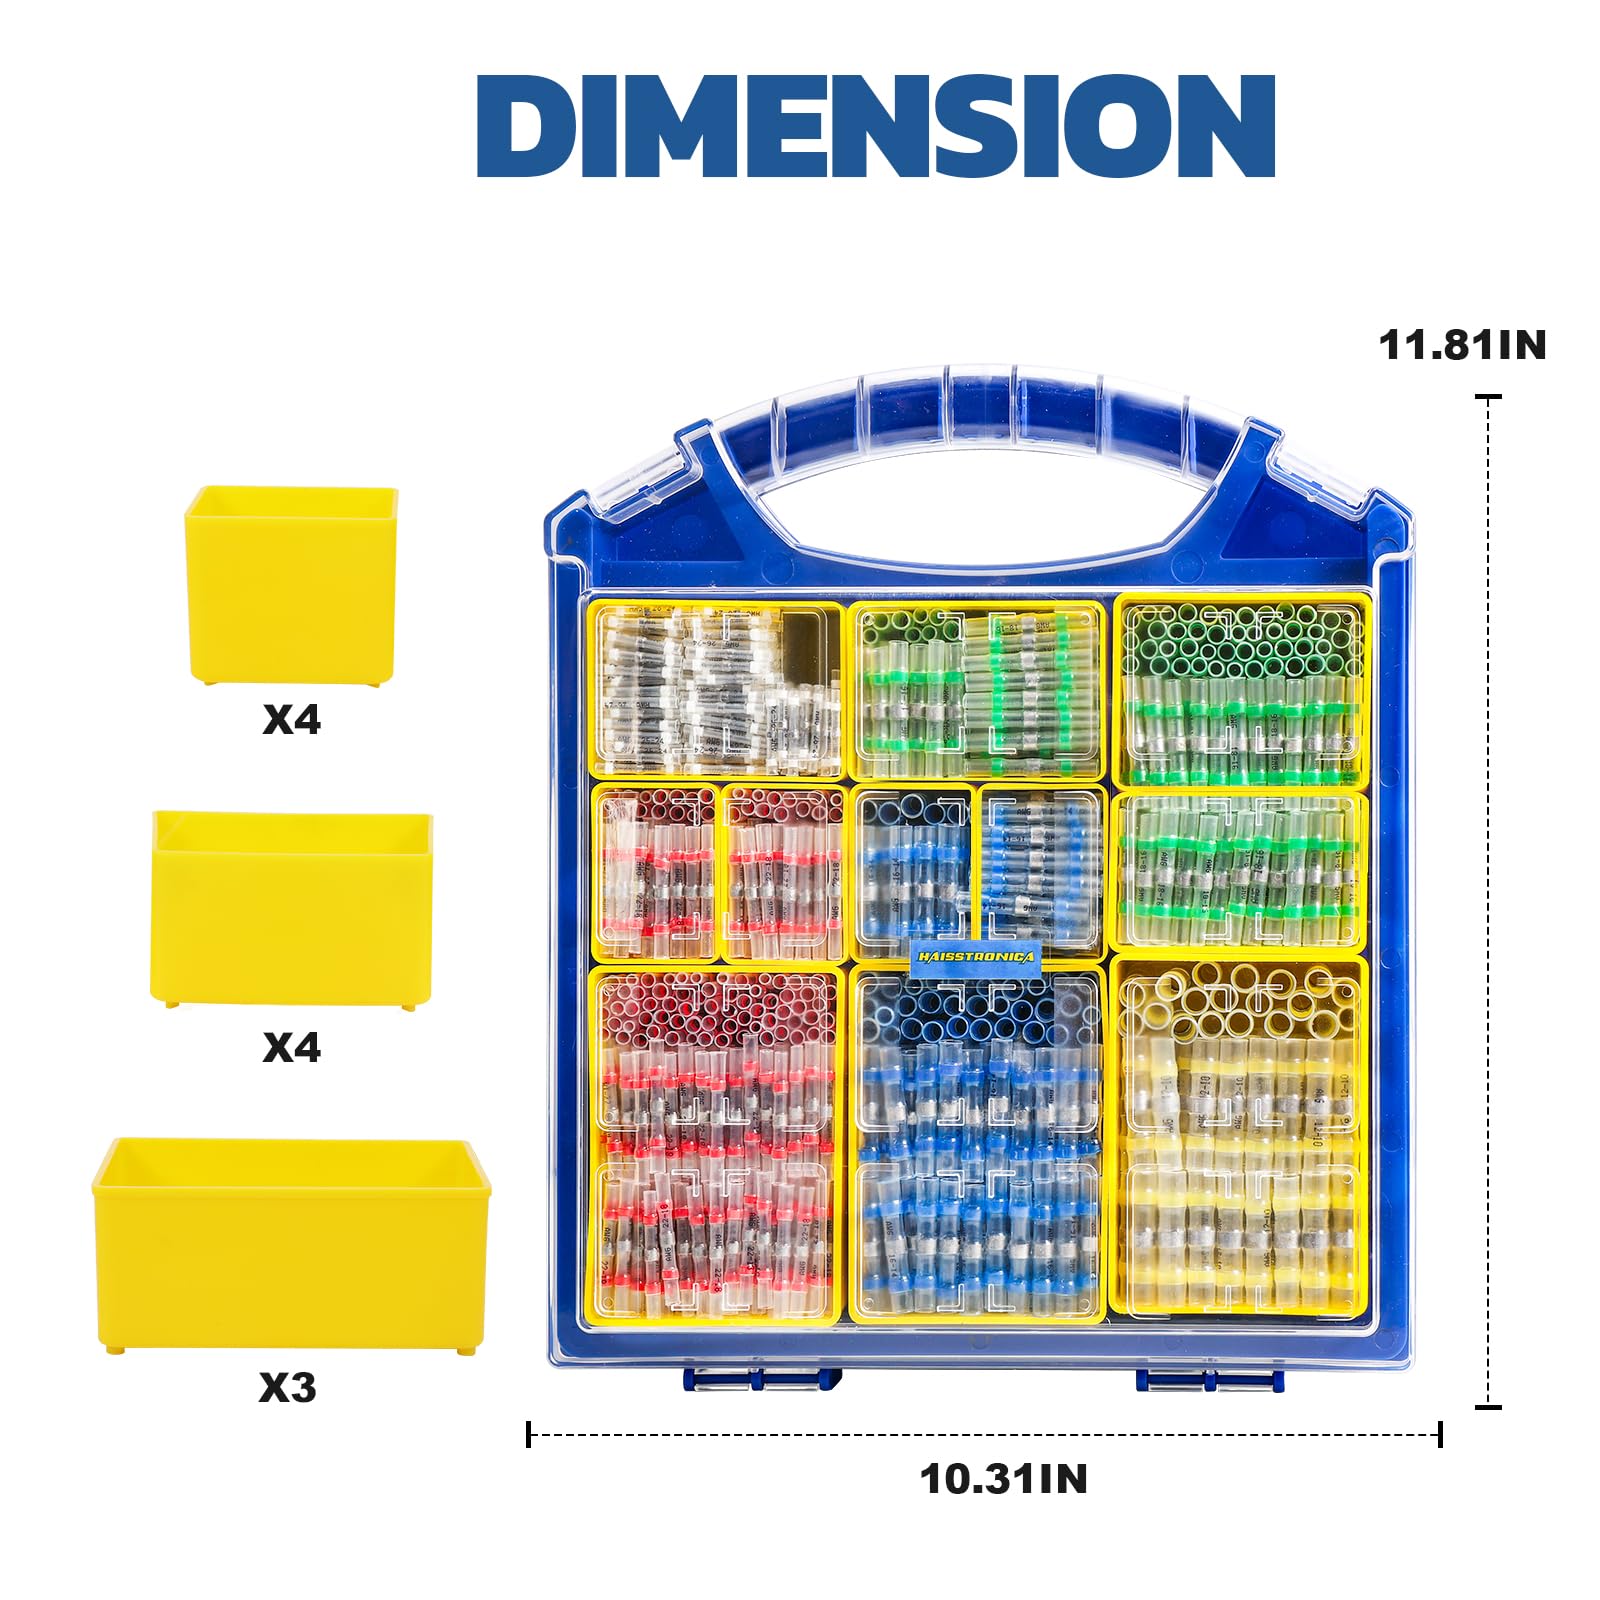
One important note: stranded vs solid isn’t about one being “better” universally – it’s about using the right type for the job. Solid offers strength, simplicity, and slightly better conductivity (plus often lower cost), whereas stranded offers flexibility and vibration resistance. Both types come in various gauges (thicknesses) and both can be joined with solder seal connectors. In fact, most heat shrink solder sleeve kits (including Haisstronica’s) cover a wide range of AWG sizes so you can splice tiny insulation wire leads or beefy power cables alike. For example, a typical solder seal connector assortment will have white solder sleeves for very thin wires (~26–24 AWG), red solder sleeves for 22–18 AWG, blue solder sleeves for mid-size 16–14 AWG, and yellow solder sleeves for larger 12–10 AWG wires. Some specialized kits even include connectors for 8 AWG or larger. So whether you’re hooking up a small electronics project with stranded hookup wires, or repairing a trailer light with a solid-core 12 AWG lead, there’s a heat-shrink solder connector that fits.

How Wire Type Affects Connector Choice
Now that we know the basics of each wire type, let’s talk about how this impacts your connector choice. The good news is that a solder & seal connector (sometimes just called a solder stick or solder splice connector) is pretty forgiving and versatile. As we covered, it will bond solid-to-solid, stranded-to-stranded, or solid-to-stranded wires just fine. But there are a few practical tips and considerations when working with solid vs stranded in these connectors:
-
Mechanical Grip: Stranded wires are naturally “fluffier” when stripped – you can spread or twist the strands, and they tend to interlock with each other or with another wire easily. Solid wires are smooth and straight. Therefore, when joining two solid wires in a solder sleeve, it’s extra important to create a good mechanical intertwine before soldering. Ideally, twist the two bare solid ends together (if doing an end-to-end butt joint, a short “Western Union” style wrap of each around the other works great). This holds the wires in contact so that when you heat the solder connector, the wires don’t separate before the solder melts. With stranded wires, you can often just overlap and twist the strands together and they’ll stay put. With one or both being solid, spend a moment to secure that joint before sliding the solder sleeve over it. The solder inside the connector will then melt and flow around the joined area, effectively fusing the wires. Remember: the connector’s job is to solder and seal the splice, but you should still make a decent mechanical connection upfront. Splicing wires securely (especially solid conductors) before soldering ensures maximum strength.
-
Connector Size and Fit: As mentioned, always match your wire gauge to the connector’s specified range. With stranded wire, the effective thickness when inserted can be a bit less (since strands compress together), whereas a solid wire is exactly its gauge diameter. For example, if you are joining a solid 18 AWG to a stranded 18 AWG, both will work in a Red (18–22 AWG) solder connector. If you were joining two solid 12 AWG wires, you’d use a Yellow (12–10 AWG) connector – and it will be a tight fit because solid 12 AWG is on the stiff side. Make sure the stripped wire ends actually overlap under the solder ring; if a solid wire is slightly loose inside a connector tube meant for that gauge, double-check that you stripped enough insulation to get a good overlap, or consider slightly bending a hook or “J” shape in the solid wire to give it more to grab inside the sleeve. The melted solder will bridge any small gap, but you don’t want the wires just barely touching – that could result in a weaker splice. Fortunately, most heat shrink solder wire connectors are designed with some tolerance. They use a low melting point solder alloy (often around 138 °C) that contains rosin flux, so it readily wets copper. As long as the wires are in the solder ring area, you’ll see the solder flow and join them. The heat shrink will then seal the wire connection by tightening around the insulation and oozing adhesive, making it waterproof and strain-relieved.
-
Environment & Vibration: Consider where this connection will live. If you’re wiring up an automotive electrical circuit (say adding an LED bar on your truck) you’ll have lots of vibration and maybe temperature swings. Stranded wire is a given in vehicles, and solder seal connectors are popular for their convenience. They hold up well if installed correctly – the soldered wire joint actually becomes the stiff part of the conductor, but the tubing’s grip spreads out the stress. In high-vibration spots (engine bay, marine engine, etc.), some professionals still prefer crimp and seal connectors (insulated crimp butt splices with heat shrink) because a crimped joint stays flexible inside. However, for moderate vibration (dashboards, lighting, accessories) a solder seal is perfectly fine. If you do use a solder connector on a solid-core wire in a vibration environment, ensure that wire is secured and not flexing right at the solder joint – clamp it or tie it so it doesn’t wiggle. Solid wire isn’t typically found in cars/boats for this reason, but occasionally you might connect a stranded lead to a solid feed (for instance, hooking a device lead to a house wire in an RV or a solar setup). In those cases, support the solid wire near the joint (zip-tie it to something stable) just as added insurance. In stationary environments (home wiring, LED strip installations with solid leads, etc.), vibration is negligible, so a solder seal connector works great to splice solid wires and give a neat, insulated result.
In summary, choosing solder seal connectors for solid or stranded wire is mostly straightforward – you don’t need a different connector type, just the right size and technique. Always strip the wire properly (no nicked strands on stranded, and for solid, a clean strip with no scoring of the copper). Insert the wires so they overlap under the solder ring. Heat evenly (a reflector on your heat gun can help concentrate heat for faster solder flow). Inspect the joint: you should see the solder ring melt completely and disappear into the wire joint, and see adhesive ooze out of the ends of the tubing – that’s a sign of a sealed connector. Let it cool undisturbed, and you’re done. This one connector acts as solder, insulator, and wire sealer all in one step. It’s truly a handy solution for DIYers and electricians alike, allowing quick, consistent splices.

Conclusion
Solid and stranded wires each have their place in the electrical world, and luckily solder seal connectors are versatile enough to handle both. Solid wires offer strength and consistency for permanent installations, while stranded wires provide flexibility for moving parts – and a good solder & seal connector can securely splice connectors of either type. The key takeaways for choosing and using these connectors are: match the connector size to your wire, prepare a solid mechanical connection (especially for solid-core wires), and use proper heating technique to fully melt the solder and adhesive. When done right, you get a low-resistance, soldered connection that’s also sealed against water and strain – essentially a crimp and solder connector in one. Backed by industry insight and a bit of practice, even DIY enthusiasts can achieve reliable, pro-grade splices at home.
As you shop for connectors for wires or plan your next wiring fix, keep in mind the differences between solid vs stranded conductors, but don’t stress – a quality heat shrink solder butt connector kit will have you covered for both. Many kits (like Haisstronica’s) span a wide AWG range, so you’ll have the right size whether you’re working with fine electronics leads or heavier automotive cables. And because these connectors combine solder & seal, you get the benefits of a welded-like bond plus a waterproof connector finish without needing an elaborate electrician’s tool set – just a heat source.
In a nutshell, solder stick connectors are a best of both worlds solution for joining wires: they’re simple like crimps yet strong like a good soldered joint. Solid or stranded, your wires will be securely united. So go forth and tackle that wiring project with confidence! With the tips from this guide (and high-quality Haisstronica connectors in your arsenal), you can make safe, long-lasting electrical connections that stand the test of time – no frays, no fails, and no water sneak-through. Happy wiring, and stay safe in your DIY adventures! (And if you need reliable connectors, you know where to find them – Haisstronica has you covered with heat-shrink solder sleeves for every need, plus all the types of electrical connectors an electrician or tinkerer could want in a one-stop wire connector kit.)