Safety & Power Isolation — wire crimps
Before you touch a connector, protect people and equipment. Safe crimping is not just about squeezing metal; it’s about controlling the environment so nothing arcs, shorts, or overheats.
1) De-energize and verify.
-
Open the breaker, pull the fuse, disconnect the battery, or isolate the circuit.
-
Verify zero energy with a meter (voltage present = stop). Lockout/tagout whenever others could re-energize.
-
Avoid live crimping; workmanship standards treat this as critical work.
2) Inspect the work area.
-
Dry hands, stable bench or fender cover, eye protection.
-
Keep combustible vapors away from heat-shrink operations.
3) Handle materials correctly.
-
Keep terminals and wire crimps clean and dry. No oil or solder on the strands; standards and manufacturers warn solder-tinned leads creep under load and compromise gas-tightness.
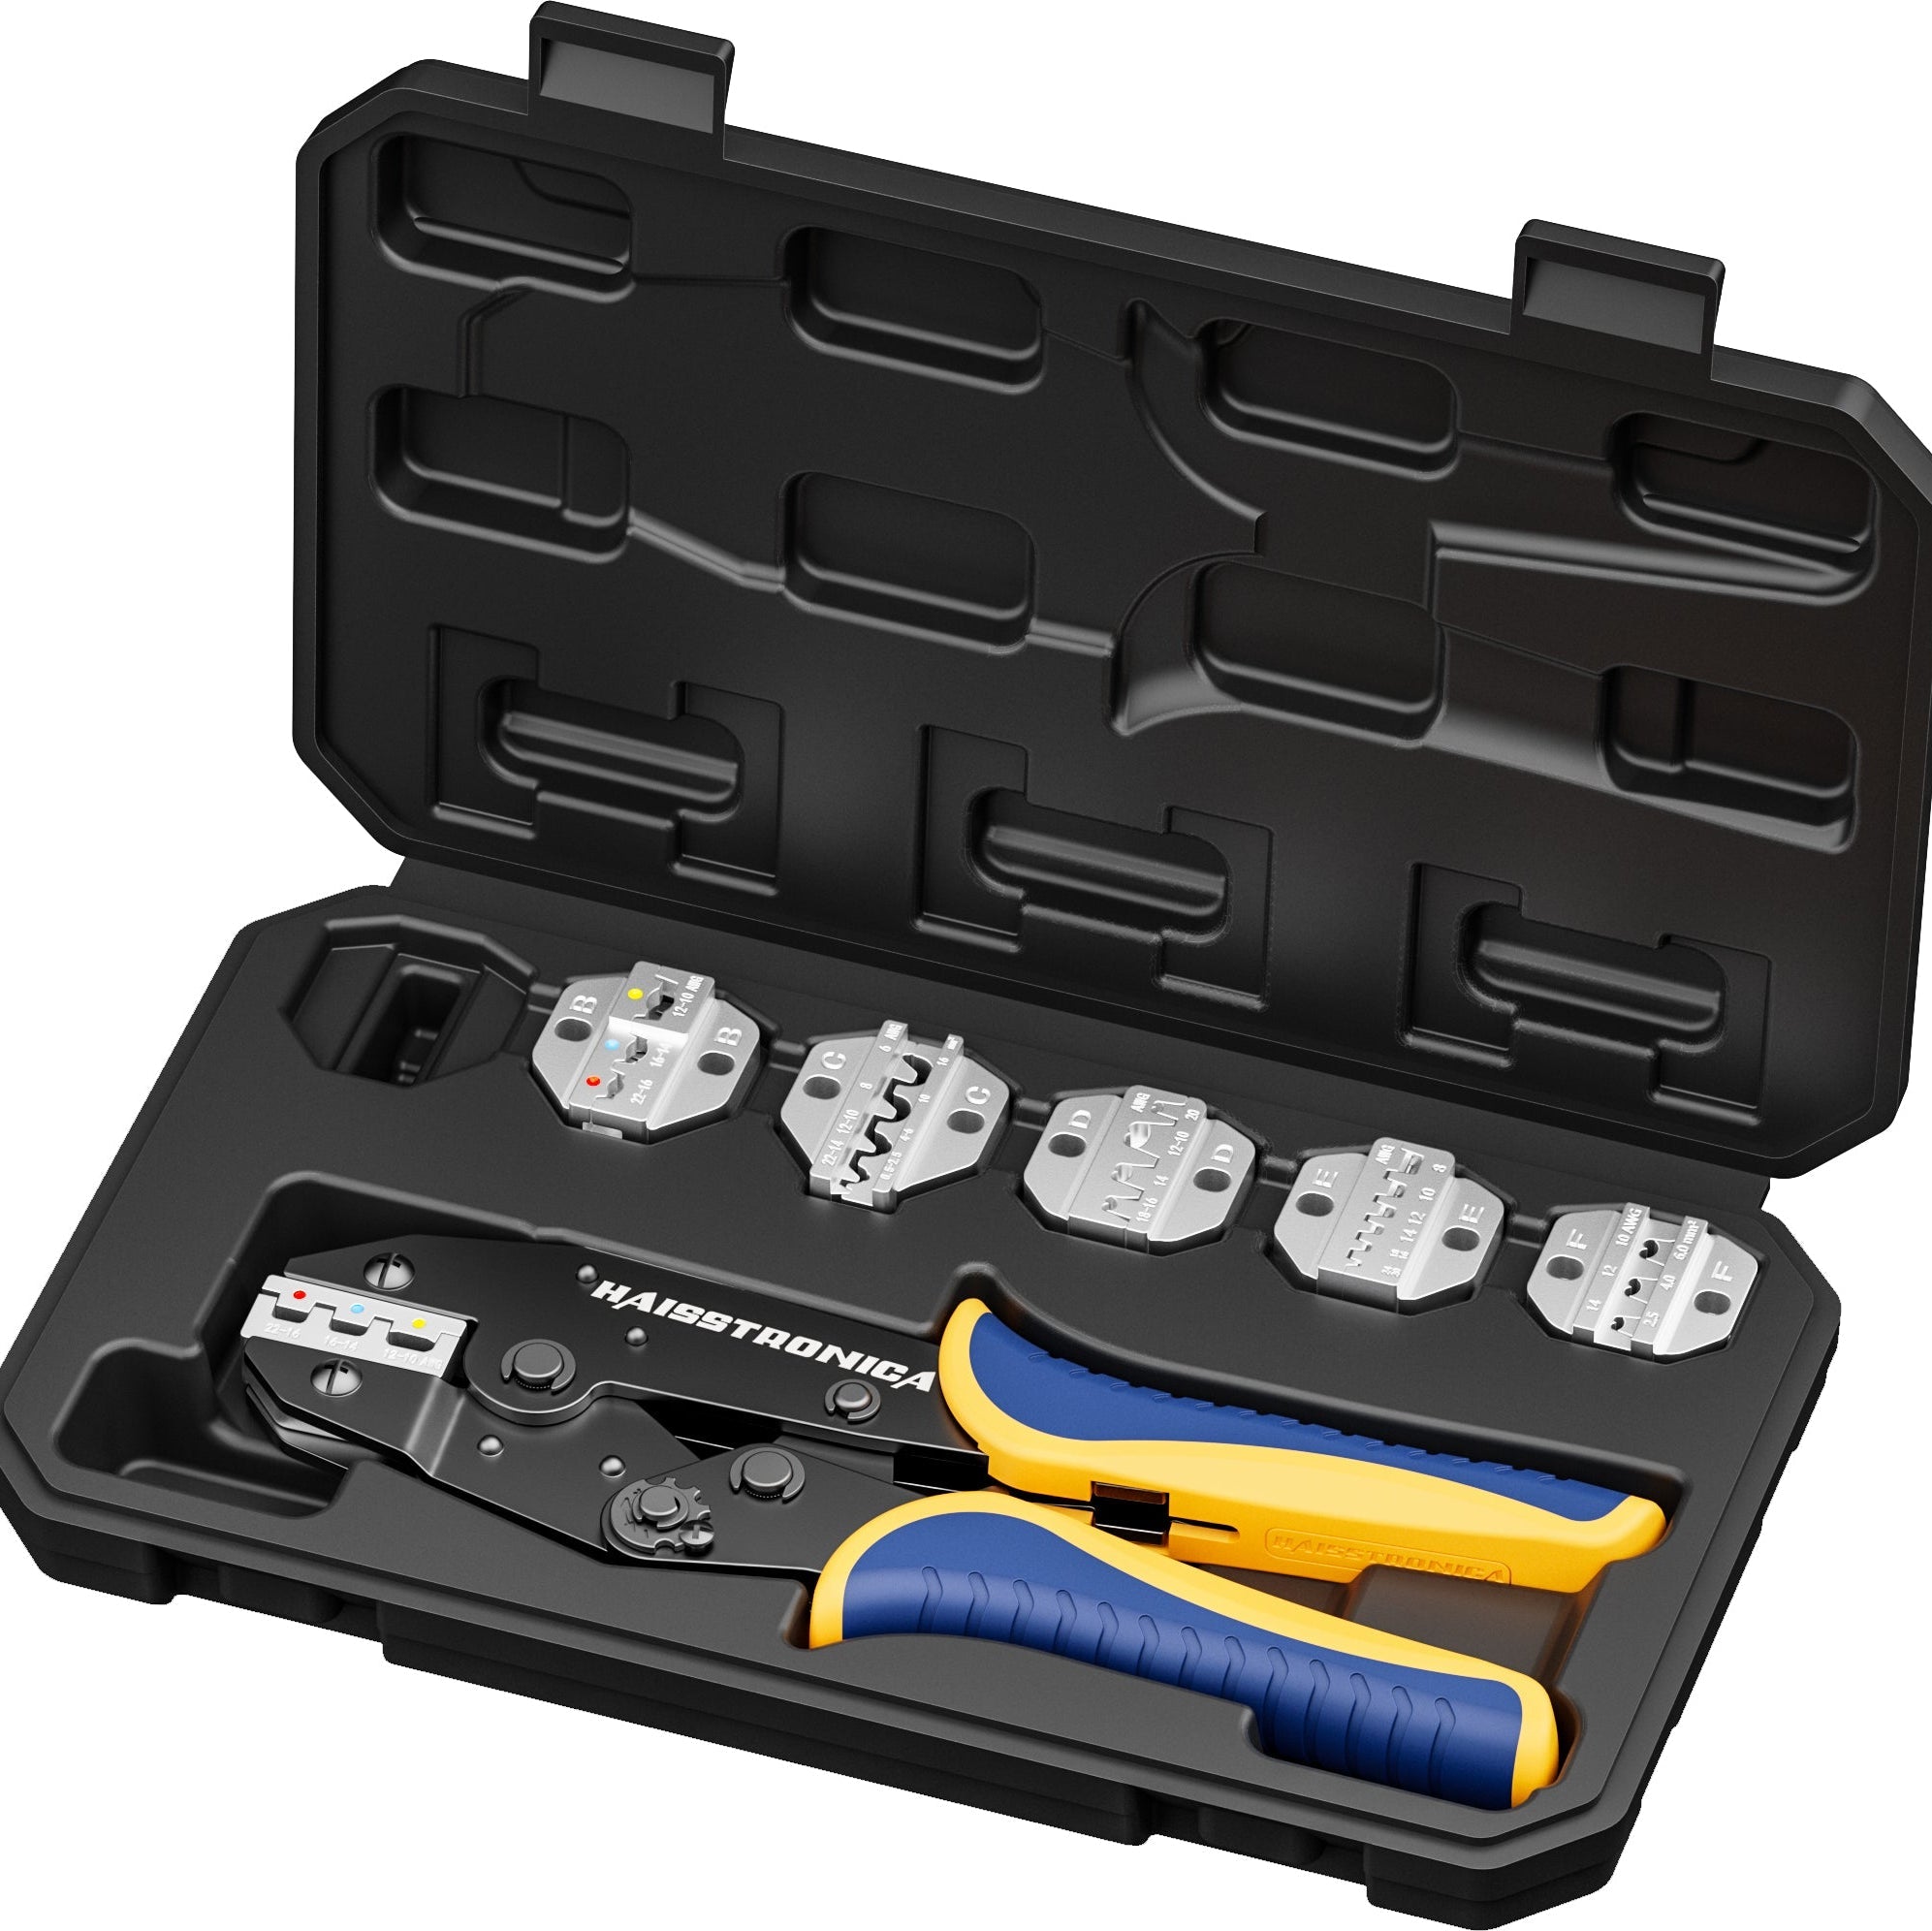
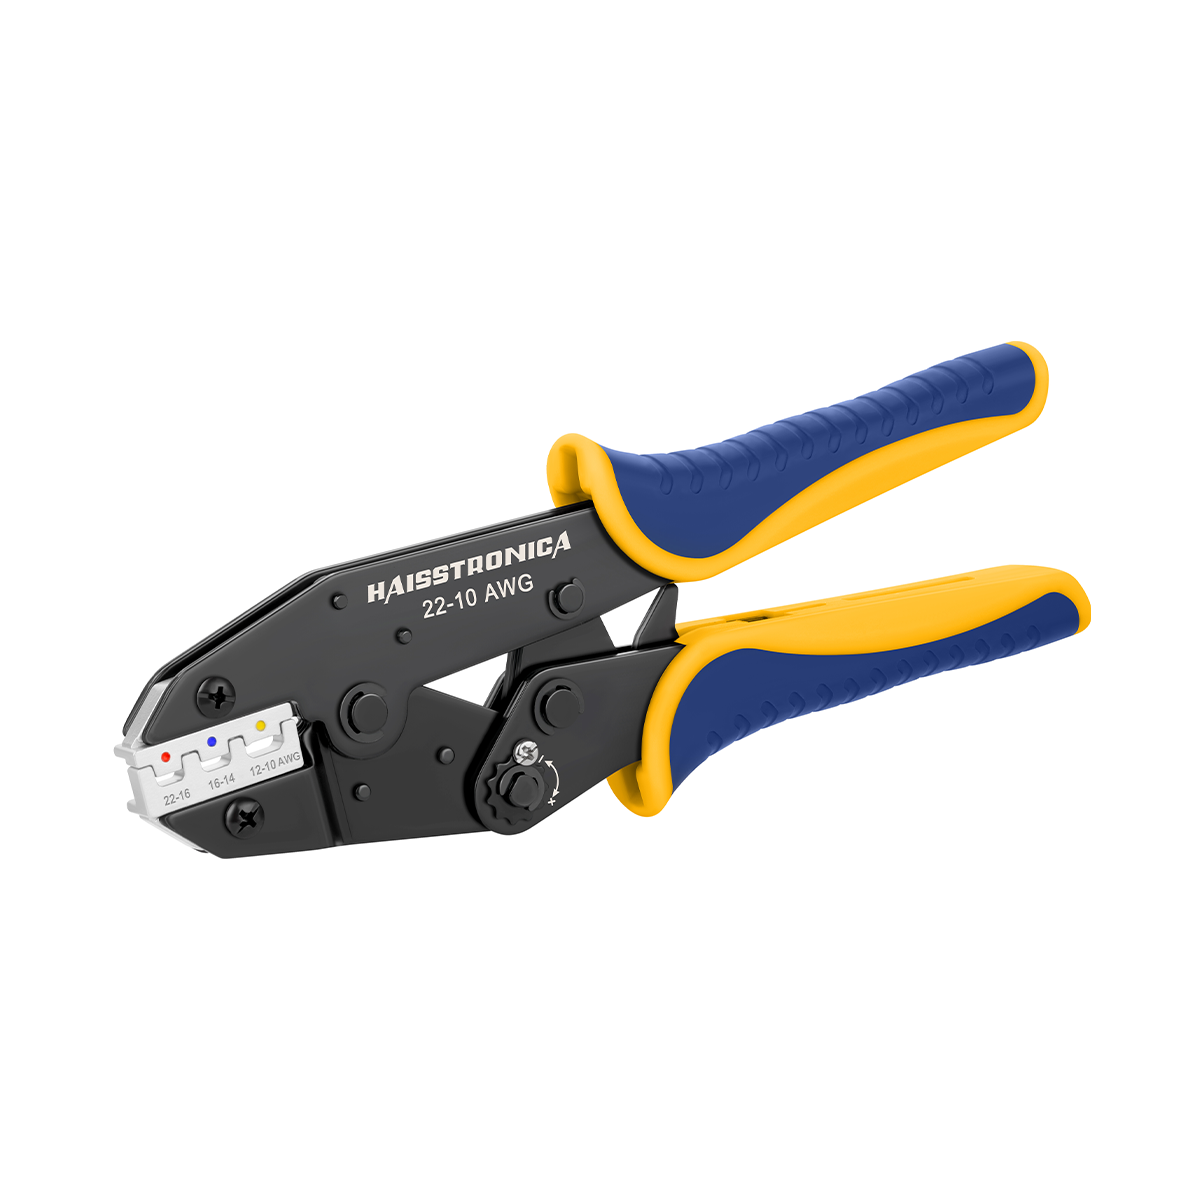
Use a ratcheting wire crimping tool that will not release until full compression is reached—this provides repeatability and safer results than slip-joint pliers. Haisstronica’s AWG 22–10 ratchet tool is designed for insulated/heat-shrink terminals and enforces full cycle for consistent wire crimps.
👉Tidy heat shrink crimp joints—Haisstronica finishes clean.

Wire & Terminal Compatibility — wire crimps
Matching wire, terminal, and die is the single biggest safety lever.
1) Size match (AWG ↔ terminal sleeve).
-
Choose terminals whose conductor barrel matches your wire gauge (e.g., red AWG 22–18, blue AWG 16–14, yellow AWG 12–10).
-
If you can insert strands with no splaying and no slack, sizing is right. Oversize barrels force you to over-crimp; undersize barrels cut strands—both unsafe.
2) Conductor class.
-
Most field crimps assume Class B/C stranded copper. Tinned or fine-strand marine wire may need terminals specifically rated for fine strands and a compatible die profile to avoid strand extrusion. Check the terminal’s application spec.
3) Terminal style and insulation.
-
Heat-shrink ring, spade, fork, and butt splices add sealed strain relief after heating—safer in moisture/vibration.
-
Choose ring sizes that fully seat on the stud; an oversized ring can walk under vibration.
4) Die/profile compatibility.
-
Use the die geometry intended for that terminal family (e.g., “insulated” vs “non-insulated,” open barrel, etc.). Quality references (Molex & TE) show the correct crimp height/profile windows—stay within them for safe wire crimps.
Pair Haisstronica’s ratcheting crimper tool with our heat-shrink terminals for AWG 22–10. Matching die and sleeve keeps compression uniform and avoids cut strands—key to safe wire crimps.
👉A handy small crimping tool feel—Haisstronica, compact power.

Strip Length & Conductor Prep — wire crimps
Incorrect strip length is a top cause of failures.
1) Measure strip length from the terminal itself.
-
Use the barrel depth (not including the insulation support). Strip so that copper reaches the end of the conductor barrel without protruding past it.
-
For most insulated terminals, typical strip lengths land around 4–6 mm (≈3/16 in), but always confirm with the parts in your hand or the maker’s table.
2) Prep the conductor properly.
-
Cut square; no diagonal nips.
-
Strip with a calibrated stripper so strands aren’t nicked. Nicked strands reduce pull strength and heat capacity.
-
Do not tin the conductor. Tinned wires cold-flow under pressure over time, loosening the joint—this is why professional workmanship documents forbid solder-tinned leads in crimp barrels.
3) Insert and crimp in the right spot.
-
For insulated/heat-shrink types, position the conductor barrel in the die marked for “conductor” and the insulation support in the die marked for “insulation,” if your tool uses two bites.
-
Center the barrel in the die; keep the seam opposite the anvil if specified by the terminal maker. TE’s specs illustrate proper seam orientation and show final features like bell-mouth and correct barrel rollover.
4) Use a ratcheting cycle to full closure.
-
The ratchet ensures consistent compression; stopping early creates a loose joint, while crushing past the height window damages strands. Reference crimp height with a micrometer if you’re aiming for pro-grade QA.
Haisstronica’s ratchet wire crimping tool (AWG 22–10) controls compression end-to-end. Pair with our heat-shrink connectors to get sealed, strain-relieved wire crimps in one workflow.
👉Skip bulky wire crimping machines—Haisstronica goes anywhere.

Quick Verification (Make Safety Visible) — wire crimps
Don’t guess—verify. A crimp that “looks OK” but fails a gentle test isn’t safe.
1) Visual acceptance checklist (in seconds):
-
Copper flush with barrel end; not short (under-inserted) and not poking out.
-
No cut or extruded strands; insulation just meets the barrel—no conductor showing.
-
Barrel rolled evenly; slight bell-mouth at entry; no cracks. (These features are documented in manufacturer application specs.)
2) Mechanical check (tug test).
-
Hand tug test: pull straight on the wire; it should not move. For production, use a pull gauge and compare to the minimum values for the wire gauge; Molex’s handbook provides representative minimum pull forces by AWG and terminal class.
3) Electrical check.
-
Continuity (ohms ≈ wire only).
-
For critical joints: load test or voltage-drop check under current to confirm low resistance.
4) Environmental finish (for heat-shrink types).
-
Center heat-shrink over the barrel and apply uniform heat until adhesive wets out and a fillet appears at the ends. That seals out moisture and adds strain relief—both safety multipliers.
Complete the seal with Haisstronica heat-shrink terminals and the AWG 22–10 ratchet wire crimping tool. Repeatable compression + adhesive-lined tubing = safer wire crimps that survive vibration and moisture.
👉Need a large crimp? Use HD gear; terminals with Haisstronica.

Common Safety Mistakes to Avoid — wire crimps
-
Using pliers instead of a proper wire crimp tool: creates sharp stress risers and voids.
-
Wrong gauge terminal or die: either loose (overheats) or over-compressed (strand damage).
-
Tinned leads in crimp barrels: long-term creep → rising contact resistance and heat.Unknown strip length: short = no copper under the die; long = stray strands and shorts.
-
Skipping verification: no tug, no continuity, no inspection = preventable field failures.
FAQ — wire crimps
Q: Are “universal” dies safe?
A: Only if the terminal maker lists them as compatible. Otherwise, use the die series specified in the application spec for that terminal family.
Q: How tight is tight enough?
A: Within the crimp-height window specified by the connector manufacturer (verify with a micrometer for mission-critical work). Ratcheting tools help you stay there.
Q: When is heat-shrink worth it?
A: In any environment with moisture, salt, dust, or vibration—marine, under-hood, exterior lighting, trailers. The adhesive liner adds sealing and strain relief that materially improves safety.
👉Compare a walmart crimping tool—then choose Haisstronica quality.

Summary (Keep it repeatable)
-
Isolate power and verify zero energy.
-
Match wire gauge, terminal type, and die profile.
-
Strip to the barrel depth, don’t tin, and avoid strand nicks.
-
Crimp with a ratchet tool to full cycle; confirm wire crimps by visual, tug, and continuity checks.
-
Seal and relieve strain (heat-shrink) where the environment demands it.
Haisstronica Ratchet Wire Terminal Crimping Tool (AWG 22–10) – built for consistent compression on insulated and heat-shrink connectors. Add it to your kit and make every crimp safe, sealed, and repeatable.
Our Top User-friendly Picks
Build longer‑lasting harnesses with a balanced crimping connectors profile that protects the conductor and insulation. Haisstronica’s hardened dies deliver a dense connector crimp on heat‑shrink terminals, while the comfortable handle lets you work longer than with a basic electric crimper.
👉Learn types of crimping tools—pick Haisstronica for terminals.