導入
夕暮れ時に低電圧ライトで照らされるパティオと庭園。低電圧景観照明は、日没後の屋外空間を美しく安全な光で彩ります。低電圧(通常12ボルト)電源を使用するため、湿気の多い屋外環境における感電のリスクを軽減します。景観照明の設置目的が雰囲気作りでも防犯目的でも、適切な景観照明用配線を使用することは不可欠です。この記事では、低電圧景観照明用配線とは何か、景観照明の配線手順の概要、一般的な用途、最適な配線(例: 14.2線式屋外用ケーブル)の選び方、そして景観照明の配線に関するよくある質問への回答を紹介します。この記事を最後まで読めば、安全で効果的な屋外照明システムを実現するために、景観照明用の低電圧配線を最適化する方法がわかるでしょう。
定義: 低電圧景観照明ワイヤーとは何ですか?
屋外用の14/2低電圧景観照明用電線スプール(2本の絶縁銅導体)です。低電圧景観電線(ランドスケープ電線または景観照明ケーブルとも呼ばれます)は、屋外景観照明配線用に設計された特殊な電線です。通常、絶縁体付きの2本の撚り銅導体(「 2 」で表示)で構成され、16、14、12 AWGなど、様々なゲージ(太さ)があります。電線ゲージ(AWG)の数字は導体のサイズを示し、数字が小さいほど太く、容量が大きいことを意味します。 例えば、 14/2の景観照明用電線は14AWGの導体が2本ありますが、 12/2の景観照明用電線はより太い(12AWG)です。これらの屋外用電線は、耐久性のある耐紫外線PVC絶縁材を使用しており、直埋設に対応しているため、配管なしで地中に埋めることができます。低電圧の景観照明用電線を使用すると、システムが12~24Vで動作するため、一般的な家庭用配線よりも安全でエネルギー効率に優れています。これにより、照明への電力供給を維持しながら危険性を大幅に低減できます。つまり、屋外照明用の電線は、照明の負荷と距離に対応できる適切なゲージの低電圧2導体ケーブルである必要があります。
操作手順:低電圧ランドスケープ配線の設置方法
景観照明の配線はDIYに適したプロジェクトです。屋外照明を安全かつ効果的に配線するには、以下の基本的な手順に従ってください。
-
レイアウトを計画する:照明と景観配線のレイアウトを紙に書き出します。各照明の設置場所と配線経路を決定します。各配線に必要な配線の総長さを測ります(電圧降下を防ぐため、選択したゲージに対して配線の長さは一定以下に抑えてください)。この計画により、距離とワット数に適したゲージ(例:景観照明の場合は12ゲージまたは14ゲージ)を選択できます。
-
ワイヤゲージの選択:レイアウトに合わせて適切なケーブルゲージを選択してください。一般的なサイズは、 16/2、14/2、または12/2のランドスケープワイヤです。太いワイヤ(AWGが低い)は、より多くの電流を長い距離にわたって伝送でき、電圧降下も少なくなります。例えば、 14 AWGのランドスケープワイヤは、最大90ワットの負荷で約100フィート(約30メートル)の配線が可能ですが、 12 AWGは同じ負荷でその2倍(200フィート以上)の距離を伝送できます。迷った場合は、 12/2の低電圧ランドスケープ照明ワイヤを使用することで、将来の拡張に備えることができます。( 12/2と14/2のランドスケープワイヤの詳細な比較については、ランドスケープワイヤゲージチャートまたは電圧降下計算機を参照してください。)
-
配線と接続:ランドスケープ照明器具を設置し、それらに沿ってケーブルを配線します。各器具の調整のために、ある程度の余裕を持たせてください。照明を追加するには、低電圧配線の絶縁材を剥ぎ取り、ランドスケープ照明器具用の防水コネクタを使用して接続します。屋外接続は耐湿性が必要なため、ランドスケープ照明器具の配線には必ず耐候性スプライスコネクタ(ゲル充填ワイヤナットまたは熱収縮チューブ付き圧着コネクタ)を使用してください。すべての器具の配線をメイン電源ケーブルに接続するには、並列(ハブ/スプライス)配線またはケーブルに沿ったデイジーチェーン配線を使用します。極性が一致していることを確認してください(ほとんどのランドスケープ照明ケーブルには、1つの導体を識別するためのリブが付いています)。
-
変圧器への接続:低電圧変圧器(GFCI屋外コンセントに差し込むタイプ)を中央に設置します。景観照明用電線の2本のリード線を変圧器の出力端子(通常は「Common」と「12V」などのラベルが付いています)に接続します。低電圧電線の接続は簡単です。ネジ端子を緩め、被覆を剥がしたケーブルの端を差し込み、しっかりと締め付けます。変圧器のワット数が照明の合計ワット数を超えていることを確認してください。変圧器に内蔵されているタイマーや光センサーを必要に応じて設定してください。
-
ケーブルのテストと埋設:埋設する前に、システムをオンにして、すべての景観照明が正常に動作するかテストしてください。照明が暗い場合は、配線が長すぎるか、配線が細すぎる (電圧降下) 可能性があります。すべてが動作することを確認したら、ケーブルを埋めるか隠します。 景観用の低電圧配線は、浅い溝に直接埋めることができます。法令遵守のため、6 インチの深さが推奨されます。平らなシャベルまたは芝刈り機を使用して芝生に切り込みを入れ、配線を約 6 インチの深さまで押し込んでから、芝を押さえつけます。花壇では、ケーブルをマルチング材または土の下に埋めることができます。ケーブルを損傷しないように注意してください。絶縁体に傷を付けないでください。歩道や車道の下を横断する場合は、保護のため、配線を PVC 導管に通します (車両エリアの下に 18~24 インチの深さまで埋めます)。最後に、屋外照明の電気配線は、見た目を良くするため、また、つまずいたり芝刈り機で損傷したりするのを防ぐために、きちんと覆う必要があります。
設置のヒント:困ったときは、 低電圧の景観照明の配線方法に関するこちらの動画のようなチュートリアルをご覧ください。一般的な配線テクニックとコネクタのヒントが紹介されています。配線を効率的に埋設するには、 景観照明ケーブルの埋設に関するこちらの専門家向け動画で、便利な溝掘りのコツを紹介しています。

景観照明ワイヤーの応用シナリオ
低電圧の景観照明用電線は、家庭内のさまざまな屋外照明用途に使用されます。
-
通路と庭園灯:最も一般的な用途は、歩道、花壇、庭園に通路灯や杭打ち灯を設置することです。適切なサイズの屋外照明用ワイヤーを使用することで、通路の照明器具を均一に照らし、夜間の散歩の安全と美しさを確保できます。
-
スポットライトとアップライト:景観配線は、樹木、低木、または建築物の特徴を強調するスポットライトに電力を供給します。大きな樹木に高ワット数のアップライトを設置する場合は、長い距離を配線しても暗くならないように、太い低電圧の景観配線(例:12 AWG)を使用してください。
-
デッキとパティオ:低電圧電線を使って、デッキ、パーゴラ、パティオの屋外照明にLEDハードスケープライト、ステップライト、ストリングライトなどを配線できます。フレキシブルなランドスケープ電線は、デッキボードの下や手すりに沿って配線(必要に応じて配管)でき、居心地の良い屋外リビングスペースを演出できます。
-
池と水辺:池や噴水の照明の多くは低電圧です。直埋設の造園用照明ケーブル(防水コネクタを使用)を水辺まで配線し、水中照明に電力を供給することができます(水中照明ケーブルは必ず耐水性能を満たしていることを確認してください)。変圧器と接続部は常に乾燥した状態に保ち、水から安全な距離を保ってください。
-
セキュリティと景観のアクセント:私道の照明から庭のアクセントまで、低電圧配線は独創的な照明を実現します。景観のセキュリティライト、旗竿のライト、フェンス沿いのランタンなどによく使用されます。安全な12V電流のおかげで、ガイドラインさえ守れば、電気技師に頼まなくても、このような屋外照明の配線作業を自宅で行うことができます。
いずれの場合も、ケーブルの太さは負荷と距離に合わせて調整してください。例えば、ガーデンライトを長く配線する場合は、デッキステップライトを数個接続する短い配線よりも太い電線が必要になる場合があります。屋外照明製品に適した電線を使用することで、照明器具に十分な電圧が供給され、明るく安定した光が確保されます。
購入ガイド:最適な景観照明ワイヤーの選び方
低電圧の景観照明に適したワイヤを選択するには、いくつかの重要な要素を考慮する必要があります。
-
ゲージ(電線の太さ):前述の通り、配線の長さと照明の総ワット数に応じて、 16ゲージ、14ゲージ、12ゲージ、または10ゲージのランドスケープ電線からお選びください。太い電線(AWGが低い)は、容量が大きく、電圧降下が少なくなります。迷う場合は、性能重視で太い電線を選ぶことをお勧めします。ほとんどの家庭用ランドスケープ照明システムでは、コストと性能のバランスから、 12/2ゲージまたは14/2ゲージのランドスケープ電線が使用されています。16/2ゲージは、LED照明器具の数が少ない非常に短い配線にのみ使用し、10/2ゲージは、非常に長い配線や高出力のサブ回路に使用してください。
-
ケーブルの品質 – 銅 vs. CCA:すべての電線が同じというわけではありません。最高の導電性と長寿命を得るには、常に純銅撚線の景観ケーブルを選択してください。安価な銅被覆アルミニウム(CCA)電線は避けてください。CCA 電線は抵抗が非常に高く(純銅の導電性の約 60~70% に過ぎない)、電圧降下、照明の暗さ、経年劣化による断線につながる可能性があります。高品質の純銅電線は、照明への電力伝送を最大限に高めます。さらに優れた耐腐食性を求める一部の高級景観ケーブルは錫メッキ銅ですが、ほとんどの DIY プロジェクトでは無酸素純銅が理想的です。絶縁体が堅牢であること(UV 安定性 PVC)と、ケーブルが屋外/直接埋設用に UL 認定されていることを確認してください。高品質の景観照明ケーブルは多少高価かもしれませんが、トラブルのない照明システムへの投資となります。
-
長さと梱包:必要なワイヤーの全長を計画し、それよりも少し長めの連続スプールを購入してください(たるみや調整を考慮して)。低電圧ランドスケープワイヤーは、通常50フィートから500フィートまでのロールで販売されています。例えば、 Haisstronicaの14/2低電圧ランドスケープワイヤーは、プロジェクトの規模に合わせて200フィート、250フィート、500フィートのスプールで提供されています。通常は、必要以上に長めに購入するのが賢明です。複数の照明ゾーンがある場合は、ゾーンごとに短いロールを購入することを検討してください。各配線を途切れることなく連続した長さにすることで、余分な接続を回避できます。
-
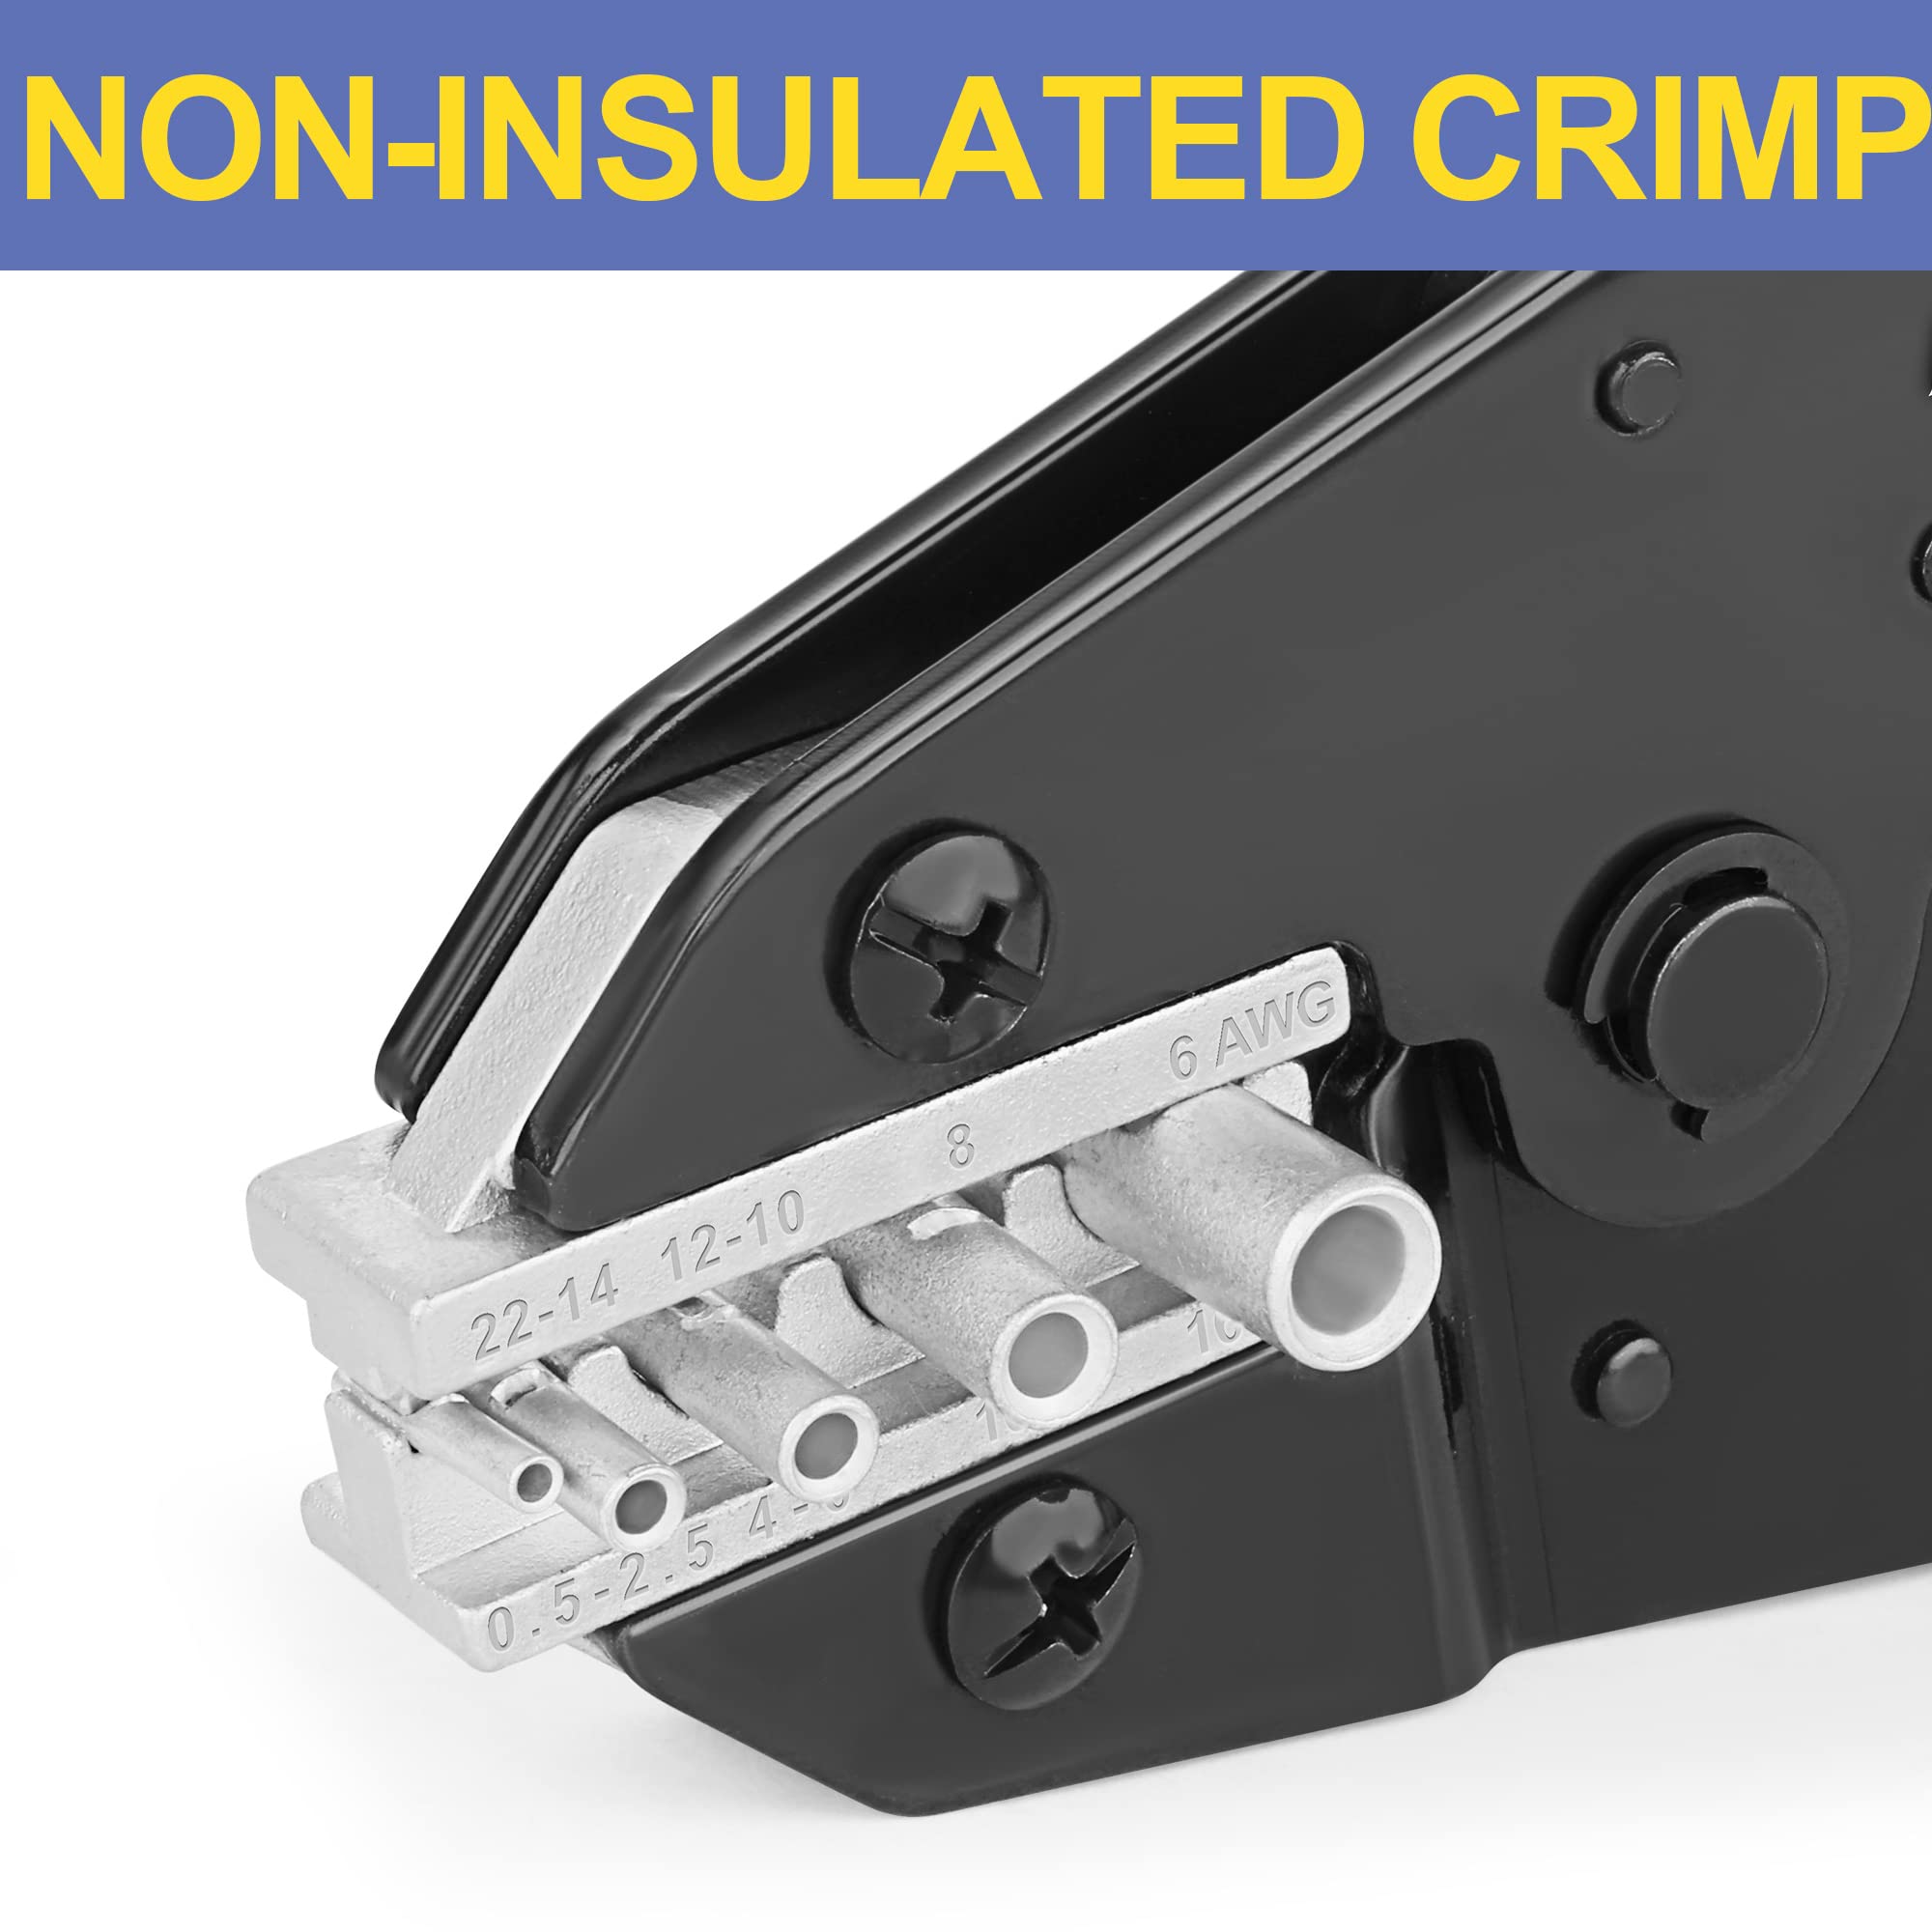
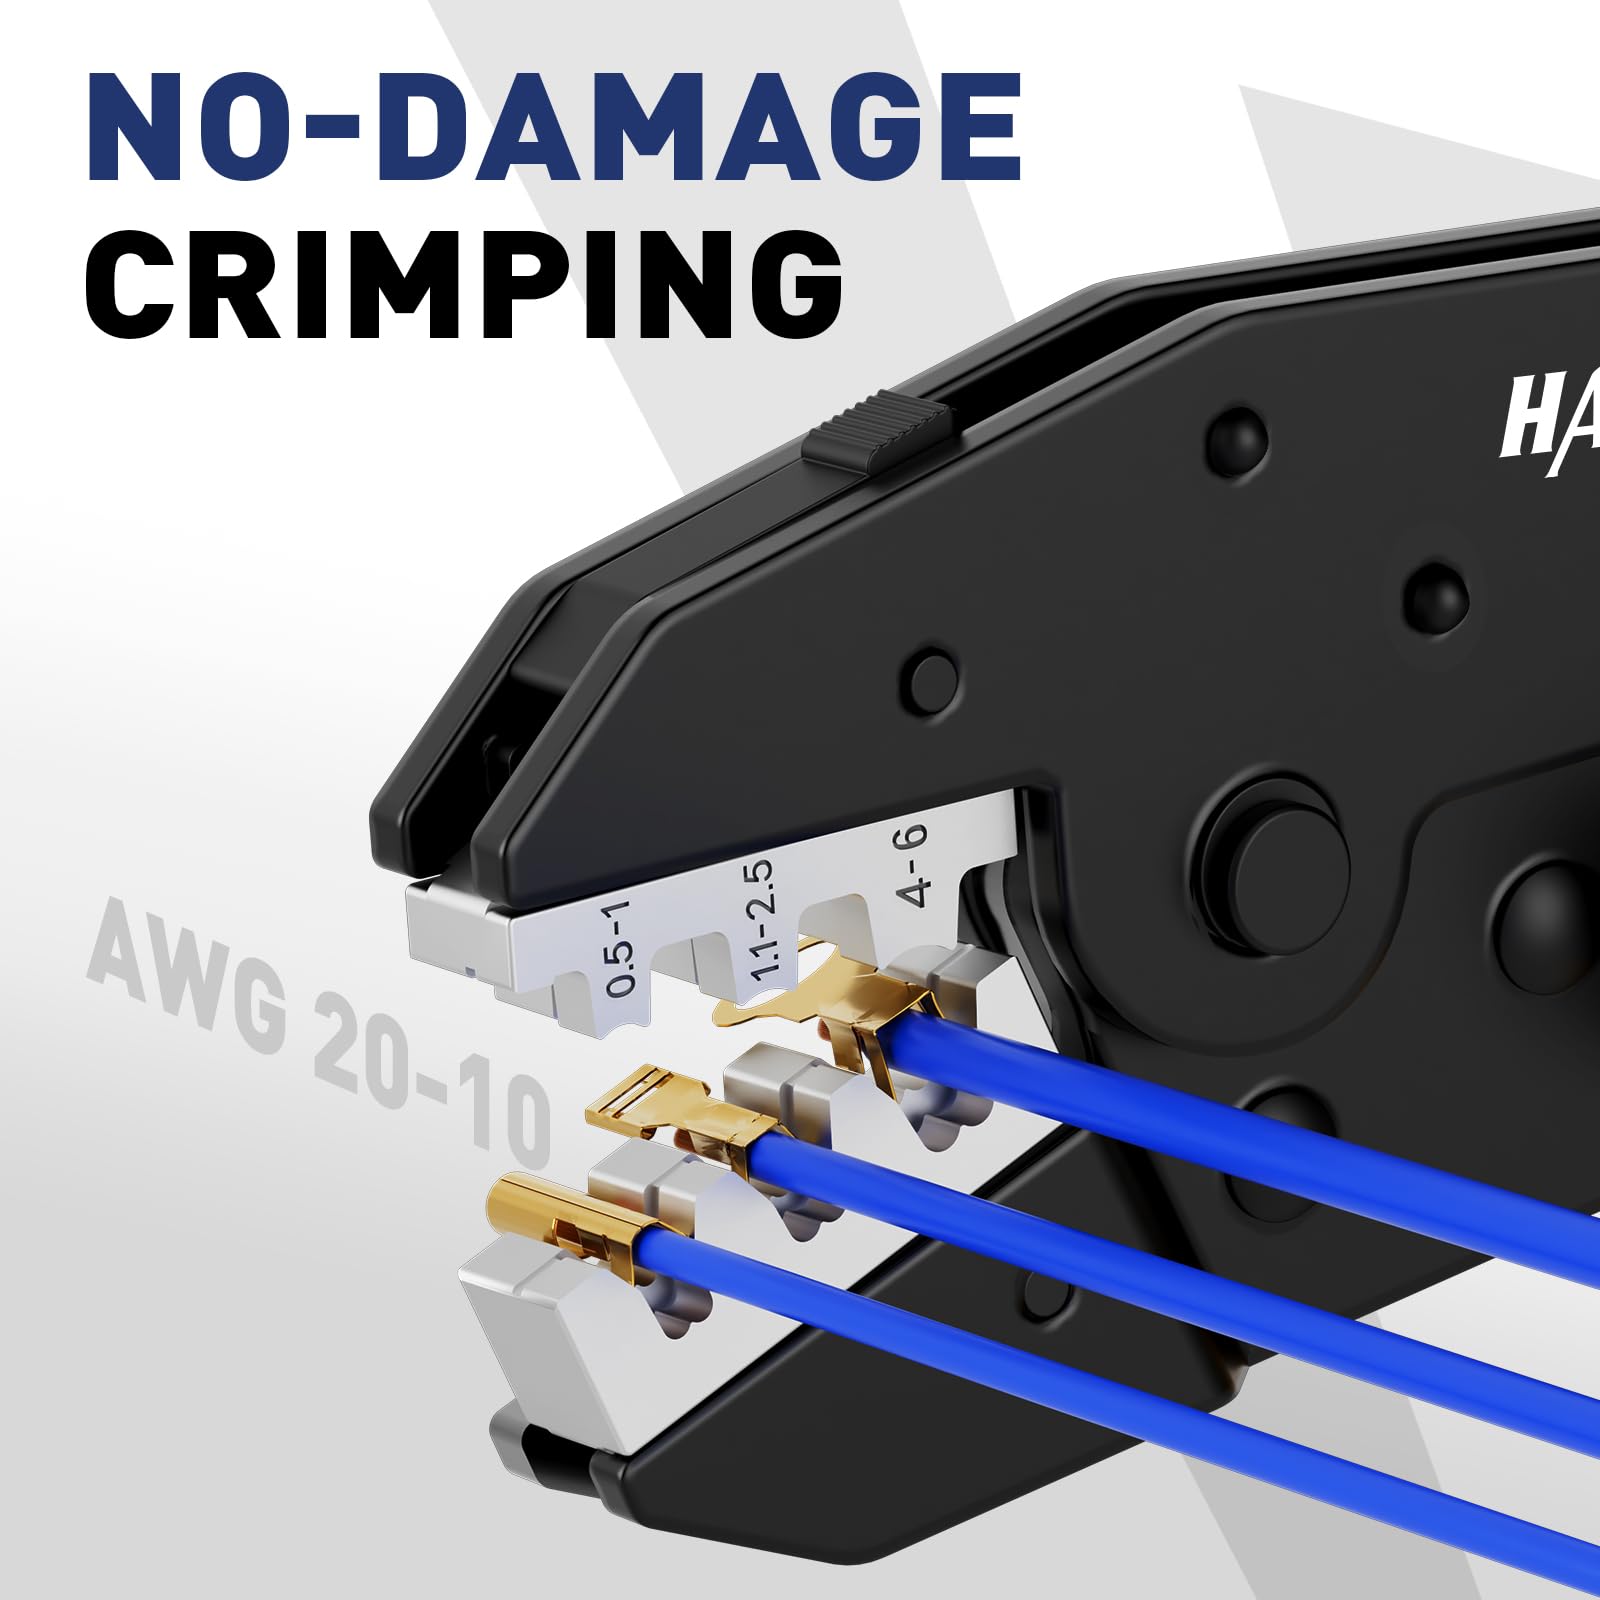
コネクタとアクセサリ:ケーブル本体に加え、照明器具をケーブルに接続するためのコネクタも必要です。景観照明用コネクタとして最適なのは、防水シールが確実に施されたコネクタです。ピアスコネクタ(ケーブルにクランプして絶縁体を貫通させる)、シリコングリースを充填したツイストオン式の景観照明用コネクタ、圧着式の熱収縮バットコネクタなどがあります。耐久性を求めるプロの多くは、ジェル入りワイヤーナットや耐湿性に優れた特殊低電圧コネクタを好みます。また、絶縁体をきれいに剥がすための高性能ワイヤーストリッパー、そして必要に応じてトレンチャーツールや平型スコップも用意しましょう。これらのツールは設置を容易にし、設置中にケーブルを保護します。
ゲージ、材質、そして適切なアクセサリーを考慮することで、ニーズに合った最適な景観照明用ワイヤーをお選びいただけます。多くの住宅所有者にとって最適な選択肢は、純銅製の14/2ランドスケープワイヤーです。これは、ほとんどの庭の照明設備に使用できる汎用性の高い中間的な選択肢です。広い敷地や多数のライトを並べる場合は、安心して使用できる12/2低電圧ランドスケープワイヤーにアップグレードしてください。安全性と品質を常に最優先に考えてください。信頼性の高いケーブルは、照明の暗さや将来のメンテナンスの手間を軽減します。

FAQ(よくある質問)
Q1: 低電圧の景観照明にはどのゲージの電線を使用すればよいですか?
A1:照明が変圧器からどのくらい離れているか、およびシステムの合計ワット数によって異なります。平均的な広さの庭では、 14 ゲージの電線(14/2) が最も一般的です。中程度のワット数で最長約 100 フィートまでの配線をサポートします。長距離 (100 ~ 200 フィート以上) または高負荷の場合は、 12 ゲージの電線(12/2) を使用します。これは、太い導体により電圧降下が少なく、より多くの電流を流せるためです。一部の小型ライト キットでは16 ゲージの電線が使用されていますが、これは短距離 (LED 器具が数個で約 50 フィート未満) にのみ適しています。つまり、景観照明にはどのサイズの電線を使用するかということです。長距離または高負荷の配線には 12 AWG、その他のほとんどの設置には 14 AWG を使用し、非常に短い距離を除いて 16 AWG より細い電線は使用しないでください。迷った場合は、太いゲージを選択すると、景観照明が暗くならずに明るく照らされます。
Q2: 景観照明用の配線はどのくらいの距離まで配線できますか?
A2:低電圧の景観照明用配線を、照明が暗くなり始めるまでに配線できる距離は、電線のゲージと負荷によって異なります。たとえば、 14/2 の景観用電線では、通常、最大 90 ワットの電力を安全に約 100 フィート配線できます。より太い12/2 電線では、同じ負荷を約 200 フィート以上、大きな電圧降下なく配線できます。LED 器具はワット数が低いため、同等の旧式のハロゲン システムよりも長く配線できます。さらに長く配線する必要がある場合 (私道が長いなど)、さらに太い10/2 ゲージの電線にアップグレードするか、配線を 2 つに分割してそれぞれをトランスに直接配線します (「T」字型またはハブ レイアウトを形成)。必ず電圧降下チャートを参照してください。多くのメーカーの Web サイトには、シナリオでの最大配線を計算するための景観用電線の長さチャートが掲載されています。正しいゲージを使用し、ケーブルの長さを管理することで、低電圧ワイヤを 100 フィート以上 (場合によっては 10 AWG で 250 ~ 300 フィート) 配線でき、それでもラインの終端で適切な照明が得られます。
Q3: 低電圧の景観配線を電線管に埋め込む必要がありますか?
A3:いいえ、直接埋設する景観照明ケーブルには電線管は必要ありません。標準的な低電圧ケーブルは、土壌またはマルチ下に直接埋められるよう絶縁材を使用して設計されています。実際、米国電気工事規程では、低電圧景観電線 (30V 以下) は電線管なしで少なくとも 6 インチの深さまで埋められると規定されています。とはいえ、可能な限り電線を保護することをお勧めします。歩道や車道の下の電線管スリーブに通して耐久性を高めたり、特定の場所で電線を地表に出さなければならない場合は電線管を使用したりできます (見た目をすっきりさせ、保護するため)。ただし、一般的に、景観電線を約 6 インチまで埋めれば、ほとんどの園芸工具から安全であり、直接埋設の規程を満たしています。浅い溝の場合でも、掘る前に必ず 811 (ユーティリティ位置検索) に電話してください。また、偶発的な損傷を防ぐため、根の近くや通行量の多い掘削エリアに電線を埋めるのは避けてください。要約すると、景観低電圧配線は地面に直接埋め込むことを目的としており、導管は必要ありません。直接埋設定格のケーブルであることを確認し、適切な深さに埋めるだけです。
Q4: 景観照明の配線を接続または接合するにはどうすればよいですか?
A4:低電圧の景観配線を接続する場合 (たとえば、器具を追加したり、切れ目を修復したりする場合)、必ず直接埋設可能な防水コネクタを使用してください。まず、接続する各配線端から絶縁体を約 1/2 インチ剥がします。次に、次のいずれかを使用します。(a)ジェル充填ツイスト コネクタ(一般に景観配線ナットと呼ばれます) - 配線を挿入してコネクタをねじり、シリコン グリースで密封します。または、(b)圧着式熱収縮コネクタ- 配線をバット コネクタに挿入して圧着し、チューブを熱収縮させて湿気を遮断します。どちらの方法でも、地中に埋設しても安全な、安全で絶縁された接続が作成されます。配線を電気テープで巻いたり、標準的な乾燥場所用配線ナットを使用したりしないでください。これらは湿気にさらされると機能しなくなります。適切に行われれば、接続は問題なく、回路の導通を維持できます。多くの景観照明システムでは、メインラインを切断することなく新しい器具を接続できるピアスコネクタが使用されています。これは便利ですが、ピアスコネクタの挿入部は確実に密閉されます(ゲル絶縁材が内蔵されているものもあります)。配線作業を行う前に、必ずトランスの電源を切るか、プラグを抜いてください。適切な防水タイプの景観配線コネクタを使用すれば、システムの拡張や修理の際に、安心して配線を接続できます。
Q5: 屋外の景観照明を配線する際に避けるべきよくある間違いは何ですか?
A5:注意すべき落とし穴がいくつかあります:
-
不適切なゲージの電線の使用:電線のサイズが小さすぎる(AWGが高すぎる/細い)と、電圧降下により遠くの照明器具の明るさが著しく低下することがあります。必ず推奨ゲージ以上の電線を使用してください(例えば、16AWGで150フィート(約45メートル)を照射するのは避け、12AWGを使用してください)。
-
変圧器の容量超過:すべての電球/LEDのワット数を合計し、変圧器の定格ワット数の約80%を超えないようにしてください。過負荷をかけると、ブレーカーが落ちたり、変圧器が焼損したりする可能性があります。大規模な設置の場合は、複数の変圧器を使用するか、ワット数の高い変圧器を使用してください。
-
接続不良:前述の通り、接続部の防水処理を怠ったり、脆弱なコネクタを使用したりすると、腐食や電圧低下につながる可能性があります。景観照明用の適切な配線コネクタに投資し、しっかりと接続するようにしてください。また、銅線を露出させすぎないようにしてください。これは、ショート(特に配線が接触した場合)や腐食の進行を早める可能性があります。
-
電圧降下を考慮していない:長い配線に照明器具を多数取り付けると、最後の照明器具が暗くなってしまうことがあります。これは、太いワイヤーを使用するか、配線を分割することで解決できます。長い配線を最小限に抑えたランドスケープ照明の配線レイアウト(広い庭の場合はハブ型またはスター型のレイアウトを使用)は、より均一な照明を実現します。
-
浅い埋設または保護されていない低電圧電線:低電圧電線は感電の危険はありませんが、地表直下であればシャベルや芝生エアレーターで切断される可能性があります。造園用の低電圧電線は、約15cmほど深く埋めるか、または危険な場所から離れた場所に配線してください。マルチベッドの場合は、少なくともマルチの下にしっかりと隠してください。建物や木に沿って配線する場合は、電線をクリップで固定して整理し、つまずく危険を回避してください。
これらの間違いを避けることで、景観照明の配線は安全かつ長持ちし、屋外スペース全体に均一な照明を提供できるようになります。
景観照明をアップグレードする準備はできていますか?(購入情報)
- 高品質の電線を選ぶことは、屋外照明への最高の投資の一つです。信頼性の高いオプションをお探しなら、 Haisstronica 14/2低電圧ランドスケープ電線をご検討ください。最高の導電性を実現する純銅導体と、全天候型耐久性を実現する丈夫なPVCジャケットを採用しています。このランドスケープ電線14/2ケーブルはUL規格適合で、直埋設にも対応しており、通路灯やスポットライトなどの接続に最適です。長さは200フィート、250フィート、500フィートと便利な長さをご用意しておりますので、あらゆる規模のプロジェクトに対応できます。14 /2低電圧ランドスケープ照明電線をこちらからご購入いただき、設置を始めましょう。適切な電線があれば、安全で耐久性に優れた美しい低電圧照明で、お庭を美しく変身させることができます。楽しい照明体験を!