
Haisstronica · Saltwater buying guide
Your marine kit buying checklist
- Exposure: splash, salt spray or immersion?
- Fit: AWG + both jacket diameters
- Seal: adhesive + sleeve recovery
- Solder: intact rings + instructions
- Installation: safe heat + strain relief
Buying rule: “premium,” “waterproof” and “marine-ready” are not interchangeable qualifications. Ask for the exact SKU’s applicable environmental, temperature and wire-range documentation. If it is missing, do not assume saltwater or submerged suitability.
1. Classify the saltwater exposure
| Location | Evidence needed | Buying path |
|---|---|---|
| Protected / occasional splash | Approved wire range, jacket fit, sealing and temperature limits | Compare a solder seal kit only if the complete installation meets those limits. |
| Repeated salt spray / washdown | Documented corrosion and exposure performance for the assembled system | Request specifications before choosing a marine-use connector. |
| Bilge water / immersion | Explicit suitability for the liquid, depth, duration and installation | No generic solder seal recommendation. Relocate the splice or specify an approved system. |
An IP rating describes defined ingress-test conditions; it is not a blanket saltwater-corrosion or permanent-submersion guarantee. For example, TE’s connector specification treats salt spray and water immersion as separate tests. Those results do not certify a different connector.
2. Inspect adhesive, shrink recovery and solder
Adhesive: seal both jackets
Look for two intact sealing bands, clean tubing and documented compatibility with the wire insulation. Both bands must land fully on undamaged insulation after assembly. More visible glue alone does not prove a durable seal.
Review the dual-seal kit and its specifications →3:1: verify the connector sleeve itself
A shrink ratio describes nominal diameter recovery—not a saltwater rating. Check the sleeve’s actual supplied and recovered dimensions against both jackets. A bundle containing separate 3:1 tubing does not establish a 3:1 ratio for its solder seal connectors.
Check the listed sleeve construction; confirm your selected variant →Solder + flux: consistent construction, verified wetting
Reject cracked, displaced or contaminated rings. Use the specified preparation and heating process, then verify solder has flowed onto both conductors. Ring size or surface shine alone cannot establish joint quality.
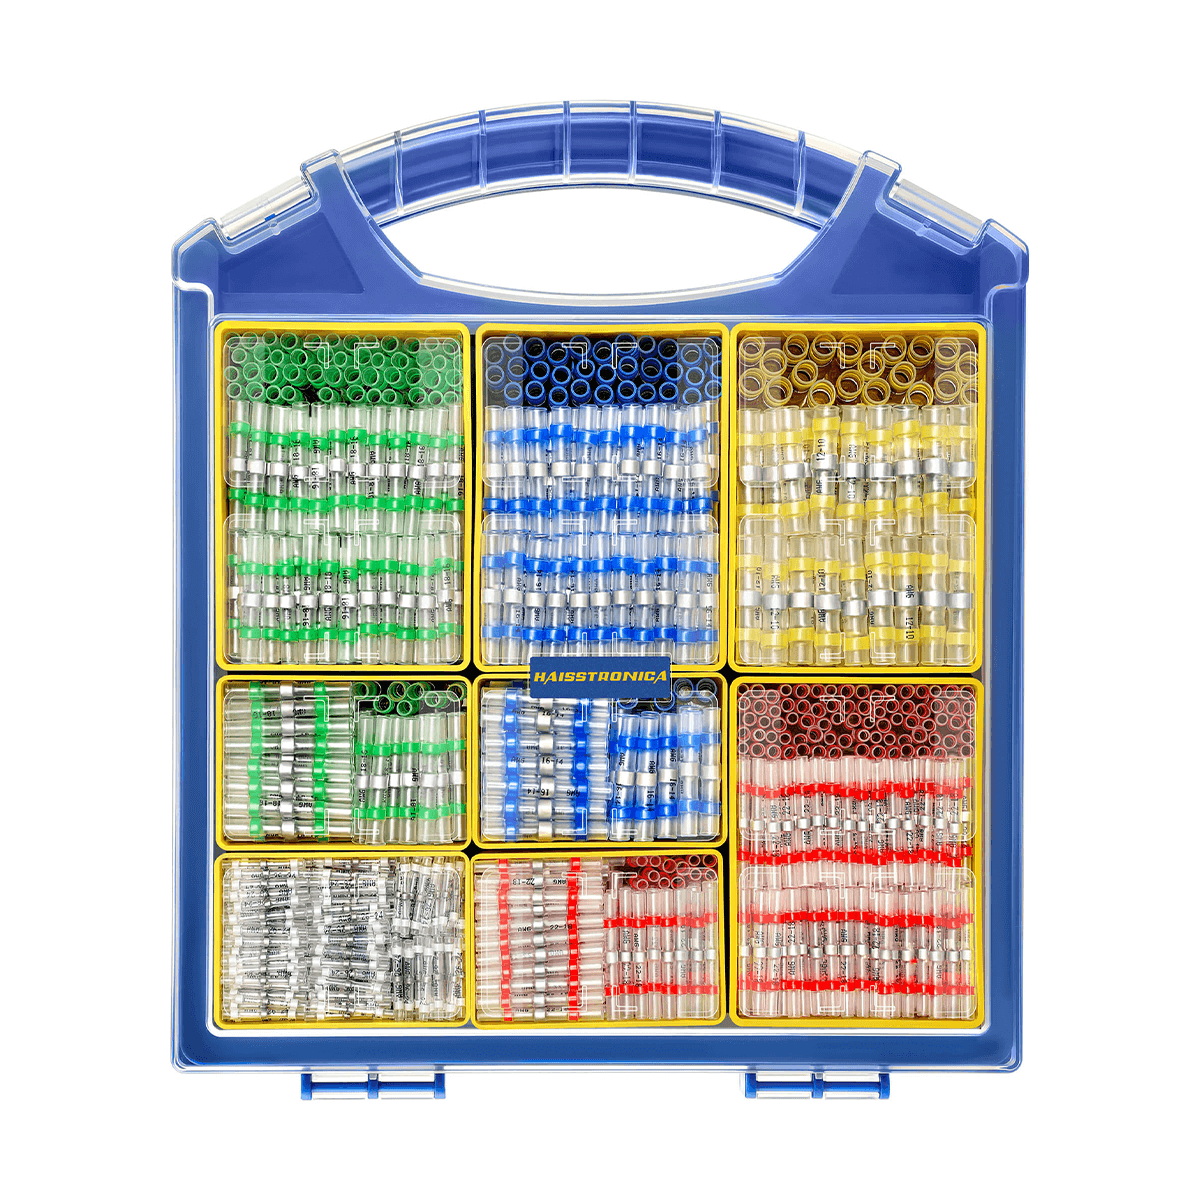
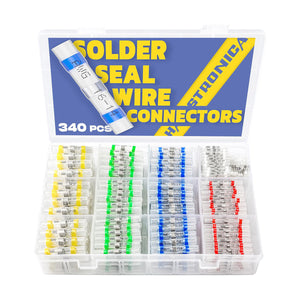
Review the 340PCS mixed-gauge organizer →3. Match AWG and thick insulation separately
Choose by conductor range first, then check jacket fit. These four ranges are listed for the linked AWG 26–10 assortment; always confirm the selected pack’s chart. Color alone is not a sizing specification.
| Sleeve color | Listed AWG | Size / refill path |
|---|---|---|
| White | 26–24 | Review white pack |
| Red | 22–18 | Review red pack |
| Blue | 16–14 | Review blue pack |
| Yellow | 12–10 | Review yellow pack |
| Fit problem | What to verify | Next step |
|---|---|---|
| Same AWG, thicker jacket | Supplied sleeve diameter clears the insulation | Find a documented sleeve geometry within the correct conductor range. |
| One jacket is thinner | Recovered diameter and adhesive can seal both sides | Use a manufacturer-approved size or transition method. |
| Neither side fits correctly | Wire range, overlap and seal-band positions | Stop. Do not upsize by color alone or add improvised shims. |
Changing gauges · Protected repairs
Keep the useful sizes organized
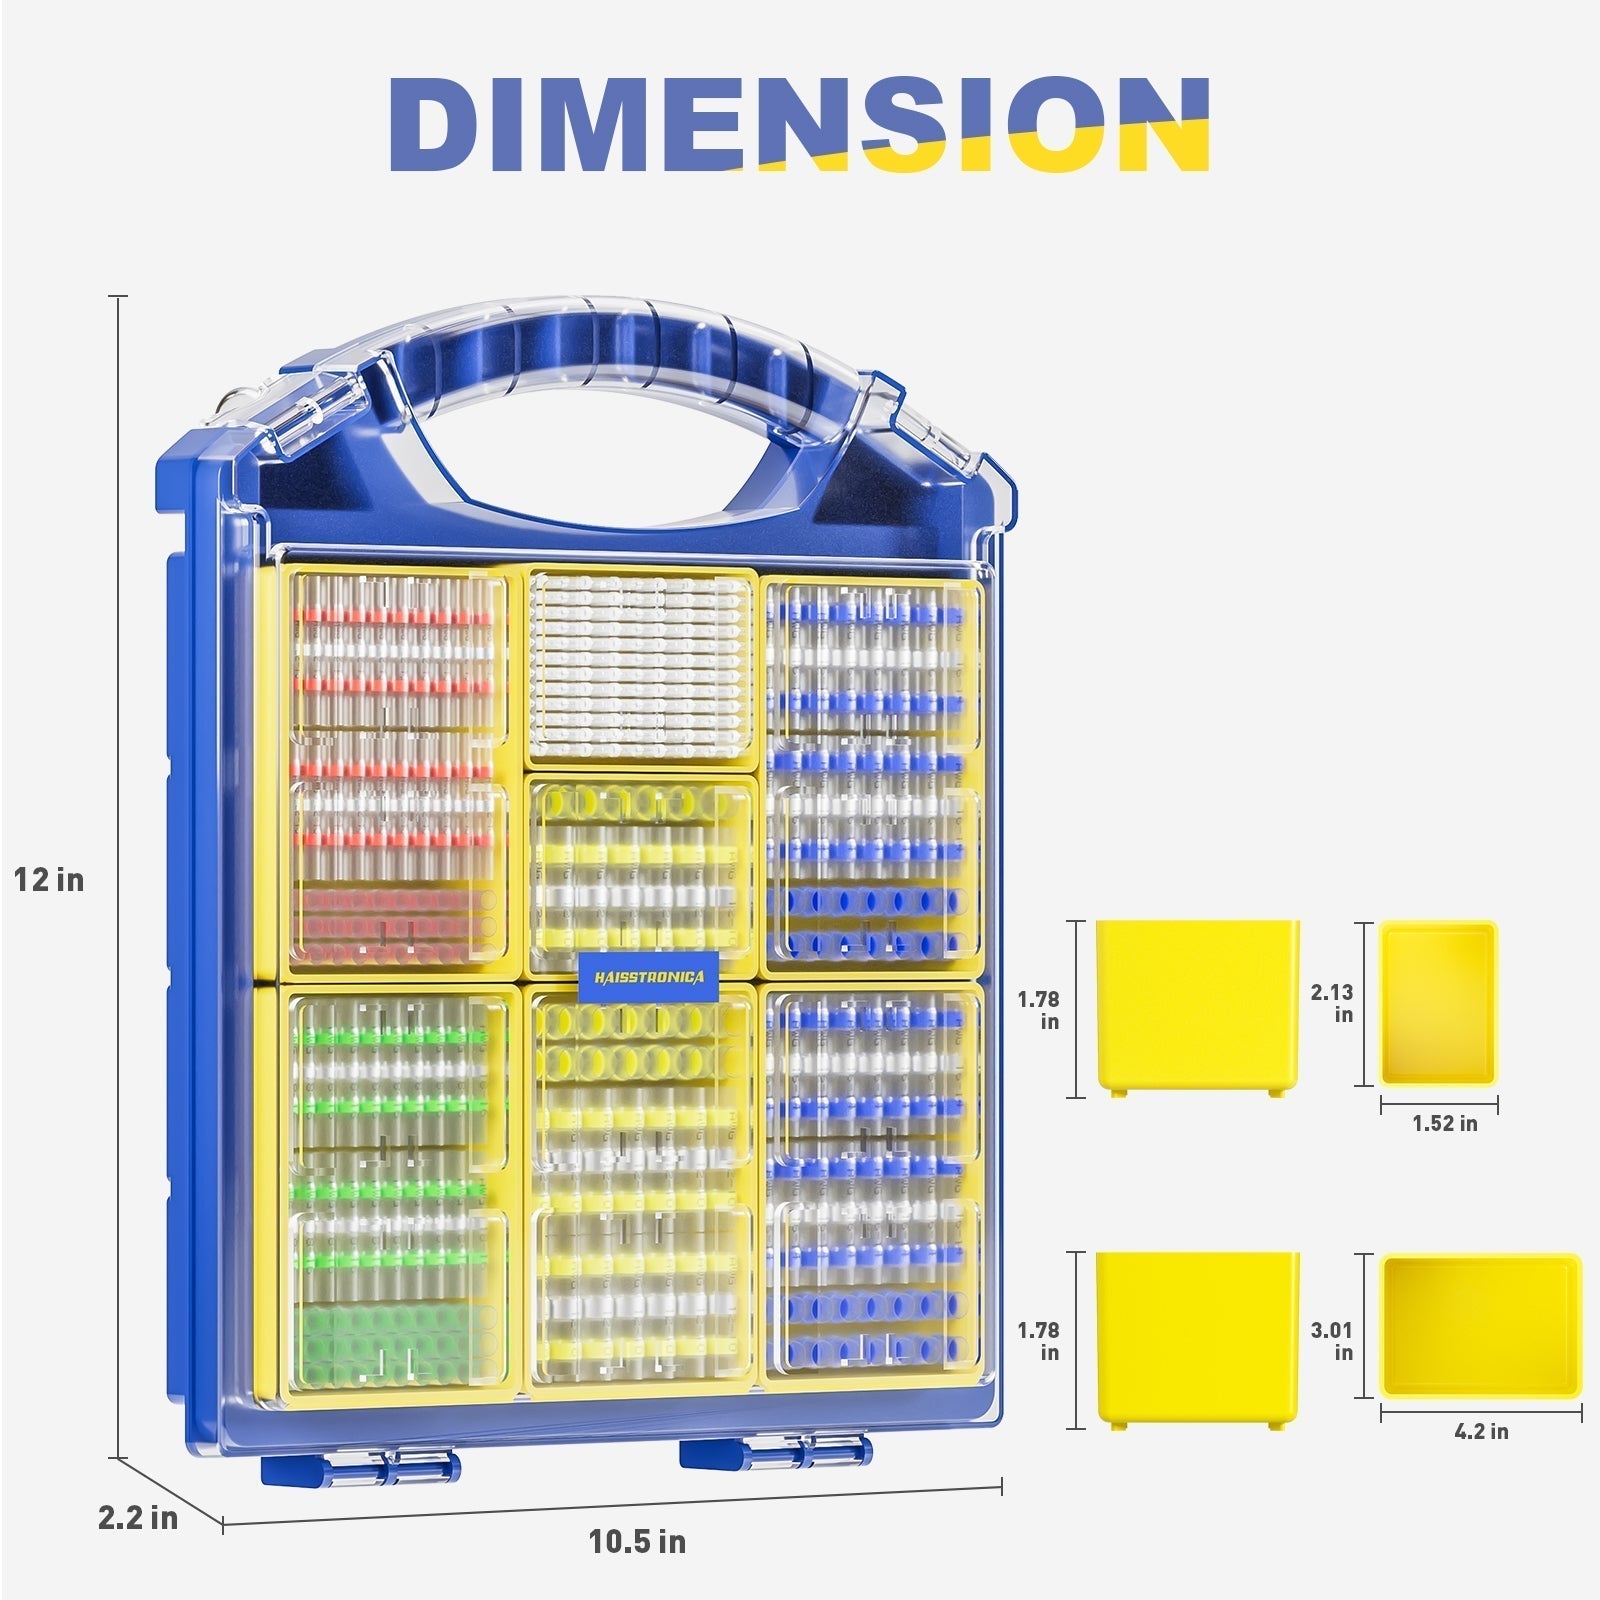
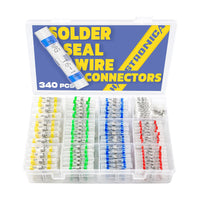
The 340PCS AWG 26–10 kit is a mixed-gauge buying candidate when its specifications match the job. Check each color’s quantity against your workload; total piece count is not a marine qualification.
Review the 340PCS Kit →
4. Check the heat source and working space
Disconnect and verify the circuit is de-energized. Work in a dry, ventilated area free of fuel vapors or other flammable atmospheres. Do not use an ordinary heat gun in a hazardous bilge space or substitute an open flame. If safe heat access is impossible, change the location or have a qualified marine electrician specify another termination method.
Already have connectors?
Mini Heat Gun 350W
The listed 110V tool has 250°C / 400°C settings. These are tool settings—not a splice temperature or universal installation recipe. Verify supply compatibility and follow the connector’s heating instructions.
Review Mini Heat Gun →
Starting without a heat source?
Compare an All-in-One organizer
Review the heat gun, connector assortment and separate 3:1 heat shrink tubing together. Confirm each component’s own ratings; extra tubing does not upgrade a connector to marine or submerged service.
Review All-in-One Kit →
5. Validate the installation before service
- Trial-fit: use the specified strip length and conductor arrangement. Center the solder ring and position both adhesive bands on intact insulation.
- Heat as instructed: verify solder flow and sleeve recovery without scorching, splitting or damaging adjacent insulation.
- Cool undisturbed: inspect both ends for a continuous seal, no exposed strands and no visible gaps.
- Support and test: apply the manufacturer’s mechanical and electrical acceptance checks; support the harness so the rigid splice is not a flex point.
- Route and recheck: keep connections away from water traps and chafe, then inspect after initial service and periodically thereafter.
A visual check or hand tug is not a saltwater qualification test. For battery, starter, windlass or inverter feeds, safety-critical circuits, continuous flex or unavoidable immersion, use the vessel manufacturer’s approved connection system and qualified installation guidance.
Choose by scenario—not by “marine grade” on the box
Saltwater · Repeated spray
Require exposure evidence first
Check corrosion resistance, sealing conditions and the complete installation. Browse waterproof wiring options to compare specifications—not as proof that every item is saltwater-approved.
Bilge · Standing water or immersion
No generic kit recommendation
Move the splice above the wet zone where possible. Otherwise specify a system explicitly rated for the actual exposure. Neither a “waterproof” label nor additional heat shrink establishes that suitability.
Occasional splash · Protected route
Compare useful gauges and sealing fit
Once wire, environment and installation requirements pass, compare the 340PCS mixed-gauge kit or an All-in-One kit if you also need a heat source.
Frequently asked questions
Does 3:1 mean better saltwater protection?
No. It describes nominal diameter recovery. Correct conductor fit, adhesive compatibility, installation and documented environmental performance still matter.
Is every solder seal kit marine grade?
No. Evaluate the exact part and application. This guide does not designate the linked general-purpose kits as certified for salt spray, bilge immersion or compliance with a marine electrical standard.
Can extra tubing make an unsuitable connector suitable?
Not automatically. An additional layer has its own ratings and installation requirements; it does not replace qualification of the underlying splice.
Fit first · Exposure verified · Then buy
Build the kit around your actual repair
Compare gauge coverage, refill quantities and heat-source needs after confirming the connection is appropriate for its location.
Compare Solder Seal Kits →