
Choose by workload—not by the biggest price tag.
Start with the connector and wire gauge, then estimate how often you crimp. The right tool is the one that delivers a repeatable connection without adding unnecessary cost, fatigue, or setup time.
- 01Connector
- 02AWG range
- 03Crimp volume
- 04Die strategy
- 05Tool choice
A few repairs at a time
Choose a dependable ratchet crimper matched to your connector family and AWG range.
Start with a ratchet toolSeveral connector styles
Use a quick-change ratcheting system when one fixed die can no longer cover your work.
Compare multi-die optionsHigh repetition or large cable
Reduce changeover time first. Consider electric only when volume, gauge, or fatigue justifies it.
Check the powered-tool criteriaThe five-question path
Make the selection in the right order
Do not begin with manual versus ratchet versus electric. Begin with the connection you must make. Tool type is the final decision, not the first.
Name the connector
Heat-shrink terminal, insulated terminal, non-insulated terminal, ferrule, open barrel, or cable lug.
Confirm the AWG
Check the wire and connector specifications. A mismatched cavity can produce a weak or damaged crimp.
Count the work
Estimate crimps per repair, per day, and during your busiest batch—not only your average week.
Set priorities
Rank consistency, speed, hand fatigue, portability, and budget for your actual workflow.
Choose the dies
Use one matched die for one connector family; use a changeable system for mixed work.
Quick comparison
Manual vs ratchet vs electric crimpers
The most expensive tool is not automatically the best fit. Compare the control and workload each mechanism is designed to handle.
| Tool type | Best for | Consistency | Speed and fatigue | Cost and trade-off |
|---|---|---|---|---|
| Manual, non-ratcheting | Emergency use and very occasional low-risk work | Depends heavily on hand force and technique | Fast to pick up, tiring and variable over repeats | Lowest entry cost; easiest to under-crimp |
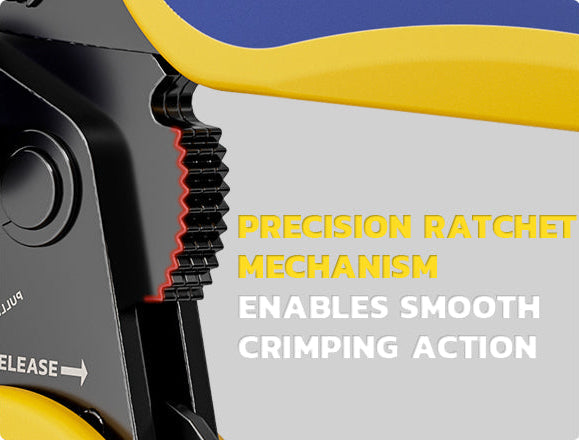
| Ratchet Best starting point | DIY, automotive, marine, trailer, and routine repairs | Controlled compression and repeatable release cycle | Good balance of pace, leverage, and portability | Moderate cost; die must match connector and AWG |
| Electric or powered | High-volume production or large-gauge cable work | High when the correct die and cycle are used | Fastest and lowest hand fatigue | Highest cost, more maintenance, often unnecessary for repair work |
Step 1
Match the connector and AWG before the mechanism
Connector family controls jaw geometry
Heat-shrink and insulated terminals need a different profile from ferrules, open-barrel terminals, or heavy cable lugs. A tool that closes firmly can still make the wrong crimp if the cavity shape is incorrect.
- Read the terminal packaging or manufacturer data.
- Confirm whether the insulation support must be crimped.
- Do not substitute pliers for a specified die profile.
AWG controls cavity size
The wire, connector barrel, and die cavity must agree. Too large a cavity leaves movement; too small a cavity can cut strands, split insulation, or deform the terminal.
- Verify conductor size, not insulation diameter.
- Use the color code only when it matches the connector standard.
- Pull-test a sample before repeating the job.
Step 2
Estimate crimp volume at the point of use
Count the full task: setup, die changes, repeated squeezes, inspection, and rework. The tool should reduce the bottleneck that actually costs you time.
Occasional DIY
A few crimps during a vehicle accessory, trailer light, speaker, or home-garage repair.
- Prioritize a matched ratchet die.
- Keep setup simple and portable.
- Do not pay for powered capacity you will not use.
Frequent repair work
Repeated jobs across several connector types, with consistency more important than the lowest purchase price.
- Prioritize repeatable pressure.
- Reduce die-change friction.
- Choose a system you can expand.
Batch or production work
Long runs, large cable, or daily repetition where hand fatigue and cycle time affect output.
- Measure crimps per shift.
- Compare powered-tool service and calibration.
- Confirm the exact die inventory before buying.
Step 3
Single die or multi-die system?
Choose one matched die when…
- Most work uses one connector family.
- Your AWG range is stable.
- You want the fastest, least confusing setup.
- A dedicated tool can stay calibrated for one job.
Choose interchangeable dies when…
- You move between insulated, non-insulated, ferrule, or other connector families.
- Multiple technicians share one field kit.
- Changeover speed matters more than owning separate handles.
- You can label and store each die correctly.
Matched product paths
Three Haisstronica routes for hand-crimping work
These paths cover the most common DIY and repair needs. Select by connector coverage, not by the number of pieces in the box.
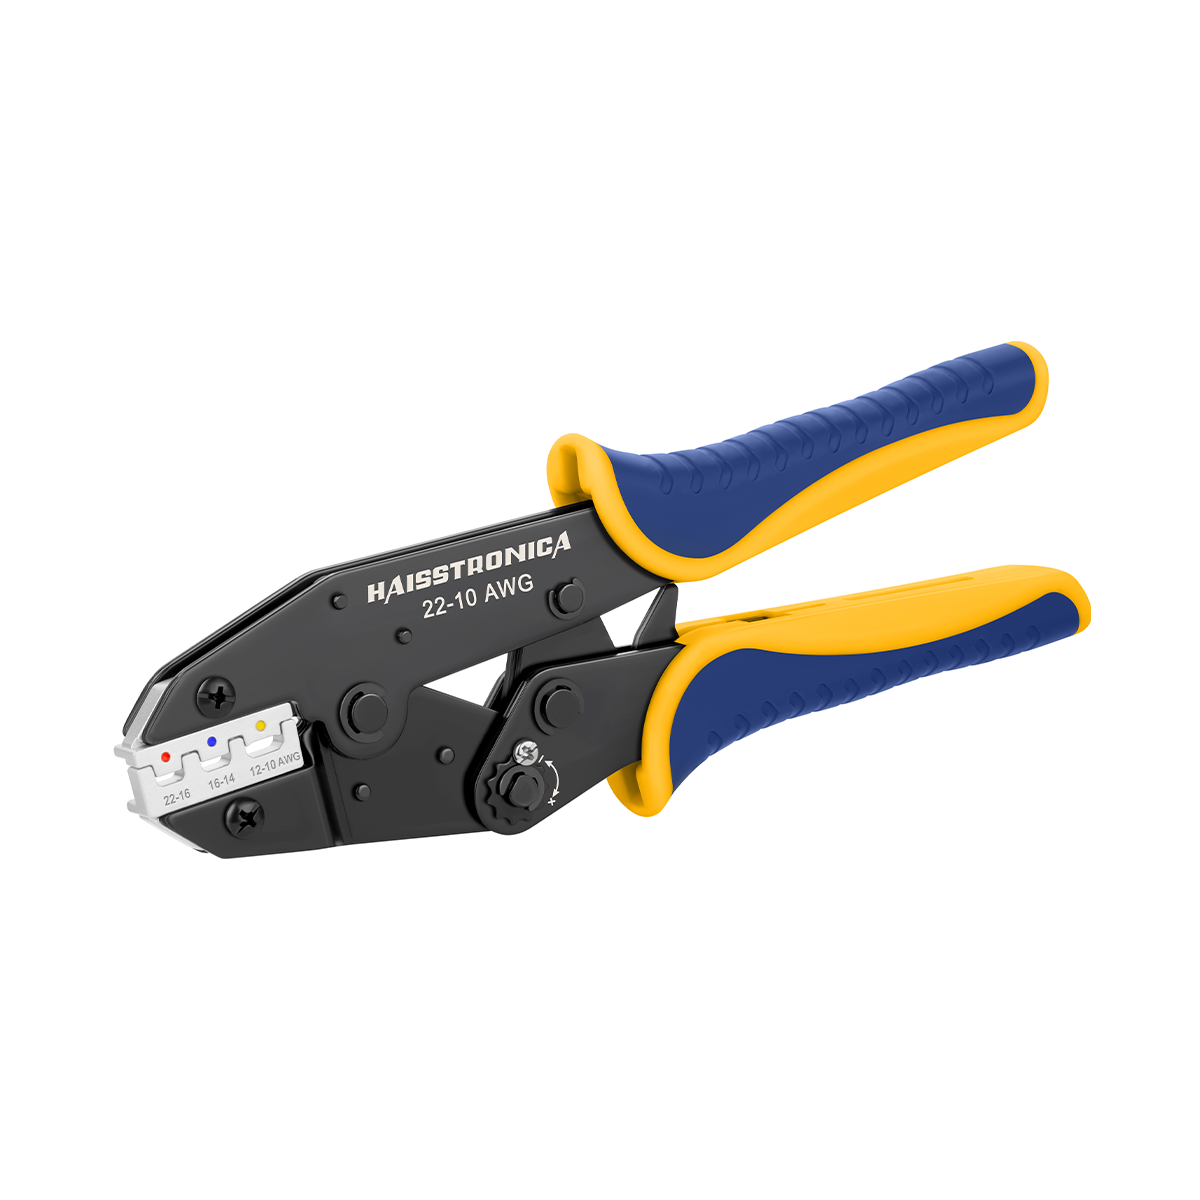
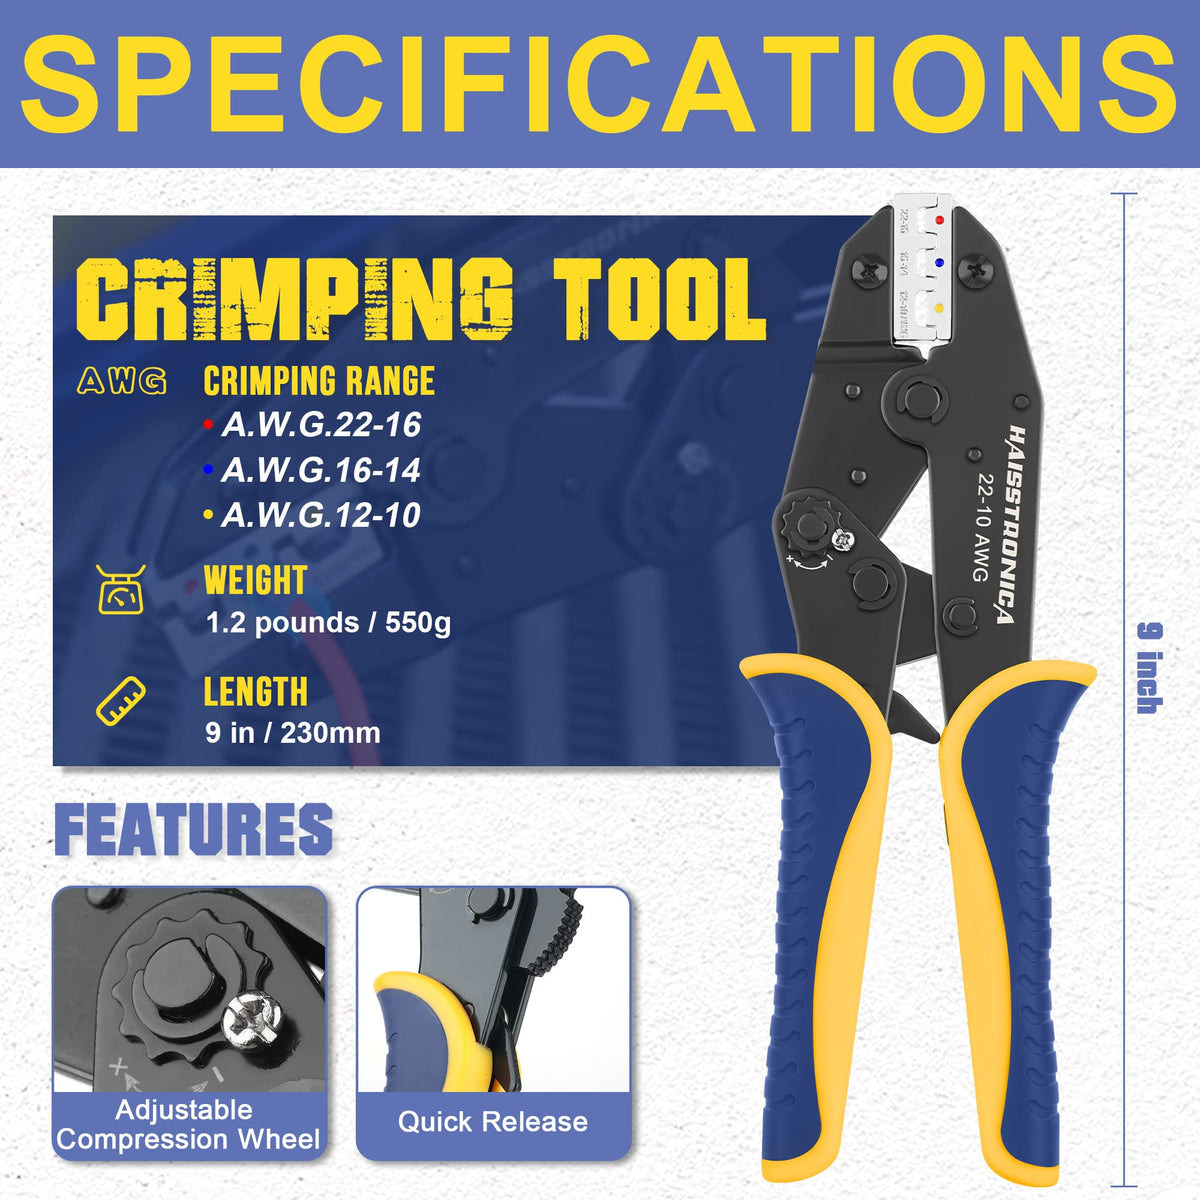
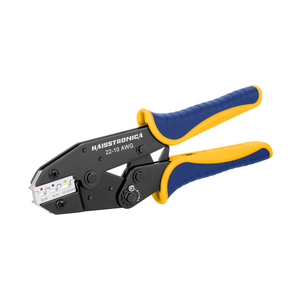
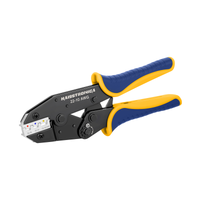
Ratchet Wire Terminal Crimper
A focused starting point for AWG 22–10 heat-shrink terminals when you want repeatable pressure without managing multiple dies.
- Dedicated connector workflow
- Portable and beginner-friendly
- Lower setup complexity
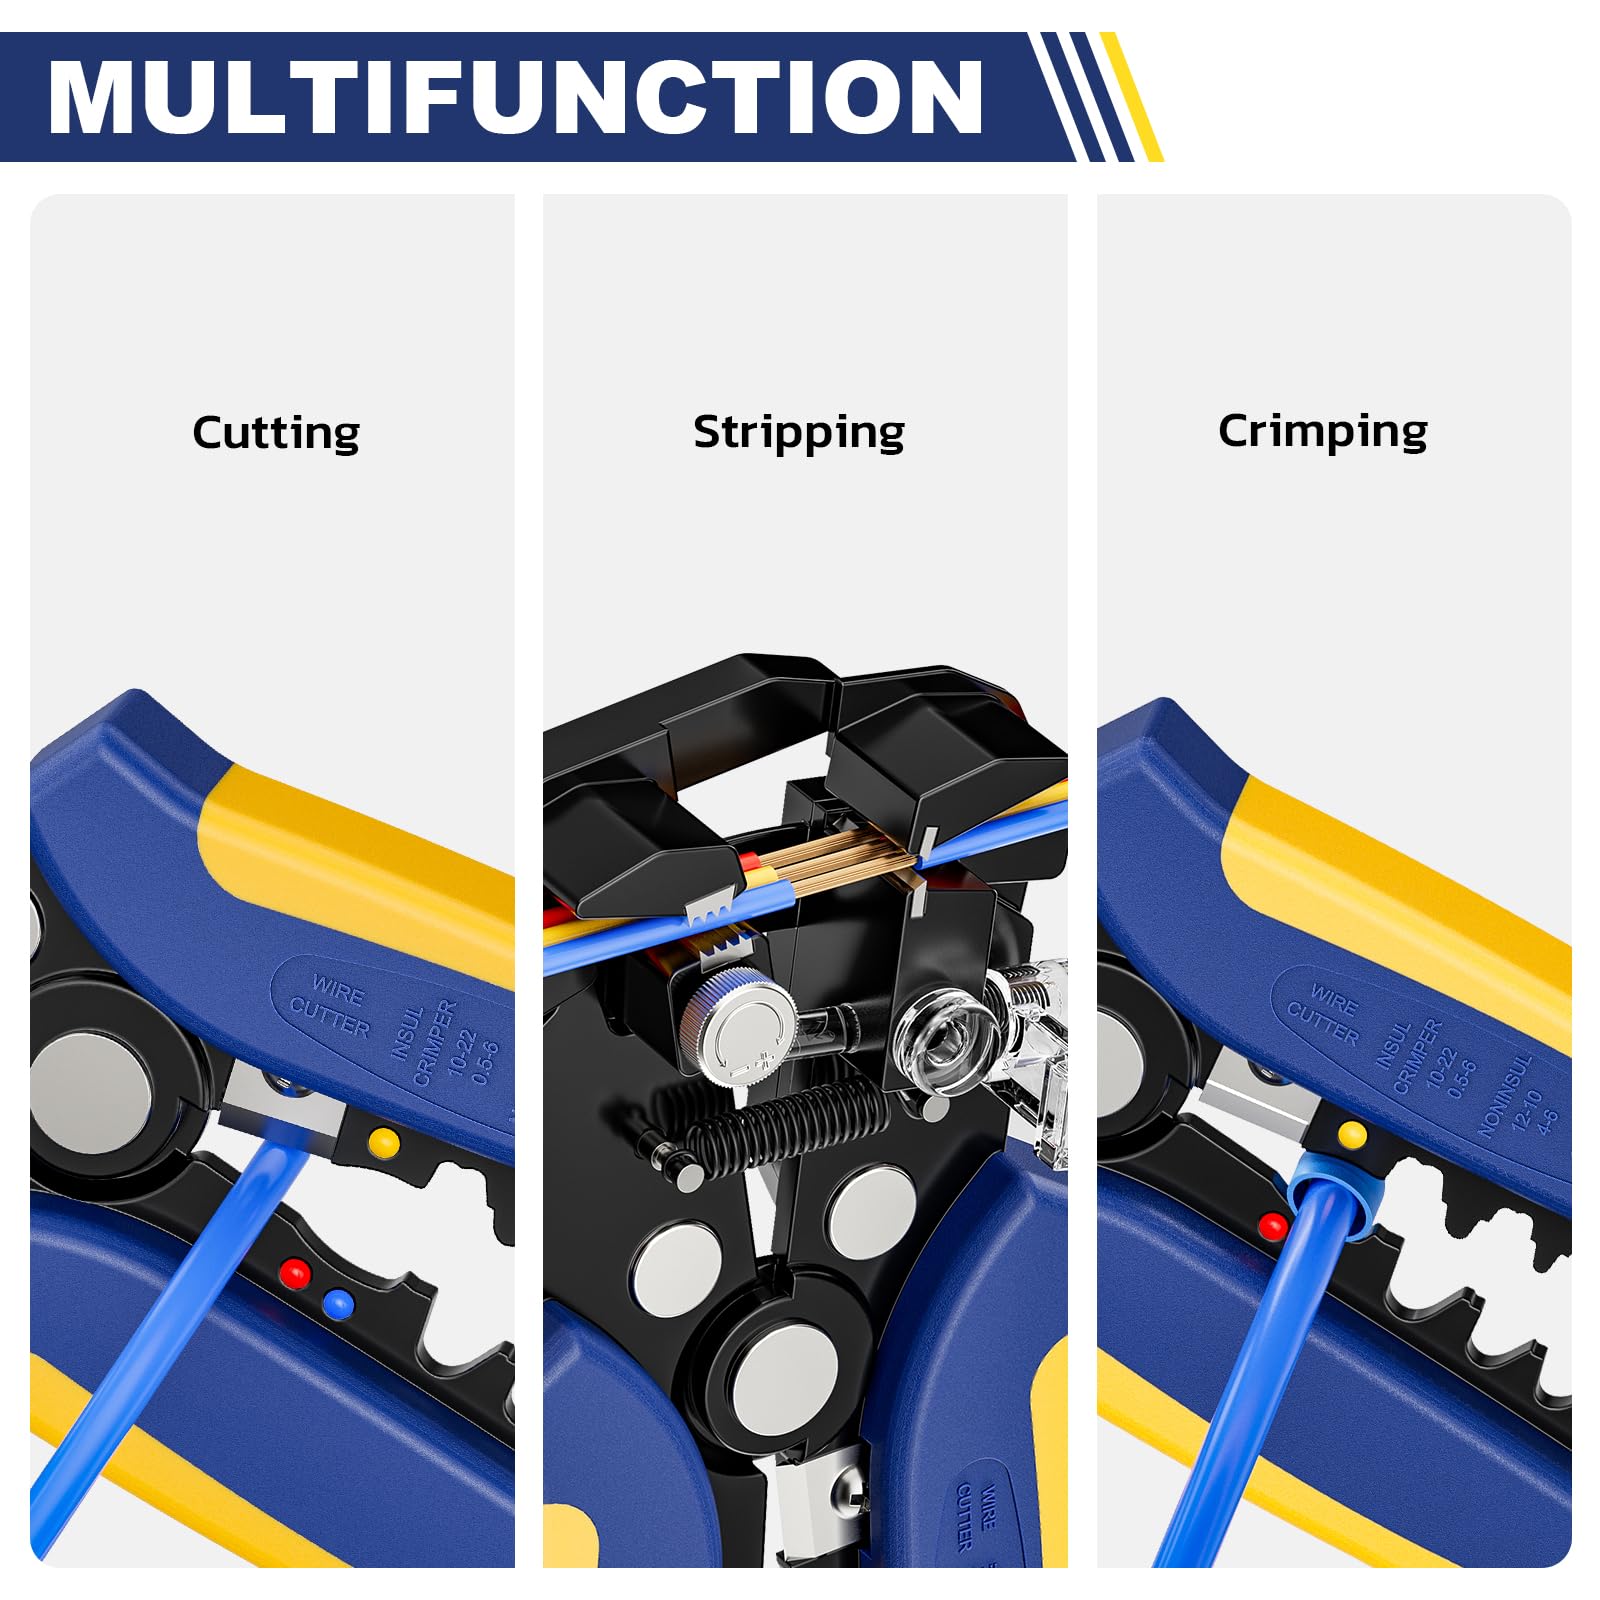
6-in-1 Ratcheting Tool
A quick-change approach for technicians and advanced DIYers who move between connector styles and want one familiar ratchet handle.
- Tool-free jaw changes
- Less duplication in the tool bag
- Better fit for varied repairs
8PCS Rapid Replace Set
A wider rapid-change die set for users who already know they need multiple crimp profiles and want the dies organized as one system.
- Broader connector coverage
- Faster changeover between jobs
- Built for repeat mixed-terminal work
When should you consider an electric crimper?
Choose powered equipment only when your workload proves the need. Haisstronica does not need to force a product recommendation where the store does not offer a verified match.
- Daily volume is high enough that hand fatigue affects quality or output.
- The cable gauge or terminal requires force beyond practical hand-tool use.
- You can verify die compatibility, calibration, service, battery support, and safety procedures.
- The time saved is worth the higher purchase and maintenance cost.
Before repeating the job
Use a six-point crimp quality check
FAQ
Common crimper selection questions
Is a ratchet crimper better than a manual crimper?
For most electrical connector work, a ratchet mechanism is easier to repeat because it controls the compression cycle. A basic non-ratcheting tool can still suit rare emergency work, but results depend more on hand force and technique.
Do I need an electric crimper for automotive wiring?
Usually not. A correctly matched ratchet crimper covers many automotive, marine, trailer, and home-garage terminals. Consider powered equipment for sustained volume or large-gauge work after verifying the correct die and service requirements.
Should I buy one crimper or an interchangeable-die kit?
Buy one dedicated crimper when most jobs use the same connector and AWG range. Choose interchangeable dies when mixed connector families are a normal part of your workflow, not a hypothetical future need.
Can one die crimp every connector with the same AWG?
No. AWG is only one part of the match. Connector barrel shape, insulation support, and terminal design also determine the required die profile.
How do I know a crimp is good?
Confirm correct strip length, full insertion, the matched cavity, a completed cycle, a clean visual result, and a successful pull test. Follow the connector manufacturer’s specification whenever it is available.
Choose the tool after you define the connection.
Browse the full wire-crimper range, or use the Pro Solutions path when your work spans multiple connector families and repeat jobs.