Match cable, terminal and boot
Slide the boot on first
Strip or fold the conductor
Position the terminal
Complete the double crimp
Seat the boot
Pull-test and ignition-test
Before you cut: confirm all four parts
The terminal must fit both the ignition cable and the plug or distributor post. Do not treat cable diameter, conductor style, terminal shape and boot angle as interchangeable.
| Check | What to confirm | Why it matters |
|---|---|---|
| Cable O.D. | Measure the actual outside diameter; this tool is intended for 8–8.5 mm terminals. | The jacket-support wings must wrap without cutting or remaining loose. |
| Conductor | Spiral-wound, suppression or solid-core construction. | The terminal maker determines whether the conductor is exposed, folded back or pierced. |
| Terminal | Plug/distributor end, male/female connection and compatible barrel. | A visually similar terminal can still have the wrong post or barrel fit. |
| Boot | Straight, 45° or 90° boot and correct end orientation. | The boot usually must be installed before the terminal is crimped. |

8.5 mm Spark Plug Ignition Terminal Ratchet Crimper
Its dedicated cavities support stripping and controlled terminal crimping for 8–8.5 mm spark plug wire. The ratchet helps complete the pressure cycle before release.
Shop the Dedicated Spark Plug Crimper →Step 1: match the wire, terminal and boot
- Measure the cable O.D. instead of relying on the box label alone.
- Confirm the terminal fits the plug or distributor post.
- Confirm the barrel and wings are designed for the cable diameter.
- Identify which end receives the straight, 45° or 90° boot.
Step 2: slide the boot on before crimping
Lubricate only if the boot or cable manufacturer recommends it. Slide the correct boot onto the cable in the correct direction and move it far enough away from the work area. This simple order prevents cutting off a finished terminal just to install a forgotten boot.
Step 3: prepare the conductor for the terminal design
Use the strip length specified for your terminal. Many spiral-wound ignition cables require the conductor to be folded back over the jacket before the terminal is installed; other systems use a different contact method.
- Make a clean, square cable cut.
- Strip only the required jacket length without nicking or pulling the conductor.
- Fold or position the conductor exactly as the terminal manufacturer specifies.
- Inspect the cable for torn insulation, loose strands or an uneven cut.
Step 4: place the terminal in the dedicated die
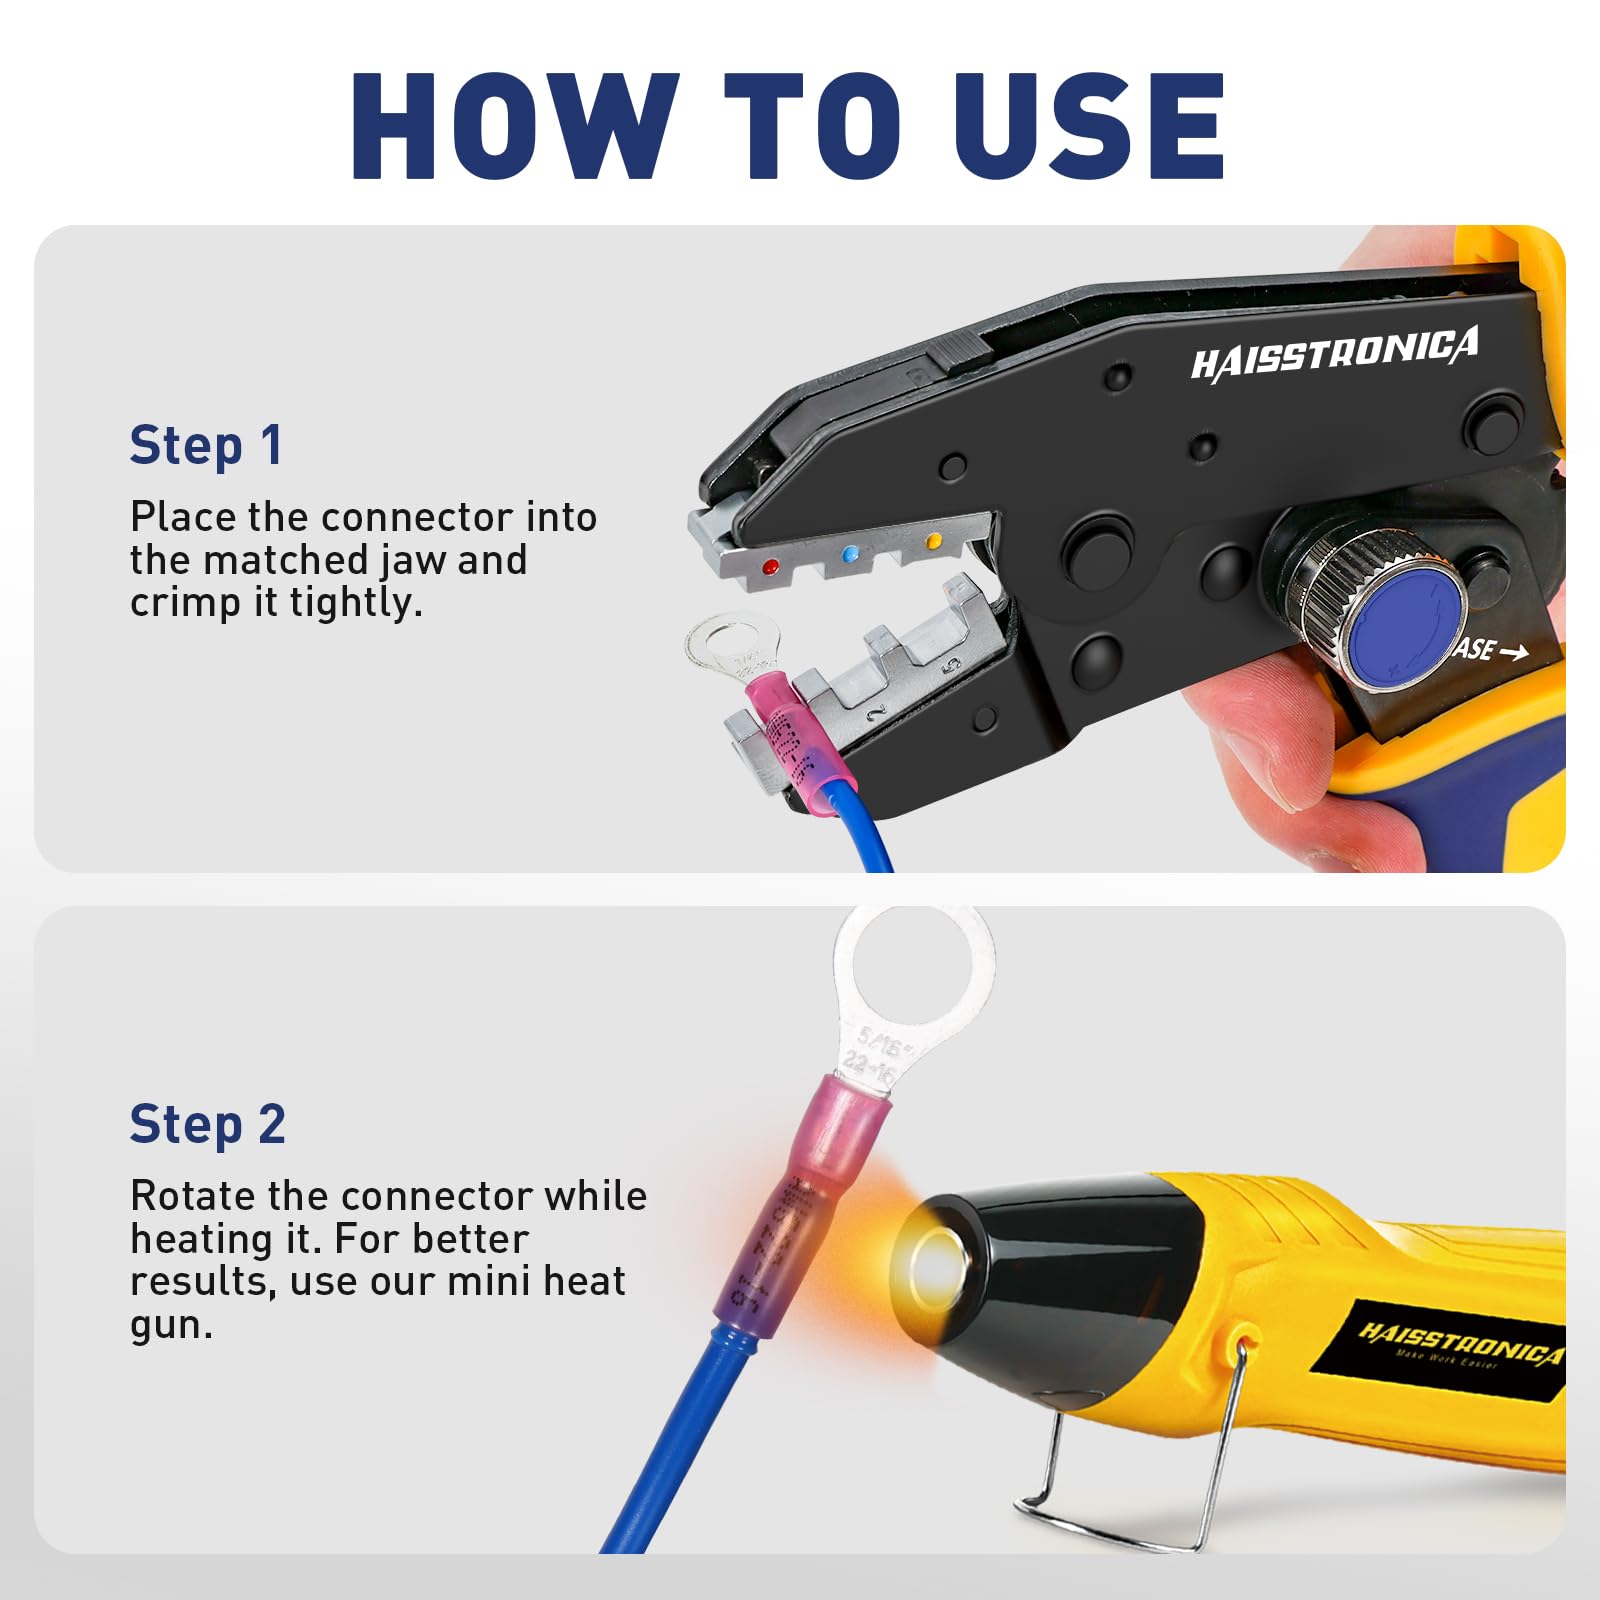
Seat the terminal so the conductor-contact area and jacket-support wings line up with the correct crimping zones. Pre-close the ratchet only enough to hold the terminal; do not deform it before the cable is fully inserted.
Step 5: complete the conductor crimp and jacket crimp
The finished connection needs two controlled gripping zones: electrical contact at the conductor and mechanical support around the cable jacket. Insert the prepared cable fully, verify alignment, then close the ratchet through its complete cycle.
Creates the electrical connection. Confirm the conductor is captured in the intended contact area.
Provides strain relief. Wings should wrap firmly without cutting deeply into the insulation.
Step 6: inspect the terminal and seat the boot
- Confirm the terminal is straight and the barrel is not split.
- Confirm the conductor is captured and cannot pull out of the contact area.
- Confirm the jacket wings provide strain relief without cutting the insulation.
- Slide the boot into its final position without twisting the terminal off-axis.
Step 7: pull-test, meter-test and ignition-test
Hold the terminal, pull the cable firmly and confirm nothing shifts.
Check continuity or resistance against the wire manufacturer’s specification.
After installation, verify stable ignition with no misfire, arcing or loose boot.
Common spark plug wire crimping mistakes
| Problem | What it causes | Corrective action |
|---|---|---|
| Using a general terminal crimper | Wrong wing shape or uneven pressure | Use a dedicated spark plug terminal die |
| Forgetting the boot | A completed terminal must be cut off | Slide the boot on before stripping |
| Guessing strip length | Poor contact or exposed conductor | Follow the terminal maker’s specification |
| Crimping only one zone | Weak electrical contact or no strain relief | Complete both conductor and jacket crimps |
| Skipping final tests | Hidden open circuit, high resistance or misfire | Pull-test, meter-test and run-test |
Frequently asked questions
No. Spark plug terminals use a different terminal shape and require a dedicated spark plug die to form the conductor and jacket-support crimps correctly.
Not always. Many spiral-wound systems use that method, but the terminal and cable manufacturer’s instructions control the preparation method.
The product is designed for spark plug terminals used with 8–8.5 mm ignition wire. Measure the actual cable and confirm terminal compatibility before crimping.
The terminal should be straight, both gripping zones should be formed, the jacket should not be cut and the connection should pass pull, electrical and running tests.
Build spark plug wire ends with the right crimper
Choose the Haisstronica 8.5 mm ratchet crimper for controlled spark plug terminal stripping and double-crimp work.
Shop the Spark Plug Wire Crimper →