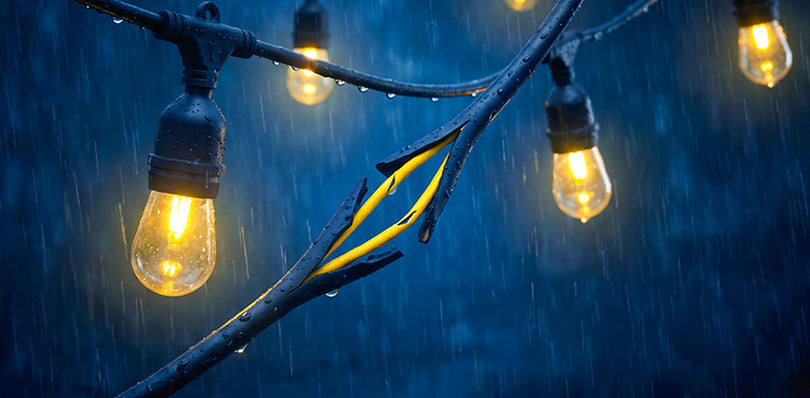


Spending time outdoors can enhance anyone’s day. During the spring and summer months, when the weather is warmer and more inviting, there is nothing quite like spending time outside with friends and family or simply enjoying a solitary moment in your own private space.
In order to stretch your outdoor enjoyment to the max, installing outdoor lighting is a must. The process is not nearly as complicated as it looks, but it has to be done properly. When it comes to landscape wiring, you need to get the right low-voltage landscape wire to do the job. Read on to find out more about electrical wire for outdoor lighting, how to make the right choice, and how to complete the installation properly.
What is Low-voltage Landscape Lighting?
Standard residential electrical outlets are generally 120 volts. Low-voltage lighting takes a transformer and uses it to cut the normal output down to a much lower voltage. For landscape lighting wire, that means going down to either 24 or 12 volts. For the most part, your typical low-voltage landscape light wire transformers will reduce the voltage to about 12 volts.
Picking the Appropriate Cable Gauge
For 12V low-voltage landscape wire, you want thicker cables. These help to reduce voltage drops, which means that the lighting fixtures get as much voltage as they need to run optimally. Thicker cables also have lower electrical resistance, which is more ideal for longer cable runs.
In order to get the right wire landscape size, you need to have a good idea of the layout of your outdoor lighting. Smaller gauges mean better electrical conductivity, but will cost more. Consider fixture wattage and cable length when making your choice to find a balance between cost and efficiency.
Why Low-voltage Wire Makes Sense for Outdoor Installations
If it feels confusing to choose the right 14/2 landscape wiring, it doesn’t have to be that difficult. For starters, it helps to know the various reasons for using low-voltage wire outdoors.
Efficiency. One of the biggest reasons to invest in low-voltage wire 12-gauge setups is that they are very energy efficient. Compared to more traditional high voltage setups, you will see a drastic reduction in energy consumption and much lower electrical bills.
Versatility. Another great reason to get a 12V landscape wire gauge is that they are very easy to use. They can be buried underground or concealed somewhere within your landscape to provide greater flexibility in terms of where you place your light fixtures without having to compromise the look of your landscape.
Safety. Safety should be paramount when installing your outdoor lighting. The last thing you need is for someone to trip over electrical wire for outdoor lighting or to create an electrical accident. Landscape lighting waterproof connectors provide greater overall safety, both in terms of installation and maintenance.
How to Install 14/2 Low-voltage Landscape Wire
The process of installing low-voltage wire 14/2 cabling isn’t as complex as it sounds. The key is to go into the situation with as much planning as possible. Even those who aren’t the most skilled DIYers can do this job in an afternoon and have the ultimate outdoor lighting setup.
Required Tools for Installation
Before we get into the installation process, we need to make sure that we have all the tools for the job. Though each job is unique and may require more (or fewer) tools, these are the basics.
Shovel or Trencher. How you dig the trench is up to you. A shovel is just fine, though it may be a bit more work. A trencher is easier and more efficient, especially for longer cable runs, but will cost a bit more.
Cable Cutter. You’ll need to cut your cabling to your desired length, so make sure to have a handy pair of cable cutters while you work.
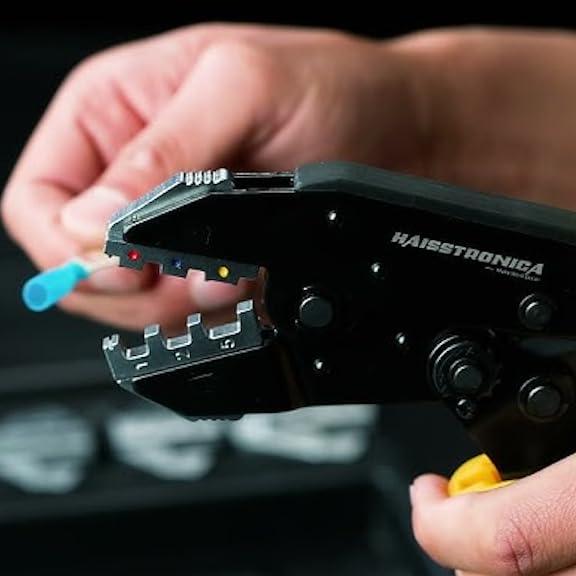
Wire Stripper. In order to make proper connections, you need to remove the insulation from your cables. A good wire stripper will make the job quicker, easier, and more efficient.
Voltage Meter. The last thing you want to do is install bad wiring. Having a voltage meter means being able to measure and verify that the voltage levels in your system are where they need to be.
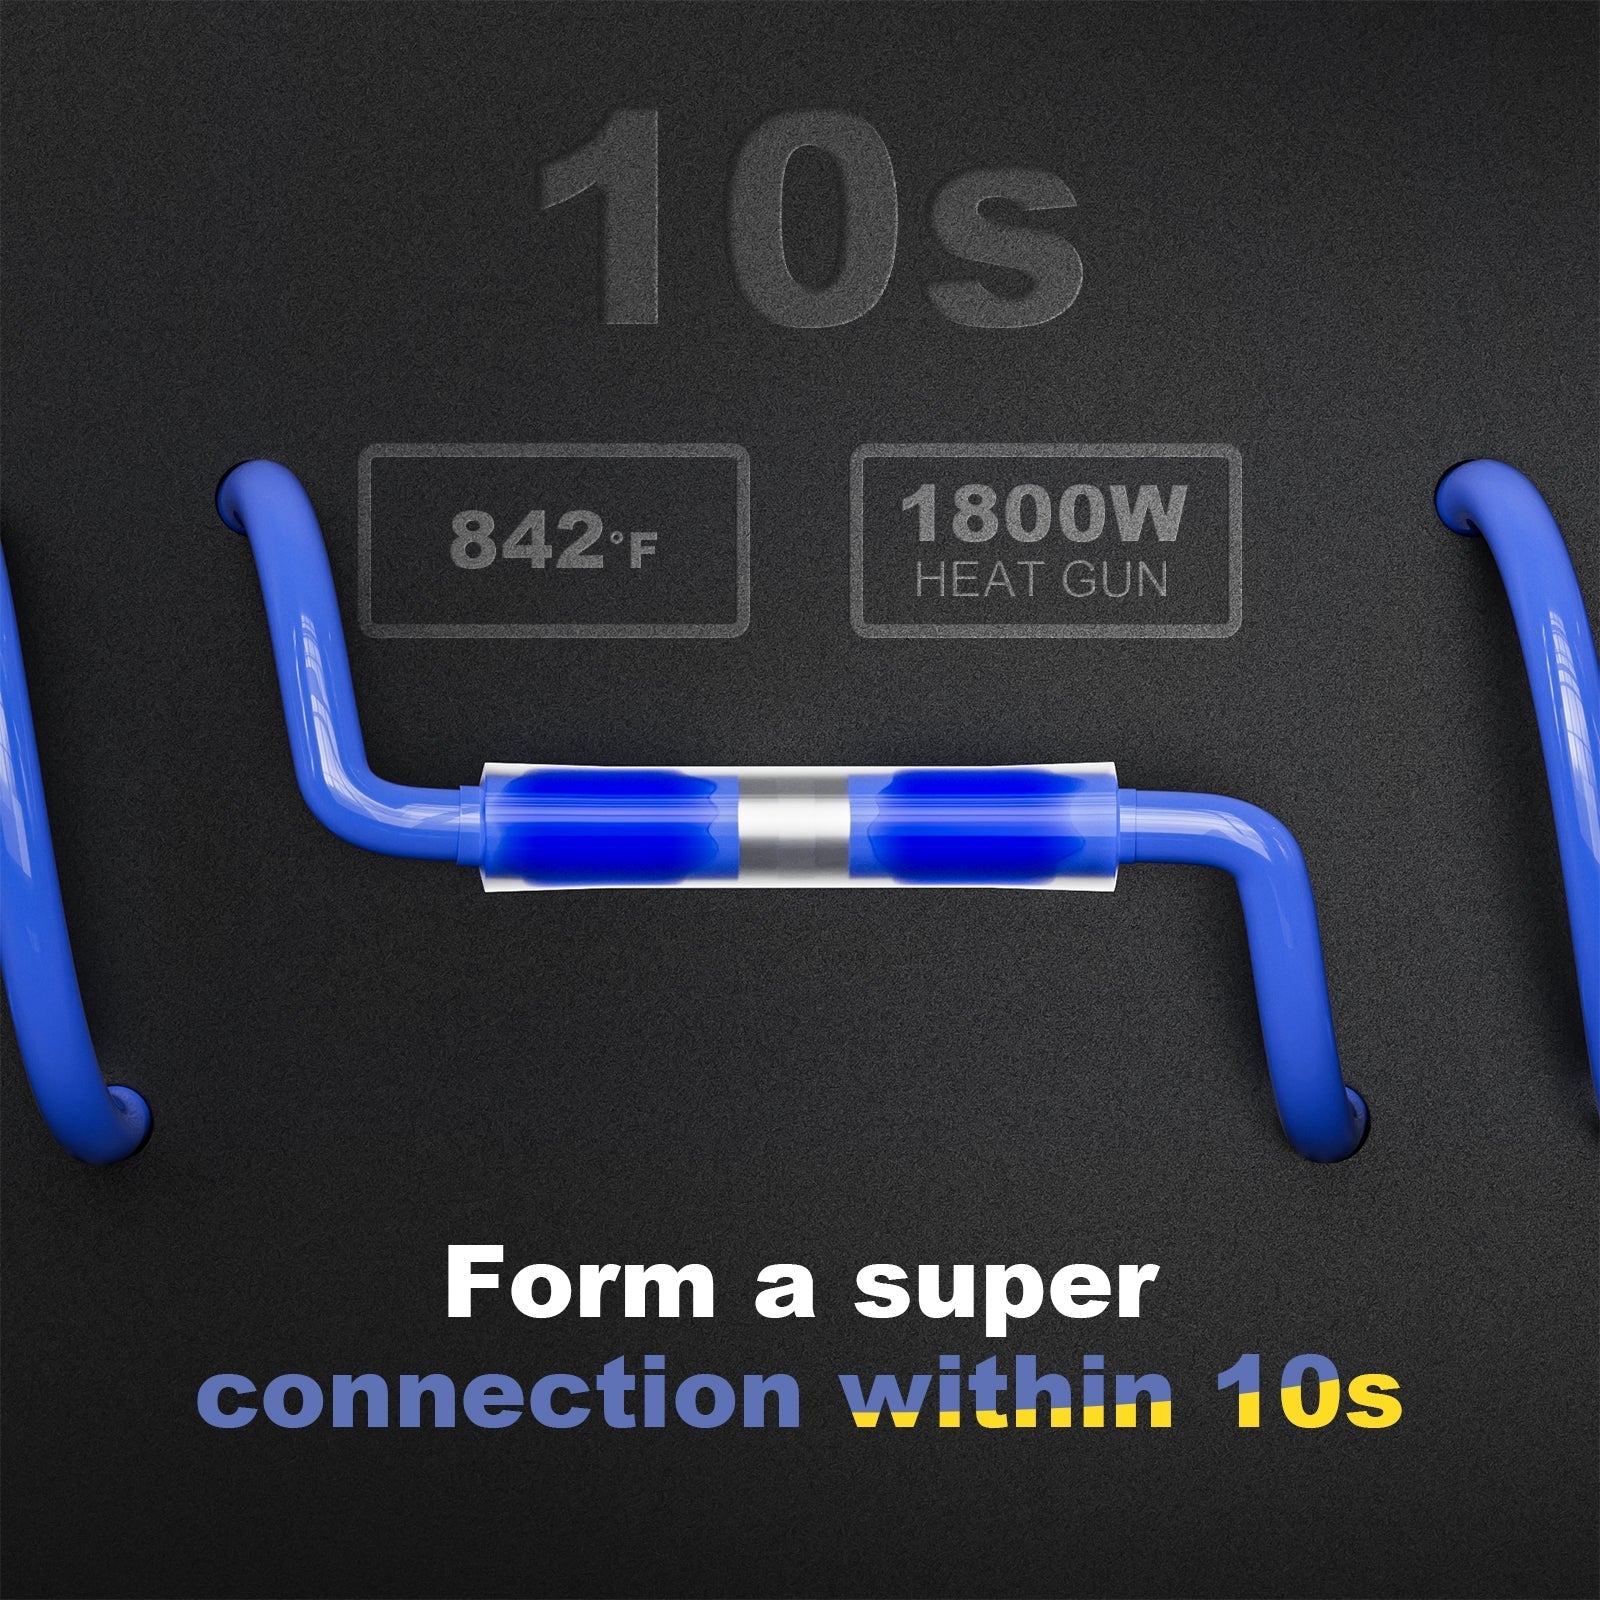
Landscape Wire Connectors. The goal is to create completely secure, watertight connections that will not be compromised. Having solid wire connectors will ensure that all of your cable connections are as secure as can be.
Conduit (optional). While this isn’t 100% necessary, having a conduit is ideal if you want to give your cables additional protection. For areas where damage is more common, this may be worth investing in.
Cable Stakes or Clips (optional). If you need to secure your cable either along or above the trench, then it needs to be really secure to prevent damage. Cable stakes or clips provide an ideal solution.
Step 1: Design
Before you do anything, make sure to lay out your design. Know which locations you want to install outdoor lighting and make sure to consider your objectives. Whether you are shooting for safety, aesthetics, or functionality, you need to plan out your cable route. This will help curtail issues as you go along.
Step 2: Prepare Materials
With a design in mind, it’s time to prepare all of the necessary materials to get the job done. You not only need low-voltage cables, but also connectors, transformers, lighting fixtures, stakes, and anything else required to get the job done. Make sure that you make choices that are suitable for what you’re doing. Make sure that cables are weather-resistant and/or waterproof to provide durability.
Step 3: Excavate the Trench
How you attack this step is up to you. A shovel will do and is much cheaper, but a trenching tool will make things quicker and easier. With the right tool in tow, dig a trench along the cable route you planned out. Make sure that the depth is roughly six inches to make sure that your landscape wire is protected.
Lay the cable carefully in the trench and make sure to carefully avoid obstacles like underground utilities or tree roots. If you need to run across a driveway, walkway, or some other sort of hardscape, it might be better to use conduits to keep cables safe from physical damage.
Step 4: Transformer Installation
It is imperative at this stage to follow the manufacturer's instructions for installing the low-voltage transformer. Make sure to install the transformer somewhere near an outdoor power outlet. Also, make sure that it is elevated above the ground to keep it protected against moisture.
Step 5: Connecting the Light Fixtures
Now, it’s time to connect all of your light fixtures to the low-voltage cables. For the most part, modern fixtures have simple connectors that result in easy installation. Just follow the manufacturer's instructions to ensure that all of the connections have been made and that they are secure.
Step 6: Test the System
Before you can move on to covering the trench and filling it in with soil, it’s time to conduct a thorough test of your lighting system. It’s better to find potential issues at this stage so that you don’t have to dig everything up again.
Step 7: Backfilling
After achieving confirmation that the system is working properly, it’s time to replace the soil from your dug-out trench. Make sure to cover the cable entirely to protect it from environmental exposure.
Step 8: Final Inspection and Maintenance
After the backfilling of the whole has been completed, it’s time to perform a final inspection. This step is to ensure that the lighting system is working properly and is functional. Look for exposed connectors or cables that may require additional adjustments or protection.
From there, create a regular maintenance schedule. Take time once every few months to check out lighting fixtures and cables to make sure that the system continues to run safely, effectively, and efficiently.
Common Sense Tips to Follow
A few simple tips will help ensure that your installation goes well. Make sure to install any cable connectors at the base of each fixture in order to create fixtures that keep moisture out. On the other hand, reduce twisting or bending of the cable to prevent damage.
Above all else, follow the manufacturer's instructions when making connections. Use a voltage meter regularly to monitor voltage levels, and you can ensure that your low-voltage installation is done effectively.
Install Your Outdoor Lighting with Confidence
Even amateur DIYers can handle the installation of their own outdoor lights electrical wiring project. The key to any successful installation is to plan things out, make sure that you have all the necessary tools, and to follow the manufacturer's instructions directly.
When all is said and done, you will have a well-lit, beautiful outdoor lighting setup. You will get excellent efficiency and value for your money. More importantly, you will create the kind of space that you can retreat to and enjoy at any time.