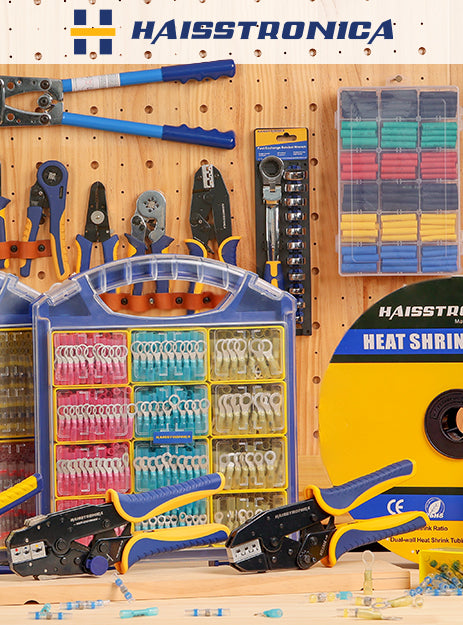
Creating solid electrical connections is crucial for any wiring job, and using the right crimping tool can make all the difference. If you’re tired of crimping wires in multiple steps or struggling with unreliable connections, it’s time to discover the one-step crimper. This wire crimper is a professional crimping tool designed to compress the wire and connector in one efficient motion. Unlike basic crimping pliers that may produce uneven results, a ratcheting crimps tool guarantees a complete, uniform crimp every time. In this blog, we’ll explain what a one-step crimper is and why it’s faster, highlight the importance of tool & die matching for quality crimps, walk through the one-step crimping technique, and discuss when to use heat-shrink terminals for the best electrical connections. By the end, you’ll see how a one-step wire crimping tool (such as Haisstronica’s ratchet crimper) can streamline your workflow and improve connection reliability – helping you make quick, easy, and professional-grade wire crimps. (Upgrade your toolbox with Haisstronica’s one-step wire crimper and crimp connectors faster than ever!)

What Is a “One-Step Crimper” & Why It’s Faster
A “one-step crimper” is a specialized ratchet wire crimper that compresses both the conductor and the insulation (or seal) of a connector in a single action. In traditional crimping, especially with certain electrical terminals, you might perform two separate crimps – one on the metal barrel gripping the bare wire and a second on the insulation or strain relief. As one expert explains, a proper double-crimp ratcheting tool is designed to make “two crimps, one for strain relief…and one for the bare wire crimp”. The one-step crimper streamlines this by performing both simultaneously with one squeeze of the handles. In practice, this means you crimp wires and secure the insulation support in one go, dramatically speeding up the process compared to using non-ratcheting pliers or doing multiple presses. Furthermore, the built-in ratchet mechanism on these ratcheting crimping tools ensures consistent pressure – it won’t release until the crimp is fully compressed, guaranteeing a complete crimp every time. This not only makes crimping faster but also improves quality: you don’t risk under-crimping (which can cause a loose connection) or over-crimping (which can damage the connector). Manufacturers like TE Connectivity highlight features like “crimping of wire and insulation in one step” and ratchets that ensure the full crimp cycle is completed for reliable results. In short, a one-step crimp tool lets you make quick and easy crimps by combining what used to take two or more steps into one smooth motion. The result is higher efficiency on the job and uniform, secure crimps on every connector. (Save time and effort with Haisstronica’s one-step crimping tool – achieve two crimps in one squeeze for faster, foolproof electrical connections!)

Tool & Die Matching
While a one-step wire crimping tool can significantly speed up your work, its effectiveness depends on using the right die with the right connector. “Tool & die matching” means ensuring the crimper’s jaw profile (die) corresponds to the specific type and size of terminal you’re crimping. Each connector family – whether you’re crimping insulated vinyl connectors, heat-shrink butt splices, or open-barrel automotive terminals – has a recommended crimp shape and size. Using the correct crimp die is crucial: the die must match the connector’s barrel geometry and the wire gauge for a proper compression. In fact, experts warn that if you use the wrong tool or die size for a given wire/terminal, you risk creating crimps that are either too loose or too tight, which “decreases reliability and safety and impacts performance.” A mismatch can result in a weak connection that may pull out or a damaged terminal that could fail prematurely. For example, a die designed for bare ferrule crimping will not properly crimp an insulated ring terminal, and vice versa. Always check the wire crimper’s die markings (usually color-coded or labeled by AWG size and connector type) and match them to your connector. As a best practice, verify the crimping die matches both the wire gauge and the connector type before crimping – otherwise you could end up with an under-crimp or over-crimp that compromises the connection. Many quality crimpers for wire (including Haisstronica’s systems) come with interchangeable dies or jaws for this reason, allowing you to swap in the correct profile for each job. For instance, one die might be specifically for heat-shrink connectors (oval crimp that won’t pierce insulation), while another die is for non-insulated terminals (forming a tight “B-crimp” on bare metal). Even a high-end ratchet crimping tool will only deliver “quick & easy crimps” if its die is properly matched – so take the extra moment to select the right die set and adjust the tool if needed. By doing so, you’ll ensure every crimp is mechanically strong and electrically sound, and you’ll fully leverage the one-step crimper’s speed without sacrificing quality. (Haisstronica’s crimping tools make this simple – with clearly marked dies and an adjustable tension, you get a crimping terminal connectors solution that’s perfectly tuned to your wire and terminals every time!)

One-Step Technique
Using a one-step ratcheting crimping tool on an open-barrel terminal. The wire’s stripped copper is seated in the front barrel section while the insulation (or weather seal) is positioned in the rear section of the terminal before crimping. This alignment allows the tool to crimp both parts in one action. Ensuring proper technique when using a one-step crimper tool will guarantee strong, professional crimps. Here’s how to do it:
-
Prepare the wire and terminal: Start by stripping the wire to the correct length (usually about 5 mm or as specified for the connector). If you’re using a sealed connector (like Weather Pack or Deutsch automotive terminals that have a separate silicone seal), slide the seal onto the wire first. Then insert the stripped wire into the connector barrel. Make sure the wire strands are fully inside the metal barrel and no stray strands are sticking out. For open-barrel terminals (commonly used in automotive wiring), position the wire so that the bare conductor rests in the inner “U”-shaped section and the insulation (and seal, if present) is under the outer tabs. This way, one part of the terminal will crimp onto the copper wire and another part will crimp around the insulation for strain relief in the same squeeze.
-
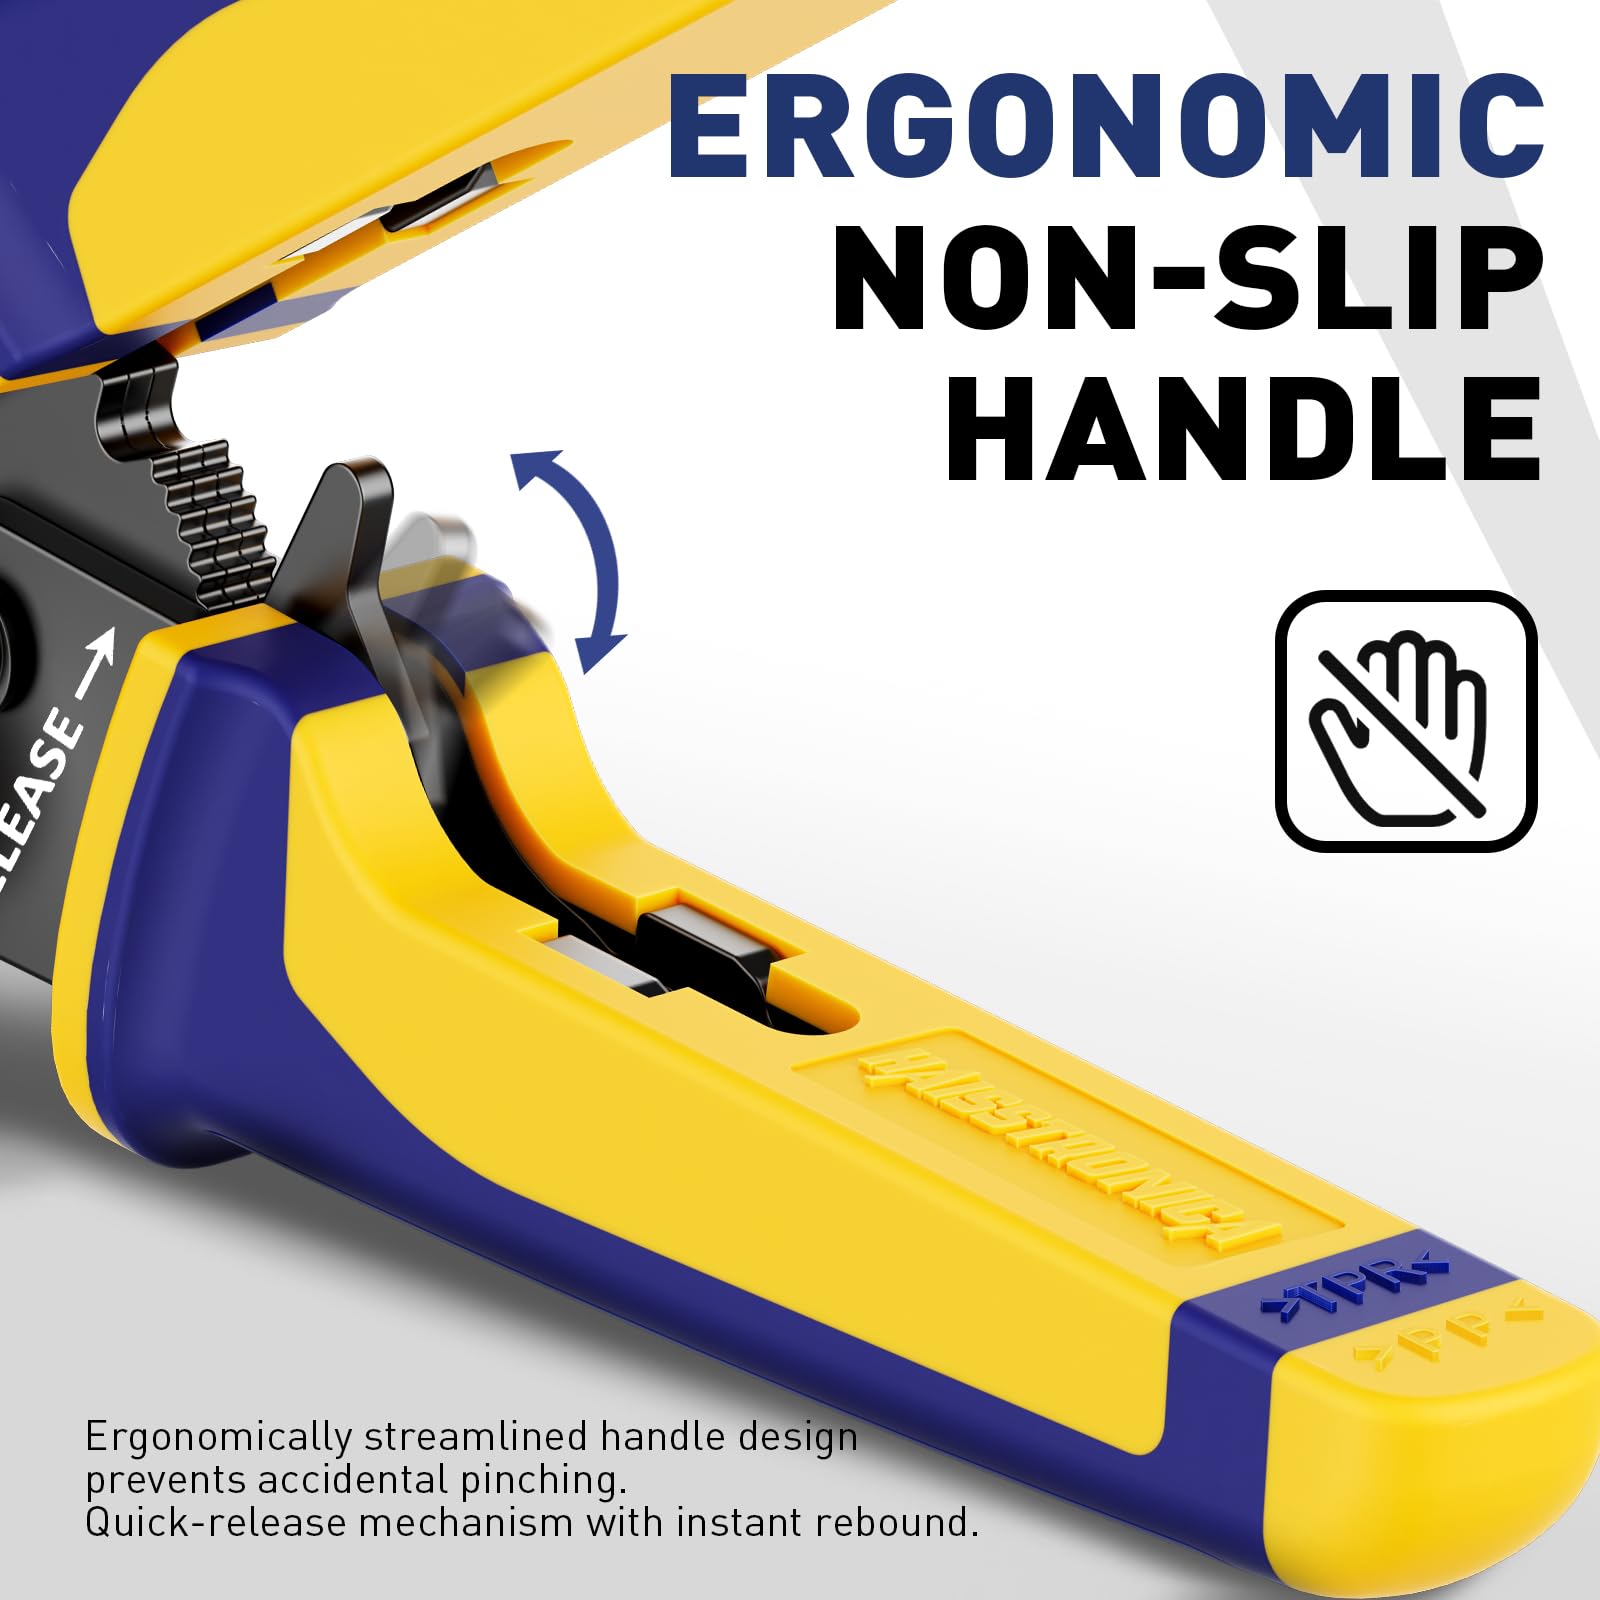
Position in the crimping tool: Next, insert the terminal into the correct die cavity of your one-step wire crimper tool. Most quality wire crimpers have multiple jaw slots for different sizes; choose the one that matches your terminal’s wire gauge. It often helps to load the terminal into the tool first (the tool jaws will hold it in place), then insert the stripped wire into the terminal. Ensure the terminal is oriented correctly per the tool instructions – for example, some dies have a locator or a certain side where the seam of the connector should face. A flip locator or similar feature on some crimpers can assist in holding small contacts precisely. Once everything is aligned, you can gently squeeze the handles just enough to grip the connector — this is one advantage of a ratcheting crimper, as it will hold the connector in place without fully crimping until you apply full pressure.
-
Crimp in one motion: Now, squeeze the crimper handles firmly and steadily through the full ratcheting cycle. The ratchet crimping tool applies uniform pressure and will not release until the crimp is complete. You’ll feel increased resistance and then a slight give when the crimp is fully compressed and the ratchet mechanism releases. This indicates the one-step crimp is finished. The tool has now simultaneously crimped the wire and the insulation support (if it’s a double-crimp style terminal) in one action. Open the jaws and remove the crimped connector. Inspect it closely: the barrel around the wire should be neatly deformed (often into an oval or hex shape for insulated terminals, or a tightly folded “B” crimp for open-barrel), and the wire should be secure with no play. The insulation crimp (if applicable) should snugly grip the wire’s insulation or seal without cutting into it.
-
Finishing touches: If you’re using insulated heat-shrink crimp terminals or butt connectors, the crimp is only the first part. After crimping, apply heat (using a heat gun or appropriate tool) to shrink the tubing. The adhesive-lined heat-shrink will melt and seal around the wire, providing a waterproof, strain-relieved termination. (Remember that one-step crimping refers to the crimp action itself – you’ll still need to do this separate heat step for heat-shrink connectors.) For other connector types, no additional steps are needed aside from perhaps adding a protective sleeve or cover if used. Give the wire a gentle tug to perform a “pull test” – a properly made crimp with a quality crimp connector should hold firmly.
By following this one-step crimping technique, you can achieve crimps that are electrically conductive and mechanically strong, in a fraction of the time it would take with old-school methods. It eliminates the need to crimp twice or use two different tools on one connector. New users will appreciate that a ratcheting crimper tool also prevents common mistakes – you physically can’t under-crimp (the tool won’t release early) and you’re less likely to over-crimp (if the die and connector are correctly matched, the tool’s cycle is calibrated for that). The result is a clean, reliable connection every time, comparable to (or even stronger than) a soldered connection when done correctly. (Even first-timers can crimp like a pro with Haisstronica’s one-step wire crimping tool – just strip your wire, insert, and squeeze! Upgrade your wiring projects with confidence and speed.)

When to Use Heat-Shrink Terminals
Not all terminals are created equal. Heat-shrink terminals (sometimes called adhesive-lined connectors) are a popular choice for automotive, marine, and outdoor electrical projects – essentially any application where your connections need extra protection against moisture, corrosion, and vibration. These connectors have a special nylon or polyolefin tubing that shrinks when heated, with adhesive lining the inside. After you crimp the wire, you apply heat to shrink the tubing, and the melted adhesive forms a waterproof seal around the connection. The result is a tightly insulated, sealed termination that keeps out water and contaminants. So, when should you use heat-shrink terminals? The short answer: whenever you need a durable, weather-resistant connection. For example, if you’re wiring a boat, vehicle trailer, outdoor lighting, or any circuit exposed to the elements, heat-shrink crimp connectors are highly recommended. In fact, seasoned marine electricians consider adhesive-lined heat shrink connectors the gold standard – “the best possible solution, for most applications, to use on a boat,” as one expert notes. They may cost a bit more than standard vinyl-insulated connectors, but they greatly enhance the longevity and reliability of the crimp in harsh conditions. Once heated, the glue inside the tubing locks out moisture and helps prevent wire corrosion.
When using heat-shrink terminals, a one-step ratchet crimper is especially useful. These terminals typically only require a single crimp on the metal barrel (there’s no separate insulation crimp sleeve – the tubing itself provides strain relief once shrunk). A quality ratcheting crimp tool for insulated connectors will compress the barrel without puncturing or deforming the heat-shrink tubing. (It’s important to avoid cheap crimp tools or plain pliers for this job, as they can cut or tear the heat-shrink jacket, defeating the purpose of the waterproof seal.) With the proper crimping tool for wires, you’ll make a solid crimp and the insulation will remain intact. After crimping, immediately heat the connector’s sleeve with a heat gun until it fully shrinks and you see adhesive oozing slightly out the ends – that’s how you know you’ve got a good seal. The end result is a connection that’s both electrically sound and sealed against the environment. These heat-shrink crimp terminals are ideal for any high-vibration or high-moisture setting: car engines, motorcycles, boats, outdoor equipment, or even home wiring in damp areas. Essentially, crimp electrical connectors with heat-shrink when you want maximum reliability and corrosion resistance.
It’s worth noting that if you’re using standard nylon or PVC insulated terminals in a dry, controlled environment (like indoor appliances or panel wiring), heat-shrink may not be necessary – those can be crimped with a regular terminal crimper and will hold up fine if not exposed to harsh conditions. However, many professionals still prefer the extra security of heat-shrink connectors even in moderate conditions, given their superior strain relief and insulating properties. They add a small step (the heating) but provide peace of mind. The one-step crimper works great with both types: you simply use the appropriate die for insulated terminals. For heat-shrink types, the tool will form a firm crimp without damaging the sleeve, then you apply heat to finish. Keep in mind, for truly critical connections, you might also consider using dual-wall (solder and crimp) connectors or adding an external piece of heat shrink tubing over a non-sealed crimp, but those are additional measures beyond standard crimping.
In summary, use heat-shrink terminals when durability matters. If your wires might get wet, shaken, or subject to temperature swings, the adhesive-lined heat shrink will ensure your crimped connection stays tight and corrosion-free. And always crimp them with a proper ratcheting tool designed for insulated connectors – this way, the connector’s insulation remains intact through the crimp and will shrink uniformly to do its job. (For the toughest jobs, trust Haisstronica’s heat-shrink connectors and one-step electrical crimping tool – your wiring will be water-tight, vibration resistant, and built to last!)

Conclusion
One-step crimping tools have revolutionized how we make electrical connections by combining multiple actions into one efficient step. By using a high-quality ratcheting crimper with the right die, you can crimp wires and connectors faster without compromising on quality. We learned that a one-step crimper simultaneously compresses the wire and insulation portions of a terminal, which is why it’s faster than old two-step methods. This not only saves time but also yields consistent results thanks to the ratchet mechanism that ensures every crimp is fully completed. We also highlighted the importance of matching your tool and die to the connector – a critical step for achieving safe, reliable crimps every time. Skipping this can lead to weak connections, so always double-check that you’re using the correct crimping die for your wire size and terminal type.
Additionally, we walked through the one-step crimping technique, demonstrating how simple it is to use these wire crimpers: insert the terminal and wire, squeeze once, and you’re done – a perfect crimp in one go. Even for beginners, the one-step approach removes a lot of the guesswork and physical strain from crimping, especially compared to using non-ratcheting crimping pliers which often require extreme force yet yield subpar crimps. Finally, we discussed using heat-shrink terminals for those demanding environments where waterproofing and strain relief are vital. Heat-shrink connectors, when applied with a proper crimp and heat, create long-lasting connections that professionals trust in marine and automotive fields. Pairing them with a one-step ratchet crimping tool ensures you don’t damage the insulation while crimping, so the connector can do its job sealing the joint.
In essence, investing in a quality one-step crimper (such as Haisstronica’s ratcheting wire crimping tool for AWG 22–10 terminals) is a smart move for anyone who regularly works with electrical wiring – be it an electrician, automotive technician, or DIY hobbyist. It makes the process of crimping electrical connectors quicker, easier, and more foolproof. Plus, many one-step tools are versatile, with interchangeable jaws that let you tackle a variety of connectors from insulated butt splices to open-barrel terminals, meaning one tool can handle many jobs. When you use the right tool correctly, you get crimps that are clean, strong, and dependable. No more worrying if a crimp will slip off or if corrosion will sneak into a poorly sealed connection.
Make quick & easy crimps a reality by choosing a one-step crimping solution for your toolkit. It brings speed, consistency, and confidence to your work. Remember to always follow best practices: match your die, fully cycle the ratchet, and use the appropriate terminals for the environment (don’t skimp on heat-shrink when you need it). With these tips and the power of a one-step crimper in hand, you’ll be crimping like a pro and achieving connections that stand the test of time. (Ready to upgrade your crimping experience? Check out Haisstronica’s range of one-step crimp tools and heat-shrink connectors – engineered to help you crimp faster and smarter, every time!)
References: