Choose the connector from the job—not from the shape you recognize.
Start with the connection task, environment, removability, and conductor size. Only after those are clear should you choose the connector family and the crimper that matches its barrel geometry.
Start with the connection task
Do not begin by asking which connector is most common. Begin by asking what the joint must do.
Join two wires inline
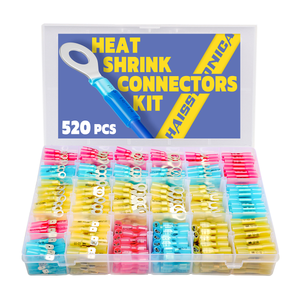
Use a butt connector for a permanent splice. Choose adhesive-lined heat shrink when moisture, spray, or vibration is expected.
Terminate a wire at a stud or screw
Ring terminals resist pull-off; spade or fork terminals are easier to remove when the screw can be loosened but not removed.
Create a removable inline connection
Bullet and compatible disconnect terminals suit serviceable connections. Confirm mating size, current rating, polarity, and insulation.
Repair an OEM plug or sensor harness
Open-barrel terminals form separate crimps around the conductor and insulation wings, preserving the connector housing geometry.
Terminate fine-stranded wire in a screw clamp
A ferrule consolidates strands for control panels, terminal blocks, and equipment connections without tinning the conductor end.
Make a bare-metal crimp in a protected assembly
Non-insulated terminals suit controlled installations where the finished joint receives the required enclosure, spacing, or insulation.
What the common connector families actually do
Butt connectors
Join two conductor ends in one inline barrel. They are usually permanent and are available in insulated, non-insulated, and adhesive-lined heat-shrink versions.
Ring terminals
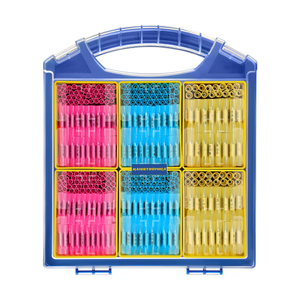
Fasten a conductor to a stud or post. The closed ring stays captured even if the fastener loosens, making it a strong choice for vibration-prone equipment.
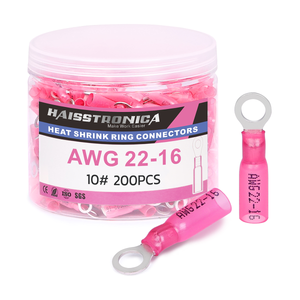
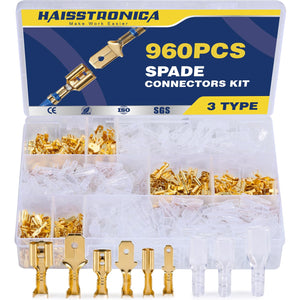
Spade and fork terminals
Slide under a screw head for faster service. They are convenient but require suitable strain relief and a fastener that remains tight.
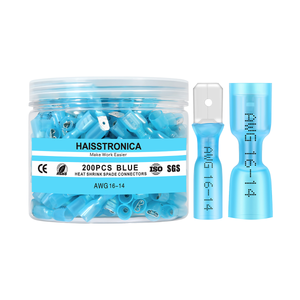
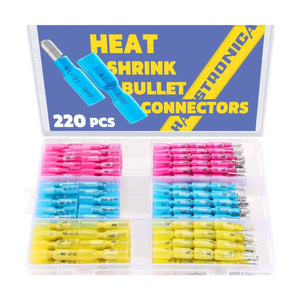
Bullet and disconnect terminals
Create a separable wire-to-wire interface. Verify the male/female pair, insulation type, current rating, and the number of expected disconnect cycles.
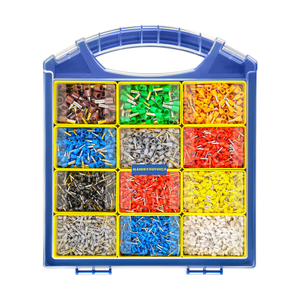
Ferrules
Compress fine strands into a controlled square or hex end for screw-clamp terminals. A ferrule is not a butt splice and requires a ferrule die.
Open-barrel terminals
Use formed wings for conductor and insulation support inside OEM housings. They require an F-crimp profile, not a smooth insulated-terminal cavity.
Compare environment and removability
| Project condition | What the joint needs | Best starting family | Shopping route |
|---|---|---|---|
| Dry and protected | Correct gauge, secure crimp, required enclosure or insulation | Insulated or non-insulated terminal, as permitted | Non-Insulated → |
| Wet, outdoor, marine | Mechanical crimp plus recovered adhesive-lined seal | Heat-shrink butt, ring, spade, or compatible sealed terminal | Heat Shrink Terminals → |
| High vibration | Stable barrel compression, strain relief, secure mounting | Ring or heat-shrink butt connector with matched tooling | Butt Connectors → |
| Frequent service | A connector intended to separate and reconnect | Bullet or compatible disconnect terminal | Removable Terminals → |
| OEM plug or sensor | Terminal geometry that locks into the original housing | Open-barrel terminal | Open Barrel → |
Match AWG before color
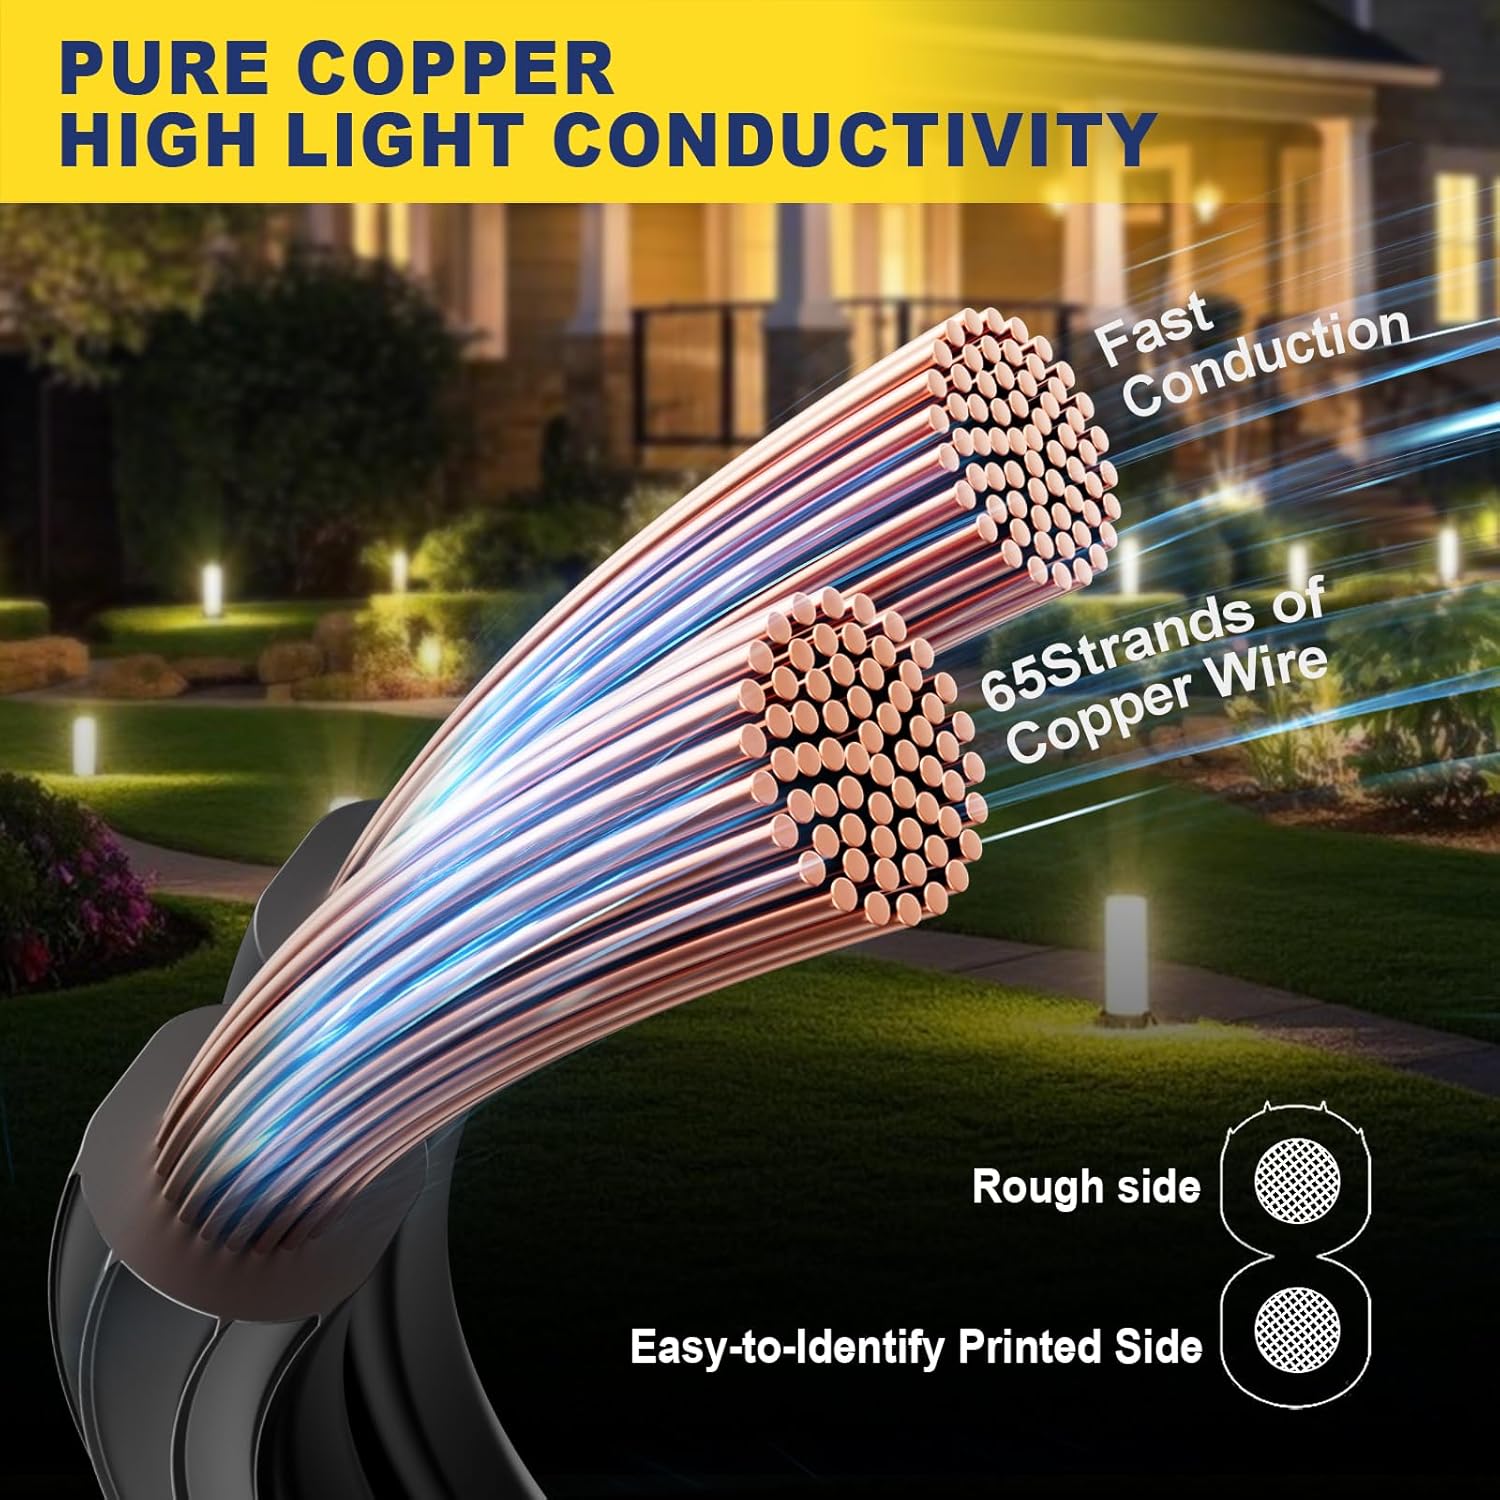
Color is a quick visual guide on many insulated terminals, but the printed conductor range is the final authority. Read the cable marking, identify stranded or solid conductor, and size the connector to the conductor—not to the outside insulation diameter.
| Check | Correct action | Reject the match when… |
|---|---|---|
| Conductor marking | Confirm the printed AWG or measure the bare conductor with the proper gauge. | The size is guessed from insulation thickness. |
| Connector range | Use a barrel whose documented range includes the conductor. | Strands must be removed, folded, or forced into the barrel. |
| Strip length | Fill the metal barrel without leaving bare copper outside the sleeve. | Copper falls short of the crimp zone or protrudes beyond the connector. |
| Fit before crimping | The conductor inserts fully and stays aligned without excessive looseness. | The wire rattles in the barrel or cannot reach the internal stop. |
Now choose the matched crimper
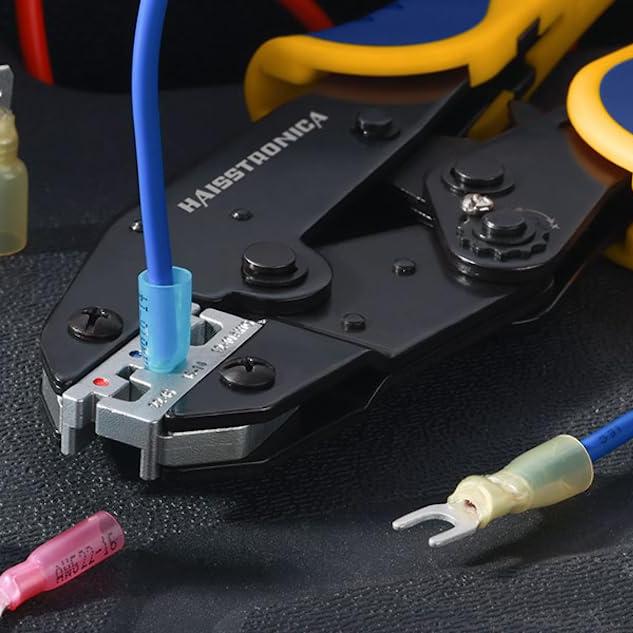
The connector geometry determines the die. A ratchet mechanism controls the cycle, but the wrong die profile can still damage the terminal or produce an incomplete crimp.
Insulated and heat-shrink terminals
Use a smooth, color-coded die matched to the terminal’s AWG range. Keep the pressure centered over the hidden metal barrel.
Open-barrel terminals
Use an F-crimp die that forms the conductor wings and insulation wings without flattening the terminal.
Ferrules
Use a square or hex ferrule die sized to the conductor and terminal block. Do not substitute an insulated-terminal die.
Non-insulated terminals
Use a die designed for the terminal’s bare-metal barrel shape and conductor range, then add the required protection for the assembly.
Five checks before you commit
Inline splice, stud, removable connection, OEM housing, or terminal block?
Dry, wet, corrosive, hot, or vibration-prone?
Permanent connection or intentionally removable interface?
Printed AWG, stranded or solid, copper or another documented type?
Does the die match both the barrel geometry and conductor range?
Complete crimp cycle, firm pull-test, correct insulation, and strain relief.
Return to the full connector map
There is no single “most common” connector that is right for every job. Compare all connector families by task, environment, conductor range, and the tool they require.
Browse All Connector Types →