Introduction
Low voltage landscape lighting is a fantastic way to enhance your yard’s beauty and safety after dark. Unlike standard 120V household wiring, low voltage landscape lights run on 12 volts, making them safe to work with, energy efficient, and easy to install for DIY beginners. In this friendly guide, we’ll explain everything from what landscape lighting wire is to how to connect your outdoor lights’ electrical wiring step-by-step. By the end, you’ll know how to plan and install landscape lighting with confidence, using proper landscape wiring techniques and connectors to get a professional-looking result.
What Is Low Voltage Landscape Lighting Wire? (Definition)
Low voltage landscape lighting wire (often called landscape wire or landscape light wire) is a special electrical cable designed for 12-volt outdoor lighting systems. It usually comes as a two-conductor stranded copper cable (e.g. 12/2 or 14/2 landscape wire) with thick insulation. This cable connects your low-voltage landscape lights to the transformer (power source) and is rated for direct burial outdoors. The wire is typically flat or oval-shaped, with one side marked (text or a ridge) so you can identify polarity when connecting low voltage wires together. The durable PVC insulation is waterproof and UV-resistant, which means the electrical wire for outdoor lighting products can withstand sun, rain, and soil contact without conduit in most cases. In short, landscape lighting wire is the wire for outdoor lights that carries power from the transformer to all your fixtures in the yard.
Step-by-Step: How to Wire Low Voltage Landscape Lighting (Operation Steps)
Wiring low voltage landscape lighting is straightforward. Follow these steps to install landscape lighting wiring safely and effectively:
-
Plan Your Layout: Sketch the transformer, each fixture, every branch, and the longest cable route. Count the fixtures, add their total wattage, and measure the distance to the farthest light. Add 10–15% to the measured wire length for slack, turns, and future adjustments. Record these numbers before choosing a gauge or spool.
-
Mount the Transformer: Install your low-voltage transformer near the power outlet (e.g. on an exterior wall or a post). Keep it at least a foot above ground for safety. Do not plug it in yet. Most transformers have two screw terminals where you will attach the wires. Unscrew those slightly and insert the stripped ends of your main landscape wires (one end of the cable that will run through your yard) under the terminals, then tighten. There is no strict polarity on 12V AC systems, but it’s good practice to connect the marked side of the cable to the same terminal (common) on all connections. Tip: If your transformer has multiple taps (e.g. 12V, 13V outputs), use the 12V tap to start, and only use higher voltage taps if needed to compensate for voltage drop on very long runs.
-
Place and Wire the Light Fixtures: Position your light fixtures (path lights, spotlights, etc.) in the desired locations. Keep them unburied for now, as you may adjust later. Run the landscaping wire (low voltage cable) from the transformer along the ground, going past each fixture. Leave about 1½ to 2 feet of slack at each fixture location – this slack in the landscape lighting wiring will allow for repositioning fixtures or making connections. Now connect each fixture to the main cable. There are two common methods:
-
Pierce Connectors: Many DIY light kits include snap-on landscape wire connectors (also called “vampire” or quick-clip wire connectors for low voltage landscape lighting). These let you join the fixture wires to the main landscape light wiring without cutting the cable. Place the connector around the low voltage cable and press it closed; metal prongs inside will pierce the insulation and contact the copper, tapping power for the fixture. Once snapped tight, wrap it with electrical tape for extra insulation.
-
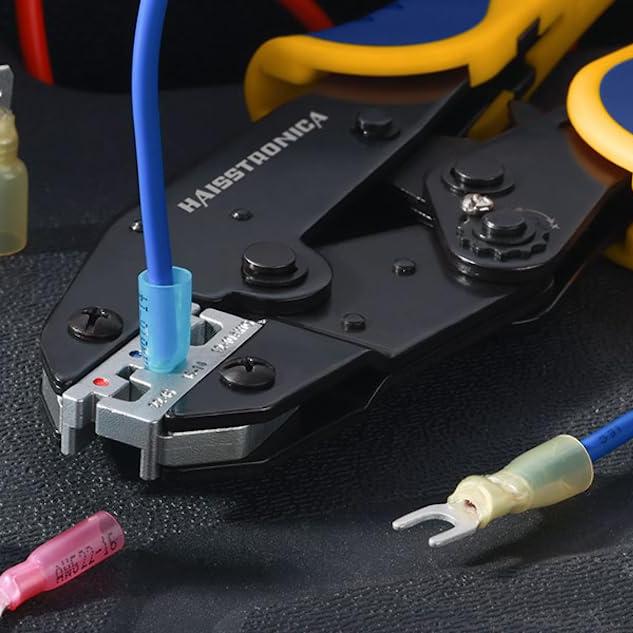
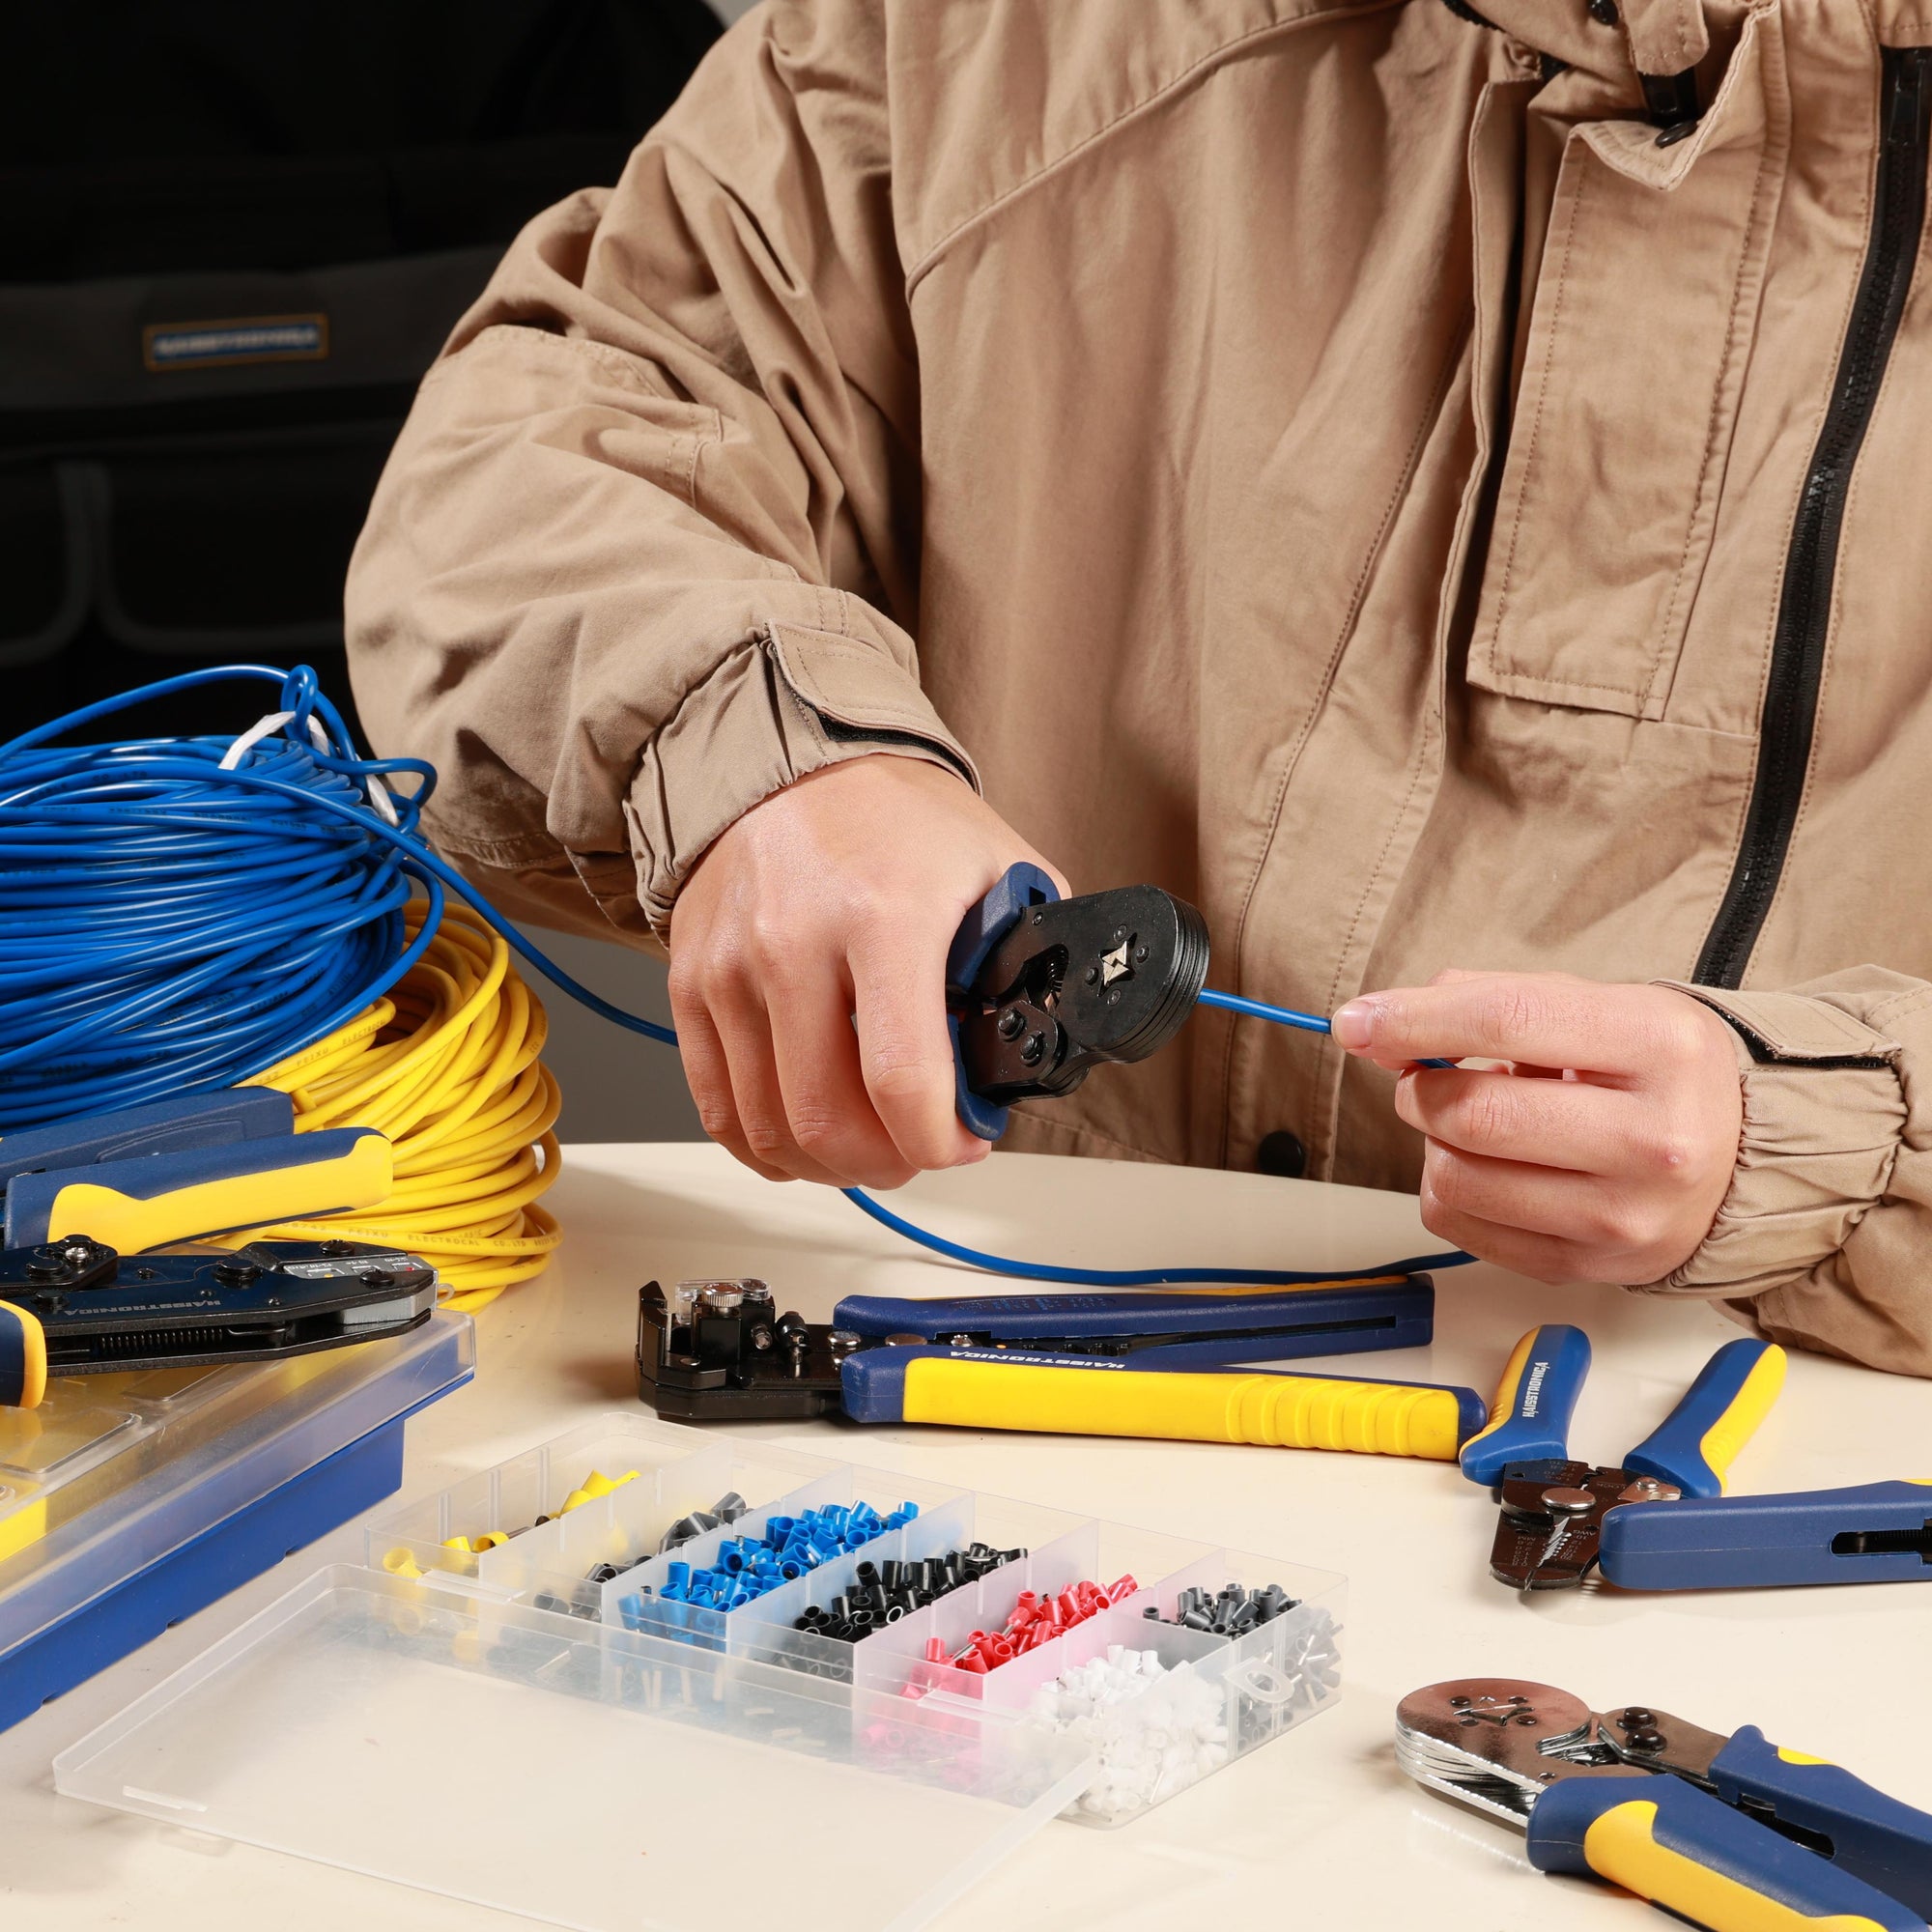
Splice Connections: For a more secure, long-term connection (or if your fixtures don’t have quick connectors), you can splice by cutting the main cable at the fixture point. Strip about ¾" of insulation off the cut ends of the main cable and the fixture’s wires. Then use waterproof wire connectors for landscape lighting to join each fixture wire to the two ends of the cut cable. For example, you might twist them together with a waterproof landscape wire connector (gel-filled wire nut), or use brass crimp connectors with heat-shrink tubing for a very solid splice. This method essentially inserts the fixture in-line with the main run (creating a “T” splice in the landscape wiring). Be sure to use resistant, waterproof landscape light wire connectors made for direct burial.
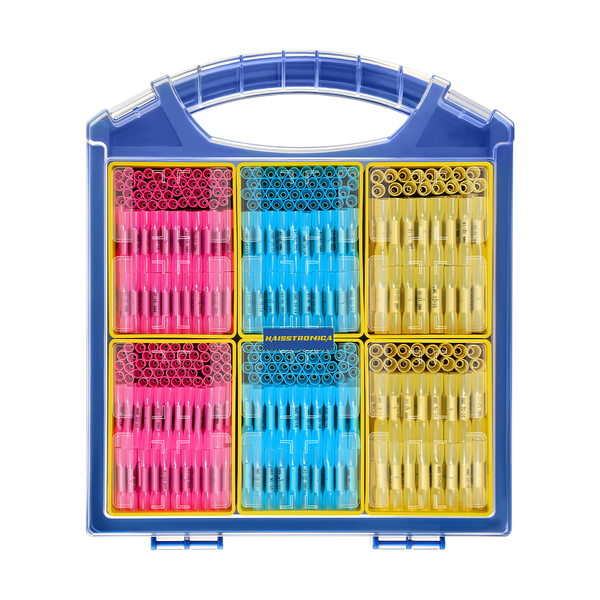
OUTDOOR CONNECTION POINT
Keep moisture out of every splice
Buried soil, sprinklers, and condensation can turn an exposed splice into the weakest point in the system. Match the connector to the wire gauge and create a fully sealed connection.
Shop Waterproof Butt Connectors → Explore Waterproof Wiring -
-
Test the System: After all fixtures are connected, double-check all connections are tight and insulated. Make sure no copper is exposed. Now you can plug in the transformer (or turn it on) to test the lights. All your landscape lights should illuminate. If a section isn’t lighting, check that the fixture connections to the landscape wires are secure and the bulb (or LED) is working. It’s easier to fix any issues now before burying the cables. Once everything looks good, unplug the transformer again to safely proceed with burying the cable.
-
Bury or Hide the Cables: One huge benefit of low-voltage landscaping light wire is that you don’t have to bury it 18 inches deep like high-voltage lines – it’s much simpler. In most landscape low voltage wiring jobs, you can make a shallow trench about 6 inches deep along your cable path and tuck the wire in. A flat shovel or a landscape wire trencher tool can help create a narrow trench in the grass or mulch. Place the cable into the trench and cover it back up with soil or grass to hide it. Under driveways or sidewalks, either run the wire through a PVC conduit or use a long drill bit or water jet to create a path beneath (so you can run landscape lighting wire under a sidewalk without digging up the concrete). In flowerbeds or along foundations, you may also hide the cable under mulch or rocks if digging is difficult. Note: While burying landscape wire isn’t always required by code for 12V, it protects the wire from damage and keeps your yard looking neat. Aim for about 6″ deep in lawn areas and 18″ under any vehicle traffic areas for best practice.
-
Set Up the Transformer & Timer: Back at the transformer, make sure any photocell or timer is configured so your lights turn on at dusk and off when you prefer. Finally, plug in the transformer to power up your lights. Congratulations – you’ve installed your landscape lights and wired them like a pro! Now your home and garden will be safely illuminated at night, and you can enjoy the ambiance.
Application Scenarios (Where to Use Landscape Lighting)
Low voltage landscape lighting can be used to beautifully illuminate garden paths, flower beds, trees, and architectural features at night.
There are many ways to use your new low voltage landscape lighting wire and fixtures to improve your home’s outdoor spaces. Common scenarios include lining walkways or driveways with path lights for safety, uplighting trees or shrubs to create focal points, and adding spotlights to highlight a garden statue or the front facade of your house. Because the wiring is low voltage and flexible, you can get creative with landscape lighting wire layout: for example, string lights in a pergola or step lights along stairs can all be powered with the same transformer by extending the wire for outdoor lights to those locations. Low voltage outdoor lights’ electrical wiring is also easy to re-route or add onto later if you decide to change your landscape or seasonal decor. Many homeowners use additional landscape wire connectors to add holiday lighting (like accent lights for Halloween or Christmas) into their existing low-voltage system. The possibilities are endless – anywhere you need gentle, ambient illumination outside, landscape low voltage wiring can likely be used to achieve it.
Buying Guide: Selecting Landscape Wire and Connectors
Choosing the right wire for landscape lighting is critical for a successful installation. Here are some tips to guide your purchase:
-
Wire Gauge (Thickness): Low voltage landscape wire comes in different gauges, typically 16-gauge, 14-gauge, 12-gauge, and even 10-gauge for very large systems. The wire gauge for landscape lighting determines how much current it can carry and how far you can run it without voltage drop. Thicker wires (lower AWG number) can carry more current over longer distances. For example, 14 AWG landscape wire can handle about 90 watts up to 100 feet. If you plan a longer run or have many lights (higher total wattage), opt for 12 AWG landscape wire, which can carry more current with less voltage drop. For very short runs (under 50 feet with a few LED fixtures), 16/2 landscape wire may suffice, but 14 or 12 AWG is more future-proof. As a rule of thumb, 12/2 low voltage landscape lighting wire is ideal for most medium-to-large gardens, while 14/2 landscape wire works for smaller setups. (If you’re unsure, you can consult a landscape lighting wire gauge chart or use the next thicker size to be safe.)
Length and Packaging: Add every planned cable route, include fixture slack, then add 10–15% spare. Round the result up to the next available spool size. A continuous run is usually better than joining several short rolls because it reduces extra splice points.
Copper Quality: Choose pure copper conductors for lower resistance, stable brightness, and easier routing. Avoid copper-clad aluminum for demanding or longer outdoor runs. Also verify that the cable is UL listed, UV resistant, and rated for direct burial.
-
Insulation and Durability: Ensure the wire insulation is rated for direct burial and is weather-resistant. Look for descriptors like “UV-resistant PVC jacket” and a direct burial landscape wire rating. A good landscape cable will resist degradation from sunlight, moisture, and temperature extremes. Also check for any relevant safety certifications (e.g. UL certification in the U.S.) which indicate the wire has been tested for outdoor use. Quality insulation prevents nicks and cuts, but it’s still wise to be careful when shoveling in the yard where wires are buried to avoid accidentally cutting your landscaping wire.
Landscape Wire Connectors: Treat every outdoor splice as a moisture entry point. Select waterproof heat-shrink butt connectors that match the cable and fixture-wire gauge. For buried, damp, or sprinkler-exposed locations, a sealed connector is more reliable than tape alone.

FAQ (Frequently Asked Questions)
-
Q: What gauge wire should I use for low voltage landscape lights?
A: It depends on the total wattage of your lights and the length of the wire run. In general, 12-gauge or 14-gauge wire for landscape lights is recommended. Use 14/2 landscape wire for moderate runs (up to ~100 feet and ~90 watts), and use 12/2 landscape wire for longer runs or higher loads. Thicker 10-gauge can be used for very large projects, while 16-gauge is only okay for very short runs or a few LED fixtures. When in doubt, going with a thicker wire will reduce voltage drop and ensure your lights all receive full power. Always match the wire size to your project needs – a landscape lighting wire gauge chart can help if you have specific distance and wattage numbers. -
Q: How deep do I need to bury low voltage landscape wire?
A: The National Electrical Code (NEC) recommends a burial depth of at least 6 inches for low-voltage (<30V) landscape wiring in normal soil. This shallow depth keeps the wire safe but easy to reach if you need to modify the system. If you’re running wire under a commercial driveway or public right-of-way, deeper burial (18–24 inches) may be required. For typical home garden applications, running the cable 2–6 inches underground or hiding it under mulch is common. Just be sure the wire is not visible or a tripping hazard, and avoid damaging it with lawn aerators or shovels by noting where your landscape wires are buried. -
Q: Can I splice or extend low voltage landscape wire if I need to add more lights?
A: Yes, you can splice low voltage landscape lighting wire to extend a run or add a fixture. To do so, use the same gauge wire for the extension and join the wires with proper waterproof connectors. For example, you might use an inline splice connector or twist the wires together with a waterproof wire nut, then bury the connection. Ensure each splice is secure and insulated from moisture. It’s generally better to plan for extra wire length initially, but splicing is safe if done correctly. Just avoid having an excessive number of splices, as each adds a small point of resistance. Whenever possible, use a continuous run of landscape low voltage wire for critical longer distances, and only splice where necessary (e.g. to tee off to a fixture or to repair a cut wire). -
Q: Do low voltage landscape wires need to be run in conduit?
A: In most cases, no, conduit is not required for low voltage direct-burial landscape wire. The cable’s insulation is thick enough to be buried directly in soil. However, you can use conduit (such as PVC pipe) as added protection if desired. It’s a good idea to put wires in conduit under driveways, sidewalks, or high-traffic lawn areas to prevent damage when digging in the future. Using conduit can also make it easier to replace or upgrade wires later (you can pull the old wire out and slide new wire through). For typical garden beds and open lawn, direct burial is perfectly fine and common. Always use UL-rated landscape electrical wire that is designed for direct burial if you’re not using conduit. -
Q: What if I only have speaker wire or an indoor cable – can I use that for landscape lights?
A: It’s not recommended. You should use cable specifically made as wire for low voltage landscape lighting. Landscape wire has insulation formulated for outdoor conditions (moisture, UV) and is usually thicker gauge to handle the current of multiple lights. Speaker wire or lamp cord might be the correct gauge and could technically work for a short time, but it will deteriorate quickly outdoors and is not rated for direct burial or UV exposure. It’s best to stick with proper landscape lighting wire to ensure longevity and safety. The good news is that landscape wire is readily available and not very expensive – and you can buy it in convenient lengths like 50 ft, 100 ft, etc., as needed.
Build Your Landscape Lighting Shopping List
Finish the plan with a project-level list instead of buying one item at a time. Record your final numbers below before checkout.