Who Should Use Them (butt connector with solder)
Who benefits most from a butt connector with solder? Anyone who needs quick, sealed, compact splices and appreciates visual proof of a good joint.
DIYers & weekend mechanics. You’re adding fog lights, hardwiring a dash cam, fixing a trailer harness, or repairing a broken taillight lead. A butt connector with solder streamlines the process: push the stripped ends together inside the sleeve, apply heat, watch the solder ring flow and the adhesive beads form. Because the sleeve is clear, you can see conductor overlap, solder wetting, and adhesive extrusion. That transparency is a built-in quality check many casual users don’t get with opaque crimp barrels.
12-V upfitters and mobile installers. If you outfit vehicles with radios, strobes, GPS trackers, rear-seat entertainment, or bed lighting, time matters. Solder seal connectors eliminate the two-step “crimp then heat” flow. For repeatable in-cabin splices (where temperatures are tame and looms are supported), sleeves can increase throughput while maintaining consistent results.
Field techs in tight spaces. Sometimes the best crimping pliers won’t fit. With a solder wire connector you only need access for a heat nozzle. This is a key advantage behind dashboards, under carpets, inside tailgates, or near headliners.
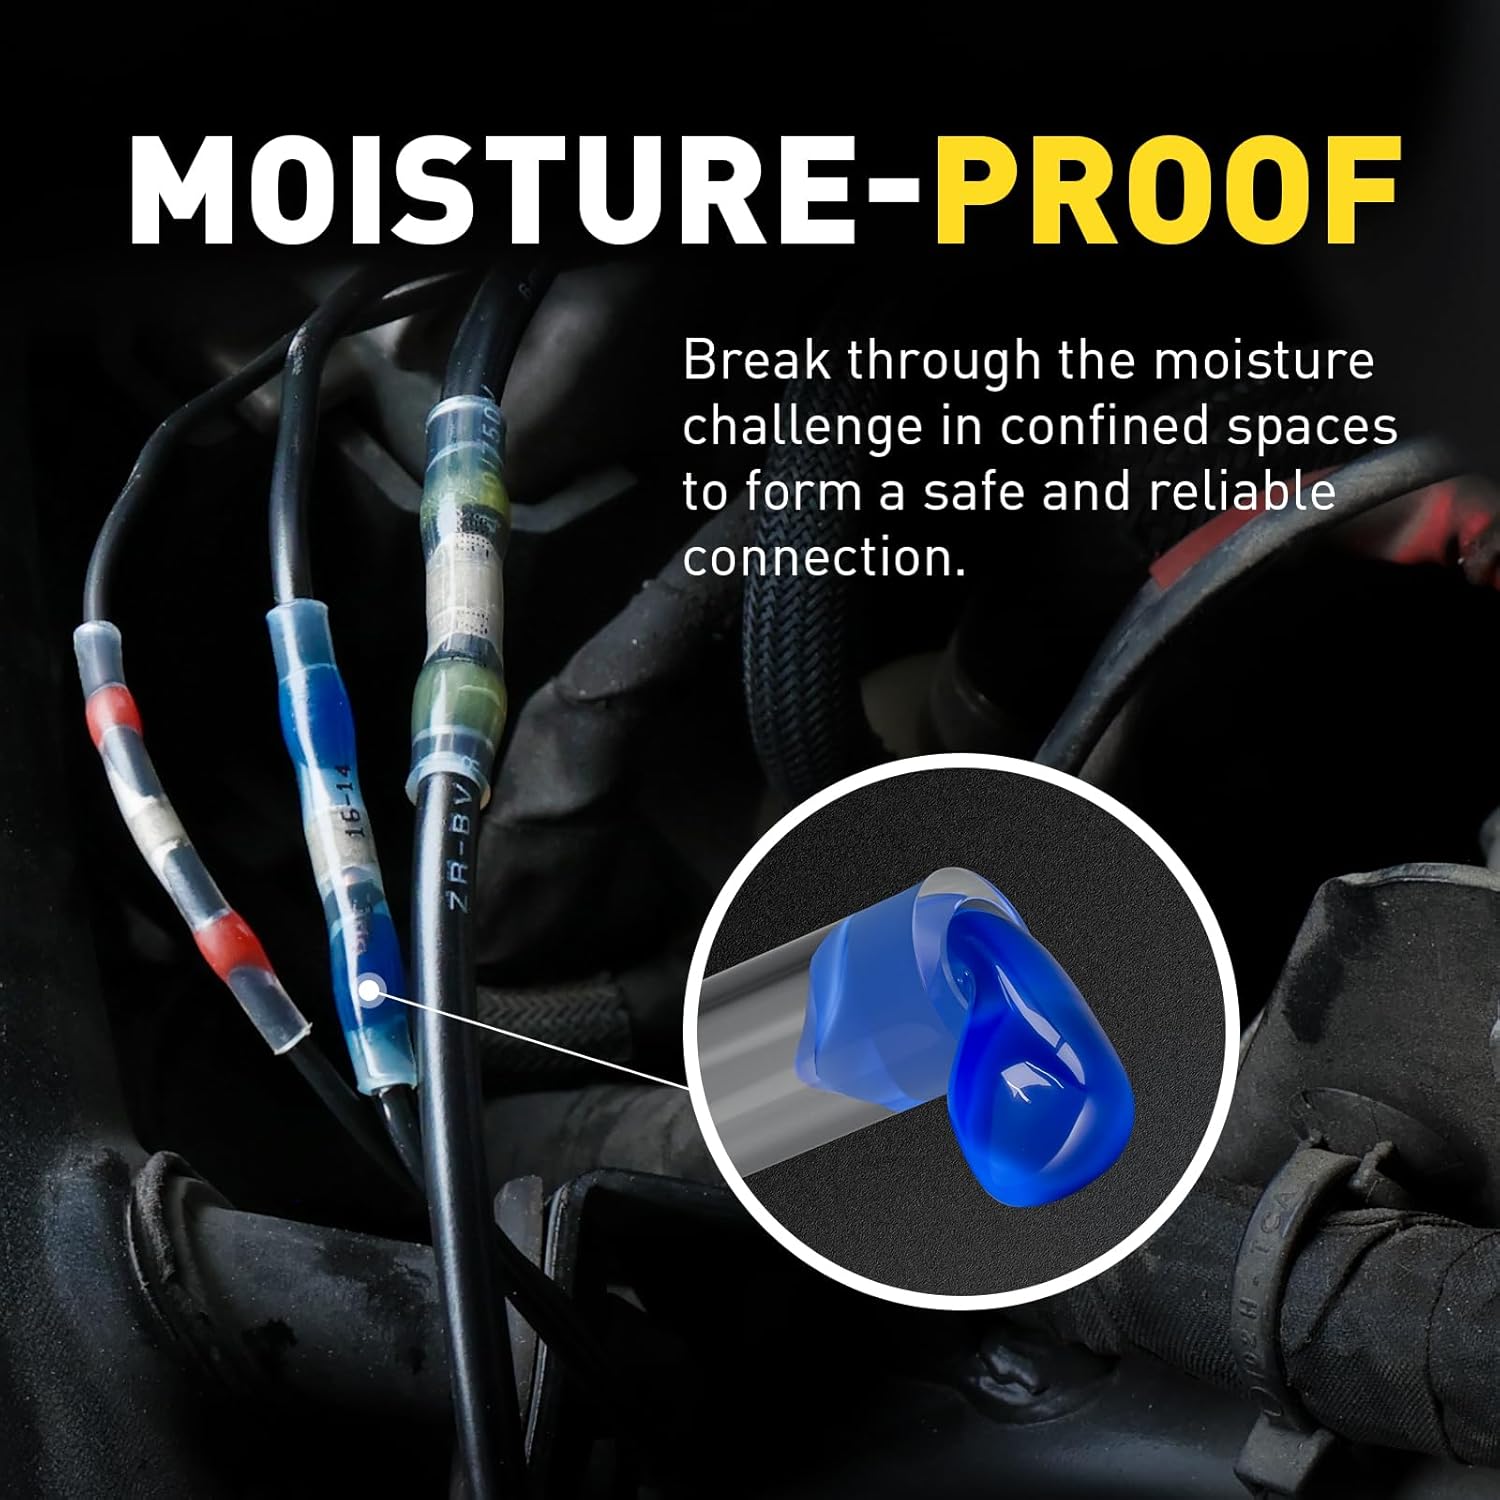
Overlanders and fleet maintenance. You want sealed splices that resist road spray and salt mist. A sleeve provides an IP-style seal (via hot-melt adhesive) when properly heated, making it ideal for exterior lighting runs and trailer leads—areas that get splashed but don’t see engine-bay temperatures.
A realistic boundary. Even the best solder sleeves create a rigid soldered core; under high vibration or continuous flex (engine bays, frame rails, long unsupported loops), a cold-formed crimped barrel typically outlasts soldered splices. Many workmanship standards (e.g., IPC/WHMA-A-620, NASA workmanship) prefer crimp for fatigue resistance in mobile platforms. Translation: use a butt connector with solder for interior and moderate-stress circuits; choose an adhesive-lined crimp and seal connector for harsh vibration or heat.
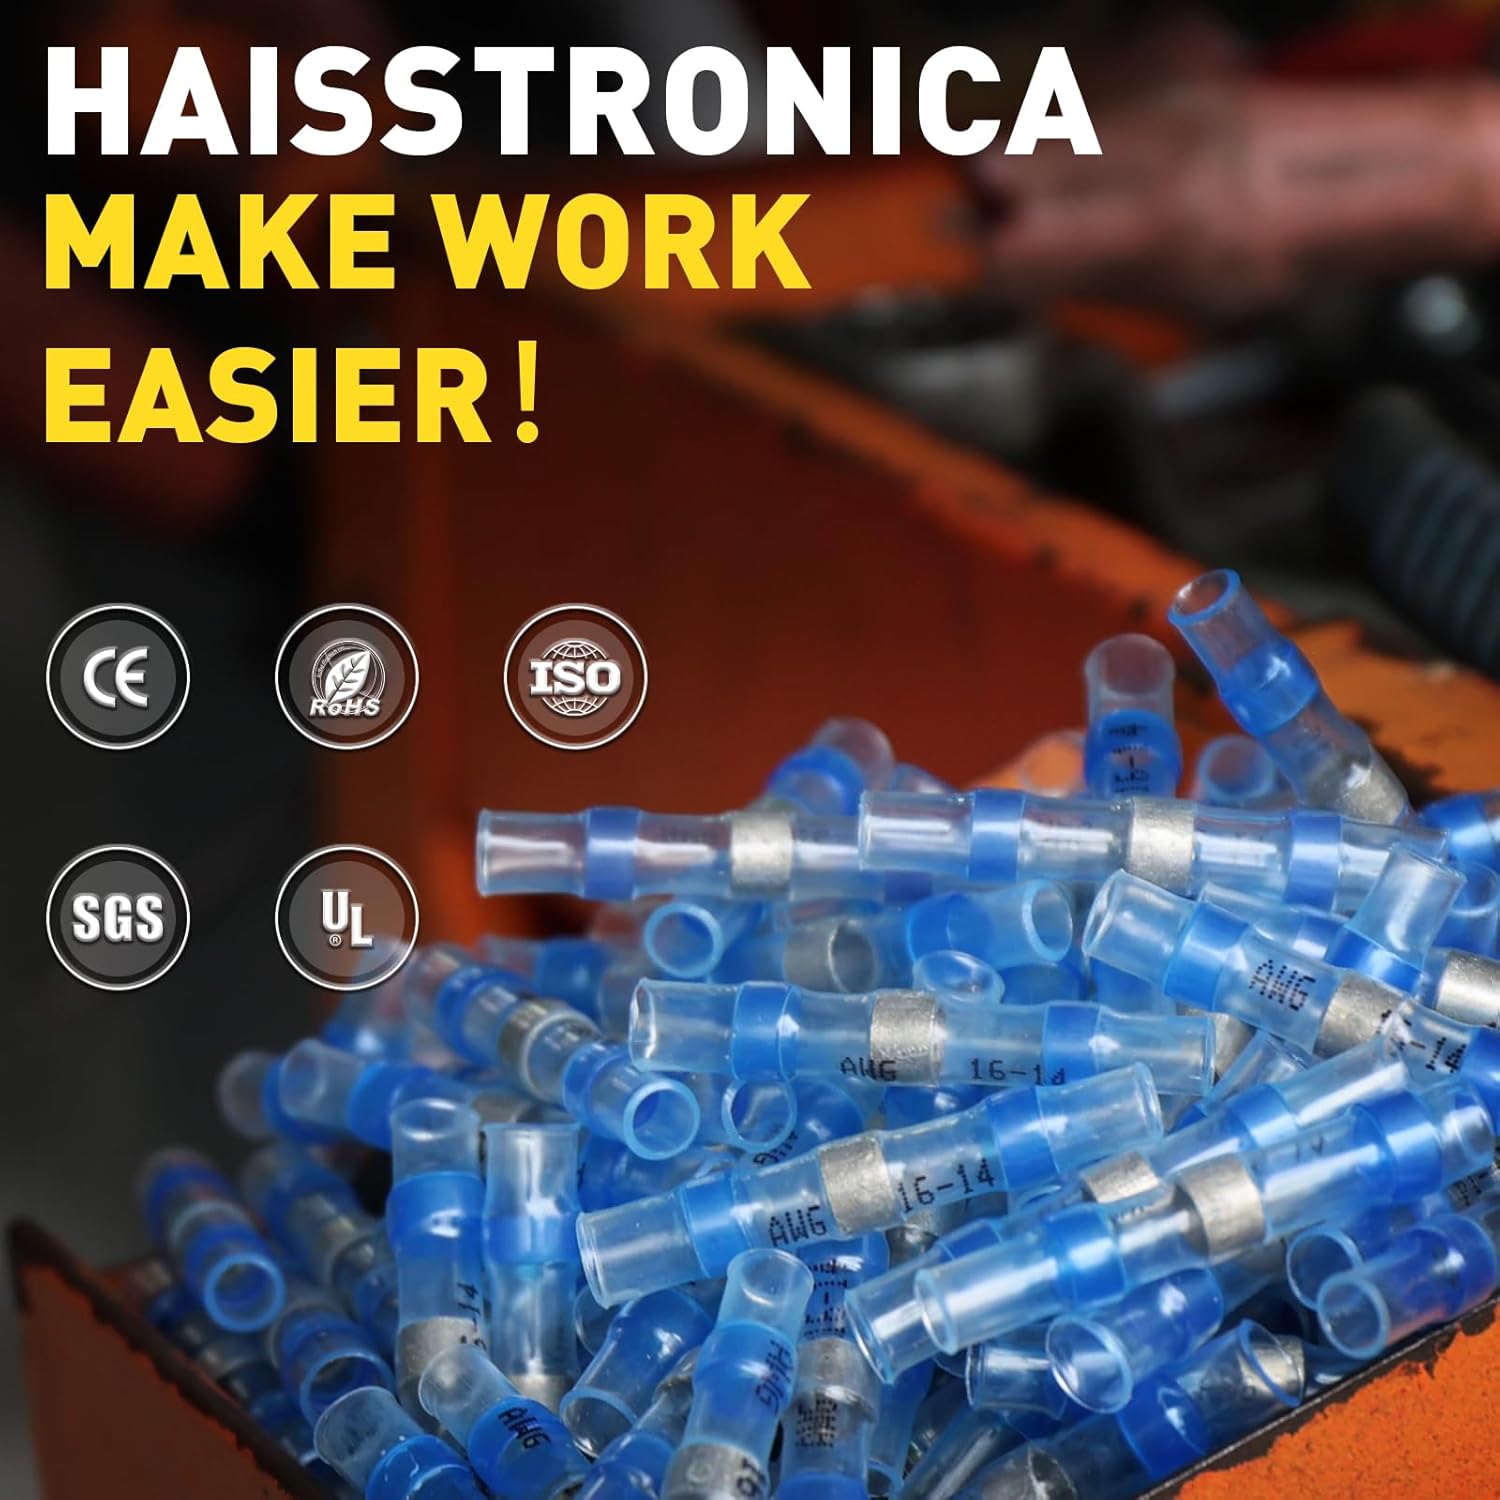
👉 Strengthen circuits with Haisstronica wire soldering connectors—pro-grade performance.

Buying Criteria—What “Best” Means (butt connector with solder)
Marketing copy is cheap; your wiring harness is not. Here’s how to evaluate solder connectors so you actually buy the “best” — not just the best-sounding.
1) Electrical performance (low resistance, proper wetting)
-
Solder ring formulation. Look for low-temperature, fluxed alloy rings designed to wet copper quickly without scorching jackets. You shouldn’t need a soldering iron; a focused heat source is enough.
-
Conductor overlap window. The clear body should make it obvious that the stripped ends overlap beneath the ring. If the ring is too narrow or the tube too opaque, QC suffers.
2) Mechanical strength (pull-out and strain relief)
-
Dual adhesive rings. High-quality sleeves use two hot-melt bands that flow and bond to insulation, distributing strain and excluding moisture. You should see small adhesive beads form at both edges after heating.
-
Shrink ratio. A 3:1 ratio handles varied jacket diameters; 4:1 offers extra sealing margin on thin-wall insulation and odd ODs. If you’re mixing ISO 6722 automotive primary wire with accessory pigtails, broader shrink ratios reduce your “sleeve doesn’t grab” moments.
3) Sealing (water and salt resistance)
-
Adhesive chemistry. Not all hot-melt is equal. Good adhesive bonds to common PVC, cross-linked poly, and TPE jackets and remains flexible at low temperature. For under-vehicle runs exposed to spray, proper adhesive flow is the difference between “sealed” and “seems sealed.”
-
Clarity for inspection. Clear tubing isn’t cosmetic—it lets you confirm full adhesive wet-out and spot voids or burned spots.
4) Compatibility with real automotive wire
-
AWG coverage with color coding. Standard sleeve colors (white/red/blue/yellow) should map to AWG 26–10. Verify the printed range—some cheap assortments overclaim.
-
Fine-strand friendliness. Automotive primary is finely stranded; the ring should fully wet bundles without “bridging.” A quality soldered connector won’t leave dry strands at the edges.
5) Temperature and environment ratings
-
Operating temp of tubing and adhesive. Confirm the sleeve’s temp rating. For cabin and exterior lighting harnesses, -40 °C to 105 °C is a helpful baseline; engine-bay runs often require higher.
-
UV and chemical resistance. Under-chassis splashes include oils, salts, de-icers, and cleaners. Look for materials tested for chemical exposure.
6) Tooling & process control
-
Heat source. A reducer-nozzle heat gun gives even heating and avoids scorching. Torches work in a pinch but require more finesse. (Never carbonize the tube; brown = compromised seal.)
-
Visual cues. On a finished joint you should see: (1) fully collapsed shiny solder with no voids; (2) adhesive fillets at both ends; (3) no burnt jacket; (4) no exposed conductor outside the tube.
-
Documentation. Kits that publish simple process steps and AWG charts reduce training time.
7) Organization & replenishment
-
Assortment that matches reality. You’ll use far more blue and red than yellow or white. A well-weighted kit prevents “I’m out of blue again” downtime.
-
Labeled, removable bins. On a cart or truck, modular bins keep sizes separate and restock simple. That’s precisely why the Haisstronica solder-seal kit with removable storage bins is practical in the field—grab just the bin you need.
8) Standards awareness
-
Know your rules. IPC/WHMA-A-620 (harness workmanship), UL 486 (wire connectors), and OEM service bulletins often steer you toward crimp in high-vibe zones and allow sleeves for appropriate conditions. If your environment is wet long-term (bilge, salted roads), inspect for adhesive flow and consider periodic checks.
Bottom line on buying: “Best” means low-melt solder that wets quickly, adhesive that truly seals, clear tubing for QC, correct AWG mapping, a shrink ratio that fits your wire jackets, and practical storage that keeps techs moving. A butt connector with solder that nails those points is the one that actually saves you time and callbacks.
👉 Trust the seal of Haisstronica soldered wire connectors—add to basket.

Best Use Cases on Cars (butt connector with solder)
You’ll get top results when the environment matches what a butt connector with solder is designed to handle: moderate vibration, intermittent moisture, and accessible heating.
1) Trailer lighting and tow harness repairs
Road spray and corrosion are the trailer’s natural habitat. Heat shrink solder connectors shine here because they combine the splice and the seal in one heat step. Make staggered splices to avoid a bulge, route inside split loom, and anchor both sides with cable ties to eliminate flex at the joint. For long, unsupported runs on the frame, consider a crimp-and-seal butt splice instead to maximize fatigue life.
2) Auxiliary lighting & accessories (interior and exterior)
Light bars, ditch lights, rock lights, bed LEDs, air compressor feeds for lockers—these circuits typically live away from the hottest engine-bay areas. A solder seal connector delivers compact joints and excellent water exclusion, especially when you’re tapping into existing harness leads. Use adhesive mounts and wraps so the joint is supported, not dangling.
3) Dash cams, radar detectors, and head units
Under-dash work is cramped. A wire connector with solder simplifies overhead splices: no die selection, no crimper clearance—just heat. Because dashboards don’t see engine-level heat or severe flex, a sleeve is a nice blend of speed and reliability. For CAN/LIN or sensor circuits, keep leads short, avoid sharp bends at the splice, and verify the solder ring doesn’t bridge to insulation.
4) Door, hatch, and trunk lid repairs
Moving hinges mean cyclic flex. If you must splice in these locations, keep the joint inside a supported section of loom and away from the hinge bend radius. A butt connector with solder can work if strain relief is excellent and the flex loop is generous; otherwise, an adhesive-lined crimp butt splice (with a long barrel) will better tolerate millions of door cycles.
5) Engine-bay sensor pigtails (selective)
Near the front of the bay, away from manifolds and turbos, sleeves can be fine for low-current sensor runs. But on hot or highly vibratory zones (fan shrouds, near alternators), choose sealed crimp connectors instead. Heat and vibration are the enemies of a rigid soldered core.
6) Marine-adjacent vehicles and salted roads
Salt is relentless. Properly heated sleeves give you an immediate water barrier. If your rig sees salted winters, wash the underside periodically and inspect exposed looms during seasonal maintenance. In continuous wet immersion (e.g., boats), many techs default to crimp-and-seal for long-term fatigue performance.
7) Emergency roadside service and fleet triage
You need a fast, sealed splice that’s easy to inspect—nothing beats a solder sleeve connector for time-to-first-good-splice. Later, during scheduled service, you can decide whether to rework a critical harness section with crimp-and-seal.
8) Battery, starter, high-current feeds (don’t)
Large-gauge, high-current circuits demand proper lugs and a calibrated crimp (or hydraulic crimp) with adhesive heat-shrink—not a sleeve. A butt connector with solder is the wrong tool for large cross-sections and high ampacity because solder creep and heat rise are real risks. Use listed lugs and tools.
👉 Upgrade assemblies with Haisstronica solder on connectors—fast, waterproof results.

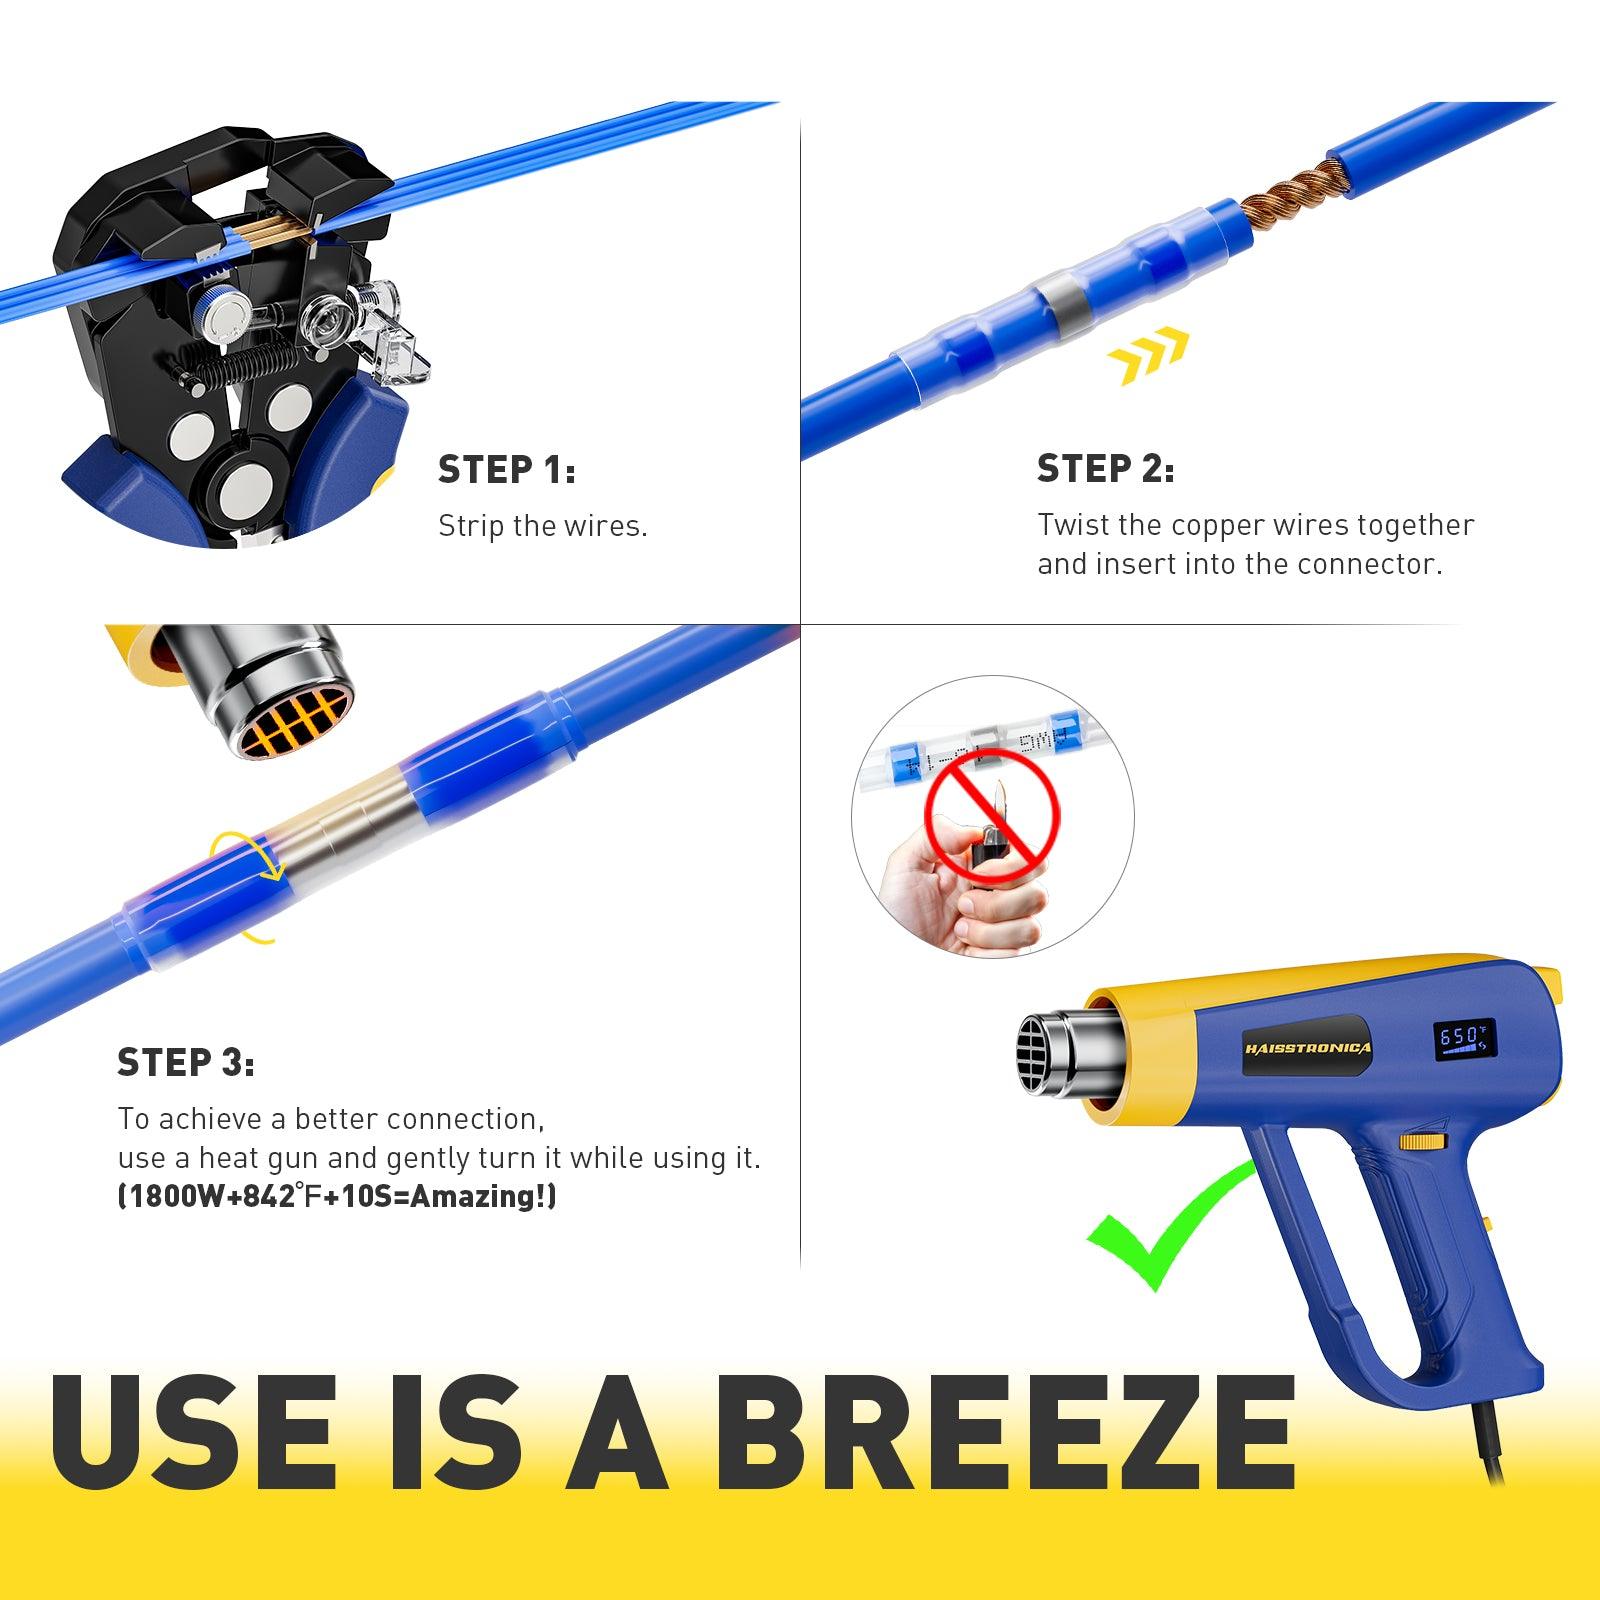
How to Install for First-Pass Success
-
Strip correctly. Strip just enough insulation so both bare ends overlap under the solder ring by ~6–8 mm (¼ in). Avoid nicking fine strands.
-
Insert from both sides. Center the overlap beneath the ring. Tug lightly to confirm both ends are captured.
-
Heat the ring first. Use a reducer nozzle. Circle the solder ring until it collapses and turns shiny, then chase heat toward each adhesive band until you see adhesive beads at both ends.
-
Watch the clear tube. No browning or bubbling. If you see voids under the solder after cooling, cut and redo—don’t “re-cook” a bad joint.
-
Support the splice. Re-loom, tie down both sides, and keep the joint out of the bend radius.
Troubleshooting & Quality Control
-
Cold joint (dull, grainy solder). You moved too soon or under-heated. Re-splice—don’t reheat a suspect joint.
-
No adhesive extrusion. Heat was too brief or too concentrated on the ring. Warm the bands until beads appear; they’re your moisture barrier.
-
Scorched tube. Heat was too hot or too close. Use a heat gun, not an open flame, whenever possible.
-
Pulled-out conductor. Either no overlap or wrong size sleeve. Match AWG and verify overlap visually.
-
Intermittent sensor readings. Check for solder bridging to insulation or insufficient wetting on fine strands.
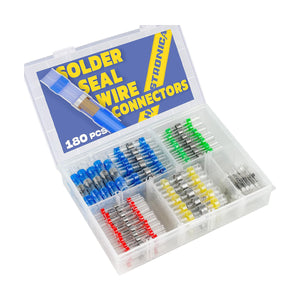
Why We Recommend Haisstronica’s Kit
The Haisstronica Solder-Seal Wire Connectors with Removable Storage Bins package hits the buying criteria that count in the bay or on the roadside:
-
Balanced assortment (AWG 26–10) with realistic counts for red/blue sizes.
-
Clear, tough tubing with dual adhesive rings for visible, repeatable seals.
-
Low-melt solder rings that wet easily, minimizing scorch risk with a standard heat gun.
-
Modular storage you can toss in a tool bag or mount on a cart, so sizes don’t mix.
-
Consistent results that cut job time on trailers, lighting, cabin accessories, sensors, and more.
Throughout this guide we’ve used phrases you’ll see while shopping—solder on wire connectors, solder sleeves, heat shrink solder connectors, solder and heat shrink, solder seal connectors, solder & seal, and so on. All refer to the same core idea: a clear sleeve that soldiers and seals in one controlled heating step. When your environment fits, that’s hard to beat.
Our Top User-friendly Picks
Built for extreme environments, Haisstronica’s solder wire connector melts and flows around the joint, then cools to a rugged, moisture-tight seal in seconds. The adhesive-lined heat-shrink provides cable-entry strain relief and abrasion resistance. Clear AWG labels on the tubing speed up jobs and minimize errors. For technicians who demand reliability from their wire solder connectors, our soldering wire connectors deliver professional results on boats, vehicles, and outdoor systems.
👉 Simplify installs with Haisstronica solder wiring connectors—shop dependable kits.

Conclusion
A butt connector with solder is a powerful addition to an automotive wiring toolkit when you match the method to the environment. Use sleeves for fast, compact, sealed splices in interior runs, trailer harnesses, auxiliary lighting, and moderate-vibration zones where visual QC is valuable. Use adhesive-lined crimp and seal connectors for high-vibration, high-temperature, or high-current circuits and anywhere your workmanship standard specifies crimp. The most effective shops carry both and choose tactically.
Ready to stock up? Keep speeds high and rework low with the Haisstronica Solder-Seal Wire Connectors (Removable Storage Bins). Grab a kit for your cart and one for your road bag—so the right sleeve is always within reach.
Sources & Further Reading (authoritative workmanship guidance)
-
IPC/WHMA-A-620: Requirements & Acceptance for Cable and Wire Harness Assemblies
-
UL 486 (Wire Connectors & Soldering Lugs for Use with Copper Conductors)
-
TE Connectivity SolderSleeve Devices—Application Data
-
ABYC E-11 (Marine DC Electrical, sealing practices—transferable principles)