Tools to Crimp Wires Together (crimp ratchet tool • wire crimping connectors • crimp on wire connectors)
A reliable crimp is a gas-tight mechanical union between conductor and barrel. Getting there requires purpose-built tools whose dies are engineered for specific wire crimping connectors. Here’s the landscape, from everyday bench tools to heavy-duty field gear—plus where each shines.
1) Ratcheting hand crimpers (the everyday standard)
These are the go-to for automotive, appliance, and general electrical work. A true crimp ratchet tool (a.k.a. ratchet crimper or ratcheting crimper) locks until a full cycle is achieved, delivering a controlled crimp height that manual pliers can’t repeat. You’ll see variants:
-
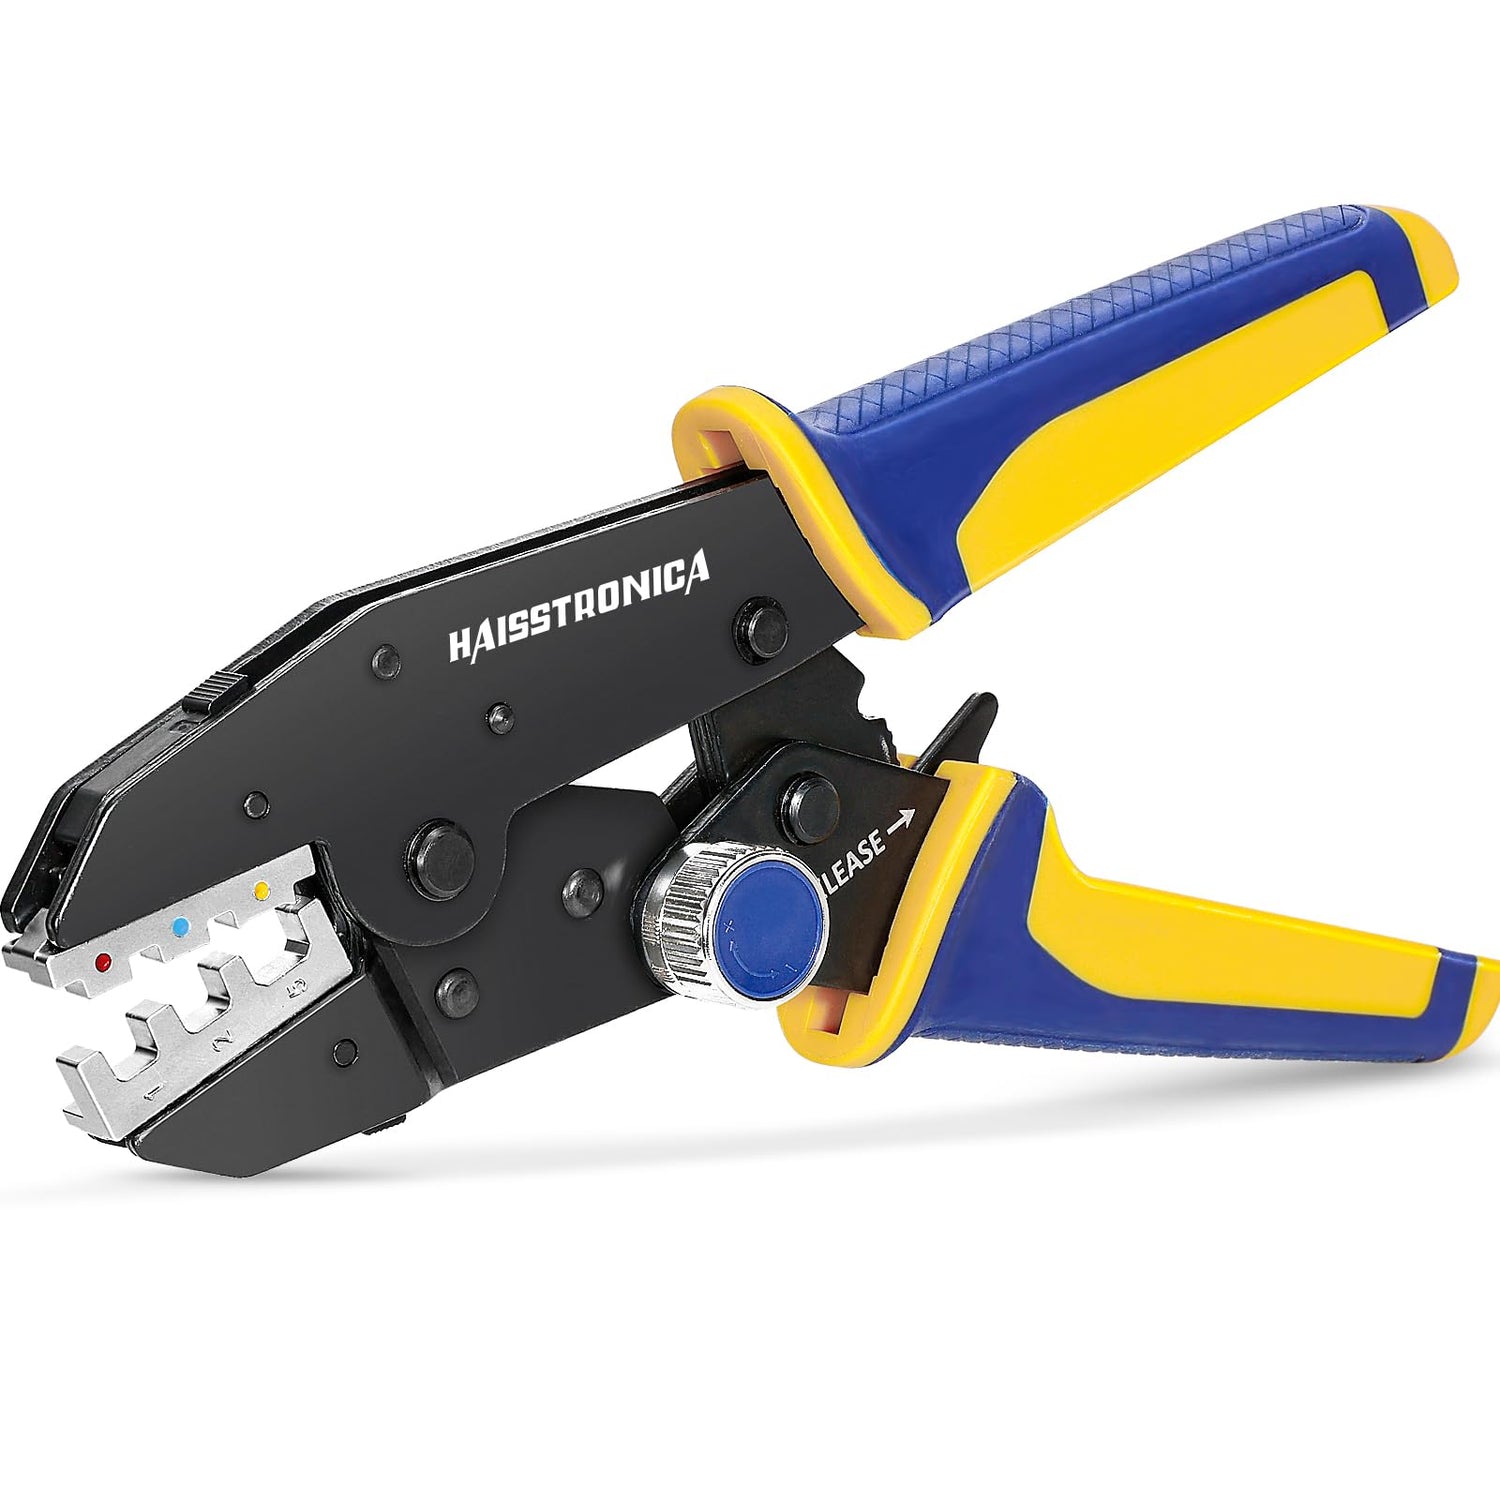
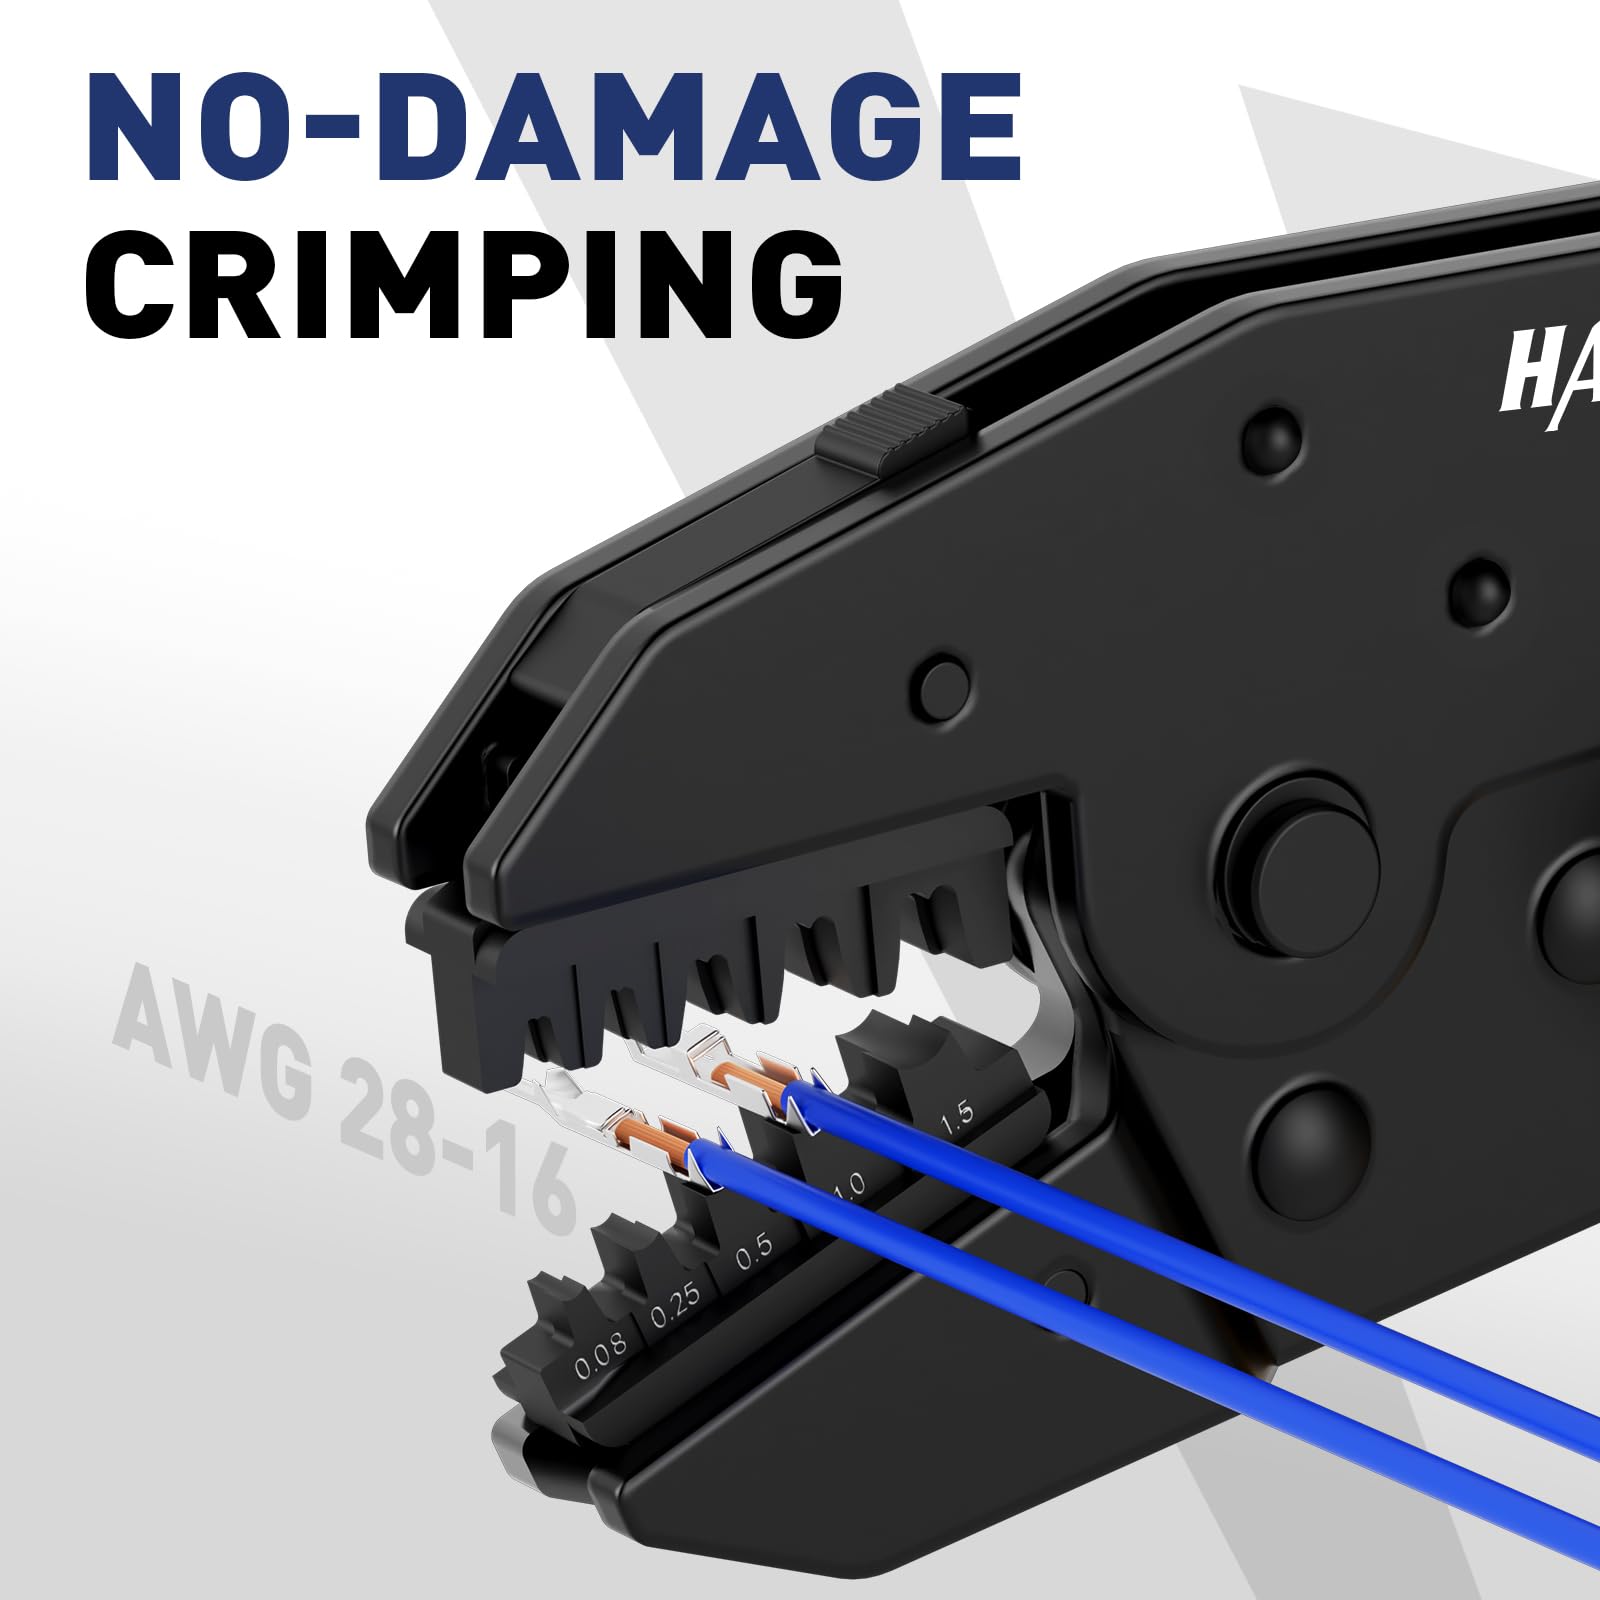
For insulated terminals (red/blue/yellow, 22–10 AWG): A ratcheting crimp tool with color-coded cavities for ring, spade, and crimp on butt connectors. Some are marked specifically as a ratchet crimping tool insulated terminals model.
-
For non-insulated & open-barrel (F-crimp) terminals: Use a ratchet crimper for non insulated terminals or ratchet style terminal crimper with the correct F-die geometry.
-
Interchangeable-die systems: Bodies that accept ratcheting crimper dies/ratchet crimper dies to cover multiple connector families in one handle.
You’ll also encounter related terms in kits: wire connector crimper, terminal crimper, crimping pliers, electrical connector crimp tool, or electricians crimping tool. All describe the same principle: full-cycle ratchet + matched die = consistent results.
2) Ferrule crimpers (panel and control work)
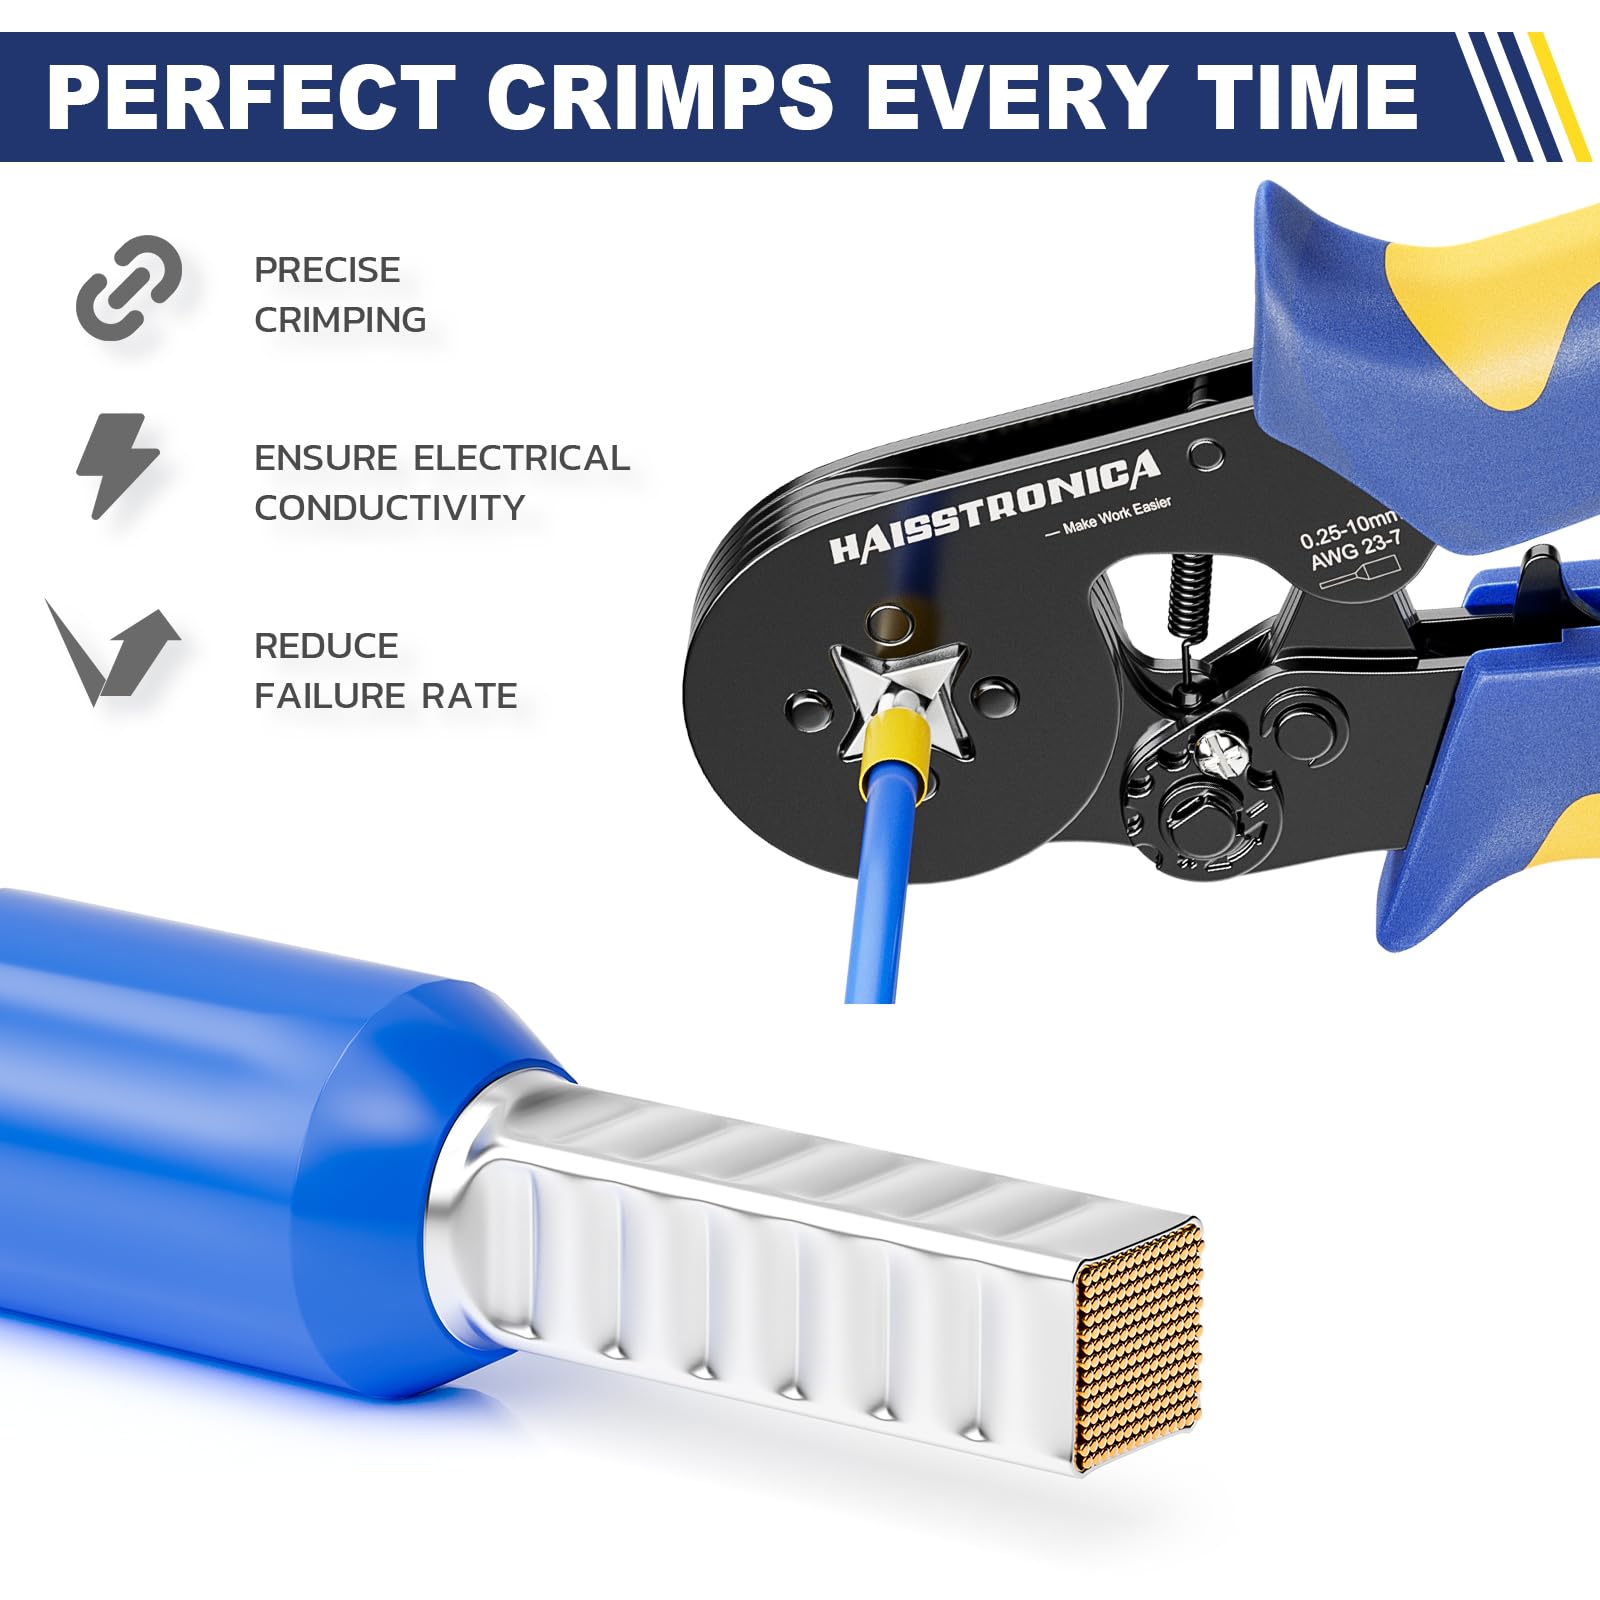
When finely stranded conductors land under screw clamps, use a ferrule crimping tool kit (square or hex) to prevent strand splay and cold flow. Good options come as a ferrule crimper kit/ferrule crimp kit with assortments; you’ll also see wire ferrule kit with crimper and ferrules kit marketed for DIN/IEC terminal strips.
3) Hydraulic/compound crimpers (large lugs)
Battery, starter, inverter, and solar cables—think 6 AWG and up—need a battery cable crimper kit, cable crimper kit, or cable crimping tool kit (hex or indent dies). These provide the tonnage to compress large copper lugs correctly. For field solar terminations, look for an MC4 crimping tool kit or solar crimping tool kit matched to the connector series.
4) Specialty tools (solar, data, coax, and more)
-
MC4 connector crimper: Purpose-built die geometry for PV contacts.
-
Coax & RF: Hex crimpers matched to connector series; follow maker specs.
-
RJ45/8P8C: Different family entirely—crimp the plug contacts, not a wire barrel.
5) Complete kits
If you’re building your first bench, a wire crimping kit, wire crimper kit, wire crimp kit, crimping tools kit, or electrical crimping tool kit bundles a ratchet wire crimping tool with popular terminals. For production shops, look to ratcheting crimper kit, ratchet crimper kit, or electrical crimping tool kits with multiple die sets and gauges.
Why ratcheting beats plain pliers
A crimping tool ratchet makes you finish the stroke before it releases, ensuring the compression ratio that forms a gas-tight slug. Non-ratcheting or generic crimper plier models rely on hand feel and can under- or over-compress, leading to high resistance and early failure. That’s why, across this guide, the answer to “what can I use to crimp wires together?” is almost always “a matched connector + a crimp ratchet tool.”
Seal and protect
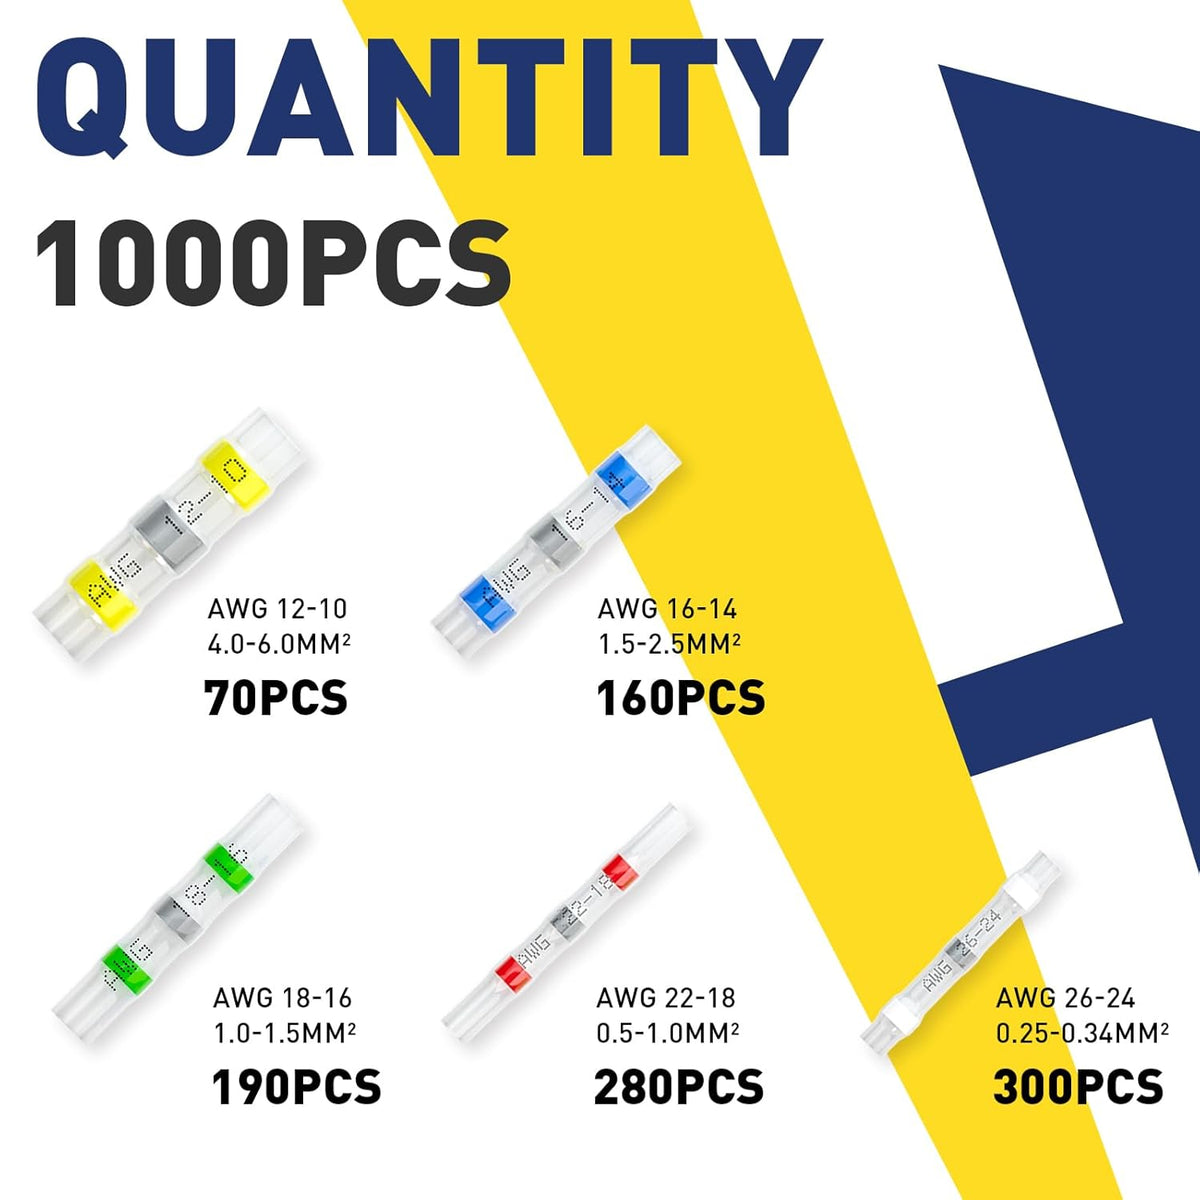
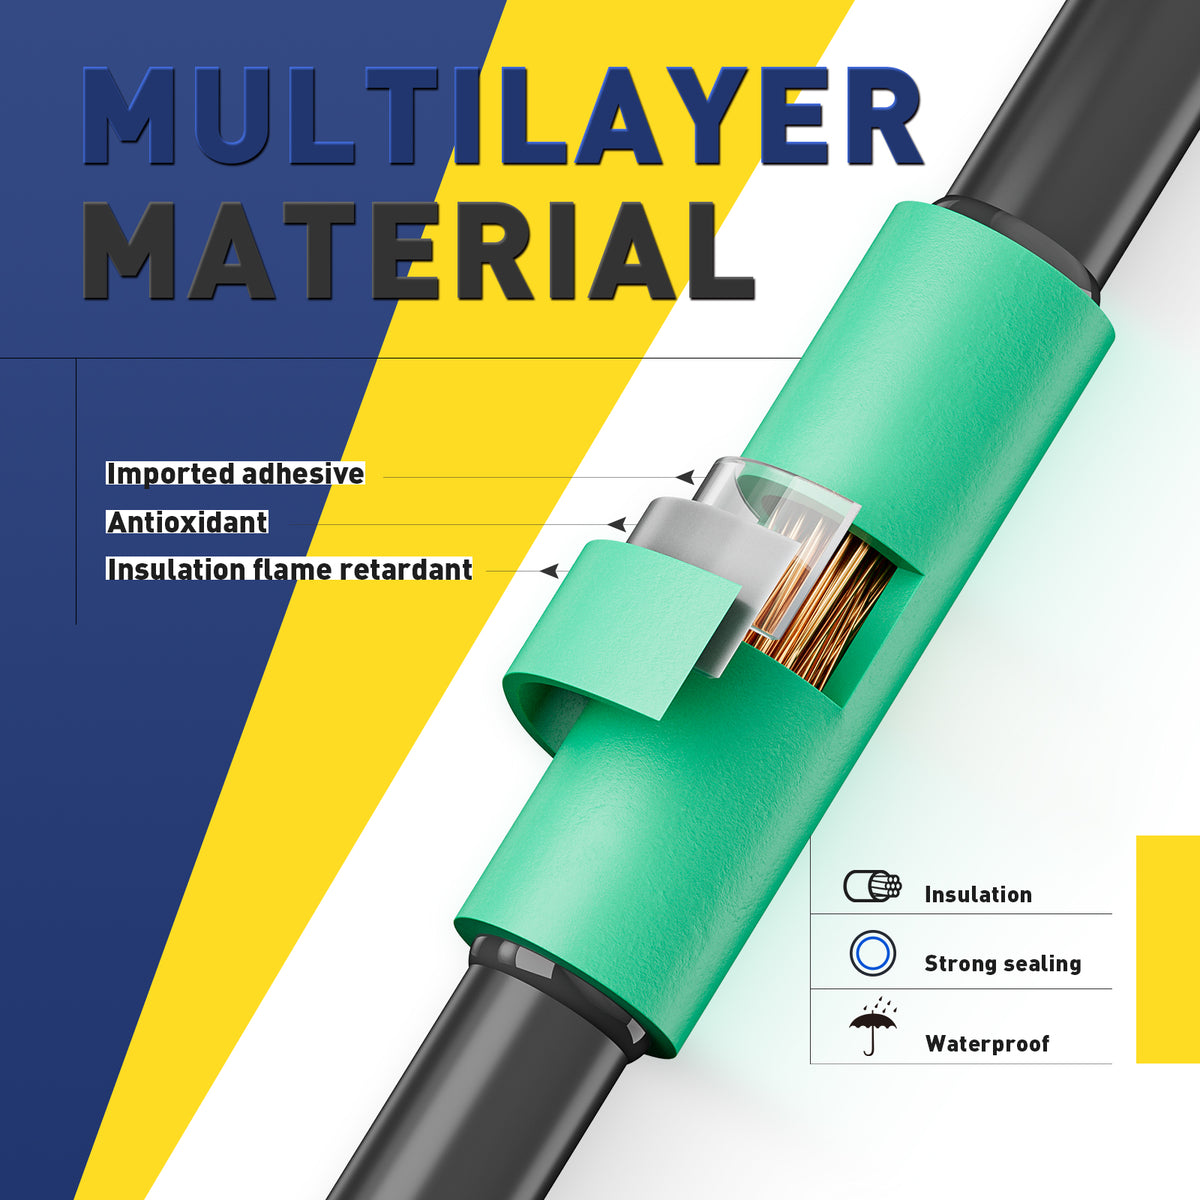
Where moisture is possible, use heat shrink wire connectors/wire heat shrink connectors (adhesive-lined) or crimp first and add adhesive lined heat shrink. Marine or under-car? Choose waterproof heat shrink/marine heat shrink connectors and tinned copper terminals.
Build dependable joints today: Haisstronica crimp ratchet tool for insulated heat-shrink terminals (AWG 22–10)
Match the Connector First (crimp ratchet tool • heat shrink wire connectors • wire connector crimps)
The right tool is the one that matches the connector geometry. Start here—choose the wire connector crimps for your wire gauge (AWG), load, and environment—then pick the tool that’s specified for that barrel style.
A) Insulated ring, spade, and butt splices (vinyl/nylon/heat-shrink)
-
Use when: General 12V/24V, appliances, powersports, lighting.
-
Best practice: Heat-shrink types (heat shrink wiring connectors, heat shrink butt connectors) add strain relief and sealing; adhesive-lined sleeves bond to the jacket.
-
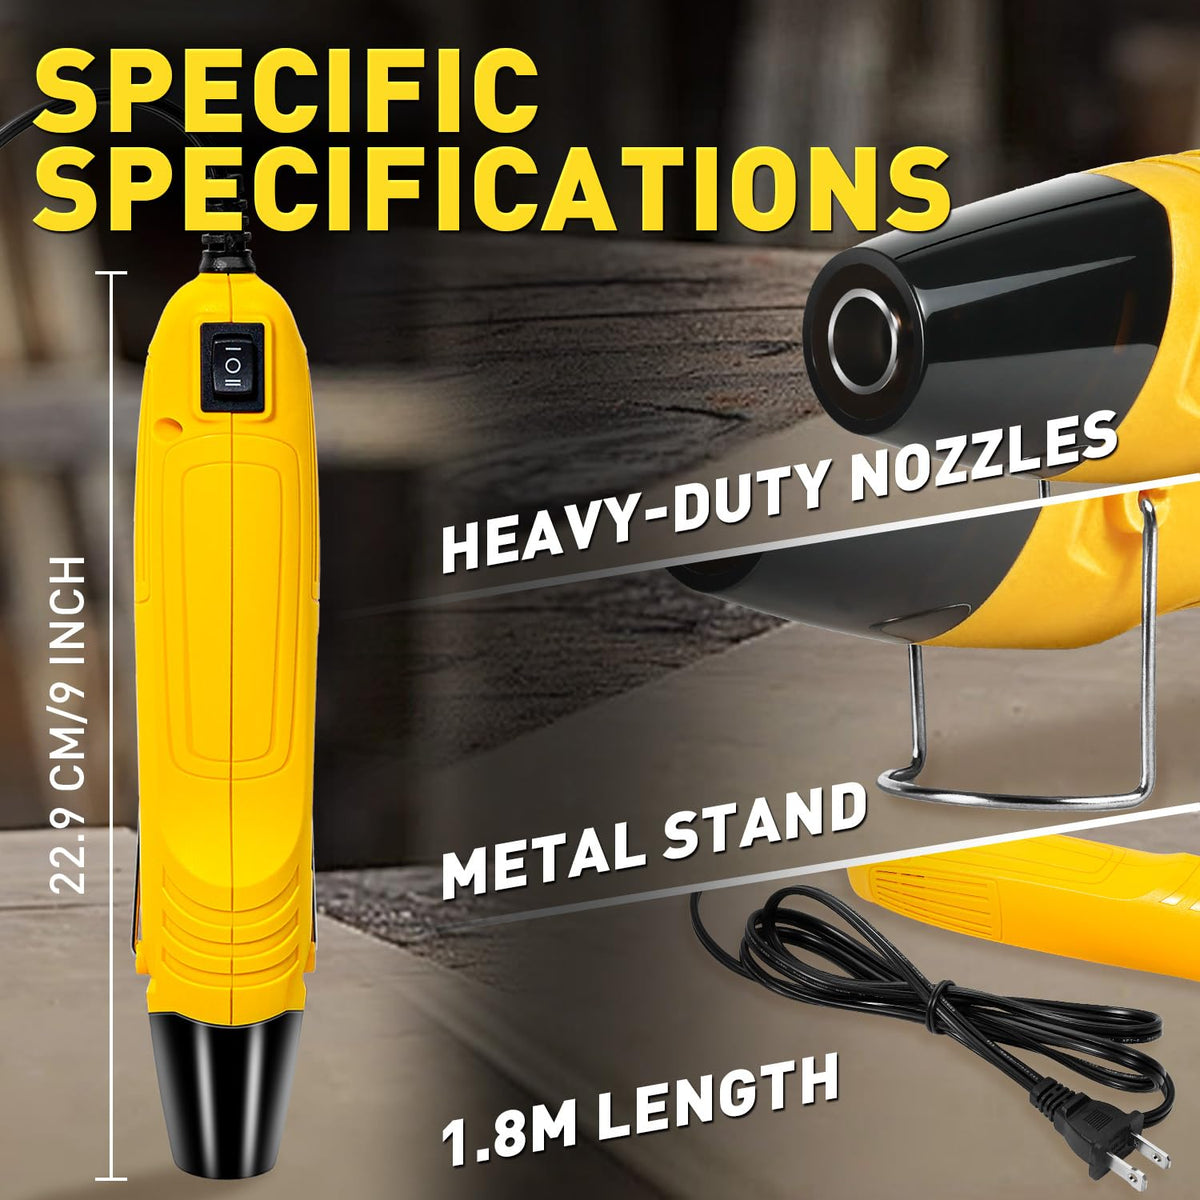
Tool: General ratchet crimpers with marked cavities (red/blue/yellow). If you see moisture, choose electrical connectors with heat shrink and finish with a heat gun until clear adhesive beads appear at the edges.
-
Sizing: Match the barrel color to conductor AWG, not jacket OD.
B) Open-barrel (F-crimp) for OEM connectors
-
Use when: Sensor plugs, multi-pole automotive/industrial housings.
-
Tool: Ratchet crimping tool with F-crimp dies (a ratcheting crimp tool variant). You’ll fold tabs onto the conductor and insulation separately.
-
Tip: Do not substitute insulated-terminal tools; you need the correct crimping wire connector profile.
C) Uninsulated splices & terminals
-
Use when: Harnesses with separate heat shrink for wire over the joint, or when weight/space is tight.
-
Tool: Ratchet crimping frame with uninsulated dies or an electrical connector crimp tool specified for the barrel.
D) Ferrules (IEC terminal blocks & drives)
-
Use when: Finely stranded wire lands under screws; common in panels and drives.
-
Tool: Square/hex ferrule crimper; many come in a ferrule tool kit; search ferrule crimping set/ferrule crimp set to match your block manufacturer.
E) Heavy lugs (battery, inverter, winch)
-
Use when: 6 AWG to 4/0 battery cables, engine grounds, inverters.
-
Tool: 8 gauge crimping tool and up (hydraulic or heavy compound), often included in a battery cable crimper kit. For remote work, a dieless indent press is handy. Finish with waterproof heat shrink.
F) Solar MC4
-
Use when: PV strings and combiners.
-
Tool: MC4 connector crimper in an mc4 crimping tool kit or solar crimping tool kit; always match the contact series and wire range.
Inspection & verification
No matter the connector: strip to spec (no nicked strands), crimp to full ratchet release, tug test the joint, then seal (if applicable). In critical builds, measure crimp height and perform pull tests per UL tables. This disciplined sequence—connector match first, crimp ratchet tool second—is what keeps resistance and heat rise low.
One tool for the daily 22–10 AWG jobs: Haisstronica crimp ratchet tool with color-coded cavities for insulated terminals
Tool Chooser — Which Crimper for Which Job (crimp ratchet tool • ratcheting wire crimpers • ratchet crimper tool)
Here’s a practical matrix that pairs common tasks to the right tool body, die style, and accessories—plus notes on sealing and inspection. Keep this nearby when you’re selecting a kit or upgrading the shop.
Everyday automotive, powersports, appliances (22–10 AWG)
-
Tool: Ratcheting wire crimpers / ratchet wire crimpers (general-purpose) with red/blue/yellow cavities; a quality ratchet crimper tool ensures full-cycle control.
-
Connectors: Insulated ring, fork, spade, crimp on butt connectors; upgrade to heat shrink electrical connector variants in wet zones.
-
Add-ons: Wire crimper kit/wire crimping tool kit with assortments simplifies restock.
-
Why it works: A repeatable crimp ratchet mechanism creates consistent compression ratios across many joints per day.
OEM open-barrel terminals (F-crimp)
-
Tool: Ratchet crimper for non insulated terminals; some call it a ratchet style terminal crimper or non insulated ratchet crimping tool.
-
Connectors: Open-barrel blades, receptacles, and sealed plug contacts.
-
Notes: Two formed areas—conductor and insulation support—must each be crimped in the correct station. Read the application spec!
Panel/PLC ferrules
-
Tool: Square or hex ferrule press; kits are sold as wire ferrule crimper kit or ferrule crimper kit.
-
Connectors: Bootlace ferrules sized to metric/imperial blocks.
-
Why: Prevents strand splay under screws and improves long-term stability.
Marine, under-car, outdoor
-
Tool: Same as daily work, but always use ratcheting wire crimping tool with adhesive lined heat shrink terminals; follow with heat until sealant wets out.
-
Connectors: Marine heat shrink connectors, tinned copper barrels.
-
Tip: Salt + vibration punish marginal crimps. A matched tool and sealed connector are non-negotiable.
Large lugs (6 AWG–4/0)
-
Tool: Hydraulic hex/indent cable crimper kit or battery cable crimping tool kit; for frequent work, invest in a head with interchangeable die set (crimping tool with die set/ratchet crimping tool set for smaller gauges).
-
Connectors: Tinned copper lugs and splices; finish with waterproof heat shrink.
-
Verify: Pull test, then measure resistance if possible.
Solar PV (MC4)
-
Tool: Series-specific electrical connector crimper/electrical connector crimp tool in an mc4 crimping tool kit or solar crimping tool kit.
-
Connectors: MC4 male/female contacts; observe polarity and latch orientation.
-
Note: Many failures trace to wrong wire range. Check contact datasheet.
“One-and-done” bundle options
If you want coverage from ferrules to insulated splices, consider an electrical crimping tool set or electrical crimping tool kits with multiple bodies: a general ratcheting terminal crimper, a ferrule press, and a small hydraulic for lugs. Add a terminal kit with crimping tool/wire connector kit with crimper for consumables, and you’ve got a bench that can handle nearly any harness.
Setup, calibration, and care
-
Dies: Use the die profile called out in the terminal’s application spec. Swap ratcheting crimper dies to match the barrel; don’t force a “close enough” cavity.
-
Cycle control: Confirm the crimping tool ratchet fully releases only at end of stroke; if a quick-release lever exists, use it only to clear jams.
-
Strip length: Follow the connector spec; too long leaves exposed strands, too short yields poor engagement.
-
Tug test: Every joint, every time—especially for high-vibration builds.
-
Maintenance: Wipe, lightly oil pivot points, and store your ratchet wire crimping tool dry. Inspect for die wear or burrs.
-
Training: A five-minute demo on locating the conductor vs insulation wings prevents 90% of novice errors.
Sealing strategy (when and how)
-
Heat-shrink after crimp: With non-insulated splices/terminals, crimp first, then sleeve with heat shrink for wire.
-
Adhesive-lined connectors: For moisture, road spray, or bilge, use electrical connectors with heat shrink; heat until sealant beads at both ends.
-
Marine: Prefer tinned conductors and waterproof heat shrink/marine heat shrink connectors.
Quality criteria you can trust
-
Pull strength: Meets UL 486A-486B minimums for the gauge; the conductor breaks before the joint slips.
-
Crimp height & geometry: Matches the application spec; no cut strands or cracked barrels.
-
Thermal behavior: Stays cool at load; no discoloration or odor after long duty cycles.
Conclusion — a simple, safe formula for every crimp
You asked, “What can I use to crimp wires together?” The clear, safe answer is: use the connector that fits your wire and environment, then drive it with a matched ratcheting tool. Most everyday work is covered by a quality crimp ratchet tool and insulated (ideally adhesive-lined) terminals; OEM plugs need the proper F-crimp dies; panels favor ferrules; and large lugs demand hydraulic hex/indent heads. Add sealing where moisture is likely, verify with a tug test, and you’ll get cool-running, gas-tight joints that pass inspections and survive vibration.
If you’re still on generic pliers, you’re gambling with resistance, heat, and callbacks. Upgrade your bench once, standardize your consumables, and let your ratcheting wire crimpers do what they were built to do: deliver repeatable quality.


