Outdated Wiring Systems
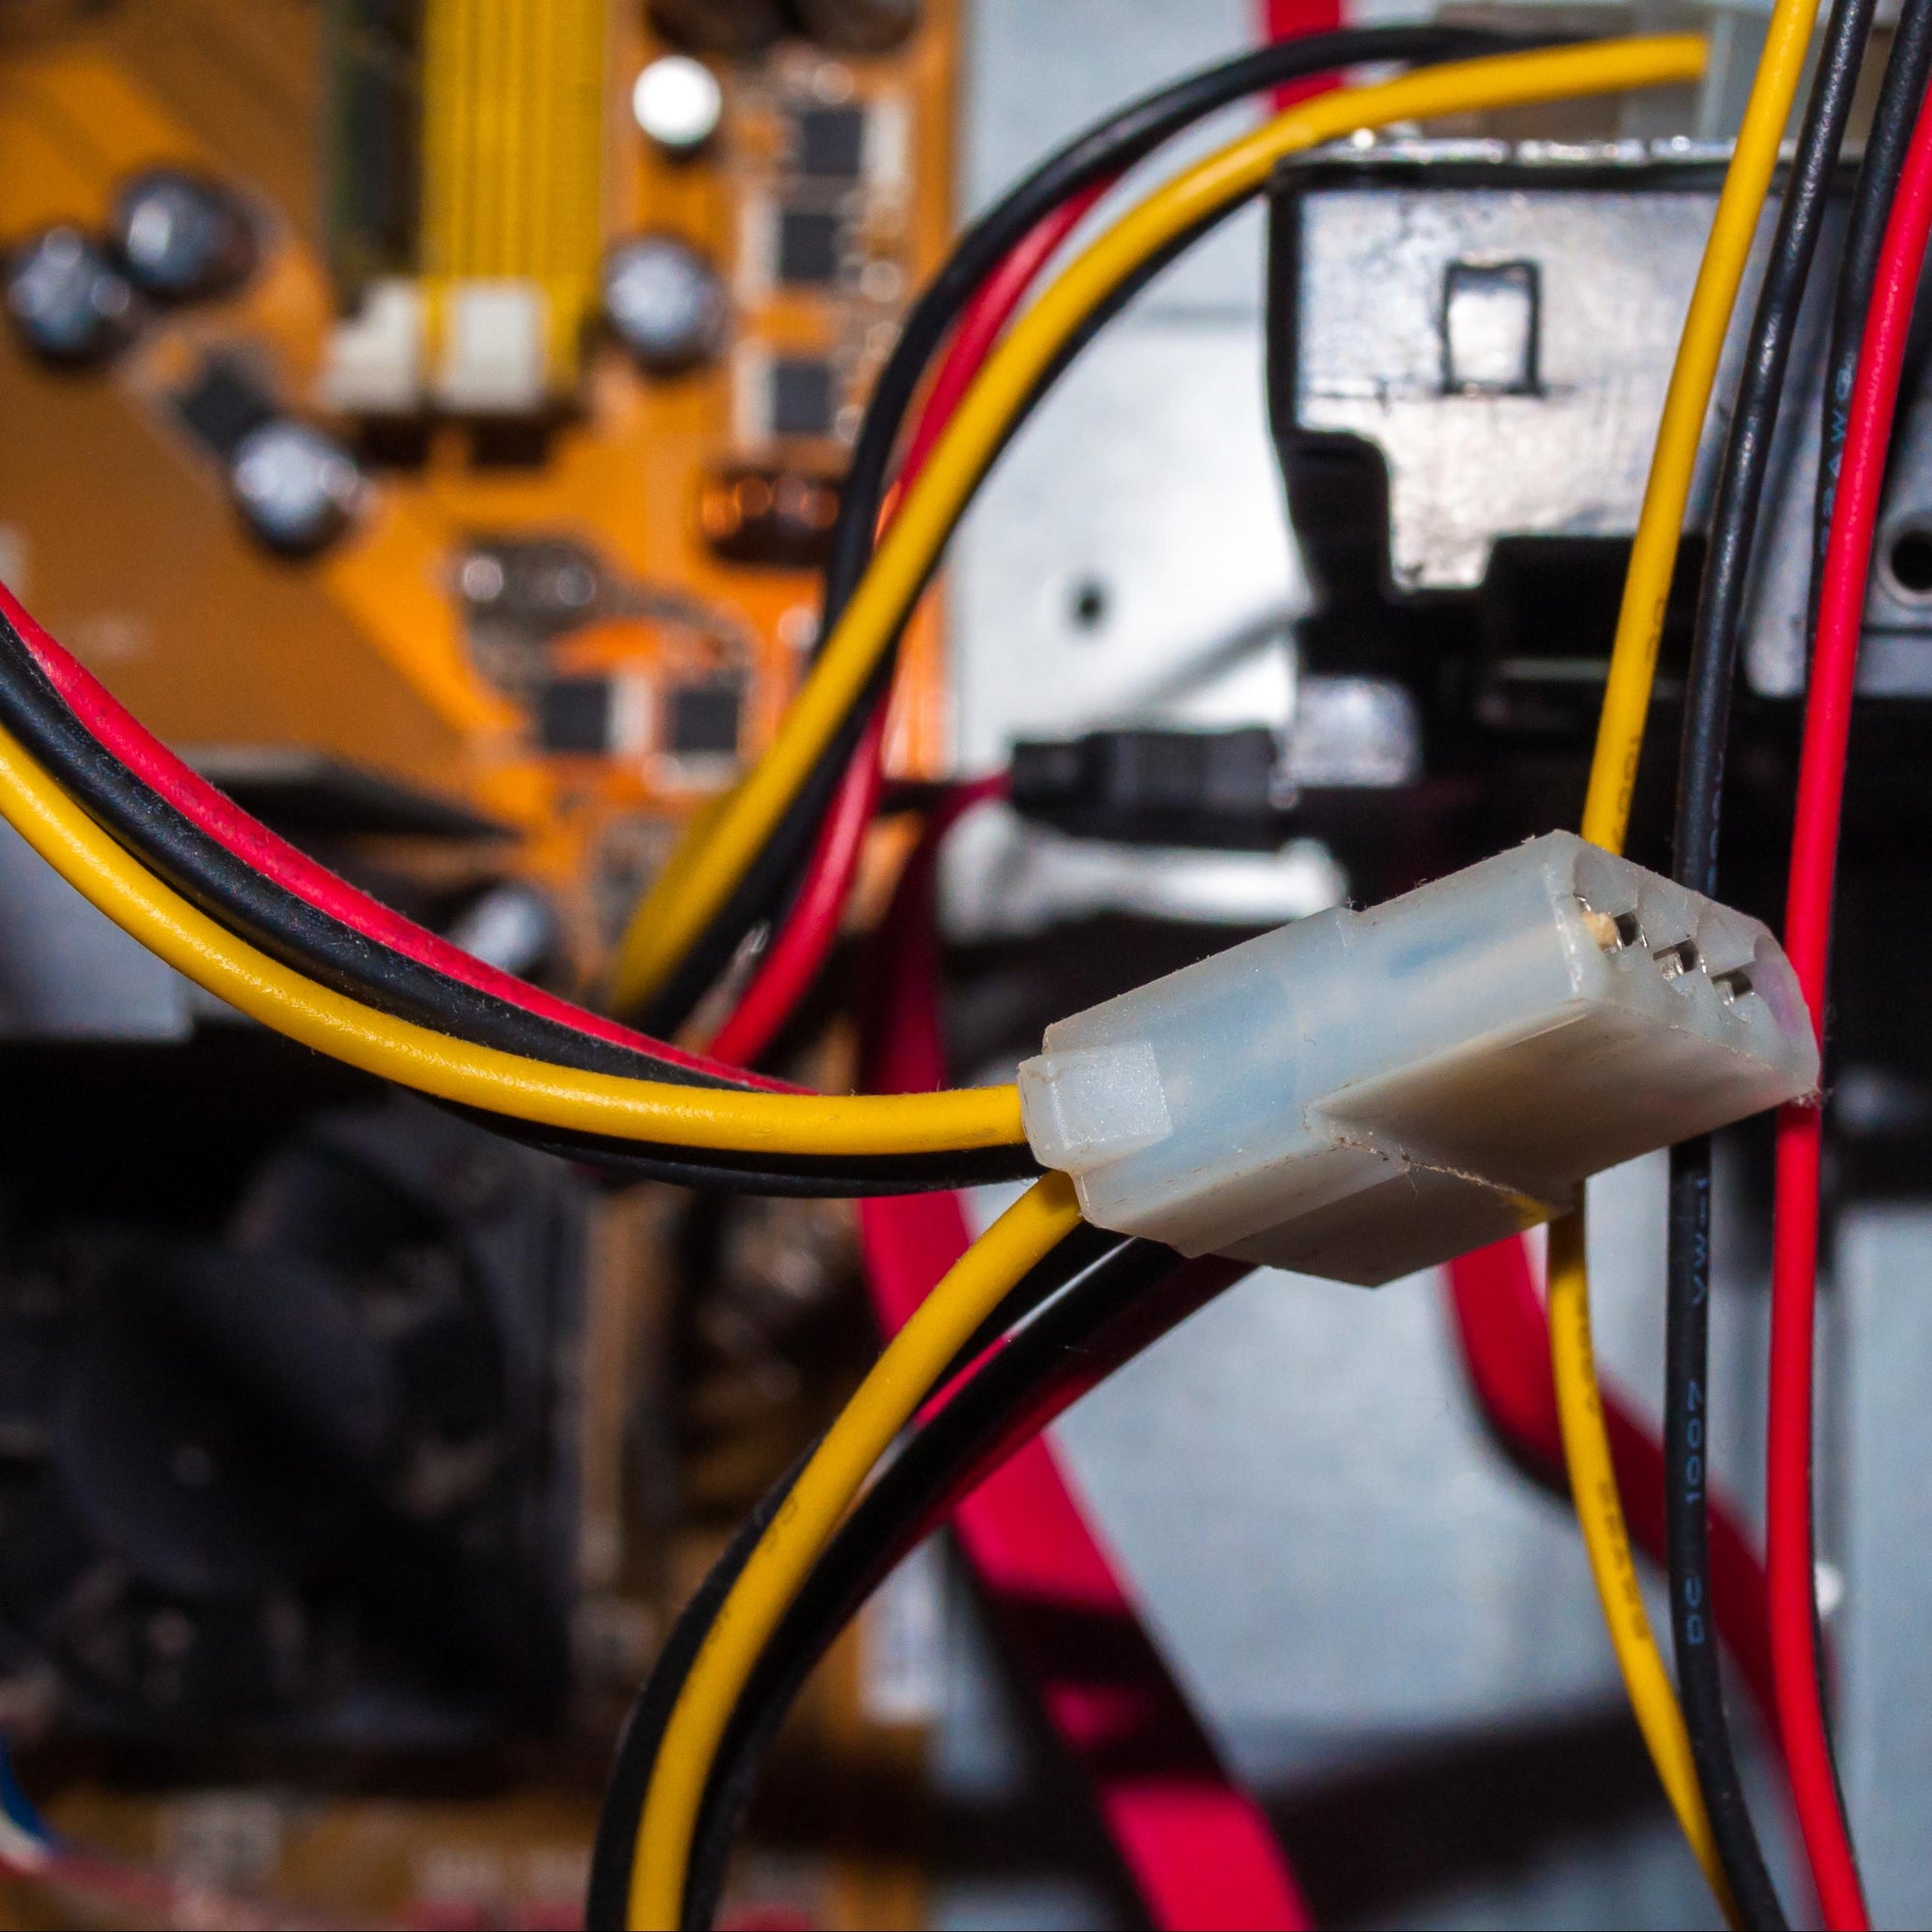
Mid-century homes often feature obsolete wiring systems such as knob-and-tube or aluminum wiring. These systems are not compatible with modern electrical standards and can pose safety risks if not properly updated.
Brittle Insulation
Over time, the insulation on old wires becomes brittle and prone to cracking, increasing the risk of electrical shorts and fires. Standard crimping methods may damage these fragile wires, necessitating specialized techniques.
Limited Access
The architectural design of mid-century homes can make access to wiring challenging. Tight spaces and unconventional layouts require tools and methods that can adapt to these constraints.
Solution
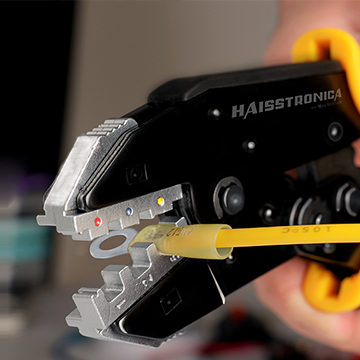
Specialized Crimping Techniques
To address the unique challenges of mid-century homes, specialized wire crimping techniques are essential. These techniques involve using tools designed to handle fragile wires and tight spaces, ensuring secure and safe connections.
Importance of Proper Tools
Utilizing the right tools is crucial. Ratchet crimping tools, for instance, provide consistent pressure and reduce the risk of damaging old wires. Heat shrink connectors offer additional insulation and protection, vital for aging electrical systems.
Tools Needed
Here are some recommended tools for effective wire crimping in mid-century homes:
-
Ratchet Wire Terminal Crimping Tool for AWG 22-10 Heat Shrink Connectors
-
Ideal for heat shrink connectors, providing consistent and secure crimps.
-
-
Wirefy Crimping Tool Set 8 PCS with Interchangeable Dies
-
Versatile set suitable for various connector types.
-
-
Klein Tools 3005CR Ratcheting Crimper
-
Professional-grade tool for insulated terminals.
-
-
IWISS AP-11 Ratchet Wire Crimping Tool
-
Designed for Anderson Powerpole connectors, suitable for 10-20 AWG wires.
-
-
Wirefy Wire Crimping Tool for Heat Shrink Connectors
-
Specifically designed for heat shrink connectors, ensuring strong crimps.
-
Step-by-Step Guide
Step 1: Safety First
-
Turn off the power supply to the area you'll be working on.
-
Use a voltage tester to confirm that the wires are not live.
Step 2: Assess the Wiring
-
Inspect the existing wiring for signs of damage or wear.
-
Identify the type of wiring system in place (e.g., knob-and-tube, aluminum).
Step 3: Select the Appropriate Tools
-
Choose a ratchet crimping tool compatible with the wire gauge you're working with.
-
Opt for heat shrink connectors to provide additional insulation.
Step 4: Strip the Wires
-
Use a wire stripper to remove the insulation carefully, exposing the conductor.
-
Avoid nicking or damaging the wire strands.
Step 5: Crimp the Connector
-
Insert the wire into the connector, ensuring it's fully seated.
-
Use the ratchet crimping tool to compress the connector onto the wire.
-
Ensure a secure and firm connection without over-crimping.
Step 6: Apply Heat Shrink
-
If using heat shrink connectors, apply heat evenly using a heat gun.
-
Allow the connector to cool, forming a tight seal around the wire.
Step 7: Test the Connection
-
Use a multimeter to test the continuity of the connection.
-
Ensure there are no shorts or open circuits.
Conclusion
Updating the electrical systems in mid-century homes requires careful attention to detail and the use of specialized wire crimping techniques. By understanding the challenges posed by outdated wiring and employing the right tools and methods, DIYers, electricians, automotive repair workers, and home users can ensure safe and reliable electrical connections.
Investing in quality crimping tools and connectors not only simplifies the renovation process but also enhances the longevity and safety of your home's electrical system. Always prioritize safety and consult with professionals when in doubt.