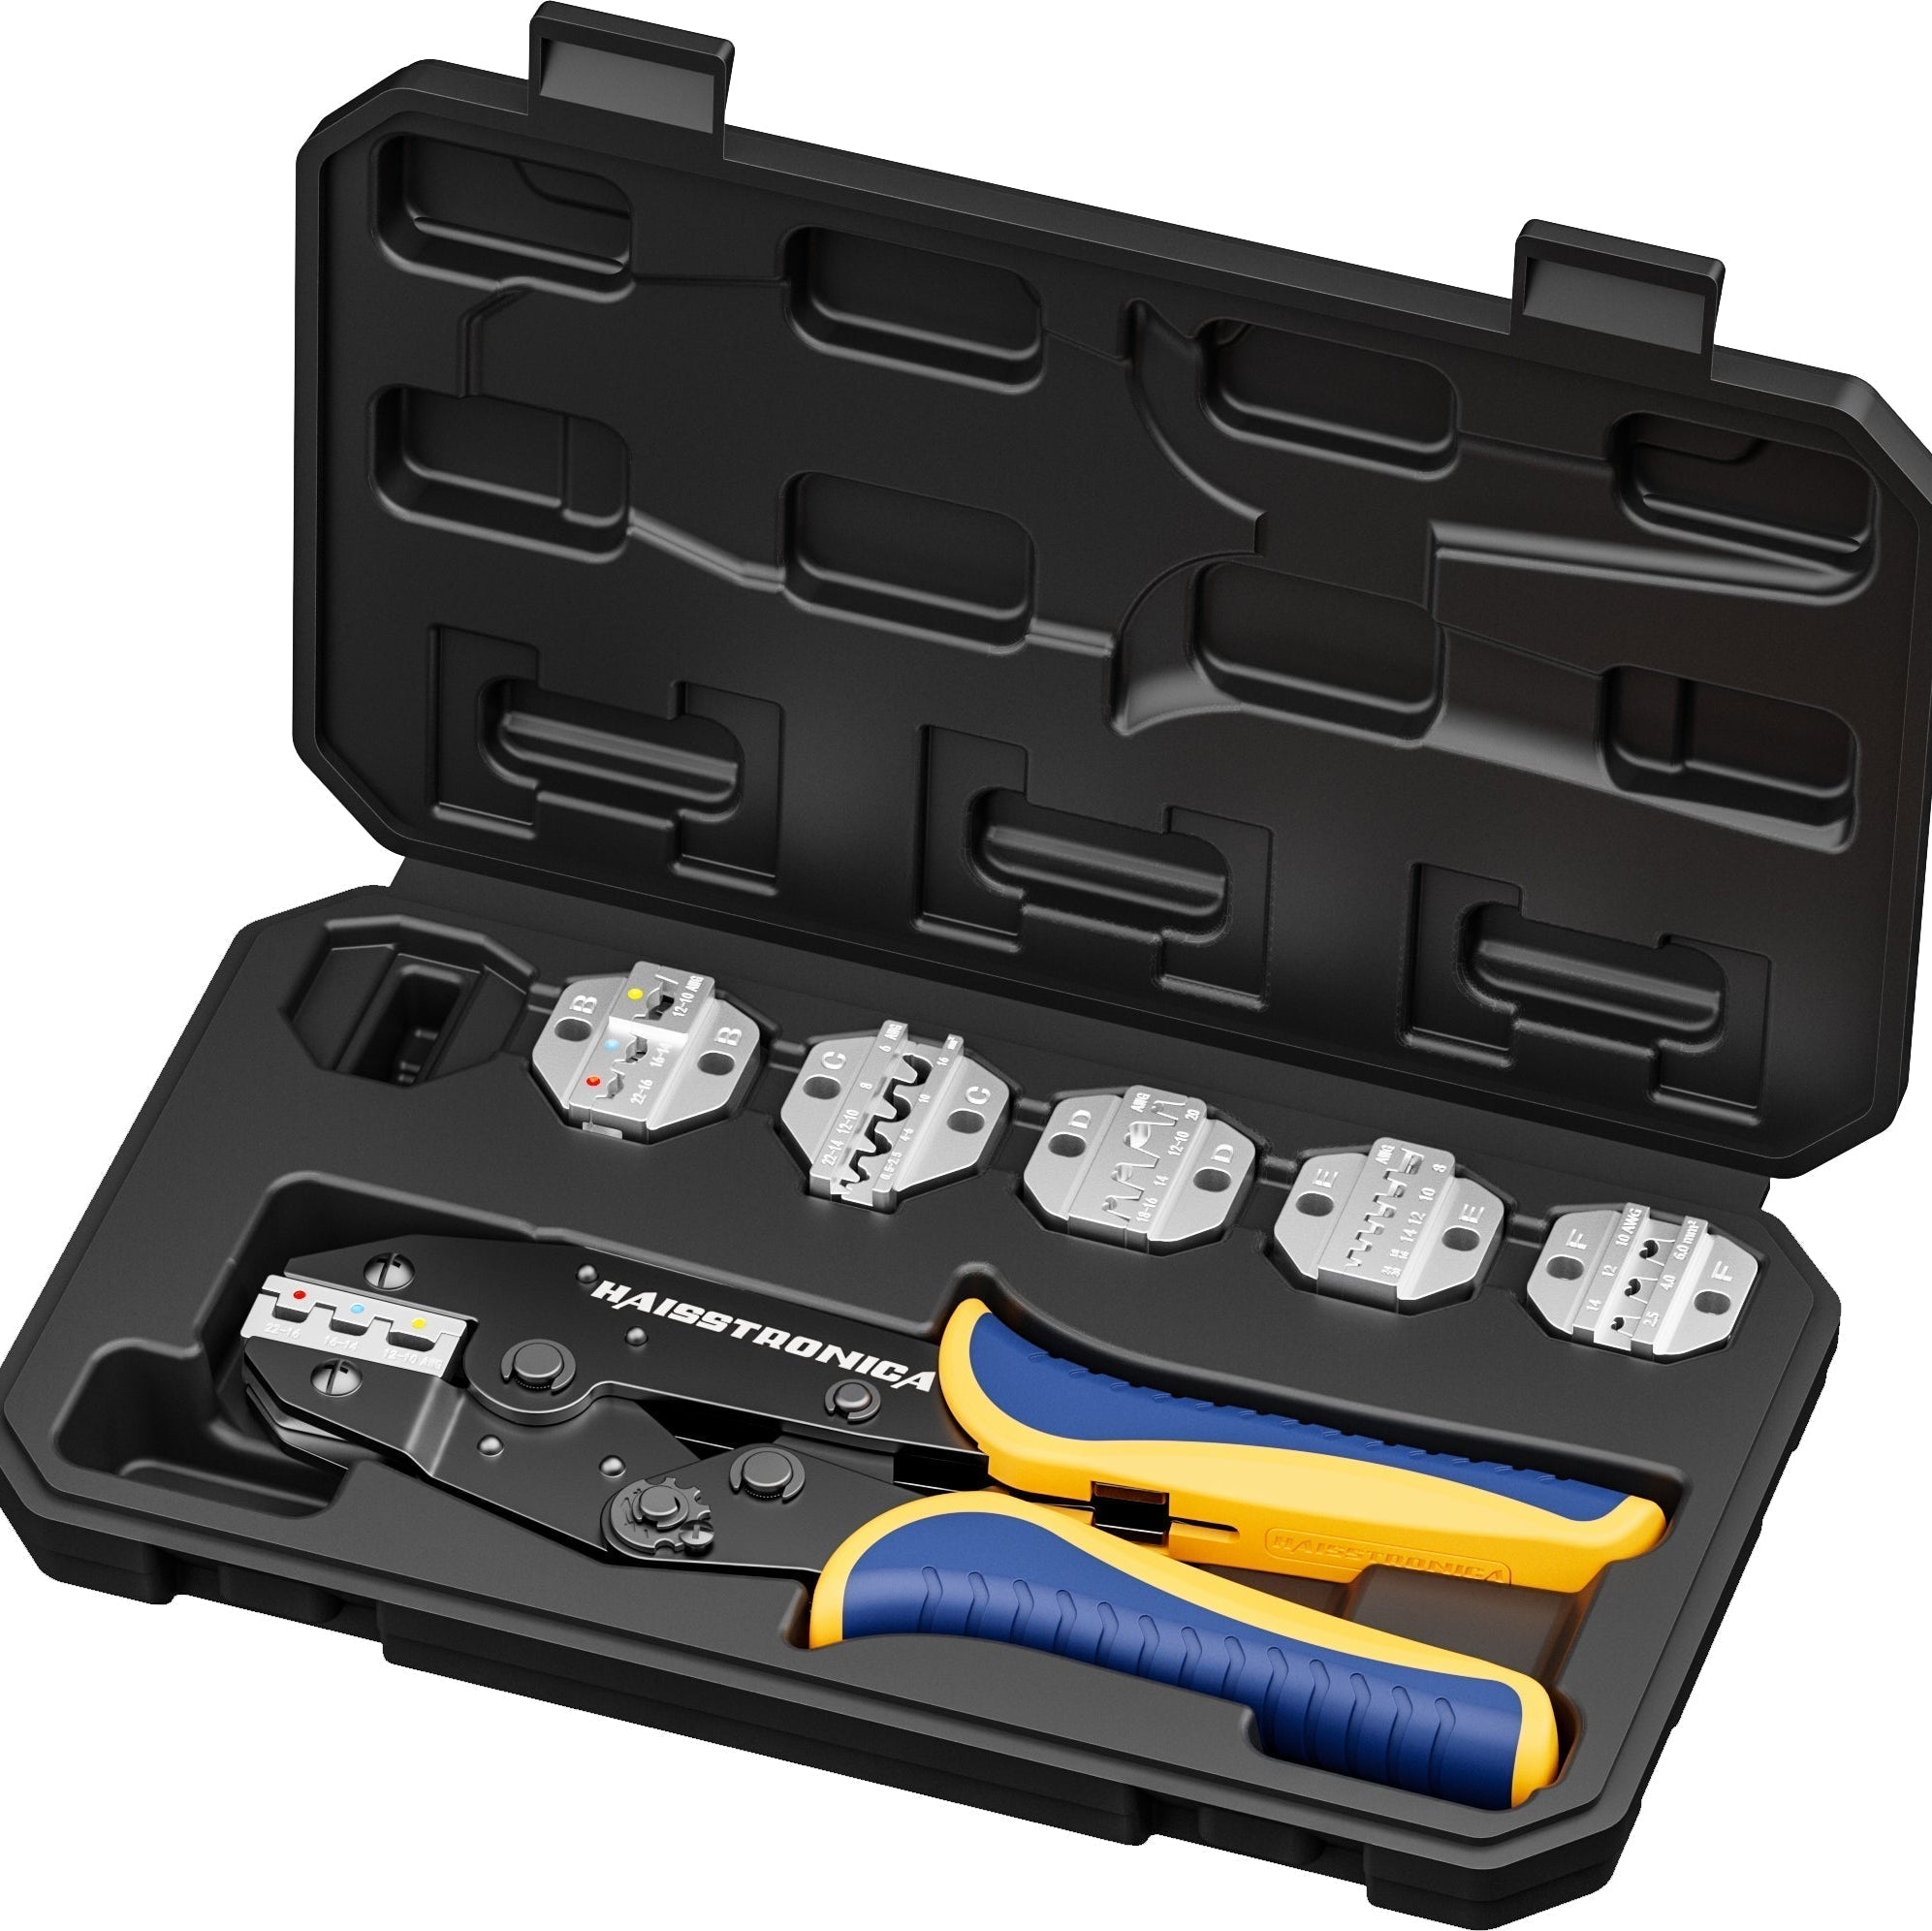
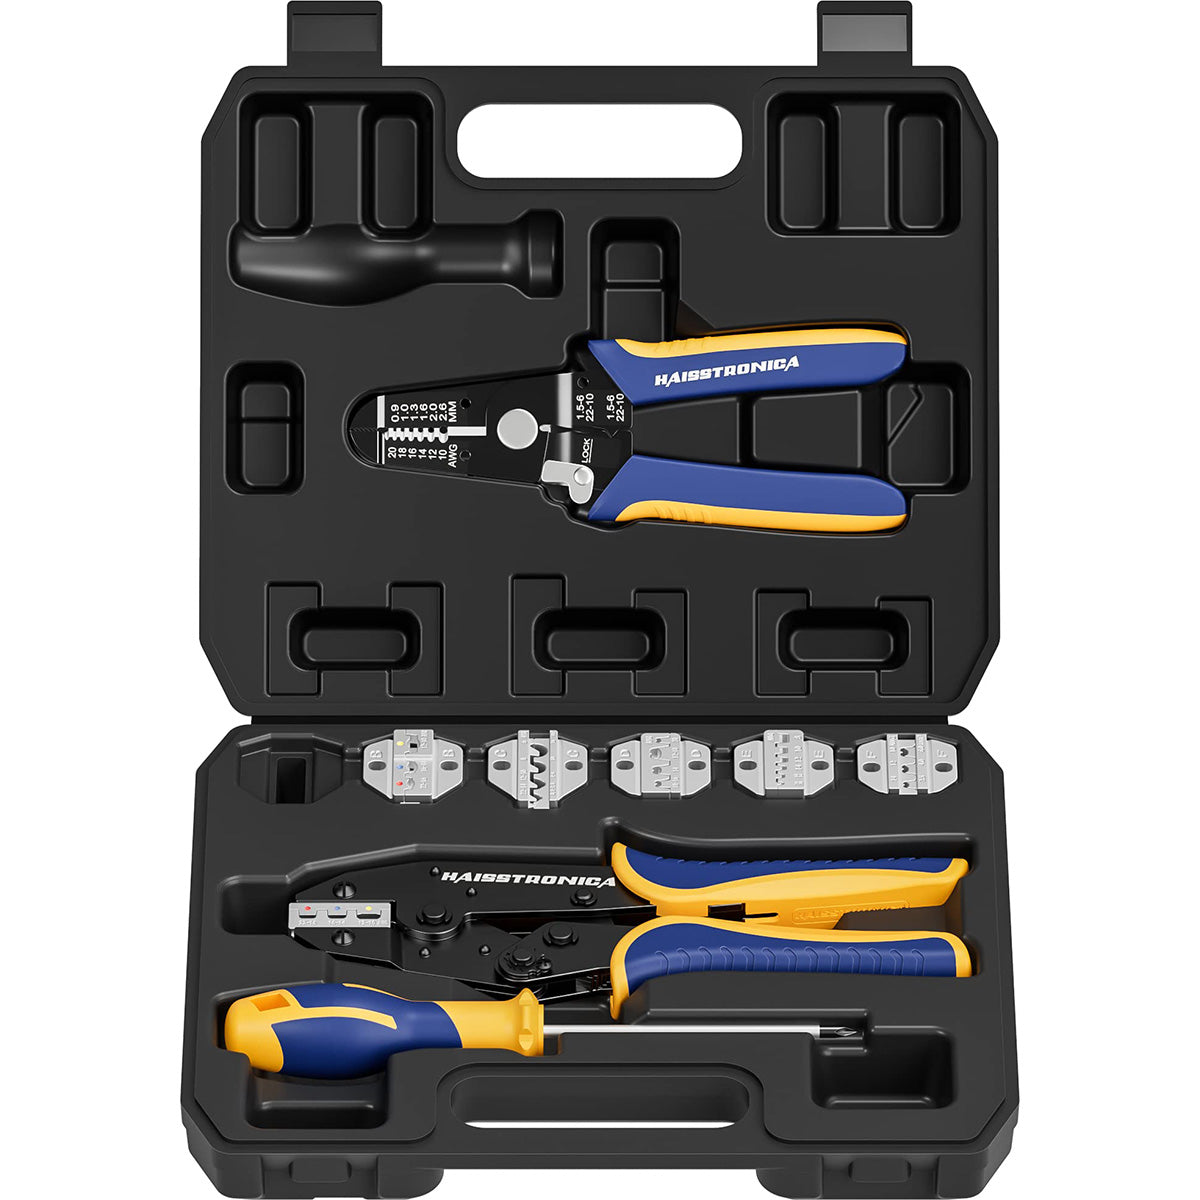
A ratchet crimper that will not open is not always broken. Often, the ratchet is doing exactly what it was designed to do: locking the handles until the crimp cycle is complete. Before replacing the tool, use this guide to identify normal ratchet lock versus a true mechanical jam, then complete a five-minute release, cleaning, lubrication, and adjustment routine.
SAFETY FIRST
Remove the wire and terminal whenever possible, keep fingers away from the jaws, and never force the handles apart with a screwdriver. If the tool is holding a live or energized conductor, stop and disconnect power before troubleshooting.
Normal Ratchet Lock or a Real Crimper Jam?
The first step is diagnosis. A ratchet mechanism intentionally prevents early release so the terminal receives a complete, repeatable crimp. That normal resistance can feel like a jam—especially when the connector, die cavity, or tension setting is wrong.
NORMAL RATCHET LOCK
The tool is protecting the crimp cycle
✓ Stops only when a terminal is in the jaws
✓ Opens after the handles complete the full cycle
✓ Release lever moves normally
✓ No grinding, bent parts, or side-to-side jaw movement
LIKELY MECHANICAL JAM
The mechanism needs maintenance
✕ Sticks with no connector in the jaws
✕ Jams at the same position every cycle
✕ Feels gritty, dry, or uneven
✕ Release lever will not engage or parts appear misaligned
QUICK DECISION
Does it open after one complete ratchet cycle?
Yes: the lock is probably normal—verify the connector and die size. No: continue through the maintenance steps below. Do not shop for a replacement yet.
Step 1: Release the Ratchet Safely
Most ratchet crimpers include a small emergency release lever near the jaws or inside the handles. It disengages the pawl from the ratchet teeth so the tool can reopen before the cycle finishes.
Release sequence
1. Reduce pressure slightly without forcing the handles apart.
2. Press or rotate the release lever in its normal direction.
3. While holding the release, open the handles slowly.
4. Remove and discard any partially crimped terminal; do not reuse it.
If the release works and the tool cycles normally without a terminal, the original problem was probably a mismatched connector, wrong die cavity, excessive tension, or a terminal positioned incorrectly.
Step 2: Clean the Jaws, Ratchet Teeth, and Pivot
Metal shavings, insulation fragments, adhesive, dust, and old lubricant can collect around the ratchet teeth and pivot. That debris makes the pawl skip, drag, or stop at the same point every month.
60-second cleaning routine
□ Open the handles fully and remove loose terminals.
□ Brush the die cavities and ratchet teeth with a dry nylon brush.
□ Wipe the pivot and linkage with a clean lint-free cloth.
□ Check for adhesive or crushed insulation trapped in the jaws.
Avoid grinding the teeth, filing the dies, or using aggressive solvent on grips and plastic parts. Cleaning should remove contamination without changing the geometry of the tool.
Step 3: Lubricate Only the Moving Points
A dry pivot or ratchet pawl increases friction and can make normal locking feel like a jam. Apply a very small amount of light machine oil to the pivot, linkage pin, and ratchet contact point. Cycle the empty tool several times, then wipe away excess oil.
LESS IS BETTER
Do not flood the die cavities. Excess lubricant attracts dust and can contaminate terminals. Penetrating spray may free a dirty mechanism temporarily, but it is not a substitute for the correct long-term lubricant.
Step 4: Adjust Crimp Pressure One Notch at a Time
If the tool releases when empty but repeatedly locks around a correctly sized connector, the tension may be too high. Mark the current adjustment position before changing it. Move the tension wheel or star dial one notch toward lower pressure, then test a new terminal on scrap wire.
ADJUSTMENT RULE
1 notch → test crimp → inspect → pull test
Do not jump several positions at once. A setting that opens easily may also under-crimp the terminal. The finished connection—not handle comfort—determines whether the adjustment is correct.
The 5-Minute Maintenance Test
After releasing, cleaning, lubricating, and adjusting the tool, run this test before returning to the project:
□ Cycle the empty tool five times
□ Test the emergency release once
□ Crimp one correct terminal on scrap wire
□ Inspect the crimp and perform a pull test
MAINTENANCE RESULT
Tool cycles normally
Return to work. Add a quick brush-and-oil check to your monthly maintenance routine.
End the path here—no replacement is needed.
Still jams or feels damaged
Stop using it and inspect the ratchet teeth, linkage, frame, release lever, and jaw alignment for permanent damage.
When Maintenance Is Not Enough
Cleaning and adjustment cannot repair worn or deformed components. Continuing to use a damaged crimper risks inconsistent compression, cracked terminals, and connections that pass visually but fail under load.
Replace the tool when you find:
- Rounded, chipped, or missing ratchet teeth.
- A bent linkage, cracked frame, or loose pivot that cannot be tightened safely.
- Jaws that no longer meet evenly or a die that is visibly distorted.
- A release lever that repeatedly fails to disengage.
- Persistent jamming after the full release, cleaning, lubrication, and adjustment routine.

Frequently Asked Questions
Why does my ratchet crimper lock halfway?
The ratchet is designed to lock until the crimp cycle finishes. If the terminal is too large, positioned incorrectly, placed in the wrong cavity, or the pressure setting is too high, the tool may stop before completing the cycle.
Can I reuse the connector after releasing a jam?
No. A terminal that was partially compressed may have hidden barrel or insulation damage. Cut it off and begin again with a new connector.
How often should I lubricate a crimping tool?
Follow the manufacturer’s instructions and the tool’s workload. For frequently used hand crimpers, inspect and clean them regularly, then add a small amount of light machine oil when the pivot or ratchet begins to feel dry.
CONDITIONAL REPLACEMENT ENTRY
Still Jamming After Maintenance?
Compare replacement crimpers only if the tool continues to jam after release, cleaning, lubrication, adjustment, and a correct scrap-wire test.
Compare Replacement Crimpers →