If your electrical work still relies on basic pliers for “good-enough” crimps, you’re leaving reliability to chance. A crimp ratchet tool delivers consistent, code-worthy terminations that resist vibration, moisture, and time. In this guide, we’ll demystify how a ratcheting crimper works, show why it beats legacy pliers across safety and quality, and give you a fast path to picking one that fits your connectors and wire sizes.
Featured pick for pros and DIYers: Haisstronica Ratchet Wire Terminal Crimping Tool for AWG 22–10 Heat-Shrink Connectors — purpose-built dies, controlled-cycle mechanism, comfortable leverage.
What Is a Ratcheting Crimper & How It Works
At heart, a crimp ratchet tool is a controlled-cycle hand tool that compresses a terminal barrel around a conductor until a specific force (and geometry) is achieved. Unlike old-style plier crimps that can be released prematurely, a ratcheting mechanism won’t open until the full stroke is completed, so each crimp reaches the designed compression. That “full-cycle” action is foundational to repeatable, gas-tight results.
Here’s what’s going on during a proper cycle:
-
Die geometry matches the barrel style. For common insulated terminals (red/blue/yellow), the die forms an oval/“B” profile; for open-barrel terminals, dies fold tabs into the strands; for ferrules, dies create a tight polygon. Getting the shape right is non-negotiable for conductivity and strain relief.
-
Cold-weld effect. With the correct compression, strands and barrel deform into intimate contact, displacing air and oxides to form a low-resistance, vibration-resistant joint (not by melting, but by force). Authoritative workmanship standards recognize properly executed crimps as gas-tight and highly reliable.
-
Release at spec force. The ratchet pawl system keeps squeezing until the designed crimp height/force is reached, so you can’t “under-crimp” and walk away with a loose termination.
A quality crimp ratchet tool also helps you verify your work. Industry references like IPC/WHMA-A-620 define acceptance criteria (conductor brush, insulation support, crimp height, and pull-out strength), making it easier to audit results and train teams.
Try it now: Switch one connection from pliers to a crimp ratchet tool and compare pull-out strength and visual quality. If you want a ready-to-go option for the most common sizes (22–10 AWG) and heat-shrink terminals, grab the Haisstronica ratcheting crimping tool
Reasons — 5 Big Wins Over Basic Pliers
1) Consistency that Meets Standards
The biggest win of a crimp ratchet tool is repeatability. Because the tool locks shut until the full cycle completes, your crimp height stays within design limits instead of drifting with hand strength or fatigue. This consistency is exactly what manufacturers like TE Connectivity and Molex outline in their crimp quality guides and what IPC/WHMA-A-620 audits for in professional harness work.
2) Gas-Tight, Low-Resistance Connections
A well-executed ratcheted crimp forms a gas-tight “cold weld” that resists oxidation, arcing, and micro-fretting. NASA’s workmanship standard expressly favors properly executed crimps for vibration, thermal cycling, and long-term reliability when the right terminals and tools are used.
3) Built-In Quality Control & Fewer Reworks
With old pliers, it’s easy to stop short or over-squeeze and nick strands. A crimp ratchet tool hits the “Goldilocks” zone automatically. Inspect windows, color-coded cavities, and conductor/insulation “double crimps” help you meet IPC criteria and pass pull-tests without guessing.
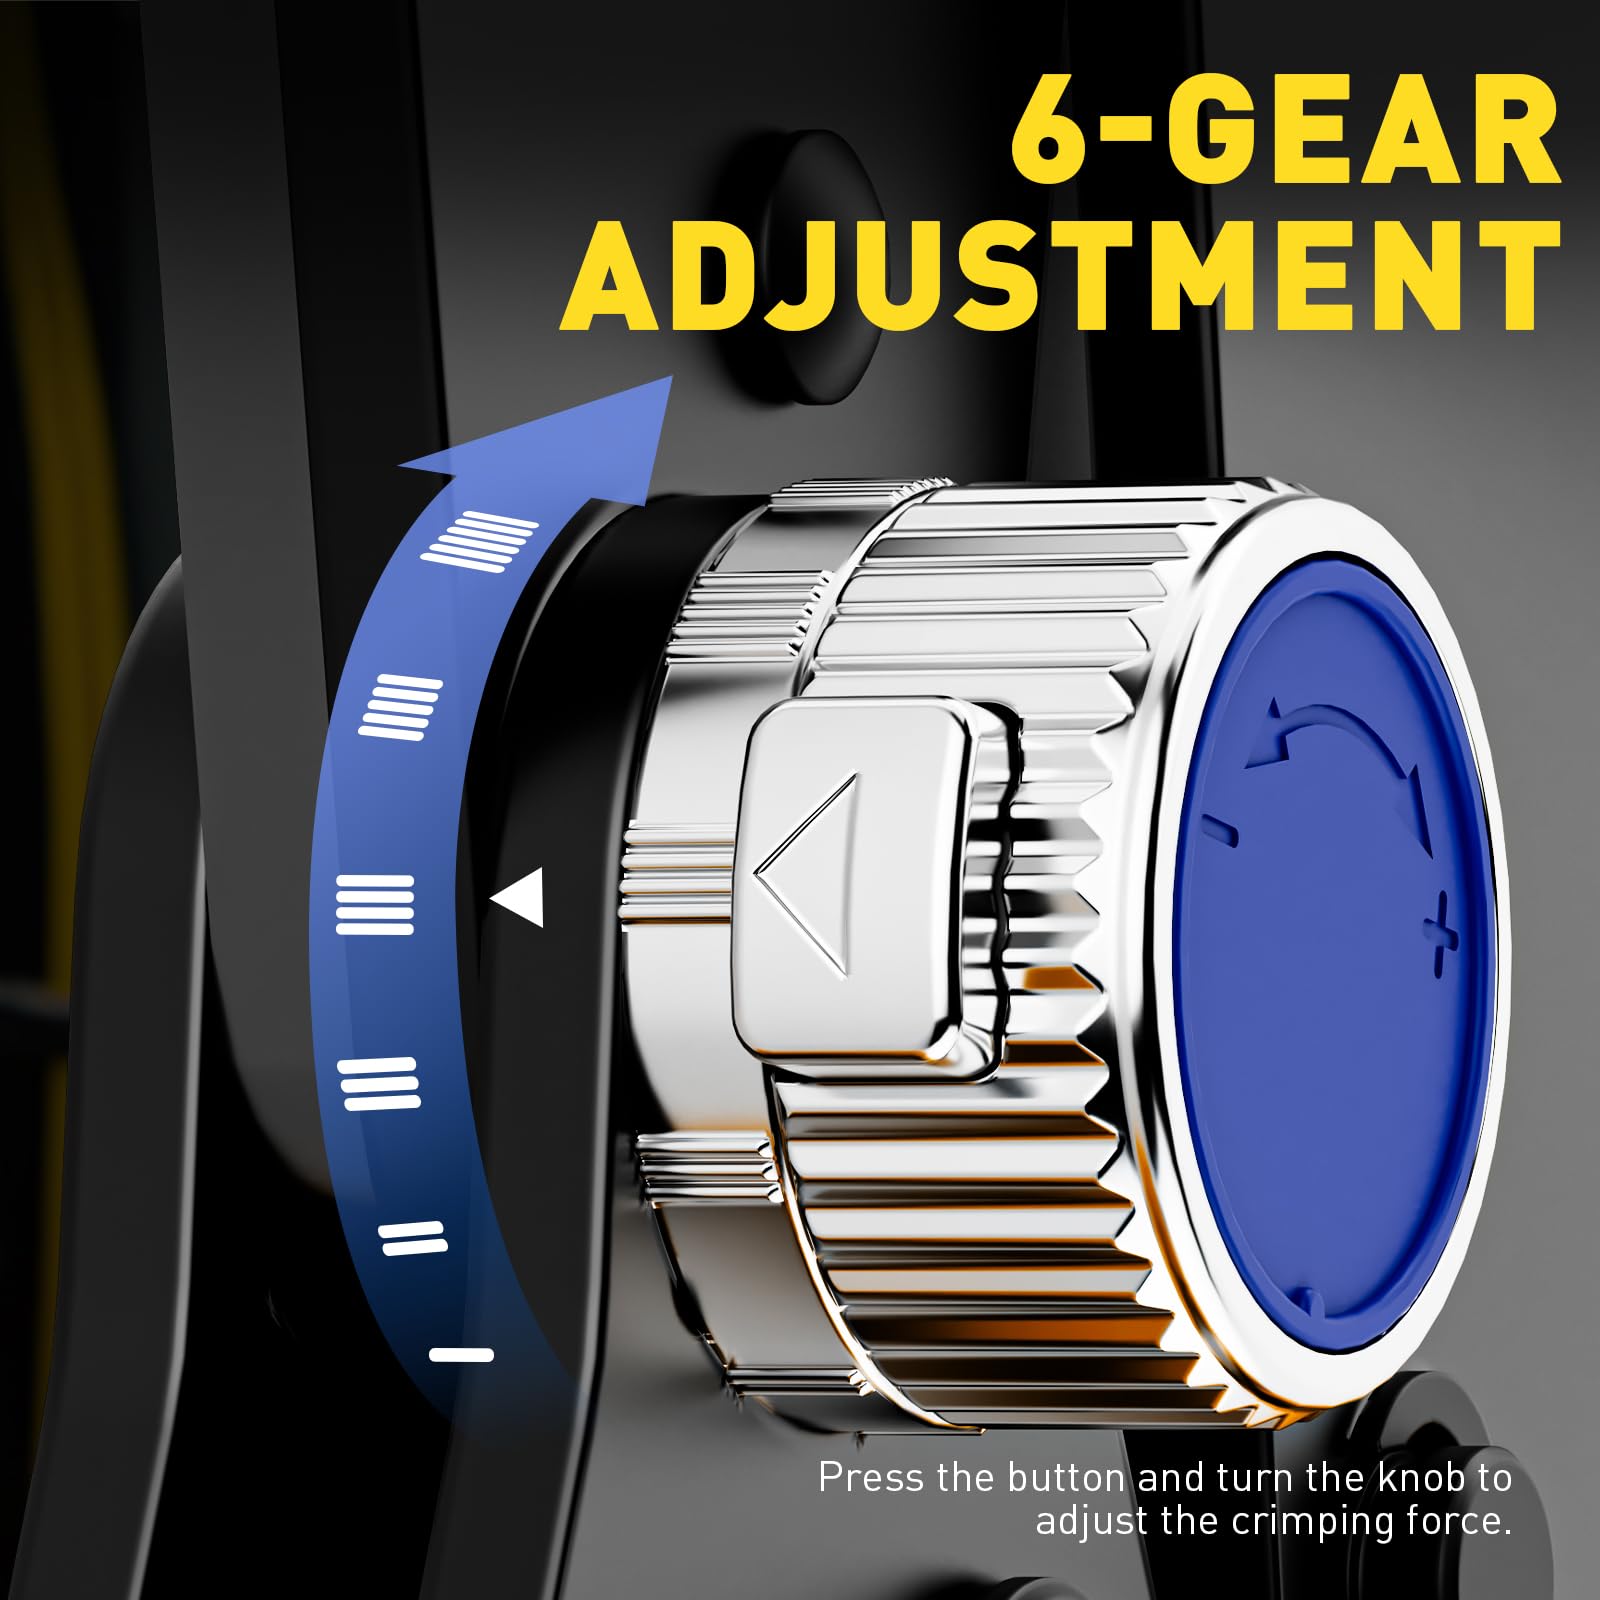
4) Speed, Ergonomics, and Less Fatigue
The ratchet multiplies force and stabilizes hand motion, so techs can make dozens (or hundreds) of consistent crimps per shift without a death-grip. Swapping between red/blue/yellow terminals is quick, and you can maintain a steady workflow—especially useful with heat-shrink terminals where uniform compression means uniform sealing. (The “full-cycle” action is a recognized feature of controlled-cycle tools.)
5) Wider Process Window for Real-World Conditions
From marine bilges to automotive engine bays, a ratcheted crimp has the best chance of staying tight through heat, vibration, and moisture—especially when paired with adhesive-lined heat-shrink terminals and stainless hardware. UL 486 standards, for example, cover performance of insulated connectors at elevated voltages and temperature ranges, underscoring why a controlled, specification-grade crimp is vital for safety.
Build connections that survive the environment—use a crimp ratchet tool and quality heat-shrink terminals

Buy it through pic or link: Ratchet Wire Terminal Crimping Tool For AWG 22-10 Heat Shrink Connectors
Setup & First Crimp — From Pliers to a Crimp Ratchet Tool
Switching is simple. Follow this field-tested workflow the first time you use a crimp ratchet tool:
-
Match three things: connector family × wire gauge × die cavity
-
Use terminals designed for your wire size (22–10 AWG for the Haisstronica tool).
-
Match insulation color (red/blue/yellow) to the correct cavity.
-
Match barrel style to the die shape (insulated, open-barrel, ferrule, etc.). Tooling guides from TE and Molex show why geometry matters—getting it wrong can cut strands or leave voids.
-
-
Strip to spec (no nicks).
-
Strip length typically equals the barrel depth so strands sit flush with the inspection window and the insulation support lands on insulation—not on copper. IPC/WHMA-A-620 illustrates acceptable “conductor brush” and insulation support location.
-
-
Load the terminal in the die first.
-
With a crimp ratchet tool, lightly pre-close the ratchet to hold the terminal. Insert the wire until copper is visible in the inspection window. Ensure all strands are inside the barrel.
-
-
Full-cycle crimp.
-
Squeeze until the ratchet releases on its own—don’t stop early. That’s the promise of a controlled-cycle crimp ratchet tool.
-
-
Heat-shrink (if applicable).
-
For adhesive-lined heat-shrink connectors, apply balanced heat until the adhesive beads at the edges. Even, specification-height compression makes the seal uniform.
-
-
Verify quality.
-
Perform a gentle pull test; check for correct crimp height, conductor brush, and firmly captured insulation support. IPC/WHMA-A-620 sets the acceptance criteria commonly used in industry.
-
Care & calibration tips
-
Keep dies clean; debris can scar barrels and raise resistance.
-
Spot-check crimp height with calipers for critical work.
-
Replace worn terminals and retire “mystery” connectors. UL listing for insulated wire connectors is meaningful only when parts and process meet the standard.
Ready to try your first spec-grade crimp? Start with the Haisstronica crimp ratchet tool for AWG 22–10 heat-shrink connectors →
Read more: Cable crimping tool. Everything You Need to Know
Conclusion: Make Reliability the Default
A crimp ratchet tool is not just “nicer pliers.” It’s a controlled-cycle instrument engineered to create tight, low-resistance, inspection-friendly terminations—again and again. That’s why top workmanship standards (IPC/WHMA-A-620) and mission-critical guidance (NASA) emphasize correct die geometry, full-cycle tooling, and verification. When you adopt a crimp ratchet tool, you don’t just improve a step—you de-risk your entire wiring process.
If you’re upgrading today, make it easy: 👉the Haisstronica Ratchet Wire Terminal Crimping Tool for AWG 22–10 Heat-Shrink Connectors is dialed for the most common field work and pairs perfectly with quality, adhesive-lined terminals.