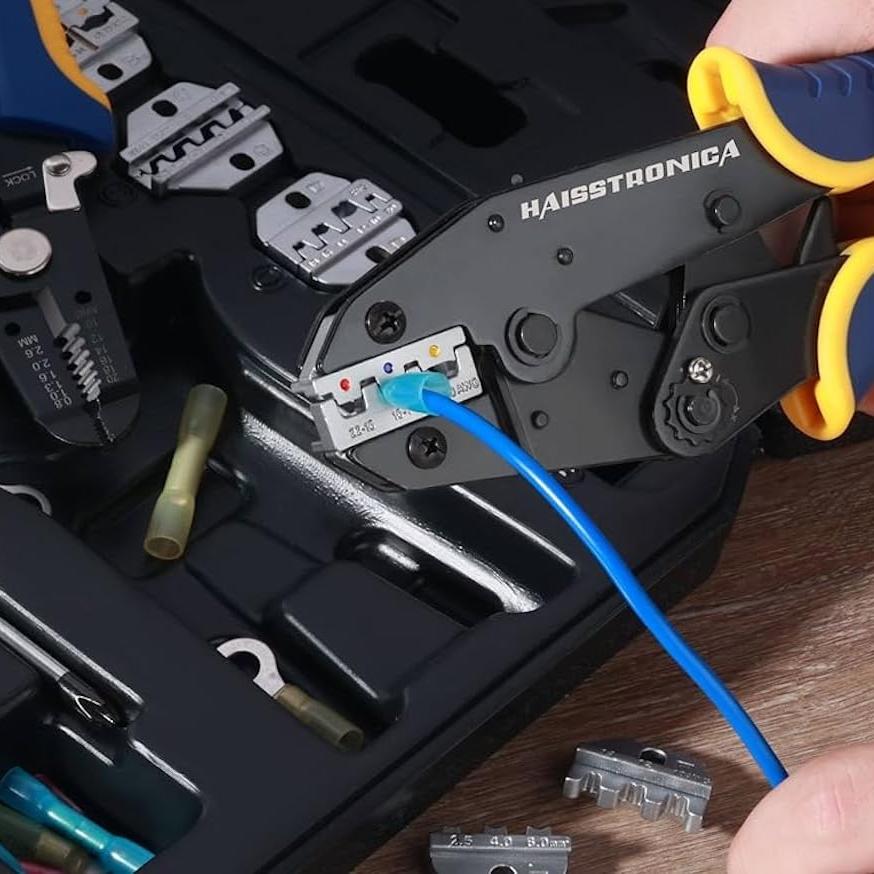
Build your first reliable crimp with the right tool, connector, and sequence.
Learn the four terms that control crimp quality, assemble a practical first tool set, then follow the same strip–insert–crimp–inspect routine on every connection.
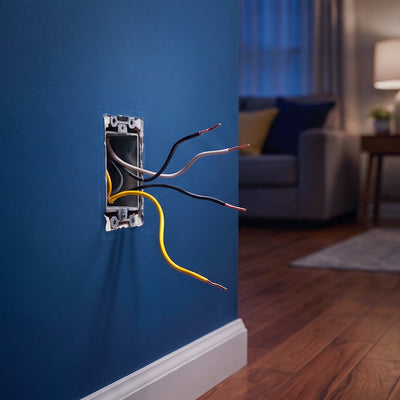
Your first crimping tool checklist
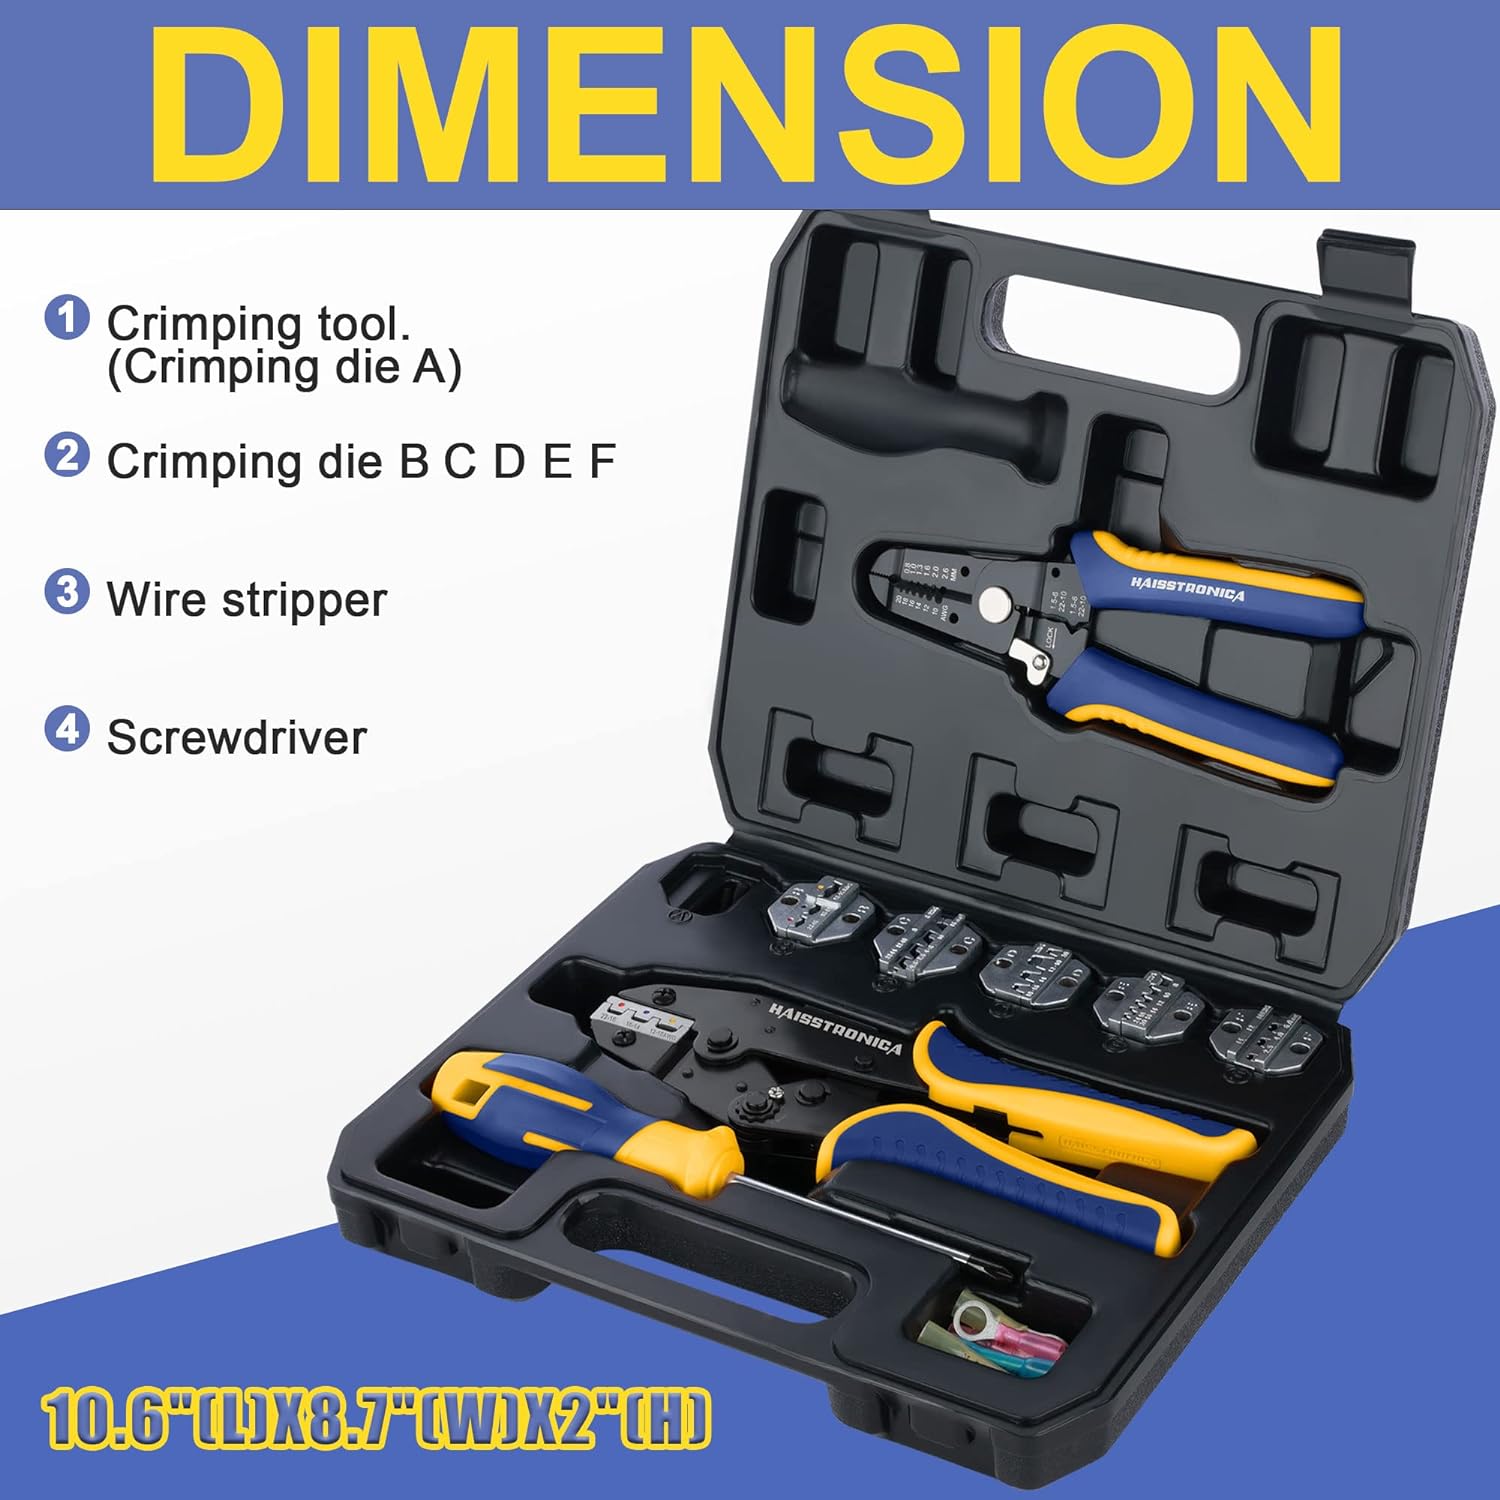
A beginner does not need every die on day one. Start with tools that cover your actual wire range and connector style, then expand only when the work changes.
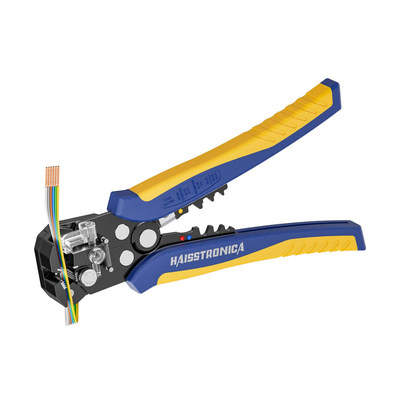
1. Self-Adjusting Wire Stripper
Creates a repeatable strip without nicking strands. Set the stop so exposed copper matches the connector barrel.
Choose the Wire Stripper →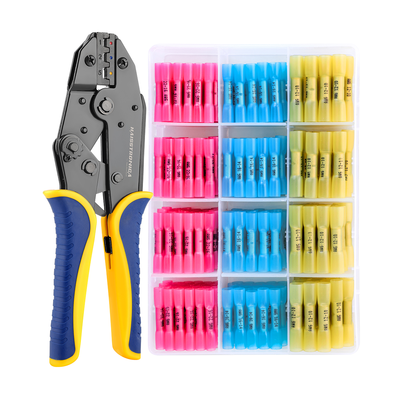
2. Ratchet Crimper + Connector Set
A matched AWG 22–10 ratchet tool and color-coded connectors remove the biggest beginner guesswork.
Choose the Matched Set →3. Beginner Crimping Kit
Best when you want one organized starting point instead of selecting every tool and consumable separately.
View the Starter Kit →Four terms to understand before you buy
These concepts control the joint. Learn them first; product selection comes after the application is clear.
Wire
The conductor carries current. Read the printed AWG and confirm whether it is stranded or solid before selecting a connector.
Terminal
The metal barrel forms the electrical and mechanical joint. Its shape must match the task: butt, ring, fork, ferrule, or open barrel.
Die
The die is the shaped crimping surface. A smooth insulated-terminal die, ferrule die, and open-barrel die are not interchangeable.
AWG
American Wire Gauge identifies conductor size. Match the connector and die cavity to the wire—not to the outside insulation thickness.
Choose the connector before choosing the die
Connector geometry determines the crimp profile. Keep the table aligned at the left and swipe inside it on a narrow screen.
| Connector | Common use | Matched die | Beginner note |
|---|---|---|---|
| Insulated butt, ring, fork | Automotive, trailer, appliance, general repair | Smooth color-coded ratchet die | Start here for common AWG 22–10 projects. |
| Heat-shrink connector | Outdoor, marine, mobile, damp locations | Smooth insulated-terminal die | Crimp the metal barrel first; heat only seals the sleeve. |
| Open-barrel terminal | OEM plugs, sensors, harness repair | F-crimp die | The conductor and insulation wings require separate forming zones. |
| Ferrule | Control panels and screw terminals | Square or hex ferrule die | Size to the conductor cross-section and terminal block. |
The repeatable six-step crimp
Confirm AWG and connector
Read the cable marking. Select the connector range and terminal style that match both the conductor and application.
Match a Connector Set →Set the strip length
Expose enough copper to fill the metal barrel without leaving bare strands outside the sleeve. Keep every strand intact.
Use a Controlled Wire Stripper →Pre-position the terminal
Place the metal barrel—not the sleeve edge—in the matching die cavity. Close the ratchet just enough to hold it.
Use the Matched Ratchet Set →Insert the wire fully
Push the stripped conductor into the barrel until it reaches the internal stop. No copper should remain exposed beyond the sleeve.
View the Beginner Starter Kit →Complete the ratchet cycle
Squeeze until the tool releases. Do not stop halfway, reposition a partly formed barrel, or crimp twice in different places.
Explore the 6-in-1 Kit →Inspect and pull-test
Check alignment, sleeve condition, and exposed copper. Apply a firm pull; the wire must remain fixed before the circuit is energized.
Browse Crimping Tools →A good crimp must pass all three checks
Common beginner mistakes—and the correction
Choose your starting level
Beginner Starter Kit
Choose this route when you want a practical first setup for common home, garage, trailer, and 12V repairs.
Shop the Starter Kit →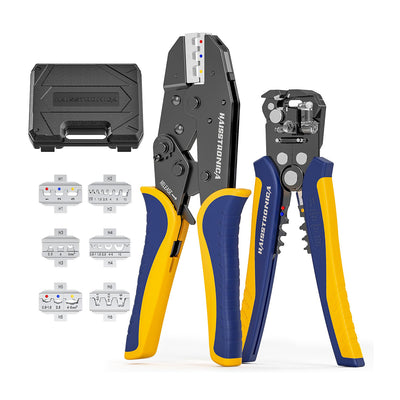
Advanced 6-in-1 Kit
Move up when your projects include several terminal geometries and you need interchangeable dies in one organized system.
Explore the 6-in-1 Kit →Still choosing? Start with the connector and AWG you use most often, then select the matching die and tool. Do not buy more profiles than your work requires.
Browse All Crimping Tools →