Crimping wires with a reliable tool is supposed to be straightforward – strip the wire, insert a connector, squeeze the crimping tool, and you’re done. But what happens when your wire crimper tools jam up every month, bringing your work to a sudden stop? In this guide, we’ll demystify why your crimping tool keeps getting stuck and how to fix it fast. By understanding what “jamming” really means, identifying root causes, and following a quick 5-minute fix (plus a 60-second pre-job check), you can keep your projects on track and crimp with confidence. (Using a high-quality Haisstronica ratchet wire crimper tool can greatly reduce jamming issues and ensure a solid crimp every time.)
What “Jamming” Really Means for Your Wire Crimping Tool
When we talk about a crimp tool “jamming,” we mean the tool becomes stuck and won’t open or close properly. This usually happens with ratcheting crimping pliers (also called ratchet crimpers or wire crimpers tools) that have an internal locking mechanism. A ratcheting crimping tool is designed to not release until a full crimp cycle is completed. In other words, the tool’s ratchet ensures the handles must be completely squeezed closed before they can reopen, verifying that the crimp is fully compressed. This feature guarantees consistent crimps, but if something goes wrong mid-cycle, the mechanism can feel “locked” – as if the tool is stuck.
A jam can occur in a partially closed position where the jaws grip the connector and won’t let go. In some cases, it might happen after the crimp is finished – the tool should release automatically, but instead it stays clamped down. Crimping tool jams often leave you unable to remove the connector or the tool from the wire, which is frustrating and delays your work. It’s important to note that “jamming” isn’t usually about the connector itself (like a wire connector crimp failing) – it’s about the mechanical state of the tool. For instance, if the ratchet mechanism doesn’t trip its release, the handles remain locked, making it seem like your ratchet crimping tool froze up.
So why do ratcheting tools have this behavior? It’s actually a safety and quality feature. The ratchet prevents under-crimping by locking until the crimp is complete. Many such electrical crimping tools also include a release lever or knob for situations where you need to abort or if a jam happens. Jamming = the tool’s cycle is interrupted or impeded, and you’re left with a stuck tool. The good news is that it’s usually fixable, and (as we’ll see) preventable with proper use and maintenance. (Keep in mind: using a durable, well-engineered crimp tool like Haisstronica’s can minimize jams – precision ratchet mechanisms and quality construction mean smoother crimping and reliable release.)

Root Causes — Why Your Ratchet Crimping Tool Jams Every Month
If your ratcheting crimpers jam on a regular basis (like clockwork every few weeks or monthly), something is causing that repeated trouble. Let’s break down the common root causes for frequent crimp tool jams:
-
Incomplete Crimp Cycles (User Technique): One of the most frequent causes of a “jam” is not squeezing the handles through the full ratchet cycle. If you stop squeezing too early, the ratchet won’t release (by design) and the tool seems stuck. Many users initially panic when this happens, not realizing they simply need to fully close the handles to unlock the jaws. Always crimp until the ratchet releases; if you must stop mid-cycle, use the manual release lever (more on that in the Fix section). This design ensures a proper crimp every time – but it can feel like a jam if you’re not aware of it.
-
Lack of Maintenance (Dirt & No Lubrication): A dirty or dry crimping tool can start to stick or feel stiff. Over time, small bits of copper, wire strands, or insulation can accumulate in the crimper’s jaws and hinge. If the pivot or ratchet teeth dry out or rust, the mechanism may not move freely and could jam. In fact, a crimp tool that is hard to squeeze or slow to open is signaling it needs cleaning and oiling. Regular maintenance is key: wipe away dust and debris, and apply a thin coat of light machine oil to the moving parts (hinge, pivots, ratchet) as recommended. Neglecting this can cause the tool to bind up during use. (Quick tip: Haisstronica’s ratchet crimpers are built with precise fit and finish – a little upkeep goes a long way, and the result is years of smooth crimping action.)
-
Wrong Tool or Connector Size Mismatch: Using the incorrect size connector or crimp setting for your wire can physically jam the tool. For example, if you try to crimp a very large gauge cable lug with a small terminal crimper, the dies may bottom out without properly crimping the oversized connector – effectively locking up the tool. Conversely, crimping an overly small connector on a setting too large might deform the connector in a way that gets stuck in the jaws. Always use the correct crimping tool or die for the connector and wire gauge. Manufacturers emphasize that each hand crimp tool is designed for specific terminal sizes and wire gauges. If you use a connector that’s outside the tool’s specifications, it can lead to improper crimp formation or jams. A common example: trying to crimp an insulated butt connector in the wrong die cavity – the connector may flatten incorrectly and lodge in the tool. Make sure you’re matching the color-coded connector (red, blue, yellow insulation, etc.) to the corresponding die on your ratcheting crimper. Using the wrong size or type of connector is a known cause of crimp problems and can also jam the works.
-
Cheap or Worn-Out Crimping Tool: Not all wire crimpers tools are created equal. Lower-quality or very old tools can develop alignment issues, broken components, or excessive play in the mechanism. A bargain-bin crimp tool might work fine initially, but its jaws could misalign or its ratchet could fail, leading to frequent jams or inconsistent crimps. In community discussions, users note that cheap crimpers sometimes cause connectors to get “firmly jammed in the tool”, often bending the connector when you try to remove it – a frustration you don’t get with higher-end tools. Quality matters: as one source reminds us, the quality of your crimping will depend on the quality of the tool. Additionally, tools wear out after extensive use. The crimper’s calibration can drift, or parts can simply break from fatigue. A damaged tool can result in jams during operation. If your crimping tool has crimped thousands of connectors (or it’s visibly damaged/rusted), and it jams frequently despite maintenance, it might be time to replace it. (Most manufacturers don’t repair hand crimpers; if critical parts are worn, a new tool is needed.) Investing in a robust, professional-grade electrical crimping tool can save you from monthly jams caused by a flimsy tool. (Haisstronica’s crimping tools are engineered for longevity – heavy-duty steel and precise ratchets mean they won’t give out on you mid-job, unlike generic crimpers.)
-
Connector or Wire Debris Left in Jaws: Sometimes a small piece of a connector (like a broken-off ferrule or a stray strand of wire) can get lodged in the crimping dies. If a tiny metal fragment is stuck in the crimp slot, the next time you try to crimp, the dies may not close fully, effectively jamming against the obstruction. This can happen, for instance, if a previous crimp wasn’t done correctly and part of the terminal broke off. It’s also possible when crimping multiple connectors in a row – a bit of insulation or metal flash could accumulate. Storing the tool improperly can introduce debris too; that’s why it’s recommended to store ratchet crimp tools with the handles closed, to prevent objects from wedging into the jaws. If your tool predictably jams at a certain point, inspect the jaws closely for any foreign object. A tiny bit of metal in the wrong spot can cause a big headache. (One telltale sign is visible nicks or shiny spots in the die where something is stuck.) Keeping the tool clean and closed when not in use will prevent this cause of jamming.
Each of these causes (or a combination of them) could be the culprit behind your monthly crimper jams. The key is to identify the pattern: Does it jam on a certain connector type? Only when not oiled? Only if you don’t squeeze fully? Understanding why it jams sets the stage for fixing it quickly and preventing repeats. (Instead of struggling with jams and cheap fixes, consider upgrading to a Haisstronica crimping tool – it’s built to avoid these pitfalls, giving you reliable crimps without the monthly drama.)

The 5-Minute Fix for a Jammed Wire Crimper Tool
Got a jammed crimping tool right now? Don’t worry – in most cases you can free your jammed crimper in under 5 minutes with some basic steps. Here’s the quick fix you’ll love, broken down:
1. Stop and Inspect (Safety First): The moment you realize your ratchet crimper is stuck, cease applying force. Forcing the handles apart or together could damage the tool or the connector. Do NOT try to pry the jaws open with brute force or tools – you risk misaligning the dies. Instead, check for a manual release mechanism. Most ratcheting crimpers have a small release lever or trigger (often near the handles or hinge). This is your primary way to undo a jam.
2. Activate the Release Lever: Locate the release lever (consult your tool’s manual if needed – it might be a tiny metal latch on the inside of one handle). Press or lift the release lever while holding the tool securely. This should disengage the ratchet lock and allow the jaws to open. Manufacturers explicitly instruct users to use this lever if a tool becomes stuck mid-cycle, rather than forcing anything. Once you engage the release, the tool will usually spring open. If you’re not sure where it is: on many ratcheting crimp tools, it’s a quick-release lever on the inside of the handle that you push to unlock the jaws.
3. Remove the Connector (Carefully): With the tool now released, gently wiggle out the connector or wire that was in the jaws. It may fall out once the pressure is released. If it’s still a bit stuck (for example, if the terminal was partially crimped and deformed), you might need pliers to pull it free. Be careful not to gouge the crimper’s dies. If the connector is trash now (often the case with a jam), discard it and use a fresh one for the redo.
4. Clear Out Debris: Take a close look at the crimping dies (the grooved jaw surfaces). Check for any bits of metal or plastic lodged in there. It could be a piece of connector or insulation that caused or resulted from the jam. Use a small brush or a toothpick to dislodge any debris – don’t use anything too hard that could scratch the dies. A can of compressed air is not ideal (it can blow debris deeper into the tool’s mechanism), so mechanical removal is better. This step is quick but important: a clean die set is less likely to jam on the next crimp.
5. Quick Lubrication: If your tool jammed due to stiffness or you notice it’s not moving smoothly, apply a drop or two of light machine oil to the pivot points and the ratchet mechanism teeth. Work the handles open and closed a few times (without a wire) to distribute the oil. Wipe off any excess. Proper lubrication can immediately ease a tight ratchet that felt jammed. (If the tool was bone-dry or slightly rusty, this will make a huge difference in function.) Regular oiling is advised, but even as a quick fix, a tiny bit of oil can free up the action.
6. Check Tension/Calibration (if applicable): Some ratchet crimpers have an adjustable tension wheel or dial (often a star wheel) that sets how tightly the crimp must compress before releasing. If your tool has this, ensure it wasn’t accidentally set too tight. Over-tension can make the final release surprisingly hard, almost like it’s stuck. The fix is to adjust the crimp force to the proper level according to the manual. Typically, you’d reduce the force slightly (“L” or minus setting) if it was jamming at the very end of the crimp. Don’t over-loosen it, or you’ll get incomplete crimps – just set it to the recommended range. Each tool’s adjustment differs, but generally you remove a screw, rotate an adjustment wheel, and test crimp until it’s right. This is a one-time 2-minute tweak that can prevent future jams due to an overly tight setting.
After performing these steps, do a test crimp on a scrap wire and connector. The crimping tool should operate smoothly through the cycle and release on its own at full compression. If it does, congrats – you’ve fixed the jam! If it still feels off (for example, if the ratchet still sticks or the tool won’t close evenly), there may be a deeper issue like a bent jaw or broken tooth in the ratchet. In such cases, contact the tool manufacturer or consider replacing the tool, as internal damage may not be easily repairable.
Most jams will be resolved by the above procedure. In summary, use the release lever, clean the tool, lubricate it, and adjust if needed – that’s the 5-minute recipe to rescue a jammed crimper. It saves you from having to cut your connector out or, worse, damaging an expensive tool by force. (Bonus tip: Haisstronica’s ratcheting crimpers come with easy-release mechanisms and sturdy construction, so if a jam ever occurs, you can reset quickly. Plus, their smooth ratchet action and solid dies mean jams are rare – the tool releases cleanly after each crimp, making your fix virtually effortless.)

60-Second Pre-Job Check for Your Electrical Crimping Tool
Now that you’ve fixed the immediate issue, let’s prevent this from happening next month (or ever again). Taking an extra 60 seconds before each crimping session to run through a simple pre-job checklist will save you time and frustration later. Here’s a quick wire crimping tool check you can do in a minute:
-
Clean Jaws and Pivot: Give your crimper a quick once-over. Are the jaw grooves clear of any old bits of connector or wire? If you see anything, quickly brush it out. Open and close the handles a couple of times to ensure smooth movement. If there’s any grinding or stiffness, apply a drop of oil to the hinge or moving parts. A clean, lubricated tool is far less likely to jam during use.
-
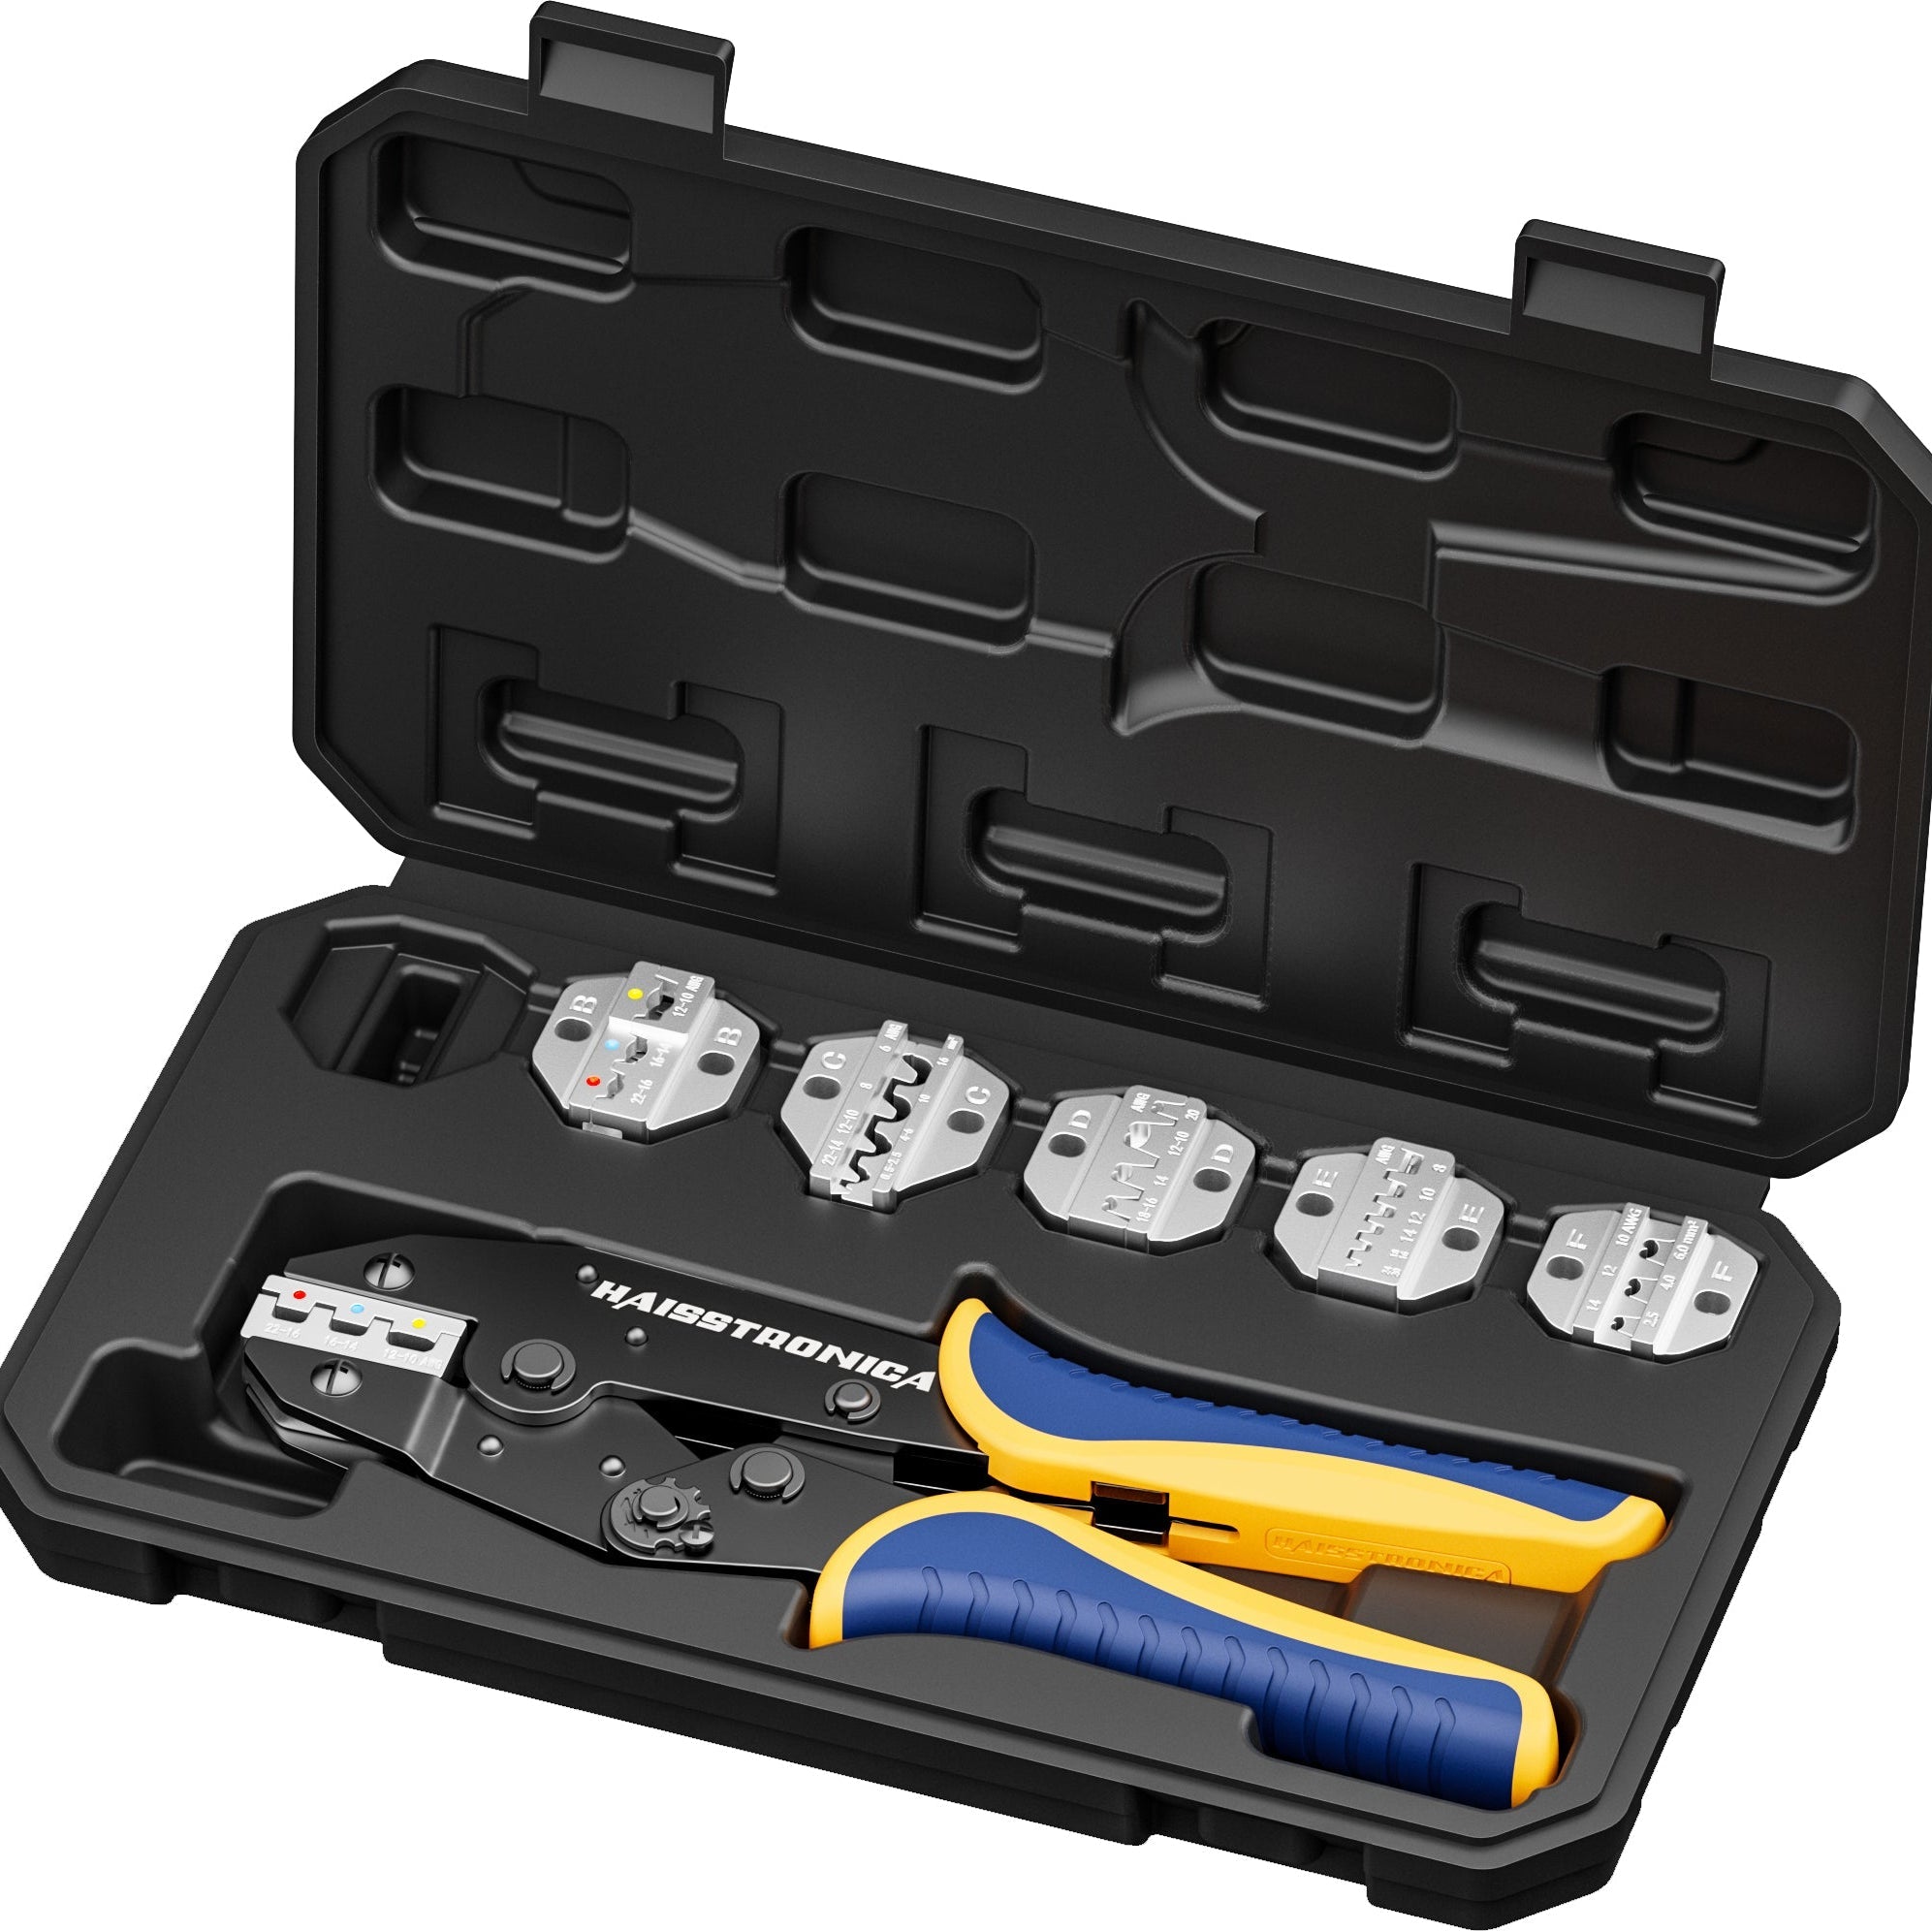
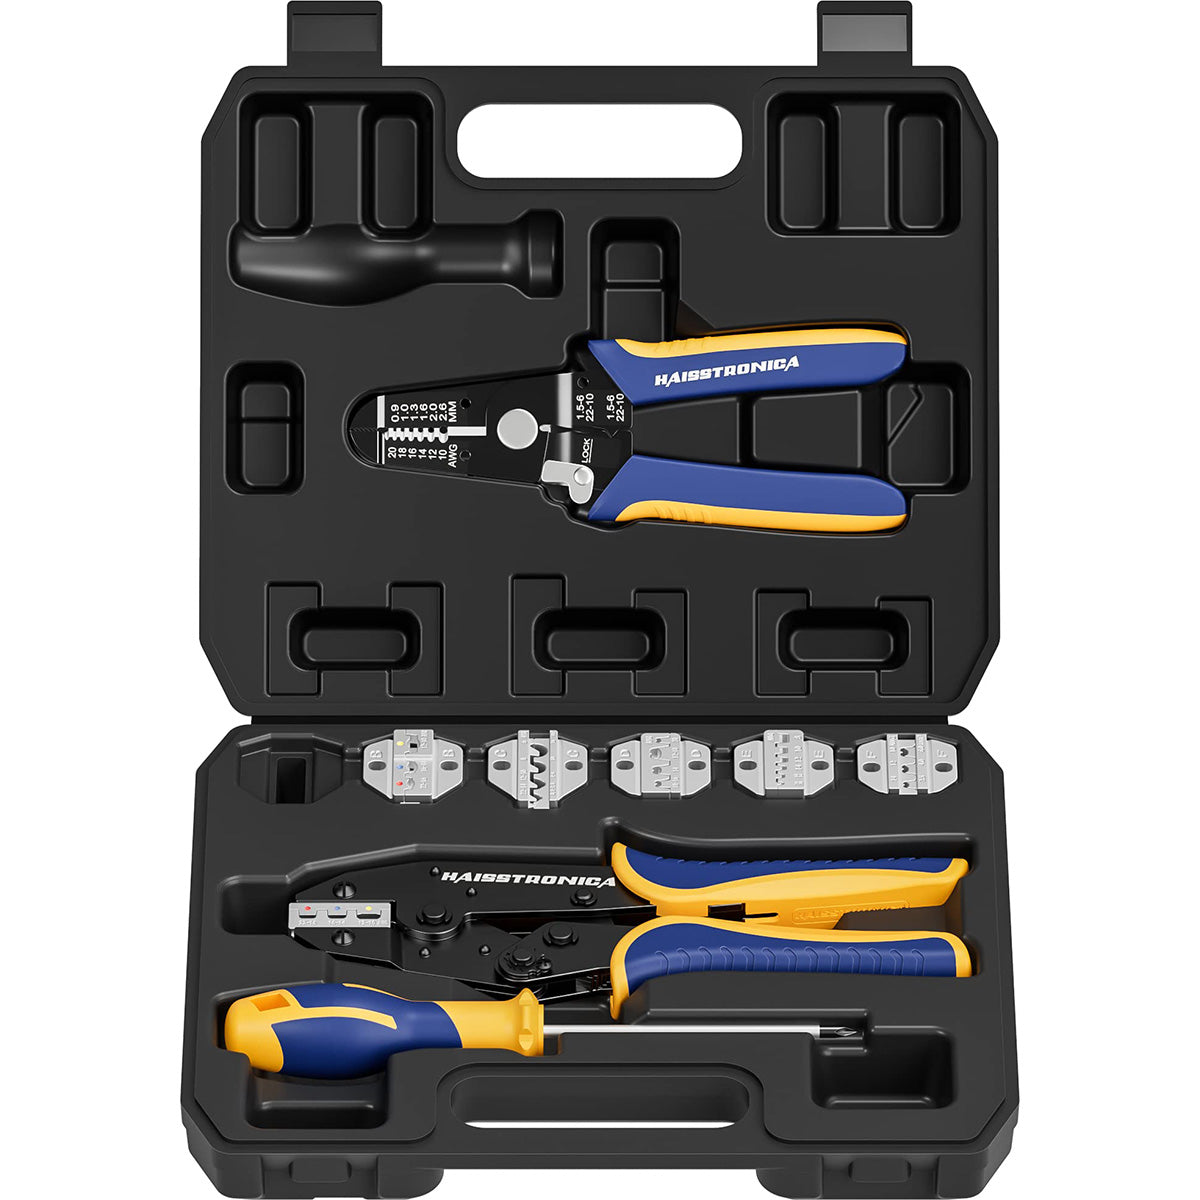
Correct Die/Setting for Connector: Verify that you’re using the right die slot or crimp setting for the connectors at hand. If you have a multifunctional ratcheting crimper (with multiple color-coded jaws or interchangeable dies), double-check you’ve selected the proper one for your wire gauge and terminal type. For example, use the red-coded slot for red (22–16 AWG) insulated terminals, blue slot for blue (16–14 AWG), etc. If you’re crimping special terminals (like open-barrel, ferrules, or heat-shrink connectors), ensure you have the appropriate die or a specific tool for those. Using the wrong tool on a terminal is a recipe for trouble. (Manufacturers often specify that hand crimpers should only be used with the intended terminal sizes – heed that advice during your pre-check.)
-
Wire Prep Check: Make sure your wires are properly prepared. A badly stripped wire can cause a crimp issue or even a jam (for instance, if insulation is left too long, it might get forced into the connector and jam the crimp). Strip just the right length of insulation so that no excess insulation gets crimped in the terminal barrel. All the wire strands should fit neatly inside the connector. If they’re fanning out or catching on the edge, trim or re-strip the wire. This prevents situations where the tool might crimp down on uneven material and get stuck.
-
Test the Ratchet Release: It sounds odd, but quickly inspect or test the release lever on your ratchet crimper before you start working. Ensure it’s not broken or jammed with debris. You might even practice engaging it once (with no connector in the jaws) so you know it’s functioning. This way, if a crimp does start to go wrong, you can confidently thumb the release to stop and reset. It’s your safety hatch – confirm it’s ready.
-
Tension/Calibration Spot-Check: If your tool has an adjustable tension dial, glance at it to see that it’s still on the correct setting (if you previously adjusted it). Tools generally hold their setting, but it doesn’t hurt to be aware. Also, if you haven’t calibrated your tool in a long time and you use it heavily, consider checking it against a reference or gauge. Most users won’t need to do this often, but professionals recalibrate ratchet crimpers periodically (e.g. every 6 months or a certain number of cycles). A well-calibrated tool is less likely to mis-crimp and jam.
-
Ensure Proper Connector Positioning: Before you squeeze that first crimp, position the connector correctly in the jaws. Many jams occur when a connector isn’t seated right – say, only halfway in the die – and the crimp ends up deforming the connector at an angle. For insulated terminals (ring terminals, spade connectors, butt splice connectors, etc.), insert them fully into the appropriate slot so that the tool crimpes the metal barrel, not the insulation or empty air. Some ratcheting tools have a ratchet “pre-hold” feature where a light squeeze will grip the connector softly so you can let go with your hand (this helps with positioning). Utilize that if available. The goal is a nicely aligned crimp – which both makes a better electrical connection and avoids jams due to slippage or misalignment.
This pre-job checklist covers the basics: cleanliness, correct tool setup, wire prep, and tool function. It literally takes a minute or less, but it can save you from a 30-minute jam fiasco. By ensuring everything is in order before you crimp, you’ll drastically reduce the chance of that dreaded mid-crimp freeze.
Finally, remember to use quality connectors and tools. Cheaply made connectors can deform oddly and get stuck, even in a good tool. Likewise, a top-notch tool paired with subpar connectors might still give you grief. So try to use reliable, tested connectors (for instance, Haisstronica’s heat-shrink butt connectors or nylon insulated terminals) along with your crimper. Good connectors crimp more cleanly and are less likely to jam up the jaws.
(One more plug: Haisstronica offers not just great crimpers but also professional-grade connectors. When you combine a high-quality Haisstronica crimping tool for electrical wires with their premium connectors, you create a crimping system that’s smooth and virtually jam-proof. A quick check and quality gear mean you can crimp dozens of wires in one session with zero hiccups – no more monthly jams, just consistent results.)

Conclusion
A crimper that jams every month is trying to tell you something – either about how it’s being used, how it’s cared for, or the quality of the tool itself. By understanding what “jamming” means in a crimping context and addressing the root causes (from incomplete cycles and poor maintenance to tool mismatches and wear), you can break the cycle of constant jams. We’ve shown that a simple 5-minute fix – using the release lever, cleaning the tool, lubricating, and adjusting – can rescue a jammed crimping tool and get you back in action quickly. More importantly, adopting a short 60-second pre-job routine will prevent most jams before they ever happen. Remember to keep your wire crimpers clean and oiled, use the right tool and connector for the job, and invest in quality tools that won’t let you down. Crimping is supposed to make electrical connections fast, secure, and reliable – and with these tips (and the right equipment), it will. So the next time you reach for your crimper, you’ll do so with confidence that it won’t jam on you yet again. Happy crimping!
References: