Installing landscape lighting is a rewarding DIY project that can dramatically enhance the beauty and safety of your outdoor spaces. With the right landscape wire and a bit of planning, homeowners and garden enthusiasts can wire landscape lights easily and achieve professional-looking results. In this comprehensive guide, we’ll explain step-by-step how to set up low-voltage landscape lighting, covering everything from choosing the proper cable gauge to making waterproof connections. We’ll also highlight high-quality wiring products from Haisstronica (a trusted brand in electrical connectors and wiring), include helpful tips for landscape wiring, and share relevant resources (like videos and images) to ensure your installation is a success. Whether you’re a beginner or looking to upgrade an existing setup, this guide will help you confidently wire your landscaping lights for a stunning nighttime ambiance.
Plan before you dig
Your 6-step landscape lighting plan
Use this sequence to avoid undersized wire, voltage drop, weak outdoor splices, and unnecessary rework.
Mark every light, transformer, branch, and cable route.
Total the fixture load and keep reserve capacity in the transformer.
Measure the longest route, then add roughly 20% for routing and slack.
Match wire gauge and length to load, distance, and transformer guidance.
Use waterproof connectors at every outdoor branch or extension.
Power on, inspect every light, and only then backfill the cable route.
Why Choose Low-Voltage Landscape Lighting?
Low-voltage landscape lighting systems (typically 12 volts) are popular for DIY outdoor lighting because of their safety and simplicity. Unlike standard household wiring (120V), a low-voltage system greatly reduces the risk of electrical shock and does not require conduit in most areas. This makes it easy for homeowners to install landscape lights without needing a professional electrician. Low-voltage cables can be direct-buried at a shallow depth (usually about 6 inches deep) in your yard, and the wiring connections are straightforward to make.
Choose wire after calculating load and distance
For shorter, lower-load 12V runs, 16/2 landscape wire is a practical starting point. For longer runs or heavier loads, check voltage-drop and transformer guidance before purchasing.
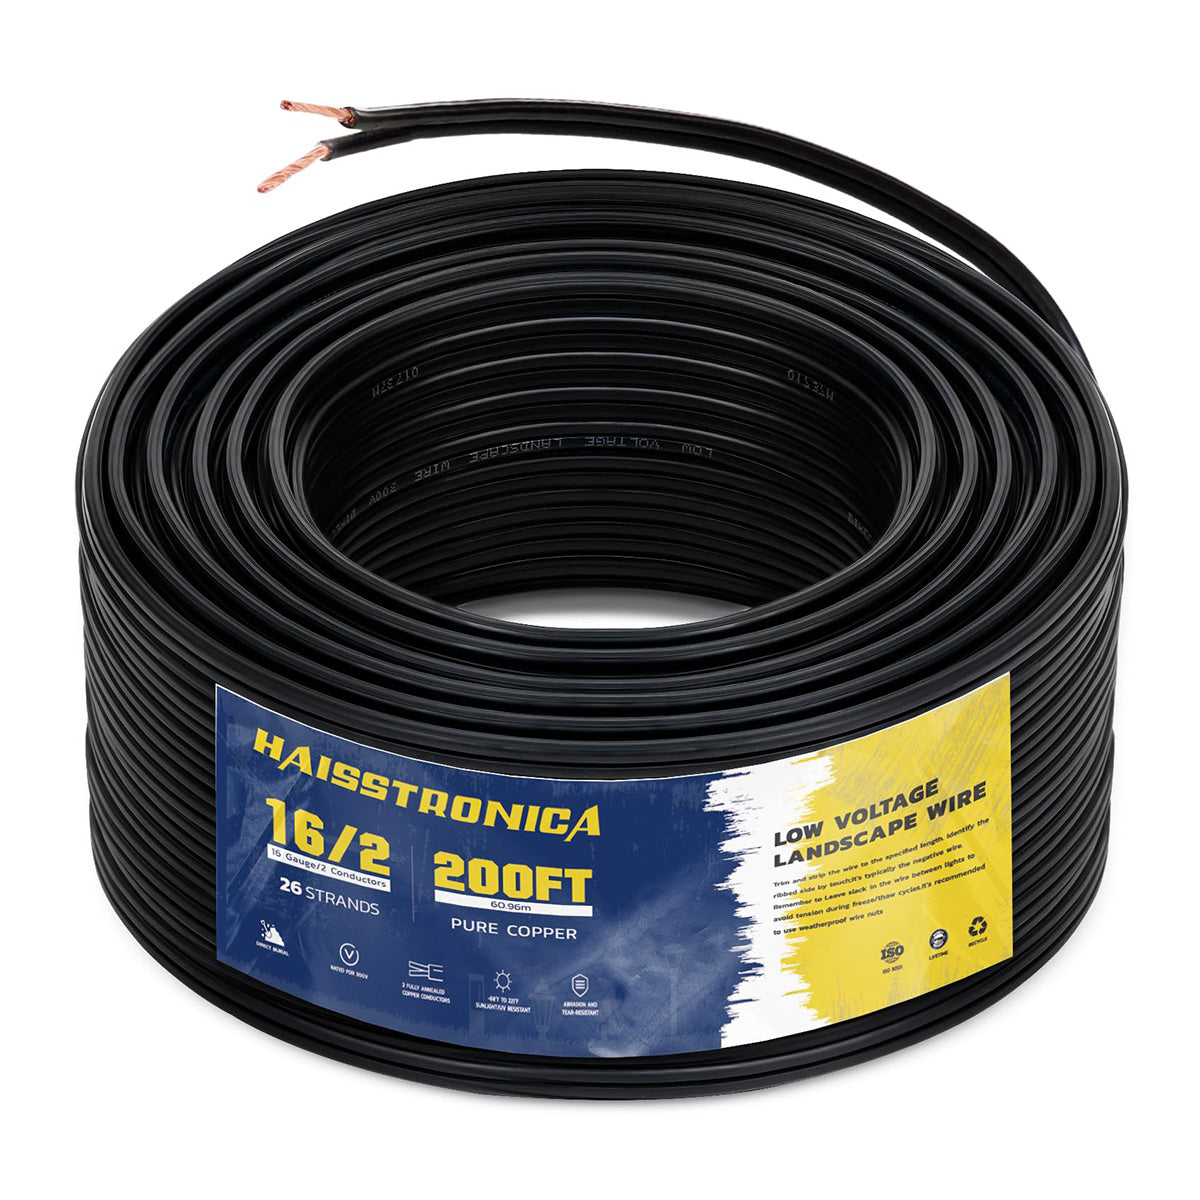
16/2 Low-Voltage Landscape Wire
UV-resistant, direct-burial cable for outdoor 12V lighting, available in multiple roll lengths.
View Landscape Wire →Before choosing a roll
- Add the wattage of every fixture on the run.
- Measure the transformer-to-last-light distance.
- Add branch routes plus about 20% installation slack.
- Confirm cable gauge against transformer and fixture specifications.
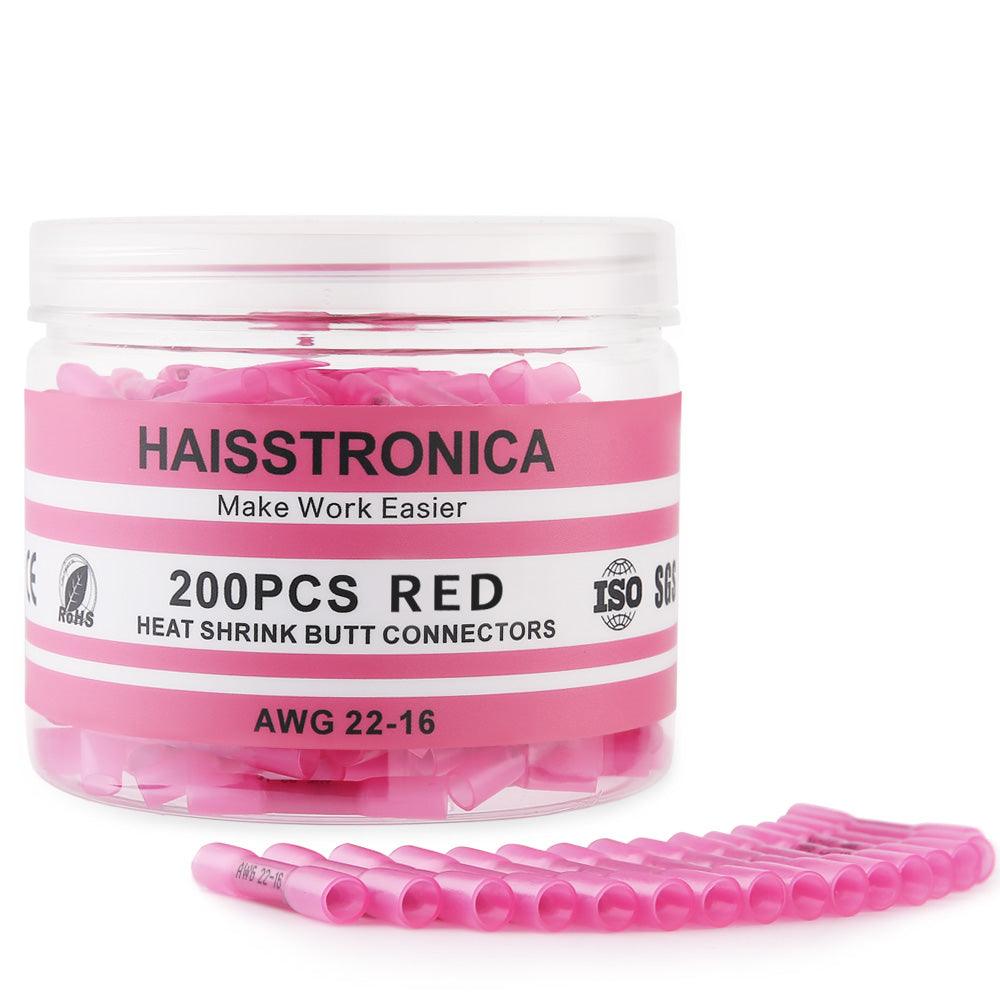
Outdoor connection point
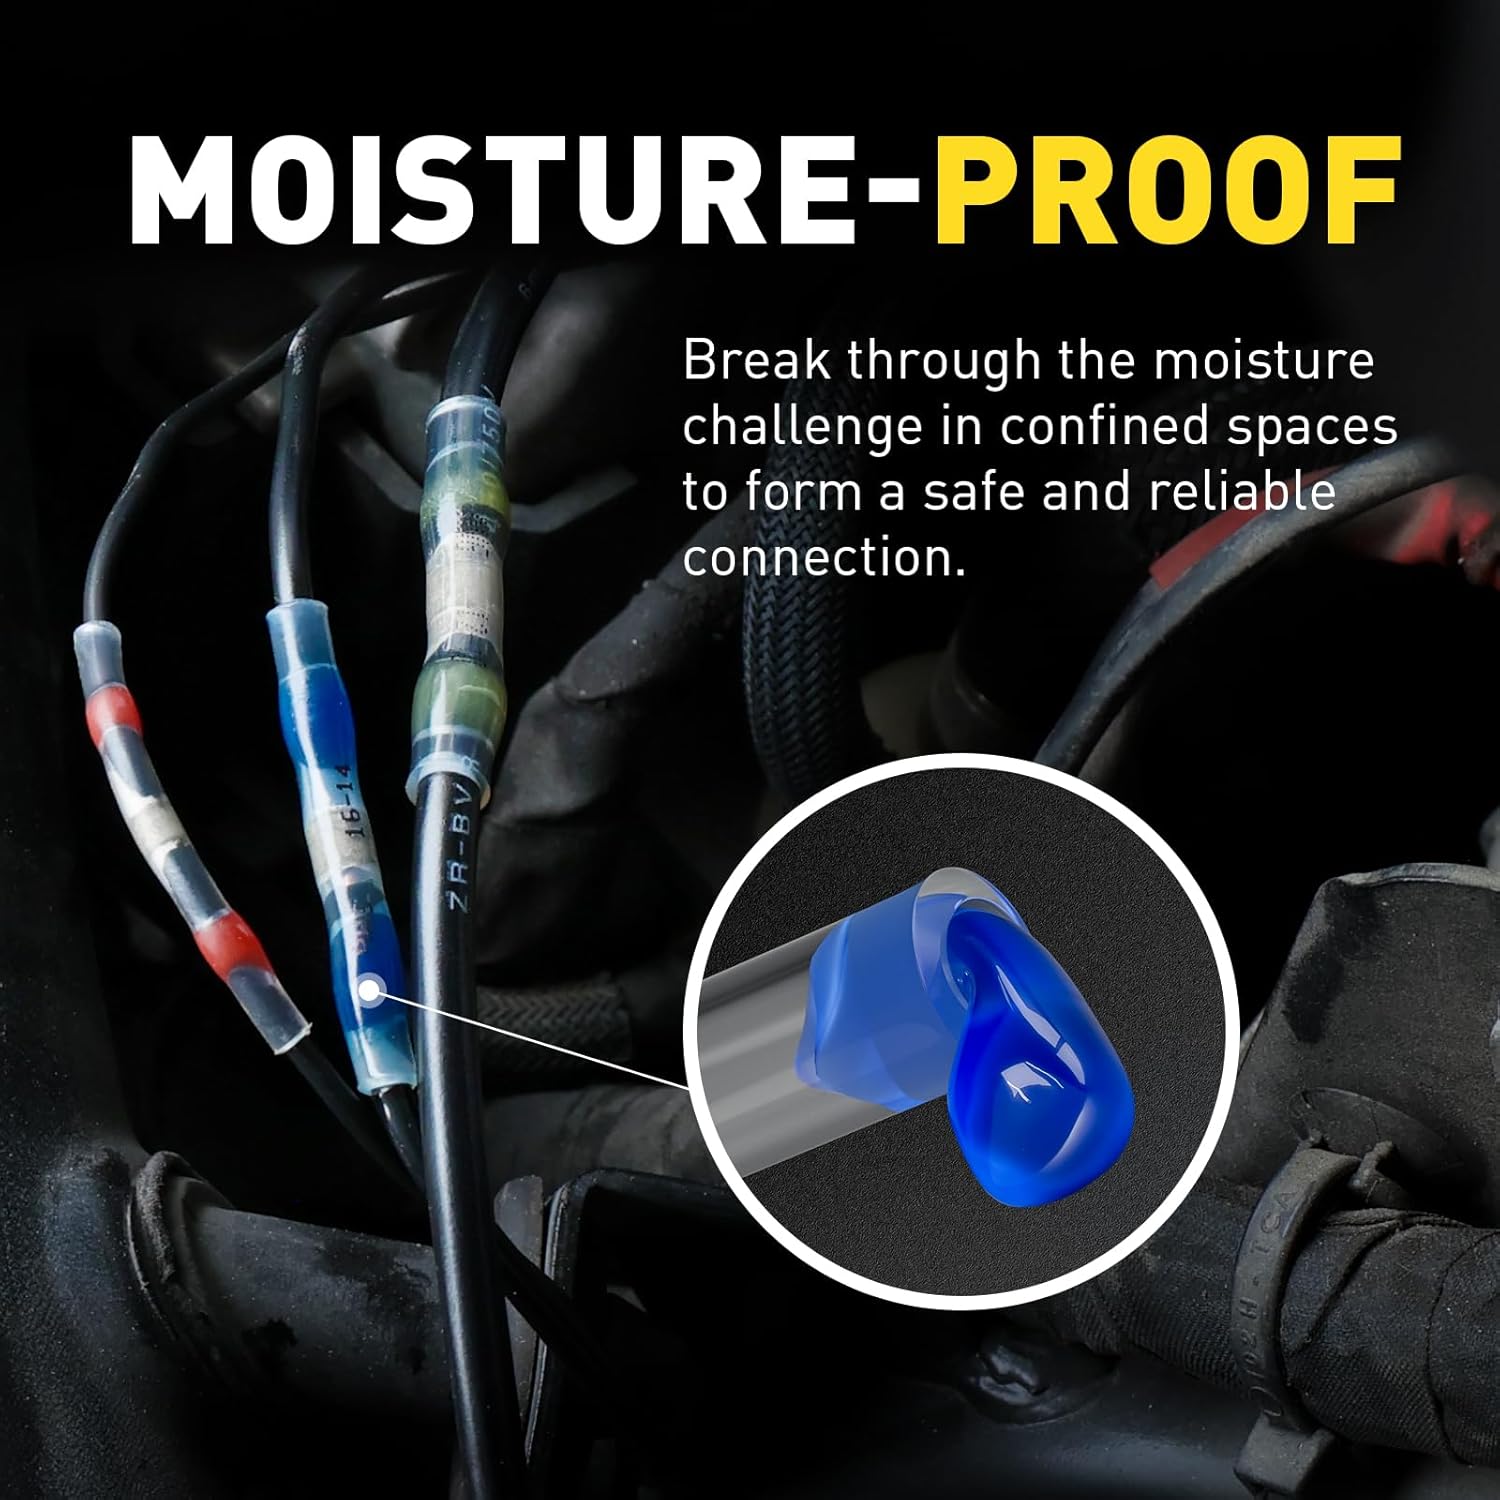
Seal every branch and extension
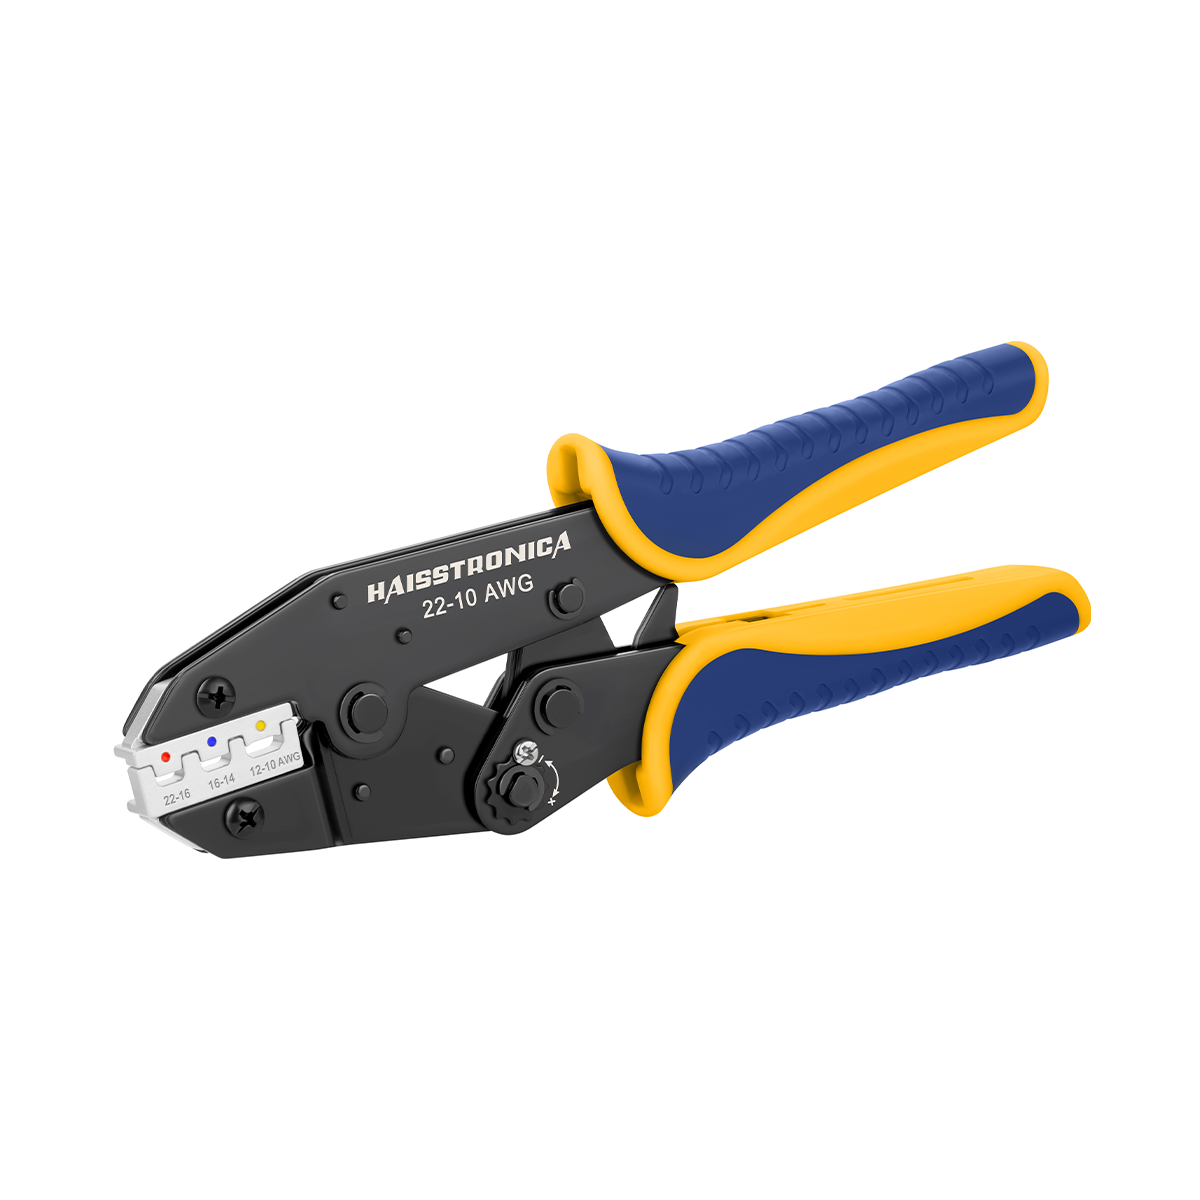
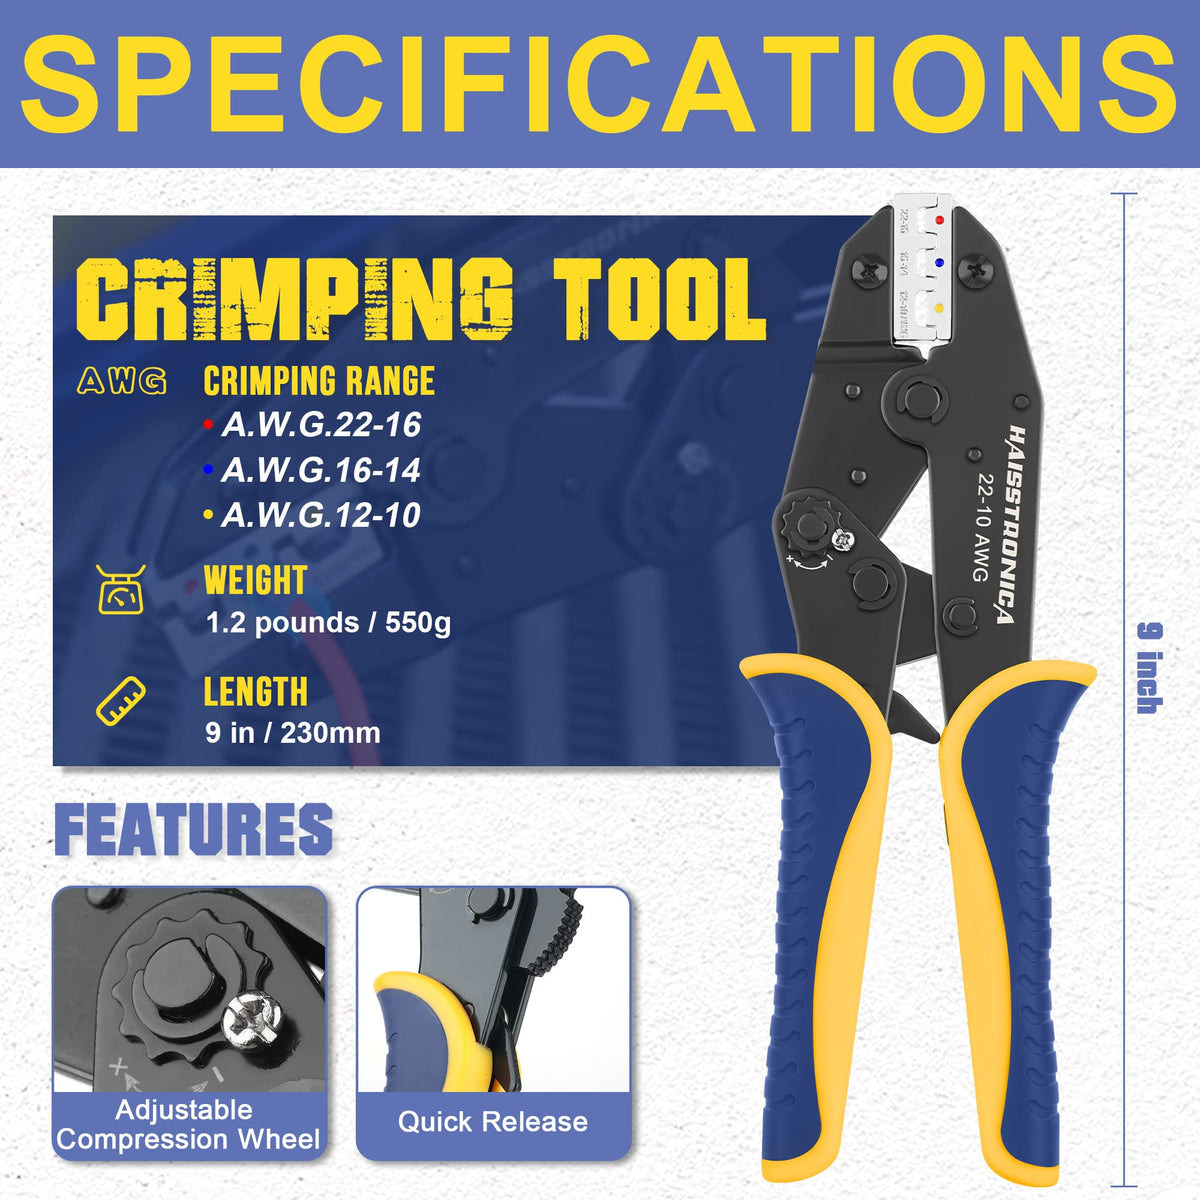
Tinned-copper heat-shrink butt connectors create a secure crimp and sealed insulation for damp, buried, or exposed landscape-lighting connections. Match the connector to the conductor AWG.
View Waterproof Butt Connectors →Prepare clean wire ends before connecting
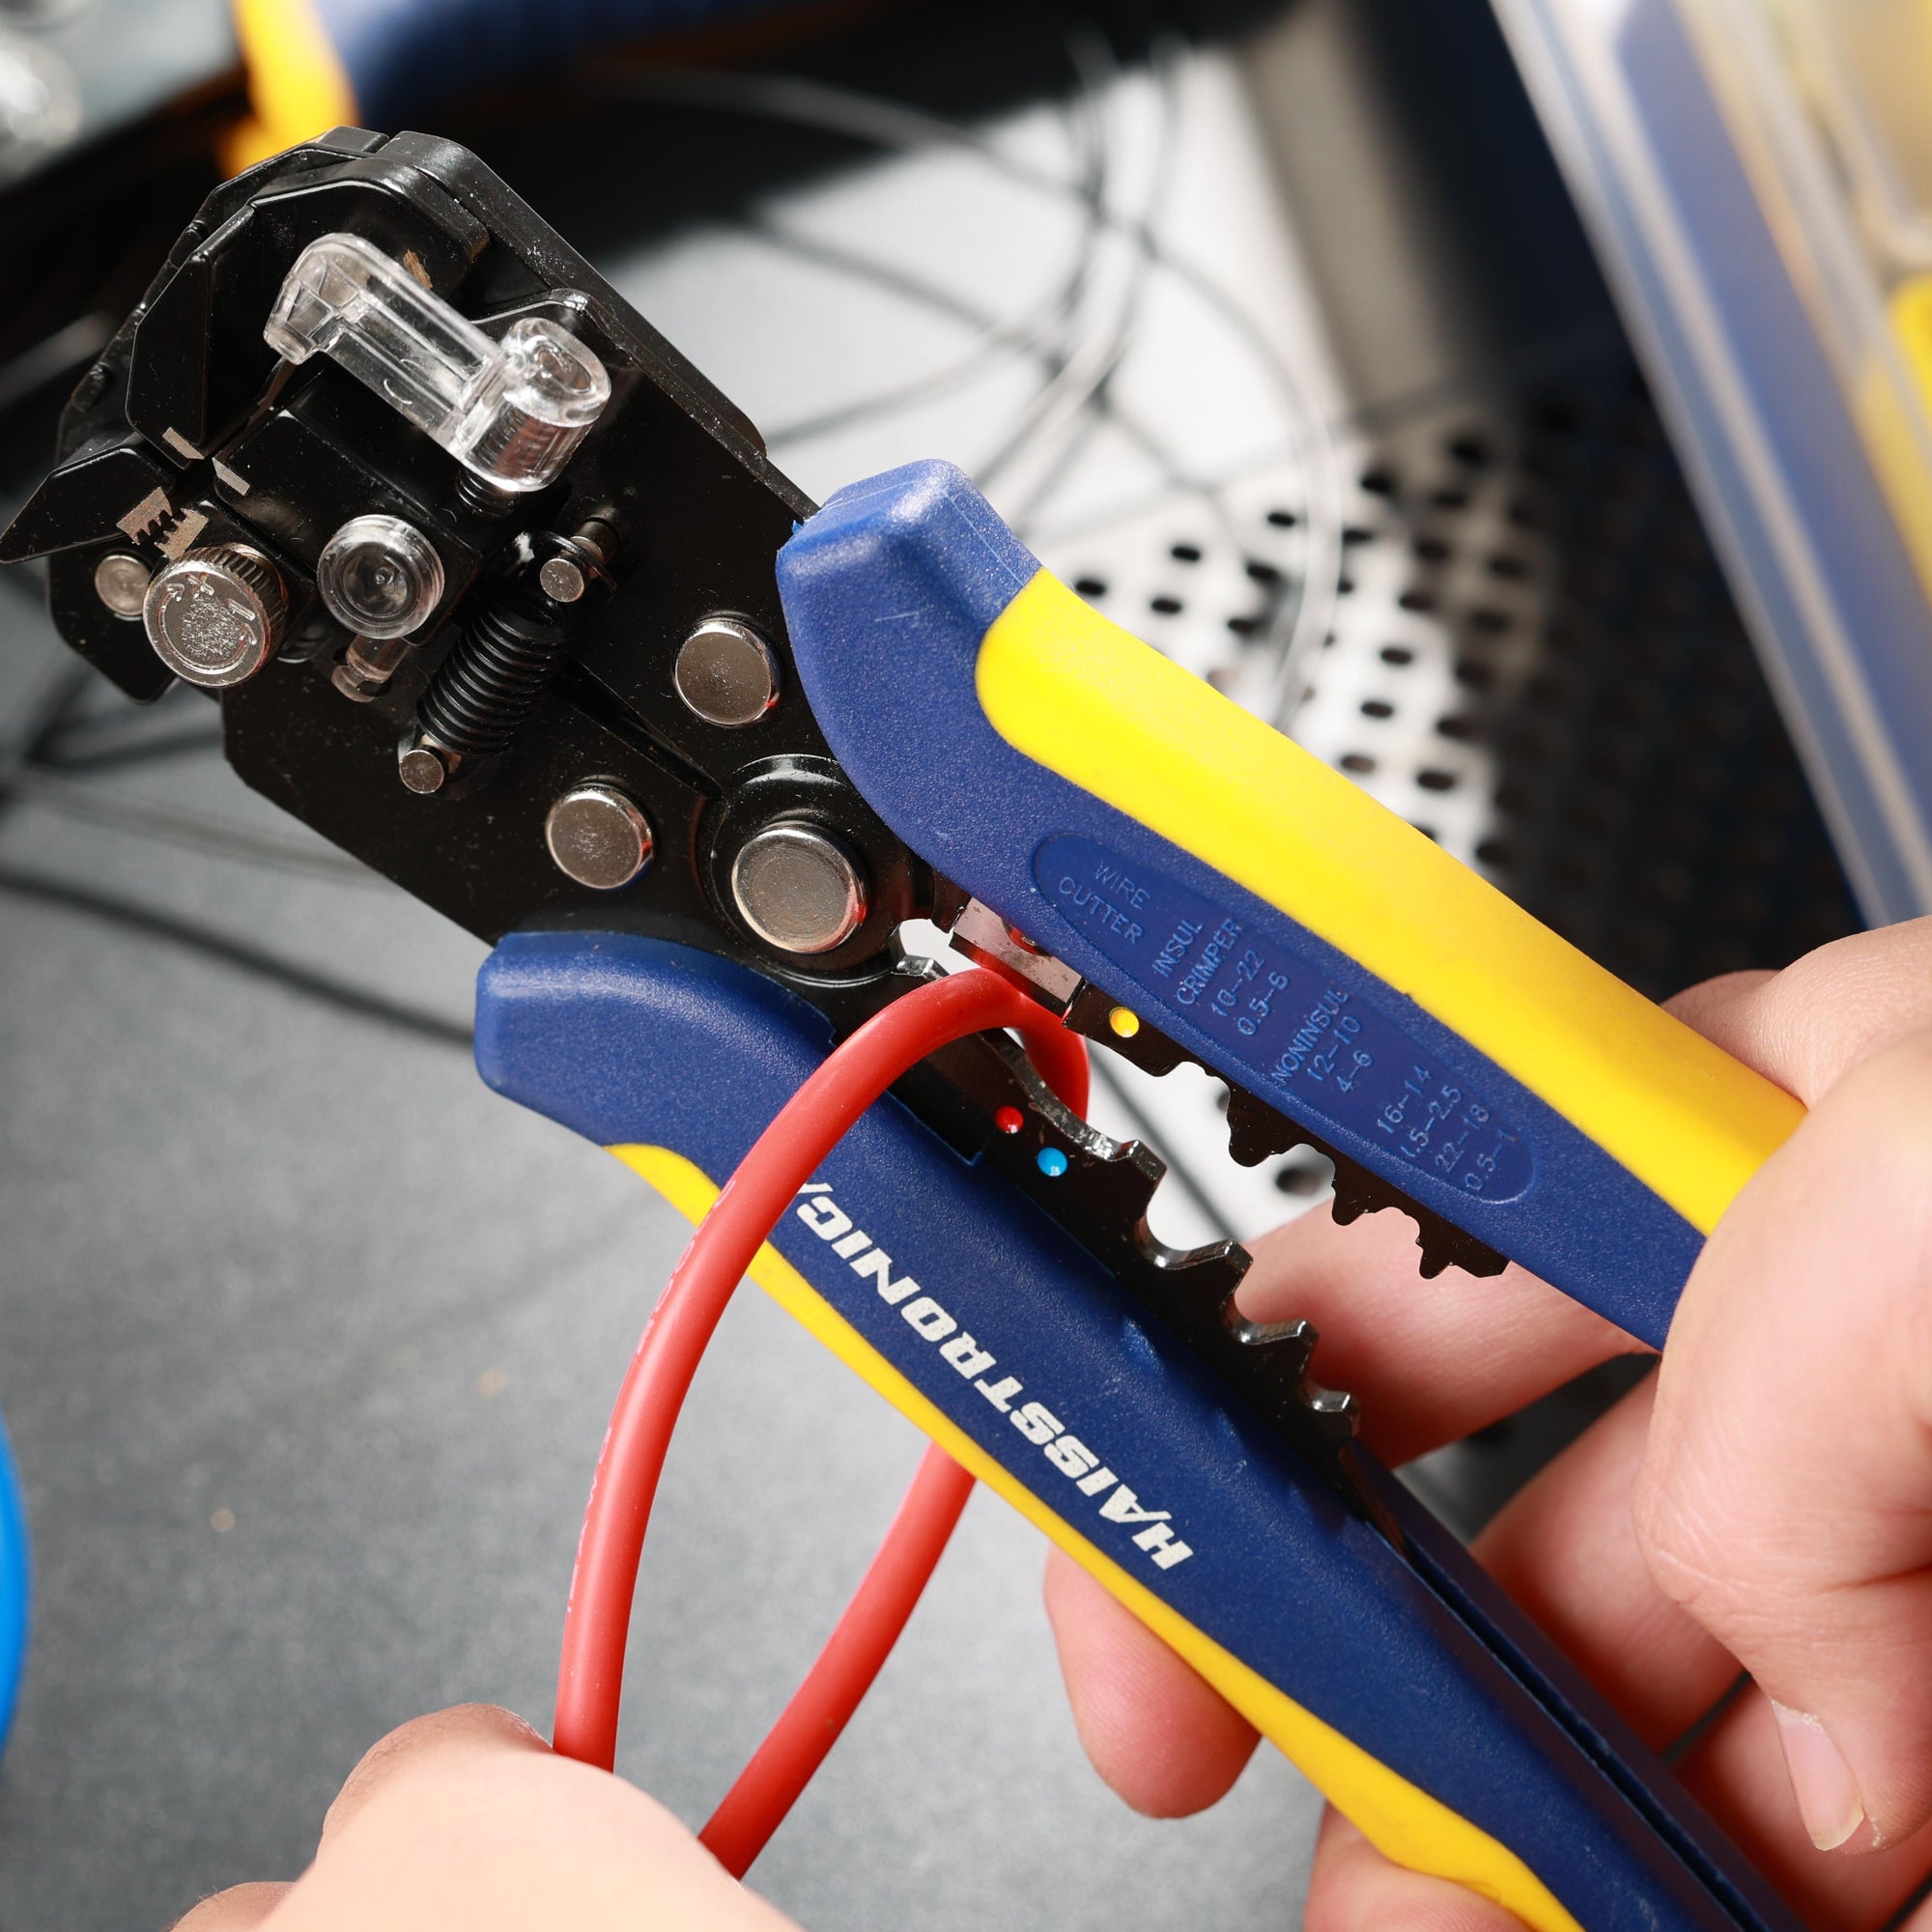
A self-adjusting stripper helps remove insulation without nicking conductors, supporting cleaner outdoor splices and faster repeated fixture connections.
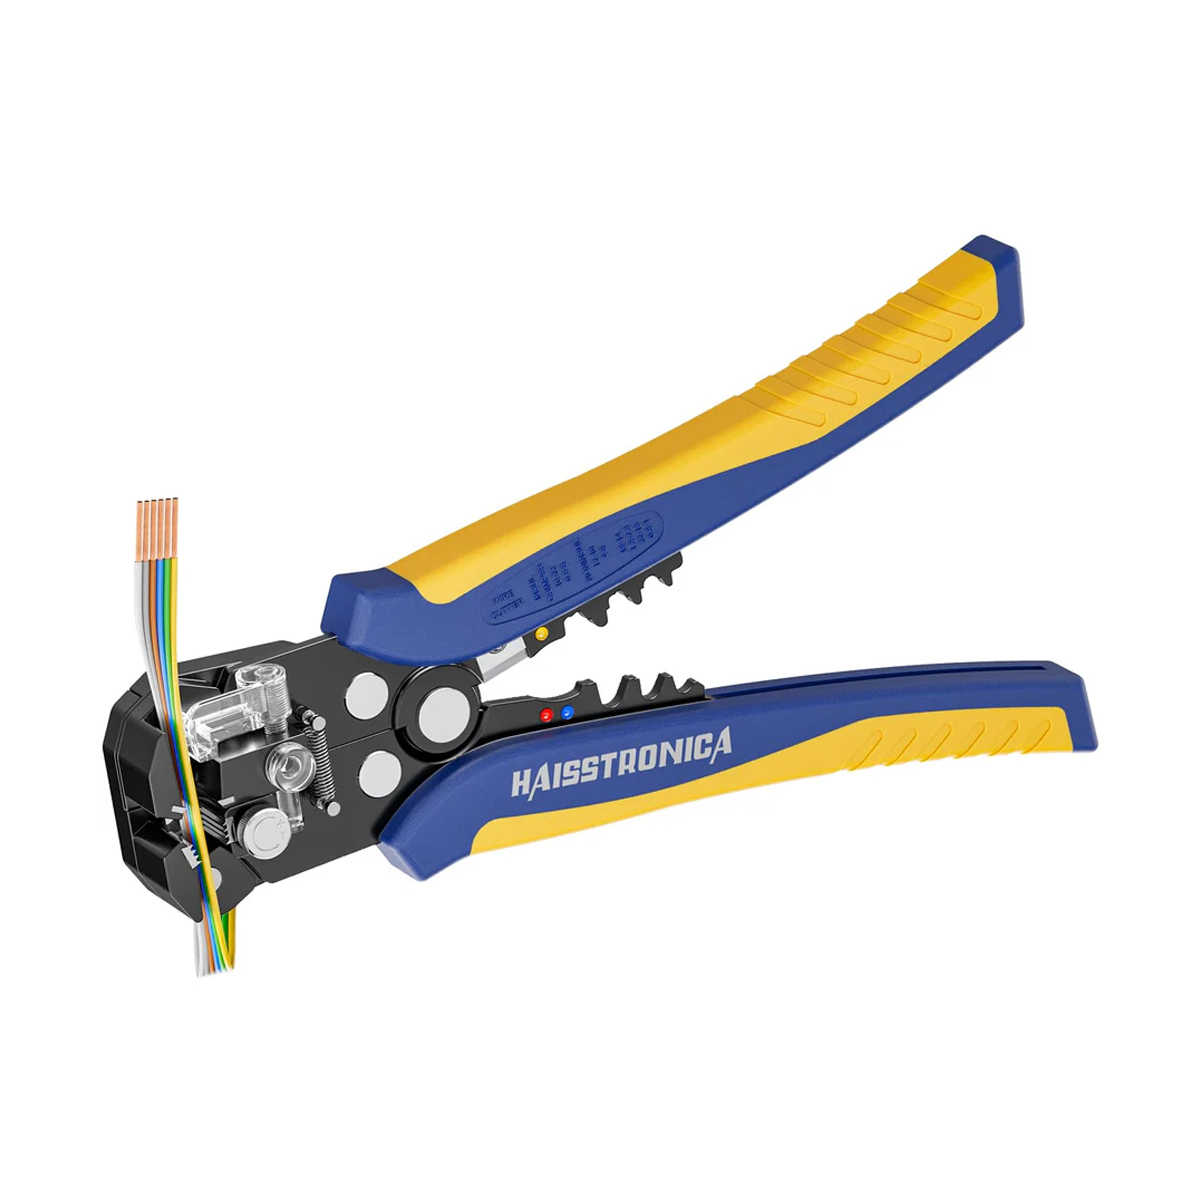
Self-Adjusting Wire Stripper AWG 24-10
View Wire Stripper →Finish with a list
Build your shopping list by fixture count
Fixture count is the starting point—not the final cable calculation. Measure the actual route and add installation slack before choosing roll length.
4–6 lights
1 measured cable run + 20% slack, waterproof connectors for every splice, and a stripper.
Start Small Project →7–10 lights
Calculate the longest branch, verify voltage drop, and allow extra waterproof connectors for branches.
Choose Wire Length →11–16 lights
Plan multiple runs or branches, check transformer capacity, and confirm gauge before ordering.
View Beginner Kit →