


Introduction: Butt splice connectors are one of the simplest ways to join two wires end-to-end without soldering. They’re small electrical connectors that create a secure, insulated splice. The name comes from the way the stripped wire ends “butt” up against each other inside the connector butt, forming a continuous path for electricity. These connectors go by many names – butt connectors (sometimes written as buttconnector in searches), butt splices, butt terminals, etc. All refer to the same thing: a crimp-on wire connector that joins two wires.
For beginners, using butt connectors (especially the heat-shrink type) is easy and reliable. In this post, we’ll explain what a heat-shrink butt-splice connector is, walk through how to use them step by step, highlight common use cases (automotive, marine, DIY repairs), share a quick buying guide on what to look for, and answer some FAQs. By the end, you’ll know exactly how to use heat-shrink butt connectors to make waterproof, long-lasting wire connections.
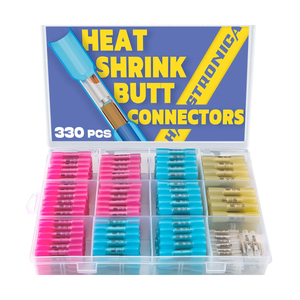
👉 Build it right with Haisstronica Electrical Crimp Heat Shrink Butt Connectors AWG 22-10 for butt splicers.

What Is a Heat-Shrink Butt-Splice Connector?
A butt splice connector (aka butt connector or butt splice) is a small tube-like electrical connector used to splice two wires end-to-end. It’s usually a metal cylinder (often tinned copper) with an insulating sleeve. You insert one stripped wire into each end of the connector barrel, and then crimp it down. This deformation of the metal barrel tightly grips the wires, creating a solid mechanical and electrical bond – effectively making the two wires act as one continuous conductor. In essence, the butt splice connects the wire ends inside a protective sleeve, maintaining the circuit’s integrity.
Some butt connectors have a simple plastic insulation (vinyl or nylon). In contrast, heat-shrink butt connectors (sometimes called heat-shrinkable butt connectors, shrink tube butt connectors, or marine-grade butt splices) have a special shrinkable tubing lined with adhesive. After crimping, you apply heat to the connector. The tubing shrinks and the inner adhesive melts, sealing the splice and keeping out water. These butt connectors heat shrink around the wire connection, creating a waterproof butt splice once cooled. In other words, a heat-shrink butt-splice connector adds an extra layer of protection: when heated, it forms a sealed, water-resistant connection ideal for automotive, marine, or outdoor wiring.
👉 Faster installs start with Haisstronica Electrical Crimp Heat Shrink Butt Connectors AWG 22-10 — the go-to solution for buttsplice.

Step-by-Step Instructions on How to Use Them
Using a butt connector is straightforward. For a quick visual guide, you can also watch this YouTube tutorial on heat-shrink butt splices which demonstrates the crimping and heating process. Follow these steps to splice wires with a heat-shrink butt connector:
-
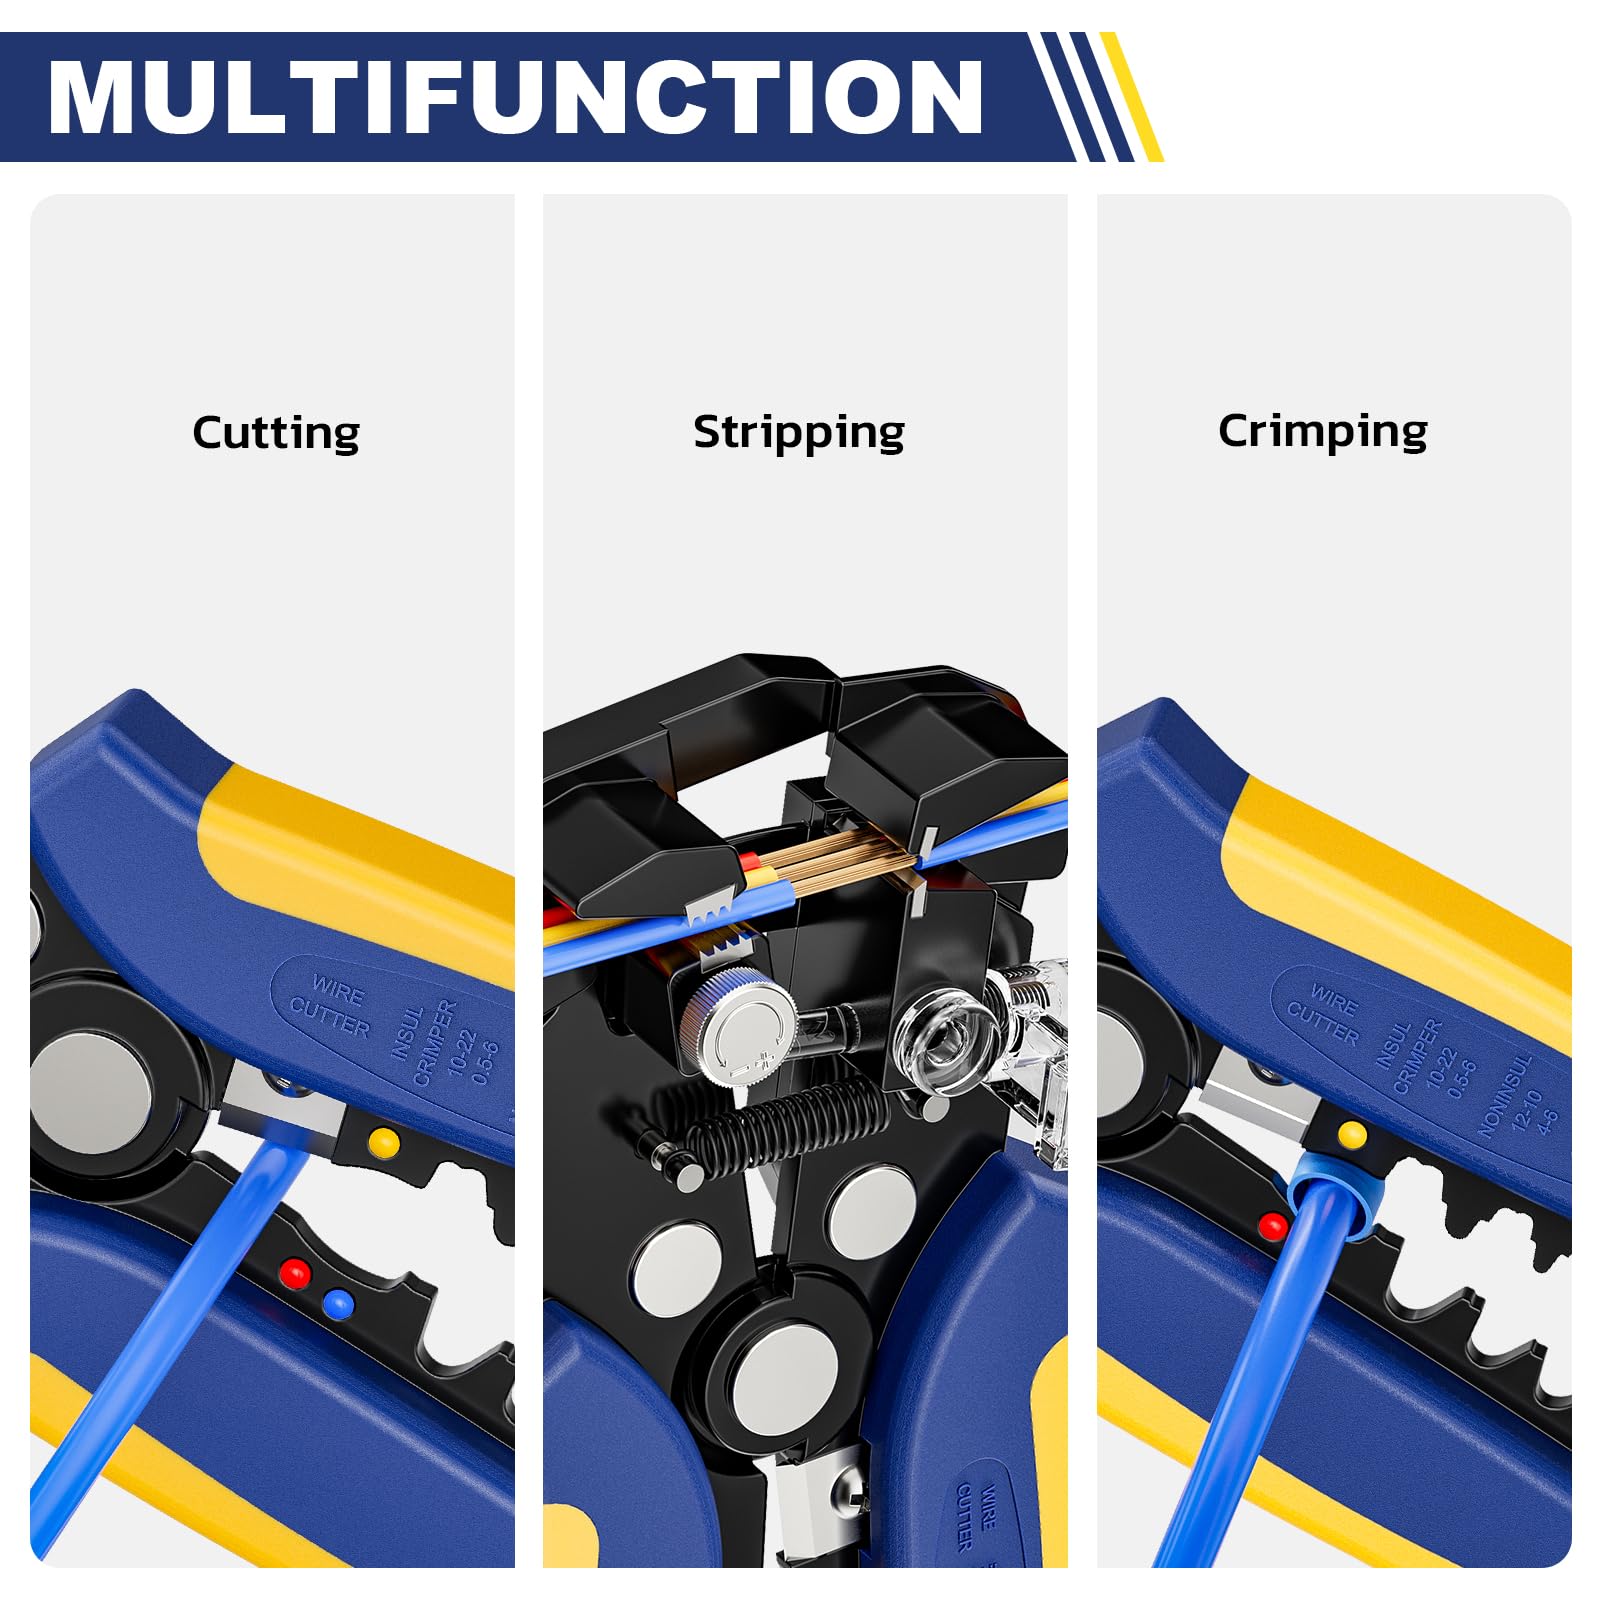
Prepare the Wires: Safety first: disconnect any power to the circuit before starting. Cut and strip about 1/4 inch (6 mm) of insulation off the end of each wire. Use a proper wire stripper sized for your wire gauge so you don’t nick the copper strands. If the wire is stranded, twist the exposed strands together so they stay tight and neat.
-
Select the Right Connector & Insert Wires: Choose the correct size butt connector for the wire gauge you’re joining. Butt connectors are typically color-coded by wire size (for example, red butt connectors for 22–18 AWG wires, blue for 16–14 AWG, and yellow for 12–10 AWG). Make sure the connector’s size matches the wires – too small and the wire won’t fit; too large and it won’t crimp tightly. Insert one stripped wire end into each side of the connector until each bottoms out in the middle. The two wires should butt against each other in the center of the metal barrel. Ensure no stray strands are sticking out; all copper should be inside the connector tube.
-
Crimp the Connector: Using a proper wire crimping tool (ideally a ratcheting crimper with the matching color-coded notch for your connector size), crimp the metal barrel in the middle of the connector. Place the crimper jaws on the metal cylinder part (not on the insulated ends) and squeeze firmly to compress the barrel. This locks the wire into place. Give each wire a gentle tug to verify it’s secure – a correct crimp will hold the wires so they cannot pull out easily. (Tip: If you’re using insulated connectors, use the crimper’s insulated terminal slot; for non-insulated metal connectors, use the bare crimp section.)
-
Apply Heat to Shrink: If you’re using a heat-shrink butt connector, now apply heat to seal it. A heat gun is recommended for even heating (you can use a mini butane torch or, in a pinch, a strong hair dryer or lighter – more on that in the FAQ). Sweep the heat source back and forth along the connector’s tubing. The heat-shrink tube will contract around the splice and the inner adhesive will melt and flow, bonding everything watertight. Continue heating until you see the tubing fully shrink and a bit of adhesive ooze out at the ends – this indicates a good seal. The connector will turn slightly transparent as it shrinks. This step effectively turns your crimped splice into a waterproof butt connector. (Note: Avoid charring the tubing – keep the heat gun moving. If you used a non-heat-shrink connector, you can slide a separate piece of heat-shrink tubing over it and heat it now to add protection.)
-
Cool & Inspect: Remove the heat and let the connector cool down for a few seconds. Once cool, give each wire a final tug to ensure the crimp is solid. Visually inspect that no bare wire is exposed beyond the connector and that the tubing has fully shrunk evenly around the splice. If you have a multimeter, you can also test continuity to be sure the electrical connection is sound. A properly crimped and shrunk butt-splice connector will be strong and secure. If a wire does slip out or the connection seems loose, it’s best to cut it off and redo the splice with a fresh connector – butt connectors are generally one-time use and cannot be un-crimped reliably.
👉 Trust Haisstronica Electrical Crimp Heat Shrink Butt Connectors AWG 22-10 when you need butt splice done right.

Use Cases: When and Where to Use Butt Connectors
Butt connectors are used in all kinds of wiring projects where two conductors need to be joined end-to-end. Here are a few common use cases:
-
Automotive Wiring Repairs: In cars, trucks, or motorcycles, butt connectors are widely used for installing accessories (e.g. a new stereo or headlights) or repairing broken wires. They hold up well against engine bay vibrations, preventing wires from coming loose. For example, when replacing a damaged speaker or taillight wire, you can use a butt splice to connect the new wire to the existing wiring. These connectors are also handy for quick roadside fixes because they create a reliable crimp connection without needing solder.
-
Marine & Boat Wiring: In any marine application – boats, jet skis, etc. – waterproof butt connectors are a must. The marine environment is moist and corrosive, so you should use marine-grade heat-shrink butt splices that seal out water. The adhesive-lined shrink tubing on these connectors ensures a water-resistant bond that protects the wires from saltwater and corrosion. This is crucial for things like navigation lights, bilge pumps, or dock lighting – basically any wiring that might get splashed or exposed to humidity. Once shrunk, the connection is sealed tight and won’t fail even in harsh, wet conditions.
-
Home DIY Electrical Projects: Butt connectors come in handy for everyday DIY repairs and small electronics projects around the house. Use them to fix a broken lamp cord, extend LED strip light wires, repair household appliance wiring, or splice in a new section of wire if a cable was accidentally cut too short. They provide a safer and more secure alternative to simply twisting wires together and taping them. Because they’re easy to use, butt splice connectors often appear in DIY wire connector kits for hobbyists. Whether you’re working on a garden lighting project or fixing a loose wire in a gadget, butt connectors let you make a solid, insulated connection with minimal tools.
(Note: Another common use is in car audio and electronics – using butt splices to connect speaker wires or amp wiring ensures a consistent signal without wires coming undone or corroding. In general, any time you need to join wires end-to-end, especially in tight spaces or mobile environments, butt connectors are a convenient solution.)
👉 For butt splices, pick Haisstronica Electrical Crimp Heat Shrink Butt Connectors AWG 22-10 and finish strong.

Buying Guide – What to Look For in Butt Connectors
Not all butt connectors are made equal. Here are some key factors to consider when buying butt-splice connectors (especially heat-shrink ones):
Before heating the tubing, confirm the wire gauge and connector color match. A heat shrink butt connector kit with red, blue, and yellow AWG sizes helps avoid loose crimps from mismatched connector sizes.
-
Type of Connector: Butt connectors come in a few types – non-insulated, insulated, and heat-shrink. Non-insulated butt splices are just plain metal barrels (no sleeve), used mainly if you plan to add your own insulation or for high-heat situations. Most beginners will use insulated connectors (with a vinyl or nylon sleeve for basic protection) or heat-shrink butt connectors. The heat-shrink type (often sold as marine butt connectors or adhesive-lined splices) has a dual-wall tube with an inner glue that melts when heated, forming a waterproof sealh. In general, use standard insulated connectors for indoor/dry environments, and choose heat-shrink butt connectors for any wiring exposed to moisture, dirt, or vibration.
-
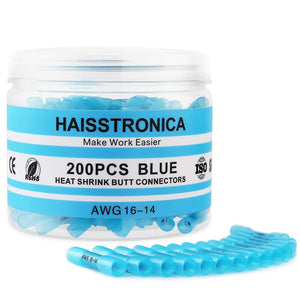
Wire Gauge Size: Always match the connector size to your wire gauge. Using the wrong size can lead to a poor crimp. Butt connectors are usually color-coded by wire size for convenience. Common color codes are red butt connectors for 22–16 AWG wires, blue for 16–14 AWG, and yellow for 12–10 AWG. (Some brands even have white connectors for very small 26–24 AWG wires.) Make sure the wire fully fills the connector barrel before crimping. If it’s too loose, use a smaller connector; if it won’t fit, use a larger one. When in doubt, you can buy an assorted butt connector kit that includes multiple sizes so you’ll always have the right size on hand.
-
Environment & Application: Consider the conditions your wire connection will face. For marine, automotive, or outdoor projects, it’s wise to use heat-shrink connectors (waterproof) to seal out moisture and prevent corrosion. In engine bays or other high-temperature areas, check that the connector’s insulation can handle the heat – nylon-insulated connectors tolerate higher temps than cheap vinyl ones. If the wiring will experience a lot of movement or vibration (vehicles, machinery), heat-shrink butt connectors provide extra strain relief when shrunk, keeping the joint secure under stress. Choose connectors labeled “marine-grade” or “waterproof” for maximum durability in harsh environments.
-
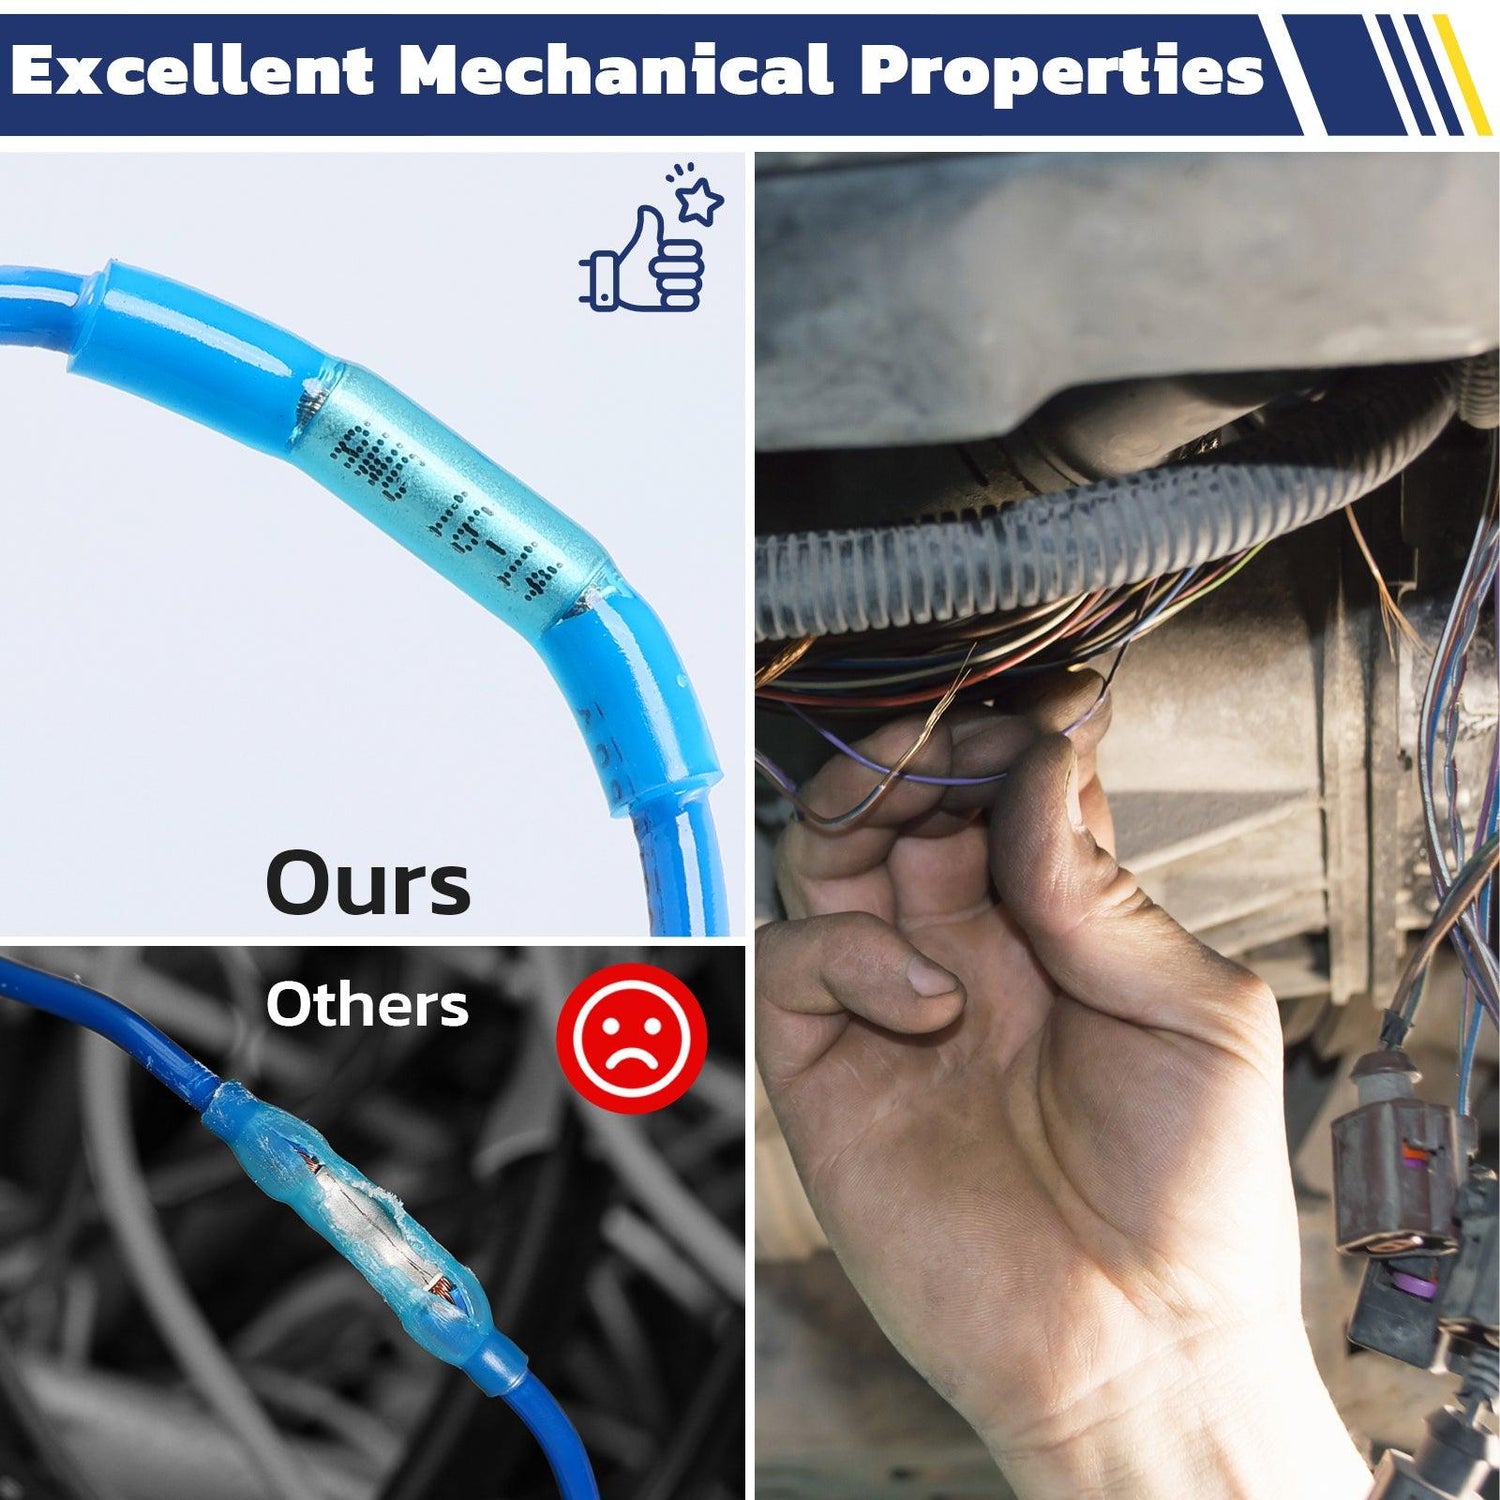
Quality and Safety: It pays to get high-quality connectors from a reputable brand. Look for connectors that are UL listed or meet electrical standards, especially for critical or permanent wiring. High-quality butt connectors use tinned copper barrels for excellent conductivity and corrosion resistance, and have thick insulation or tubing that won’t puncture easily. Cheaper off-brand connectors might use thinner metal or subpar plating that can corrode or break under strain. For a reliable splice, invest in connectors that feel sturdy and crimp solidly. (For example, Haisstronica’s heat-shrink butt splices use pure tinned copper cores and adhesive-lined polyolefin tubing, offering high tensile strength and a truly waterproof seal.) A few extra dollars on a quality butt connector kit is worth the peace of mind for long-term electrical projects.
👉 Upgrade your wiring with Haisstronica Electrical Crimp Heat Shrink Butt Connectors AWG 22-10 — engineered for butt-splice connector.

FAQ
Q1: “Butt connectors” vs. “butt splices” vs. “butt terminals” – are these all the same?
A: Yes – all those terms (and several others) refer to the same thing. A butt splice, butt splice connector, butt terminal, or even slang like butt splicer or butt wire connector are simply different names for a butt connector. They all describe that small tube-shaped crimp connector used to join two wires end-to-end. So if someone talks about using a butt splice or butt connector, it’s the same device. The wording may vary, but they operate identically.
Q2: Are heat-shrink butt connectors really waterproof?
A: When properly crimped and heated, yes – heat-shrink butt connectors create a sealed, waterproof connection. The adhesive-lined shrink tubing forms about an IP67-grade water-resistant seal around the splice. This keeps water, moisture, and even salt out of the electrical joint. The image above shows an example: a heat-shrink butt splice (blue and yellow connectors) submerged in muddy water to demonstrate the waterproof seal. These waterproof butt connectors are ideal for marine wiring or any outdoor application where you need to keep moisture away from the wires. (By comparison, a standard vinyl or nylon-insulated butt connector is not waterproof on its own – you’d have to put heat-shrink tubing over it to make it resistant to water.) Always remember to fully shrink the connector and let the adhesive do its job; a properly heated connector will cool into a tight, waterproof bond.
Q3: I don’t have a heat gun – can I use a hair dryer or lighter to shrink the connector?
A: In a pinch, yes. The proper way to shrink a heat-shrink connector is using a heat gun, which applies even heat over the tubing. However, you can use alternatives carefully. A regular hairdryer on its highest heat setting will eventually shrink the tubing (it just takes longer than a heat gun). Using a handheld lighter or mini torch is another common trick – many people do this for quick fixes, and it will shrink the tube rapidly. But be careful: an open flame can easily overheat and burn the connector’s tubing. If you resort to a lighter, keep the flame moving back and forth and don’t hold it too close; you only need to heat until the tubing contracts and the adhesive melts. A butane lighter or micro-torch gives more controlled heat than a big flame. And watch your fingers! In summary, yes, a strong hair dryer or lighter can work for one-off jobs, but if you plan to do a lot of wiring, investing in a proper heat gun is highly recommended for consistent, clean results.
Q4: Can I connect more than two wires with a single butt splice connector?
A: Not with a standard butt connector – they are designed for two wires only (one inserted into each end). If you need to join three or more wires together, you have a couple of options. One method is to use multiple butt connectors (for example, splicing two wires together, then attaching that combined lead to a third wire using another butt connector). A better solution is to use a special connector called a step-down butt splice (also known as a 3-way butt connector). Step-down butt splice connectors have a larger barrel on one side that can accommodate two (or more) wires, which then crimp down into a single wire on the other side. These specialty connectors are color-coded with stripes to indicate the different wire sizes they accept. They essentially allow three-wire (or even four-wire) splicing in one piece. If you don’t have those, consider using a proper junction or distribution block for combining multiple wires, rather than trying to cram three wires into a normal butt connector (which will not crimp reliably or safely).
Our Top User-friendly Picks
For corrosion-proof performance, our 99.9% copper tinned barrels keep contact clean and stable. Heat evenly and the 3:1 adhesive liner bonds to insulation, forming a durable, watertight seal. Install with confidence using heat shrinkable butt connectors, ideal when customers search but conector or butt conector.
👉 Seal every splice with Haisstronica Electrical Crimp Heat Shrink Butt Connectors AWG 22-10 — ideal for buttsplices.

Conclusion
Heat-shrink butt splice connectors are a game-changer for DIY wiring – they make it easy to achieve secure, weatherproof connections on everything from car repairs to boat electronics to home projects. With the step-by-step guide above, even a beginner can confidently crimp and shrink these connectors to create professional-quality splices.
👏 You may be interested in the following:
Use heat shrink butt connectors for waterproof wire splices, or browse the full butt connectors collection for different repair needs.


