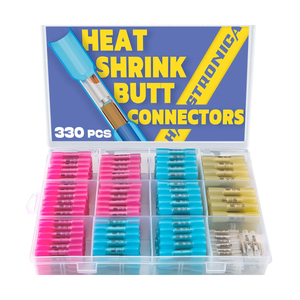
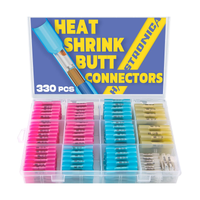

Introduction: Butt connectors join two wires end-to-end without soldering. A reliable splice depends on three things working together: the metal barrel must grip the conductors, the barrel must create a low-resistance electrical path, and the insulation must protect the finished joint. This guide explains that process first, then helps you choose the right connector, tools, and size for your environment.
How Do Butt Connectors Work?
A butt connector has a conductive metal barrel inside an insulating sleeve. One stripped wire enters from each end until the conductors meet near the center. When the barrel is crimped, it permanently deforms around the wire strands.
That deformation creates two connections at the same time. The mechanical connection holds the wires so vibration or pulling cannot separate them. The electrical connection creates a broad metal-to-metal contact area between the wire strands and the copper or tinned-copper barrel, allowing current to flow with low resistance.
A loose crimp leaves too little contact area and can create resistance, heat, or intermittent power. An over-crimp can damage the barrel or cut wire strands. The connector size and crimping die therefore need to match the wire gauge.
Standard Insulated vs. Heat Shrink Butt Connectors
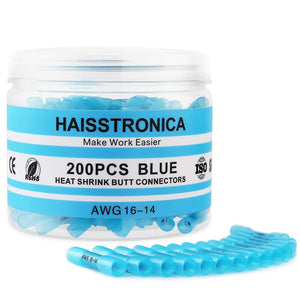
Choose the connector type only after you know where the splice will operate. Standard insulated connectors provide basic electrical insulation. Heat shrink butt connectors add an adhesive-lined sleeve that contracts when heated and seals around the wire insulation.
DRY / PROTECTED
Standard insulated
Good for protected indoor wiring where water, road spray, dirt, and strong vibration are not expected. Requires a correct crimp but no heating step.
MOISTURE / VIBRATION
Heat shrink
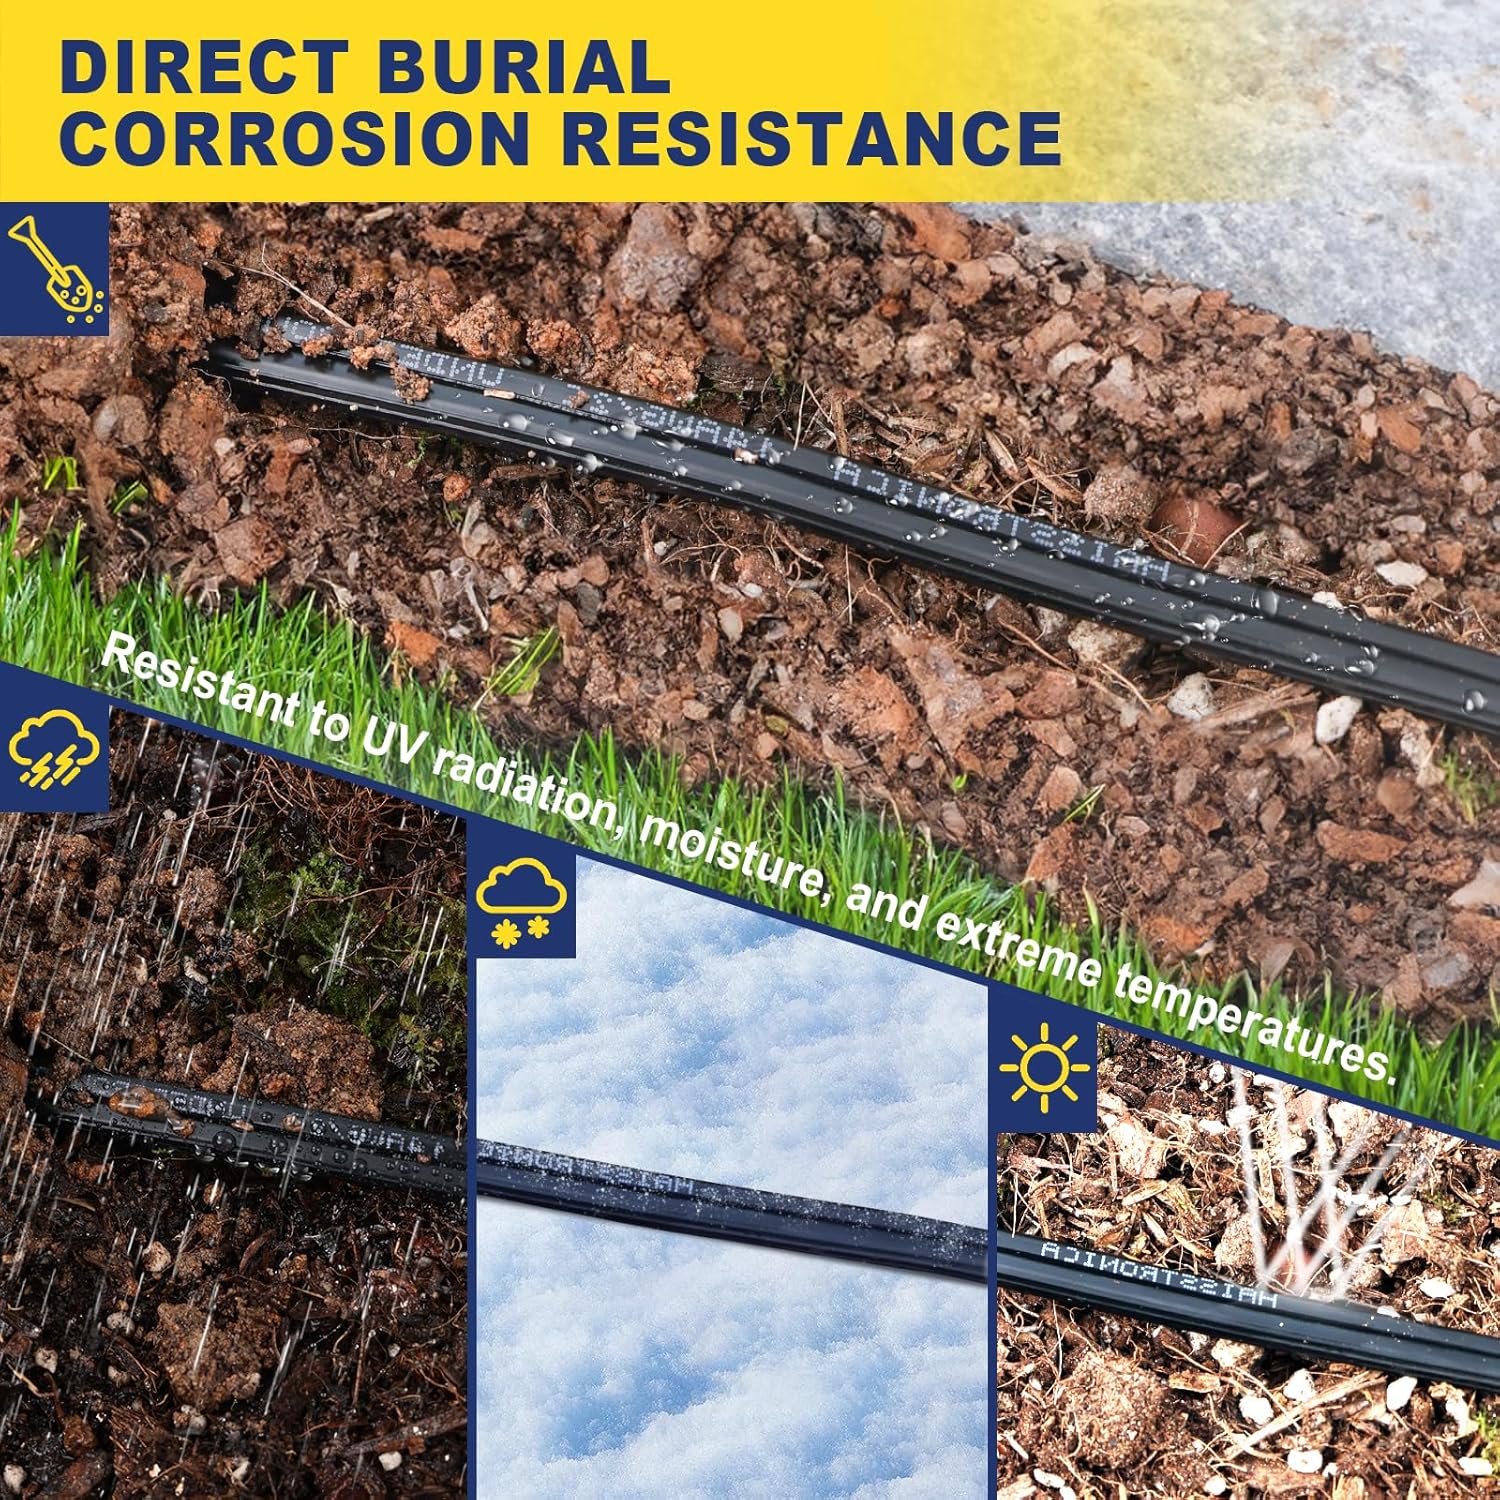
Best for automotive, marine, trailer, outdoor, and equipment wiring. The adhesive seal helps block moisture and supports the wire where it exits the barrel.
CUSTOM INSULATION
Non-insulated
A bare metal barrel used when separate heat shrink, high-temperature insulation, or a specialized installation method will be added afterward.
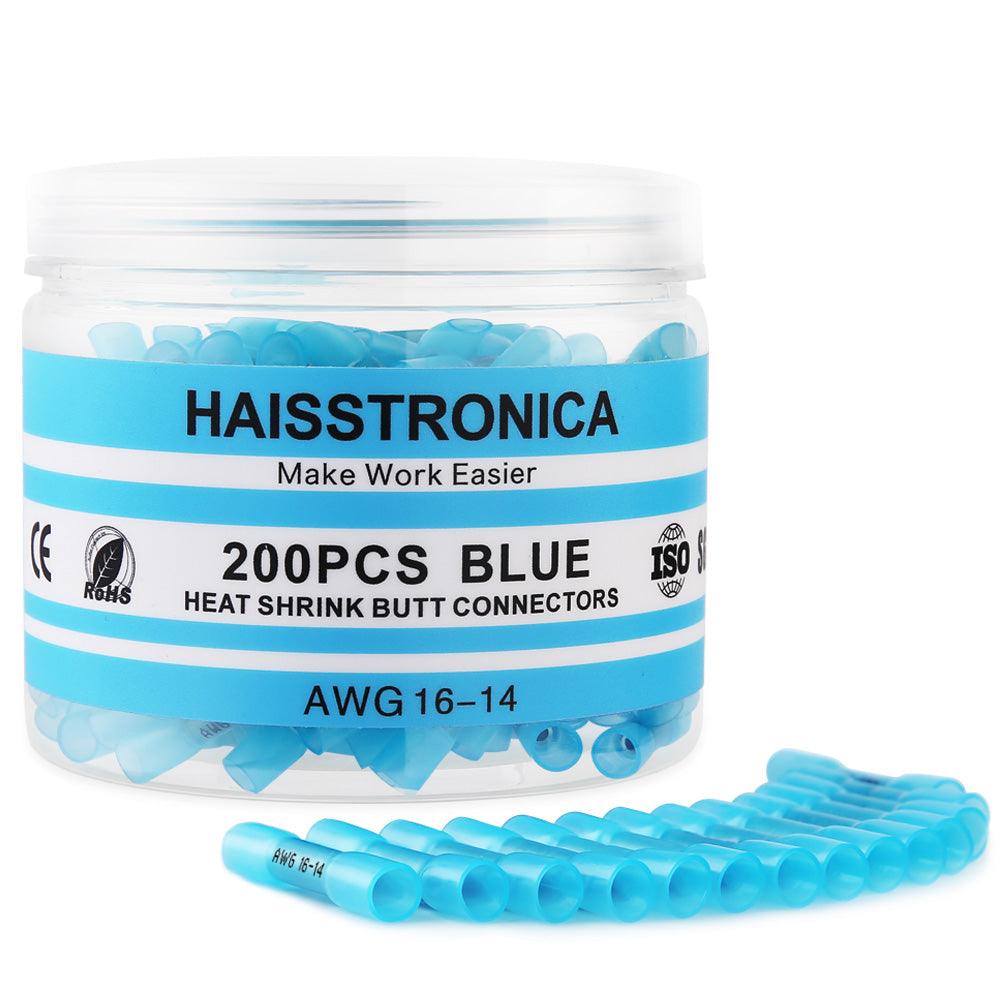
Match the color to the wire gauge
A connector that is too large will not compress tightly; one that is too small will not accept the conductor. Compare type, gauge range, and pack size before choosing.
Compare Butt Connector Types & Sizes →Which Butt Connector Works Best by Environment?
How to Install a Butt Connector
Disconnect power and prepare the wires. Cut away damaged conductor, then strip approximately 1/4 inch (6 mm) of insulation. Avoid nicking or removing copper strands.
Select the correct connector size. Match the connector’s AWG range to the wire. Insert one conductor from each side until both reach the center stop and no bare copper remains outside the barrel.
-
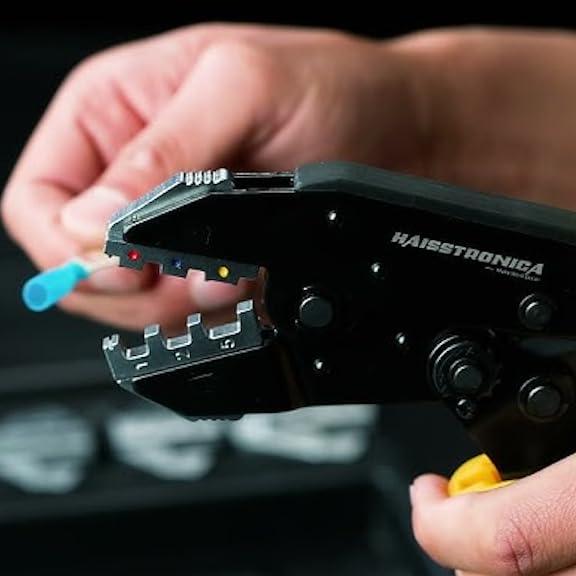
Crimp both sides of the barrel. Place the metal barrel—not the soft end of the sleeve—in the matching die. Complete one controlled crimp on each wire, then perform a light tug test.
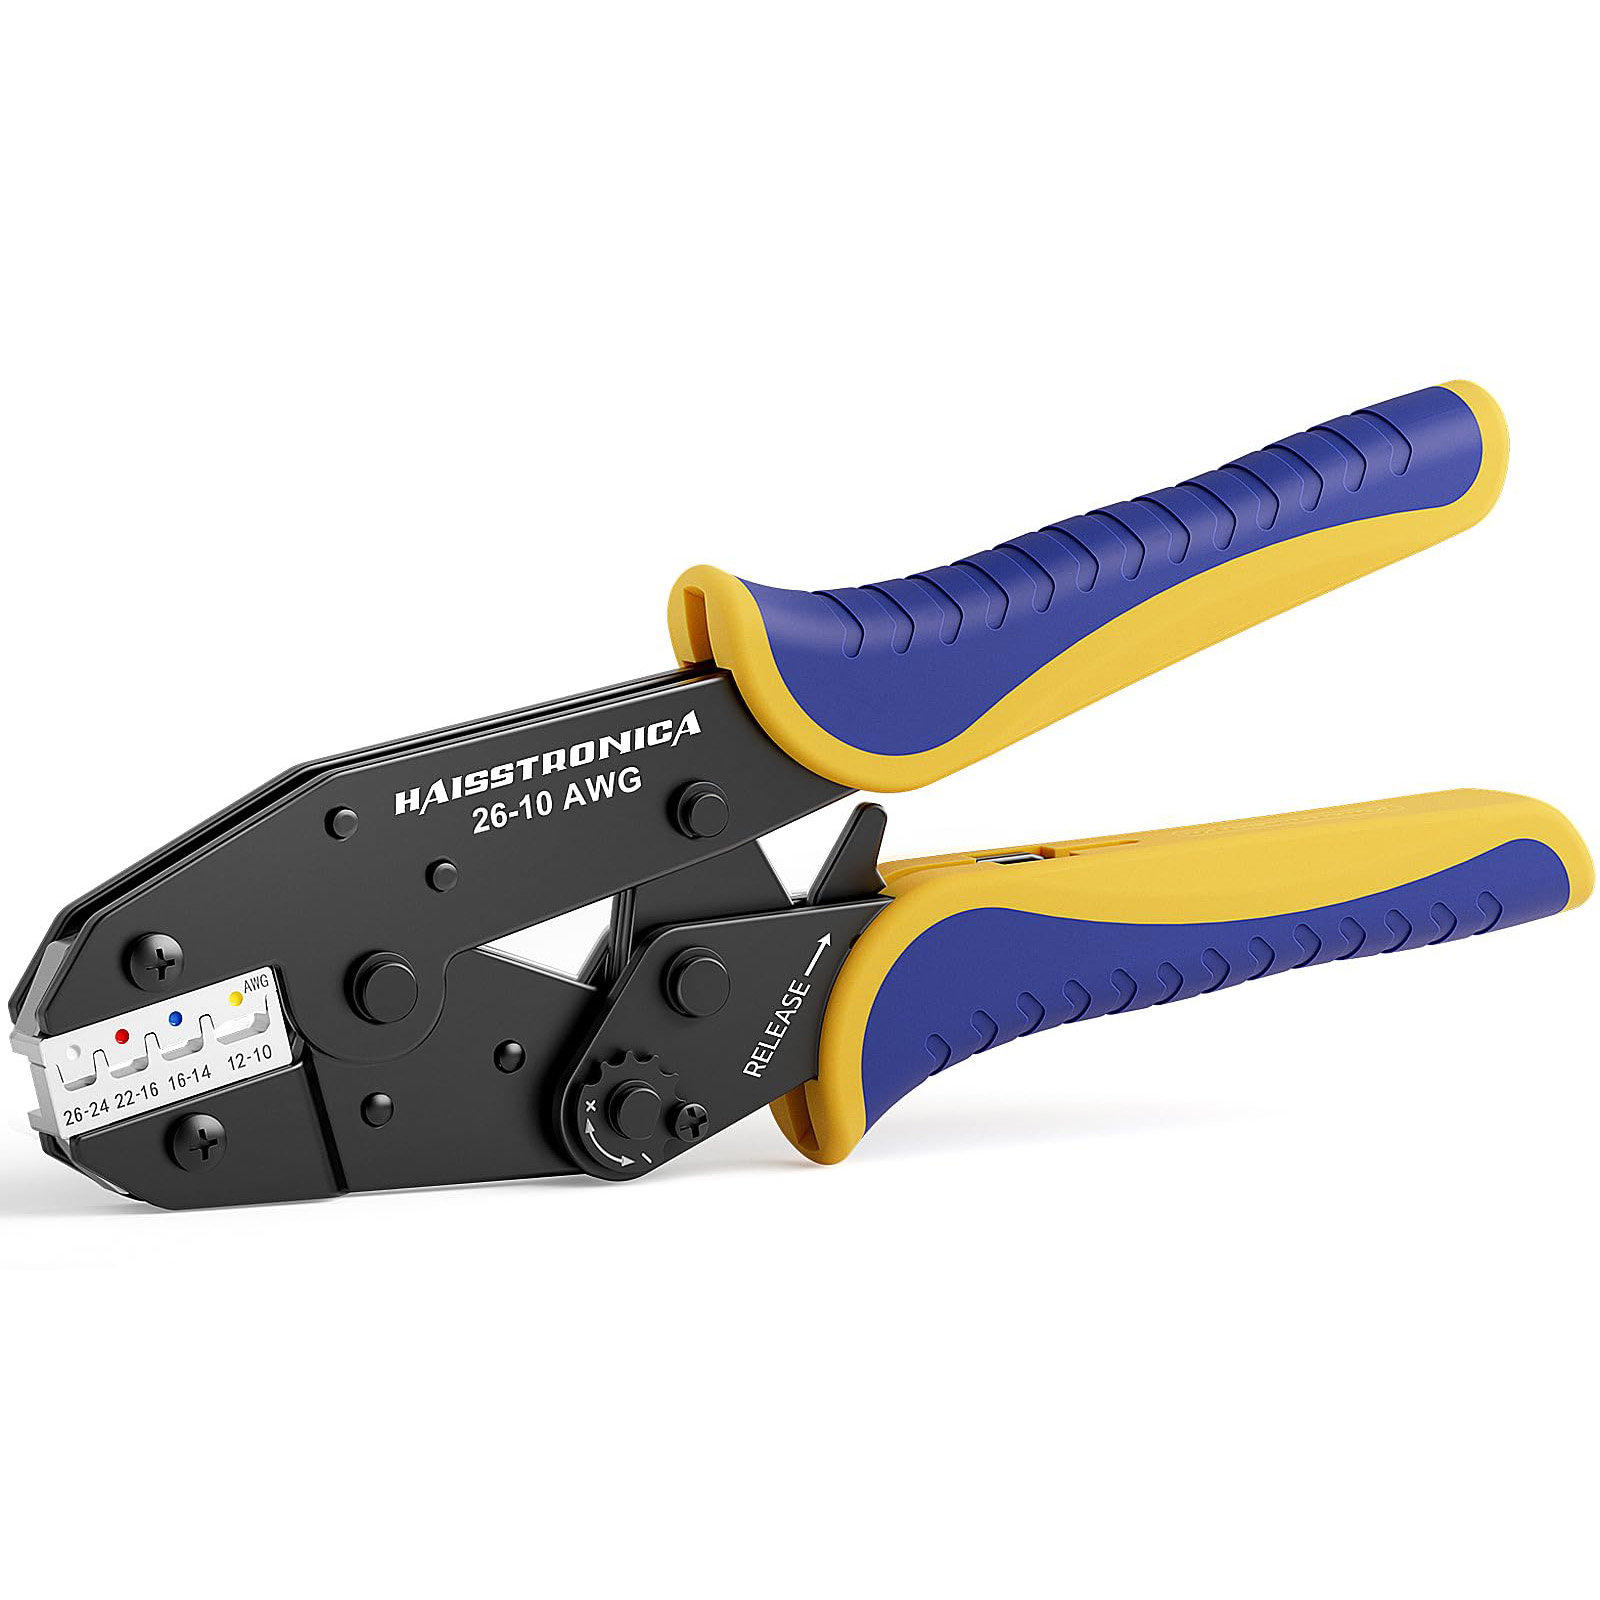
CRIMPING STEP
Use controlled, repeatable pressure
A ratchet mechanism completes the crimp cycle consistently and uses marked dies for AWG 22–10 heat shrink connectors.
View Ratchet Crimper → -
Apply heat when using heat shrink connectors. Move the heat source evenly from the center toward both ends. Stop when the sleeve has fully contracted and a small amount of adhesive is visible at the edges. Avoid open flames that can burn the insulation.
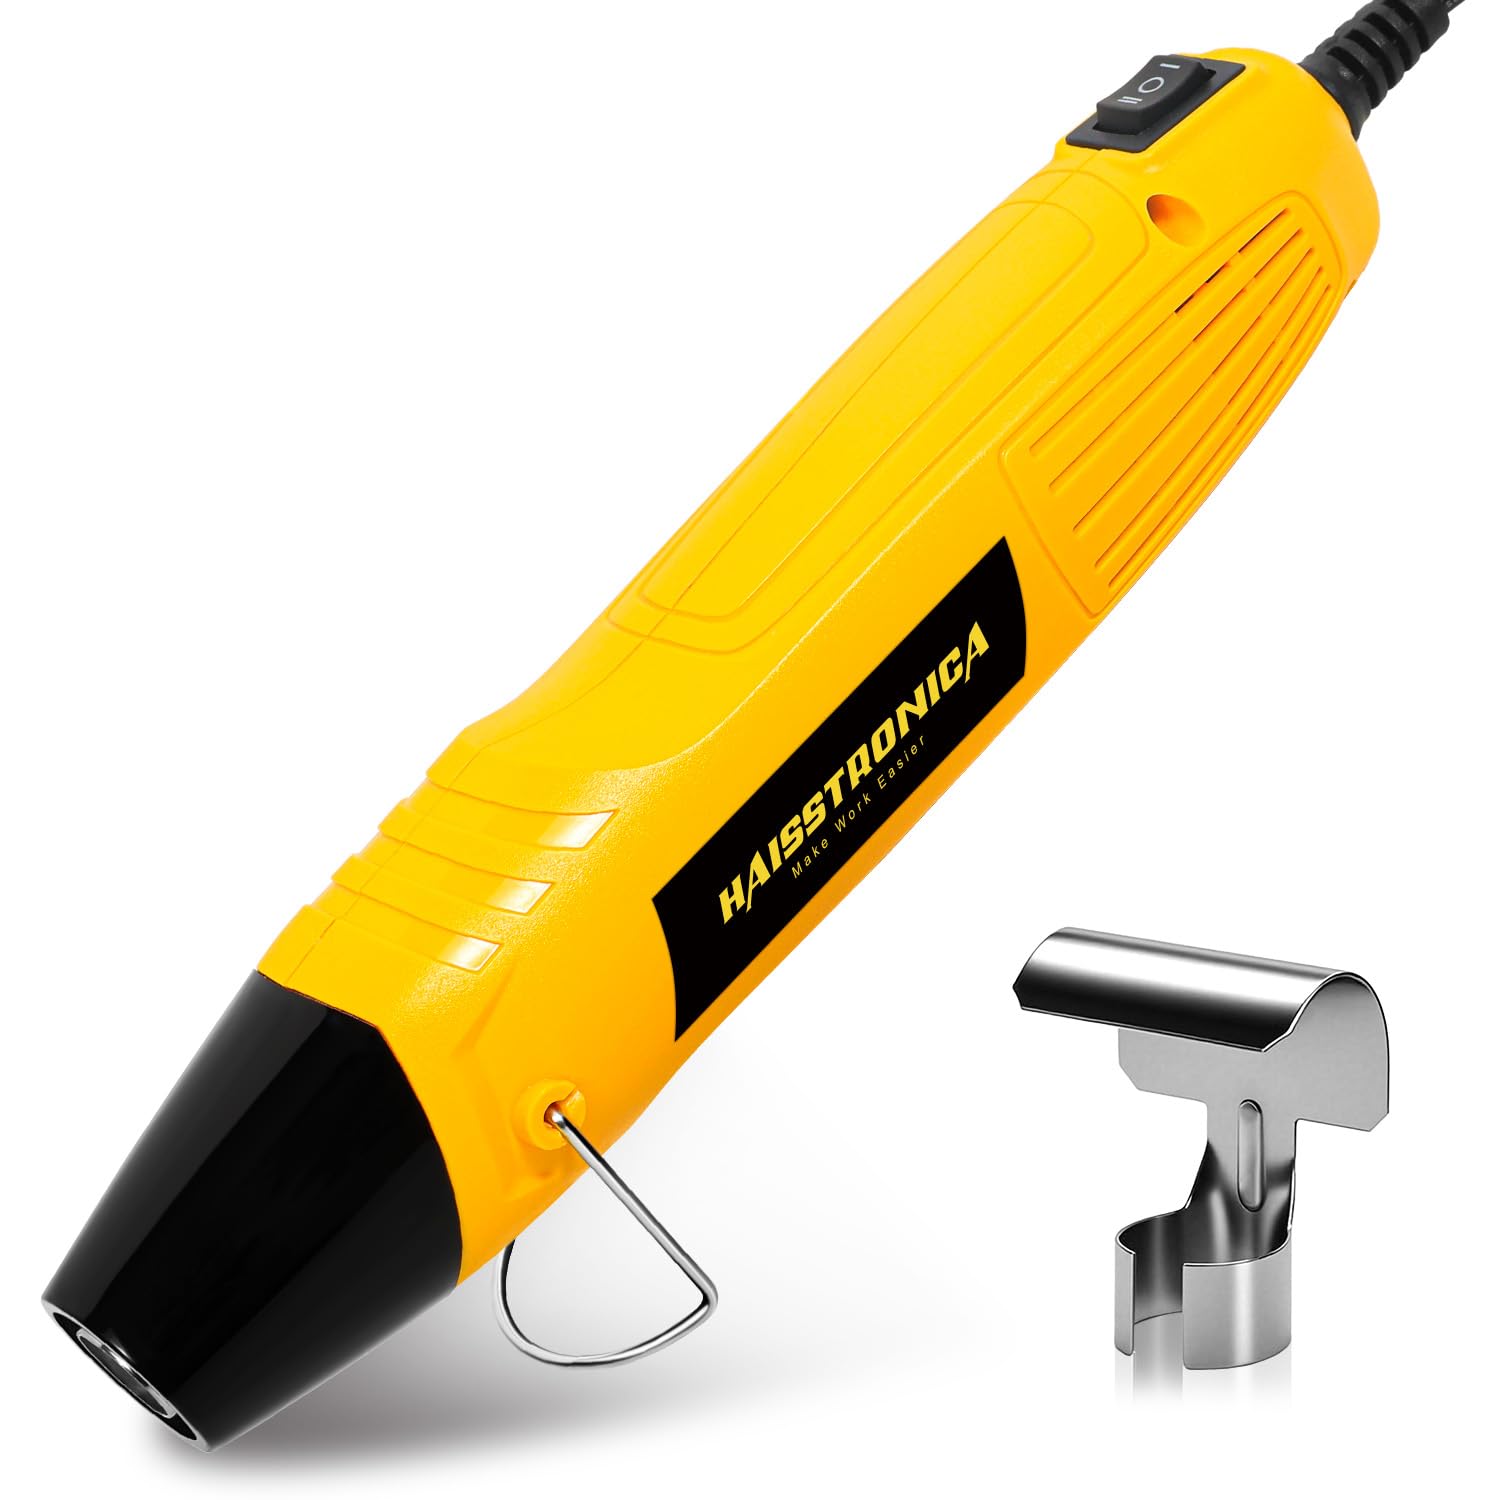
SEALING STEP
Shrink the sleeve without scorching it
The compact heat gun provides controlled airflow for adhesive-lined connectors and heat shrink tubing.
View Mini Heat Gun → Inspect and test the splice. Allow the connector to cool, repeat the tug test, confirm that no copper is exposed, and check continuity when the circuit is critical. Butt connectors are generally one-time-use; replace a loose or damaged splice rather than trying to reuse it.
Common Butt Connector Mistakes
- Using the wrong size: an oversized barrel cannot grip the conductor; an undersized connector damages strands or prevents full insertion.
- Crimping the sleeve instead of the barrel: pressure must be applied over the internal metal barrel.
- Using pliers: ordinary pliers create uneven pressure and cannot verify a complete crimp cycle.
- Heating before crimping: always complete and test the mechanical connection before sealing it.
- Leaving copper exposed: exposed strands increase short-circuit and corrosion risk.
- Reusing a connector: once the barrel has been deformed, cut it out and install a new connector.
FAQ: Frequently Asked Questions about Butt Connectors
Are butt connectors and butt splices the same?
Yes. Butt connector, butt splice, butt terminal, and butt splice connector commonly describe the same end-to-end wire joining component.
Are heat shrink butt connectors waterproof?
When the correct connector is fully crimped and evenly heated, the adhesive-lined sleeve creates a water-resistant sealed splice. Performance depends on correct wire size, crimp pressure, and complete shrinkage.
Can a standard butt connector join three wires?
No. A standard butt connector is designed for one conductor in each end. Use a purpose-built step-down splice or distribution method for multiple wires.
Can butt connectors be used on solid wire?
Some connectors may be compatible, but solid conductors are less forgiving than stranded wire. Confirm the connector specification and applicable electrical code before use.
Can I use a butt connector larger than the wire?
No. A larger barrel may appear to crimp but will not create enough compression or contact area. Always match the connector’s AWG range to the conductor.
Choose by Wire Gauge + Environment
Make the final choice in this order: identify the wire gauge first, then decide whether the splice is protected and dry or exposed to moisture and vibration.