14/2 is a candidate—not a promise—until load, distance, and voltage drop agree.
Use 14/2 for a low-voltage landscape-lighting circuit only when the transformer chart, total fixture watts, longest loaded path, connector method, and finished voltage test support it. A larger lawn does not automatically require thicker wire, and a short run is not automatically safe with a heavy load.
1. Calculate the load and the longest electrical path
Total fixture watts
Add the rated wattage of every fixture powered by one transformer output or circuit.
Keep the planned load within the transformer manufacturer’s permitted capacity and headroom.
Current at the circuit voltage
Use the actual transformer output and connected load when estimating current.
A 12-volt circuit draws twice the current of a 24-volt circuit at the same wattage.
Longest loaded path
Measure the routed cable from transformer to the farthest fixture on that branch, including turns, risers, and service loops.
Voltage-drop check
Use the transformer or fixture maker’s gauge chart, or calculate with conductor resistance. Then confirm the finished voltage at the far end under load.
2. Decide whether 14/2 is inside the safe planning boundary
Moderate load + controlled path length
The calculated drop stays within the fixture and transformer limits, the conductor is approved for the location, and the far-end voltage can be verified after installation.

Longer run, higher load, or dim far-end fixtures
Split the circuit into shorter home runs, move the transformer, use a higher approved output tap when permitted, or evaluate a lower gauge number such as 12/2 or 10/2.

If 14/2 is unavailable, 16/2 is not an automatic substitute
Availability does not change the electrical calculation. Recalculate the circuit or choose an approved thicker conductor rather than forcing the plan onto a smaller cable.

3. Plan the trunk and branches before buying a roll
4. Estimate the roll length from the route
| Measure | What to include | Planning allowance | Result |
|---|---|---|---|
| Each home run | Transformer to first branch or fixture along the actual route | Turns, vertical rises, and service loops | Add every measured segment |
| Every branch | Branch point to all fixtures on that branch | Do not count straight-line yard distance | Add both or all branch paths |
| Connection slack | Enough cable for approved connectors and future service | Common planning range: about 10–15%, adjusted to the layout | Measured total × allowance |
| Roll selection | Total routed length plus allowance | Round up; avoid unplanned underground extensions | Browse Roll Options → |
5. Lay the cable so the plan can be serviced
Mark utilities, transformer, fixtures, and branches
Follow local requirements and use the appropriate utility-locating service before digging.
Dry-lay and label the route
Confirm every home run and branch before trenching. Keep cable away from sharp edges, heat, traffic damage, and prohibited locations.

Use the required burial depth and protection
Follow the cable listing, equipment instructions, local code, and site conditions. Use conduit or additional protection where required.

Leave controlled service loops
Provide enough slack at the transformer, fixtures, and branch points without leaving loose coils or creating trip hazards.

Keep polarity and zones consistent
Label each conductor and branch so troubleshooting does not require opening every connection.

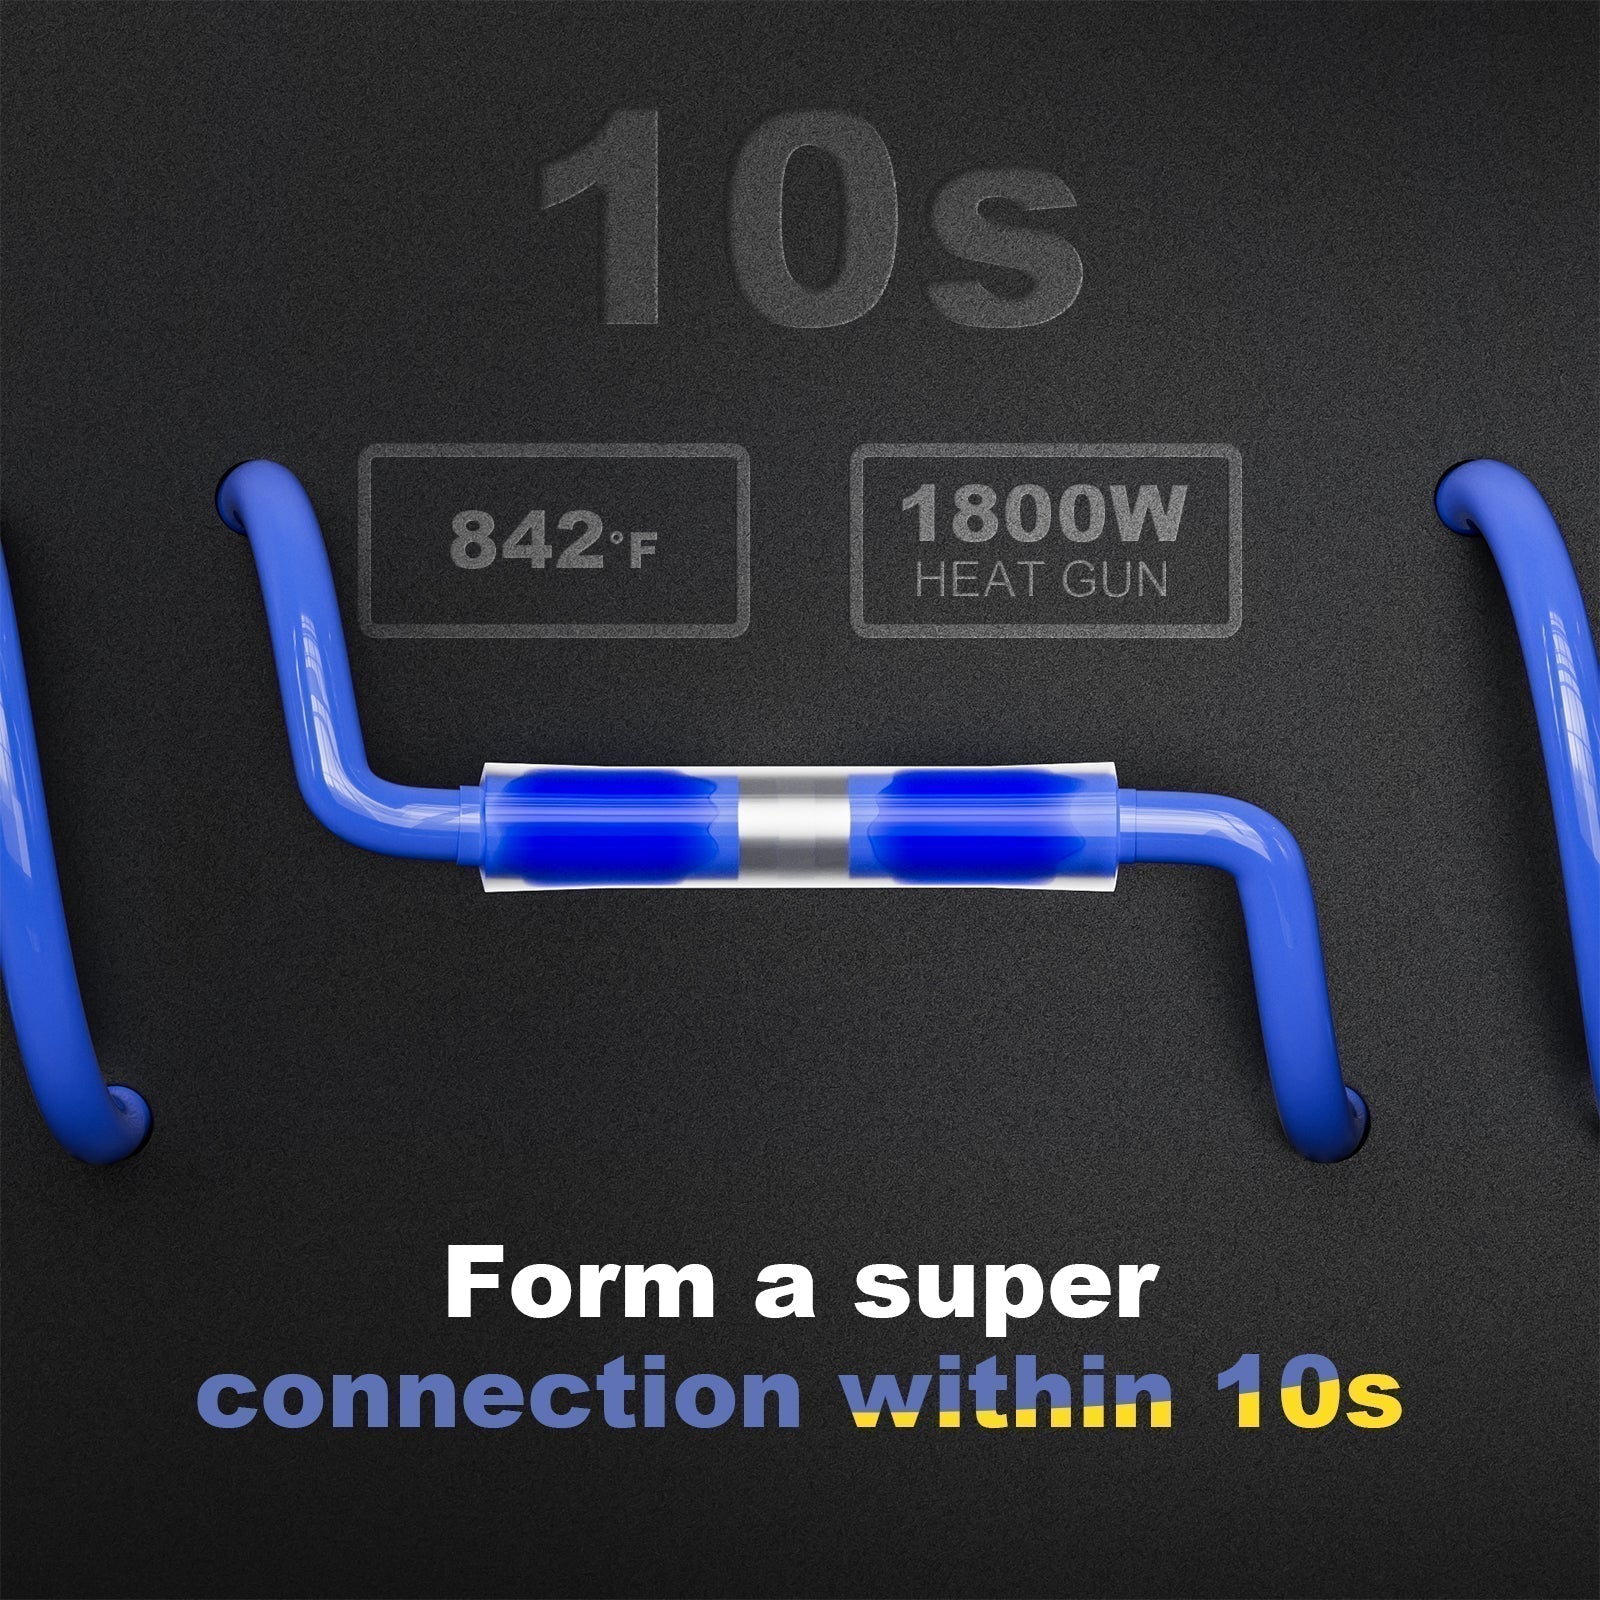
6. Make every outdoor branch a waterproof connection
A branch or extension is an electrical joint before it is a seal. Match the connector to the conductor gauge and type, complete the mechanical or solder process correctly, then verify the environmental seal required for the location.

Waterproof Wiring Seal Kit
Use compatible wet-location connectors at planned branch and extension points. Keep every joint accessible when the installation method requires future inspection or service.
7. Energize, test, and correct the circuit
Confirm the selected tap and voltage under the connected load.
Measure near the transformer to establish the actual starting voltage.
Test the end of every branch with all planned fixtures energized.
Investigate unexpected drops at branch points, splices, or damaged cable.
Final material checklist by layout
| Layout | Wire planning | Connector planning | Shopping route |
|---|---|---|---|
| One home run, up to 6 fixtures | Measured route + service loops + controlled allowance | Count every fixture connection; add 2–4 compatible spares | Browse Landscape Wire → |
| Two branches, 7–12 fixtures | Add both branch paths and test the farthest fixture on each | One approved connector per planned joint plus about 4 spares | Waterproof Wiring Kit → |
| Three or more zones | Measure each home run separately; recalculate gauge per branch | Count every branch and extension; label each zone | Compare Wire Gauges → |
| 14/2 calculation fails | Evaluate approved 12/2 or 10/2; never force the smaller gauge | Reconfirm connector compatibility with the thicker conductor | Check Thicker Wire Availability → |
Buy from the measured plan—not from a yard-size guess
Calculate load, measure every route, confirm voltage drop, count every branch connection, and then choose the roll length and gauge that the circuit supports.
Browse the Landscape Wire Collection →