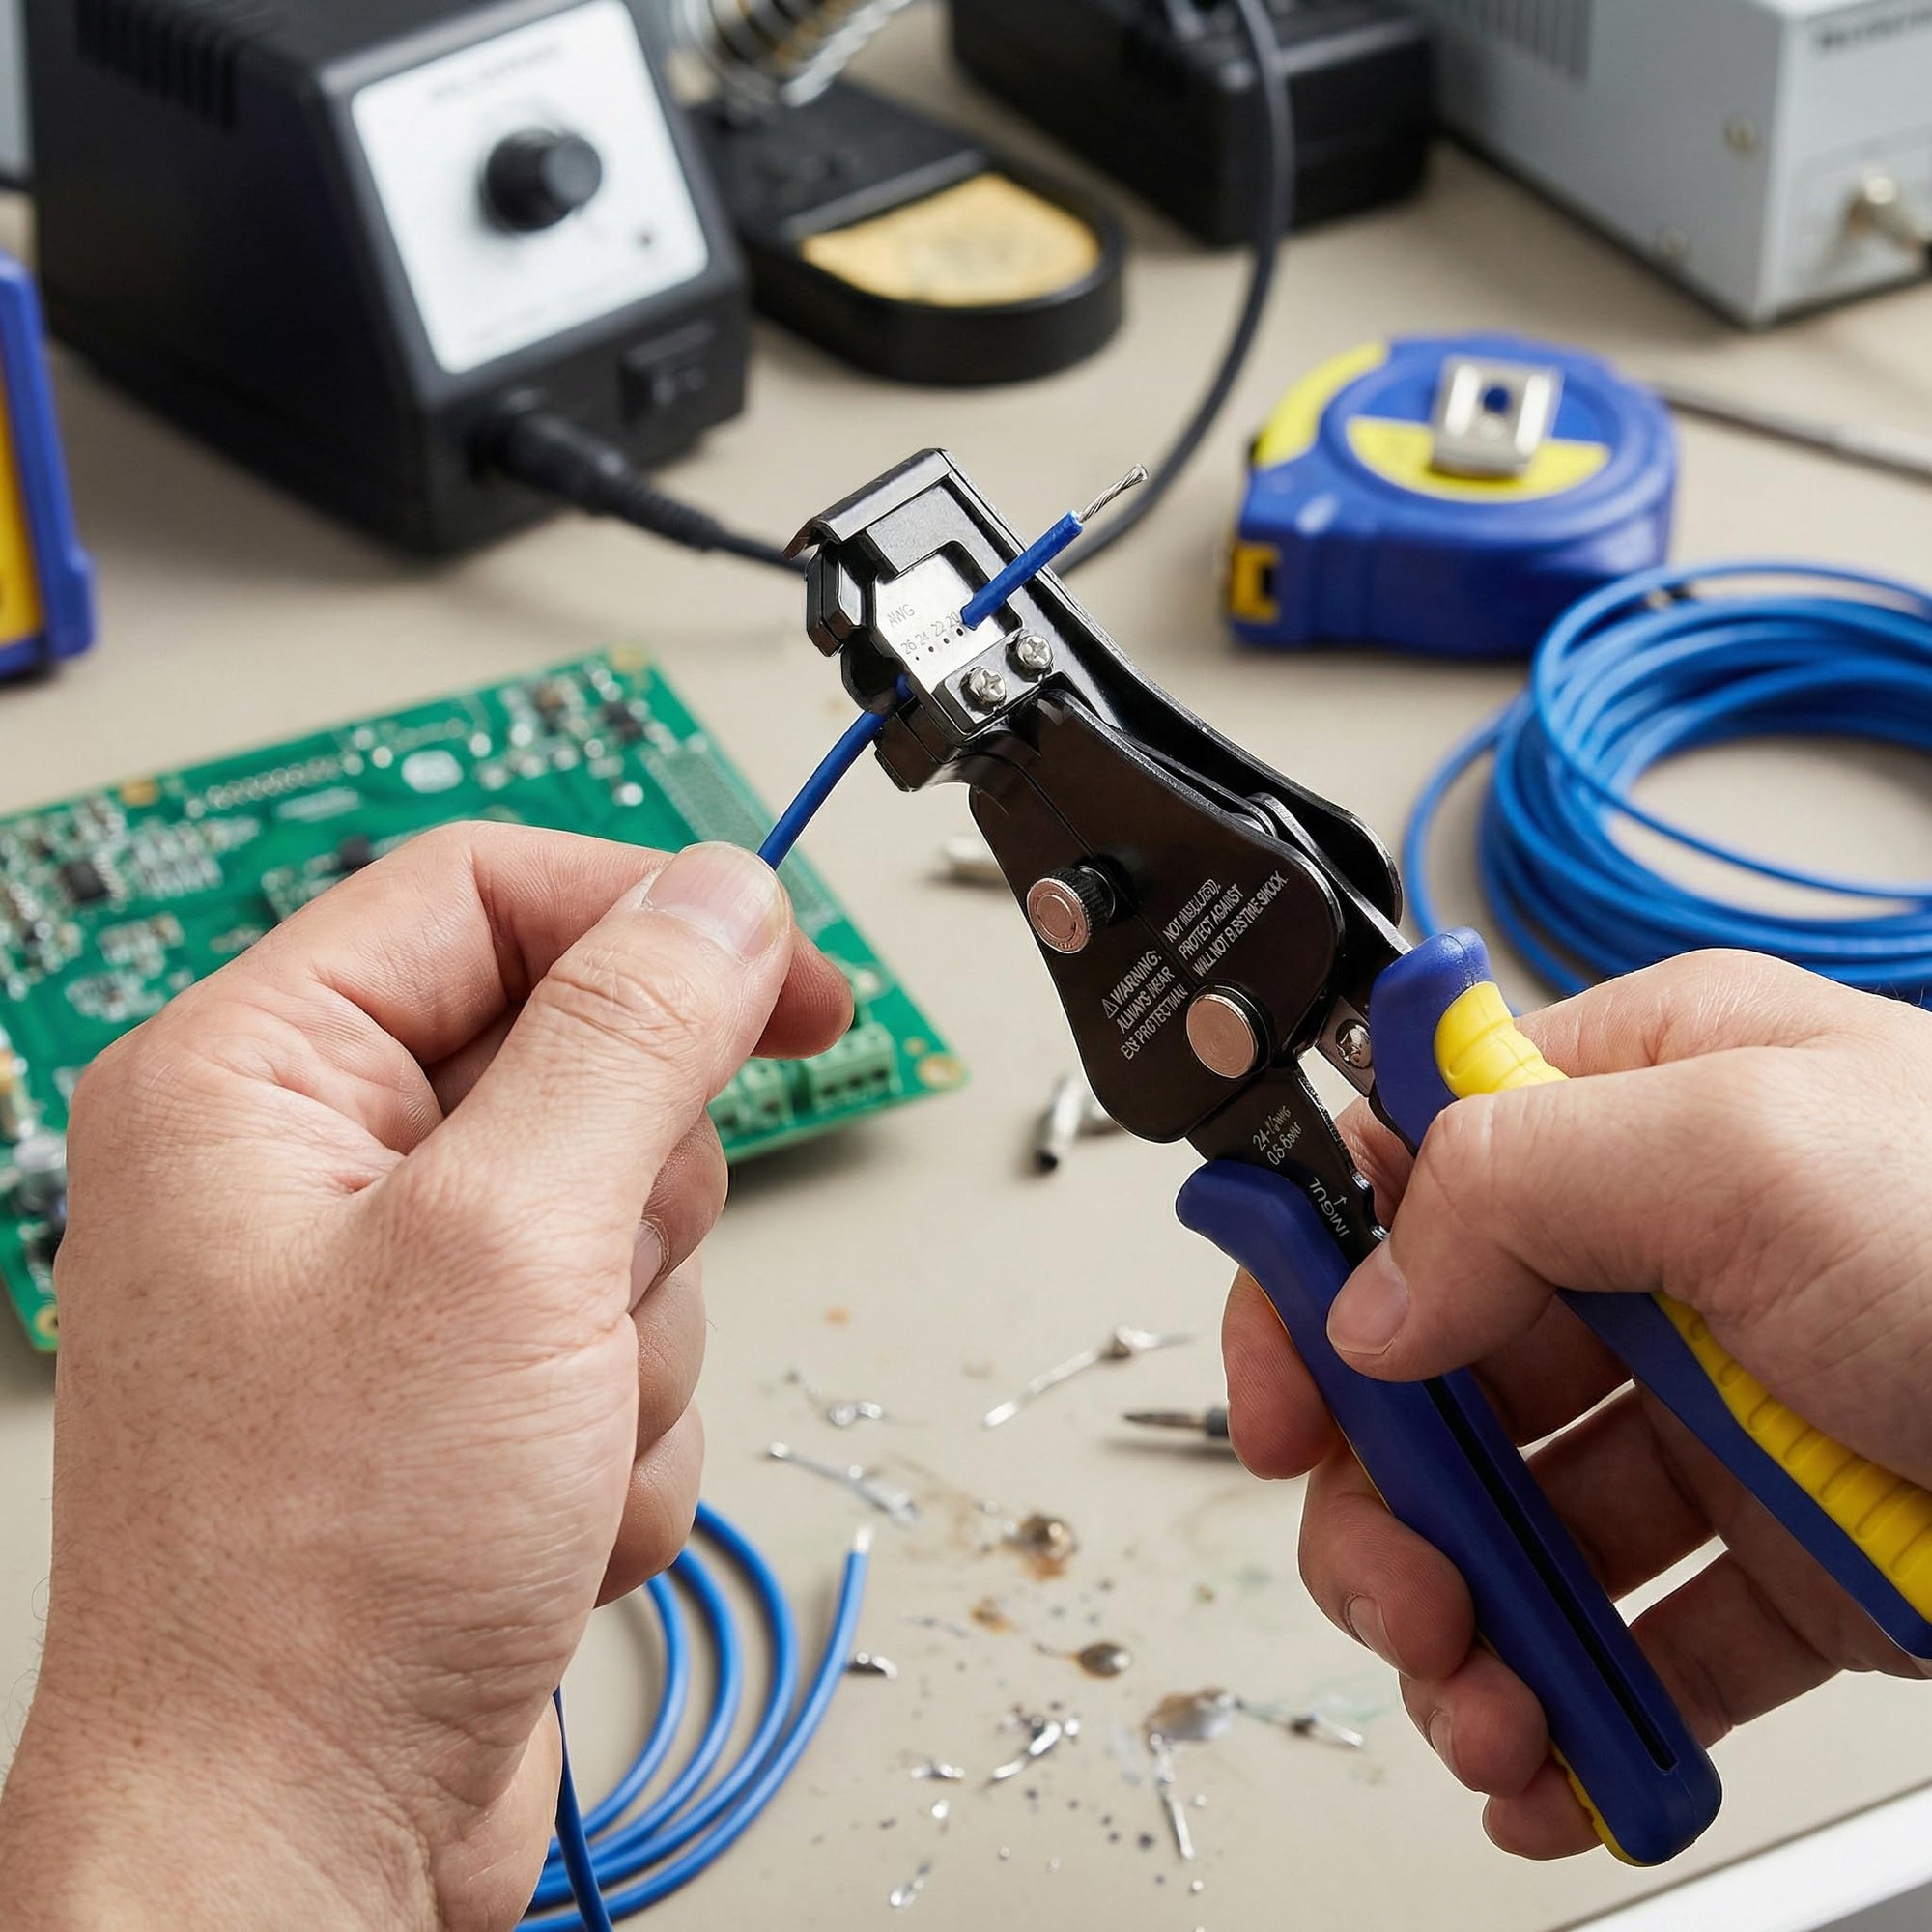
One stripper. DIY to workshop.
The self-adjusting wire stripper awg 24-10 prepares compatible insulated wire across changing gauges—the same range written as AWG 10–24.
Choose your workflow below, then check insulation, strip length and tension on a sample before starting the job.
View the AWG 24–10 Stripper →
Mixed, occasional jobs
Hobby leads and compatible appliance wiring: prioritize easy setup and clean ends, not the largest tool set.
Changing wire and insulation
Accessory and harness preparation: check the actual jacket and conductor before repeating a setting.
Repeated preparation
Batch leads and repair work: prioritize consistent strip length, first-pass quality and a comfortable working position.
Safety first: isolate and verify that the circuit is de-energized before cutting or stripping. Handle color is not a live-working insulation rating. Follow the applicable equipment repair procedure; use qualified help for mains wiring.
1. Inventory your real AWG range before buying
List the wires you actually prepare: conductor gauge, solid or stranded construction, insulation material, required strip length and weekly volume. AWG describes the conductor—not the outer jacket. Two wires with the same AWG can require different tension or a different stripping tool.
| Your wire list | Buying implication |
|---|---|
| Compatible insulated wire within AWG 24–10 | Compare the self-adjusting single tool, then test the exact wire. |
| Mostly one gauge and one insulation type | Compare setup and results with a suitable fixed-gauge or specialty stripper; automatic adjustment is not always necessary. |
| Wire outside AWG 24–10, or specialist cable | Select a tool explicitly rated for that construction. Do not force it through this model. |
| Stripping followed by regular terminal crimping | Consider a stripper-plus-crimper kit only after checking the terminal family and the crimper’s separate range. |
2. What the auto-adjust mechanism does—and does not do
As you squeeze the handles, the jaws grip the wire and remove the insulation segment. The stripping mechanism adapts within its stated range, reducing manual gauge-notch selection. The plus/minus tension knob provides fine adjustment for the wire you are preparing.
It does not identify the jacket material, decide the connector’s required strip length or inspect the copper for you. Automatic gauge adjustment and tension adjustment are different functions.
Set the exposed end
Use the connector or equipment specification. Set the wire position and length stop, then measure the first result.
Test the grip
Use a spare piece of the same wire. Follow the tool’s adjustment instructions and make small changes.
Approve before repeating
Check the conductor, remaining insulation and strip length. Re-test after changing wire type or gauge.
Tune tension to the sample, not by guesswork
If the jaws slip, the sleeve tears or the conductor is marked, stop the batch. Adjust according to the tool instructions, make another sample and inspect again. Repeated squeezing is not a substitute for a compatible tool.
Review stripper features →
3. Test insulation compatibility before the final wire
A broad AWG range is not a promise of compatibility with every jacket. Keep your material check separate from gauge selection.
| Wire or jacket | What to check | When to stop |
|---|---|---|
| Compatible everyday insulated wire | Try the actual wire with the intended strip length. | Slipping, uneven removal, conductor marks or damaged remaining insulation. |
| Very soft or thin insulation; fine strands | Confirm suitability and inspect closely after a small tension adjustment. | Stretched jacket, crushed insulation, missing or nicked strands. |
| Hard, thick or unusual insulation, including PTFE or XLPE | Obtain explicit tool compatibility; the AWG label alone is insufficient. | Do not compensate for an unsuitable blade or jaw by applying more force. |
| THHN | The HX1608 kit’s application image explicitly states “Not THHN.” | Do not choose that kit for THHN stripping. Use a tool specified for it. |
| Coax, shielded cable, fiber or an outer multi-core jacket | Check whether a dedicated preparation tool is required. | Do not treat a conductor stripping range as approval for every cable layer. |
These are selection and inspection checkpoints, not published pass/fail test results for every material. If compatibility remains unclear, compare purpose-specific wire strippers before buying.
4. Measure useful speed, damage rate and hand effort
For occasional DIY, a short practice run may be enough to establish a repeatable setup. For workshop purchasing, compare the complete preparation cycle—not just the quickest squeeze.
Suggested bench check, not a claimed product test: choose several gauges you use within the rated range, such as 24, 20, 18, 14 and 10 AWG. Use ten fresh samples per selected wire type, keep the cutting method and target strip length consistent, and compare with your existing suitable tool.
| Measure | Record | Decision value |
|---|---|---|
| First-pass quality | Accepted ends ÷ attempted ends; log every defect. | A fast strip that needs cutting back is not an accepted result. |
| Time per accepted end | Total setup, stripping, inspection and rework time ÷ accepted ends. | Shows whether fewer gauge changes actually help your workload. |
| Length consistency | Compare each end with the termination’s strip-length requirement. | Supports reliable insertion and avoids repeated trimming. |
| Effort and posture | Note repeated squeezes, awkward wrist positions and discomfort. | Evaluate the tool at your bench; grip styling alone does not prove lower fatigue. |
Reject nicked or cut strands, scraped conductors and damaged remaining insulation. An intact-looking end must still meet the downstream connector’s preparation requirements. A small bench comparison is useful for selection, but it does not establish long-term defect rates or safety certification.
Choose the single tool when changing gauges is the main task
If the samples pass and setup is easier for your normal wire mix, the self-adjusting stripper is a practical single-tool option. Keep your existing termination tool if it already matches the job.
Choose the self-adjusting stripper →5. DIY single tool or workshop kit?
A kit earns its place when it completes a repeated cut → strip → terminate workflow. If the next connection uses a lever connector, screw terminal or another non-crimp method, adding a crimper may not help.
DIY / already equippedBuy the stripper on its own
Best fit when you mainly need wire preparation or already own the correct termination tools. Confirm the exact wire and material before repeating a batch.
View the single stripper → Workshop / recurring crimp work
Add the matching crimper
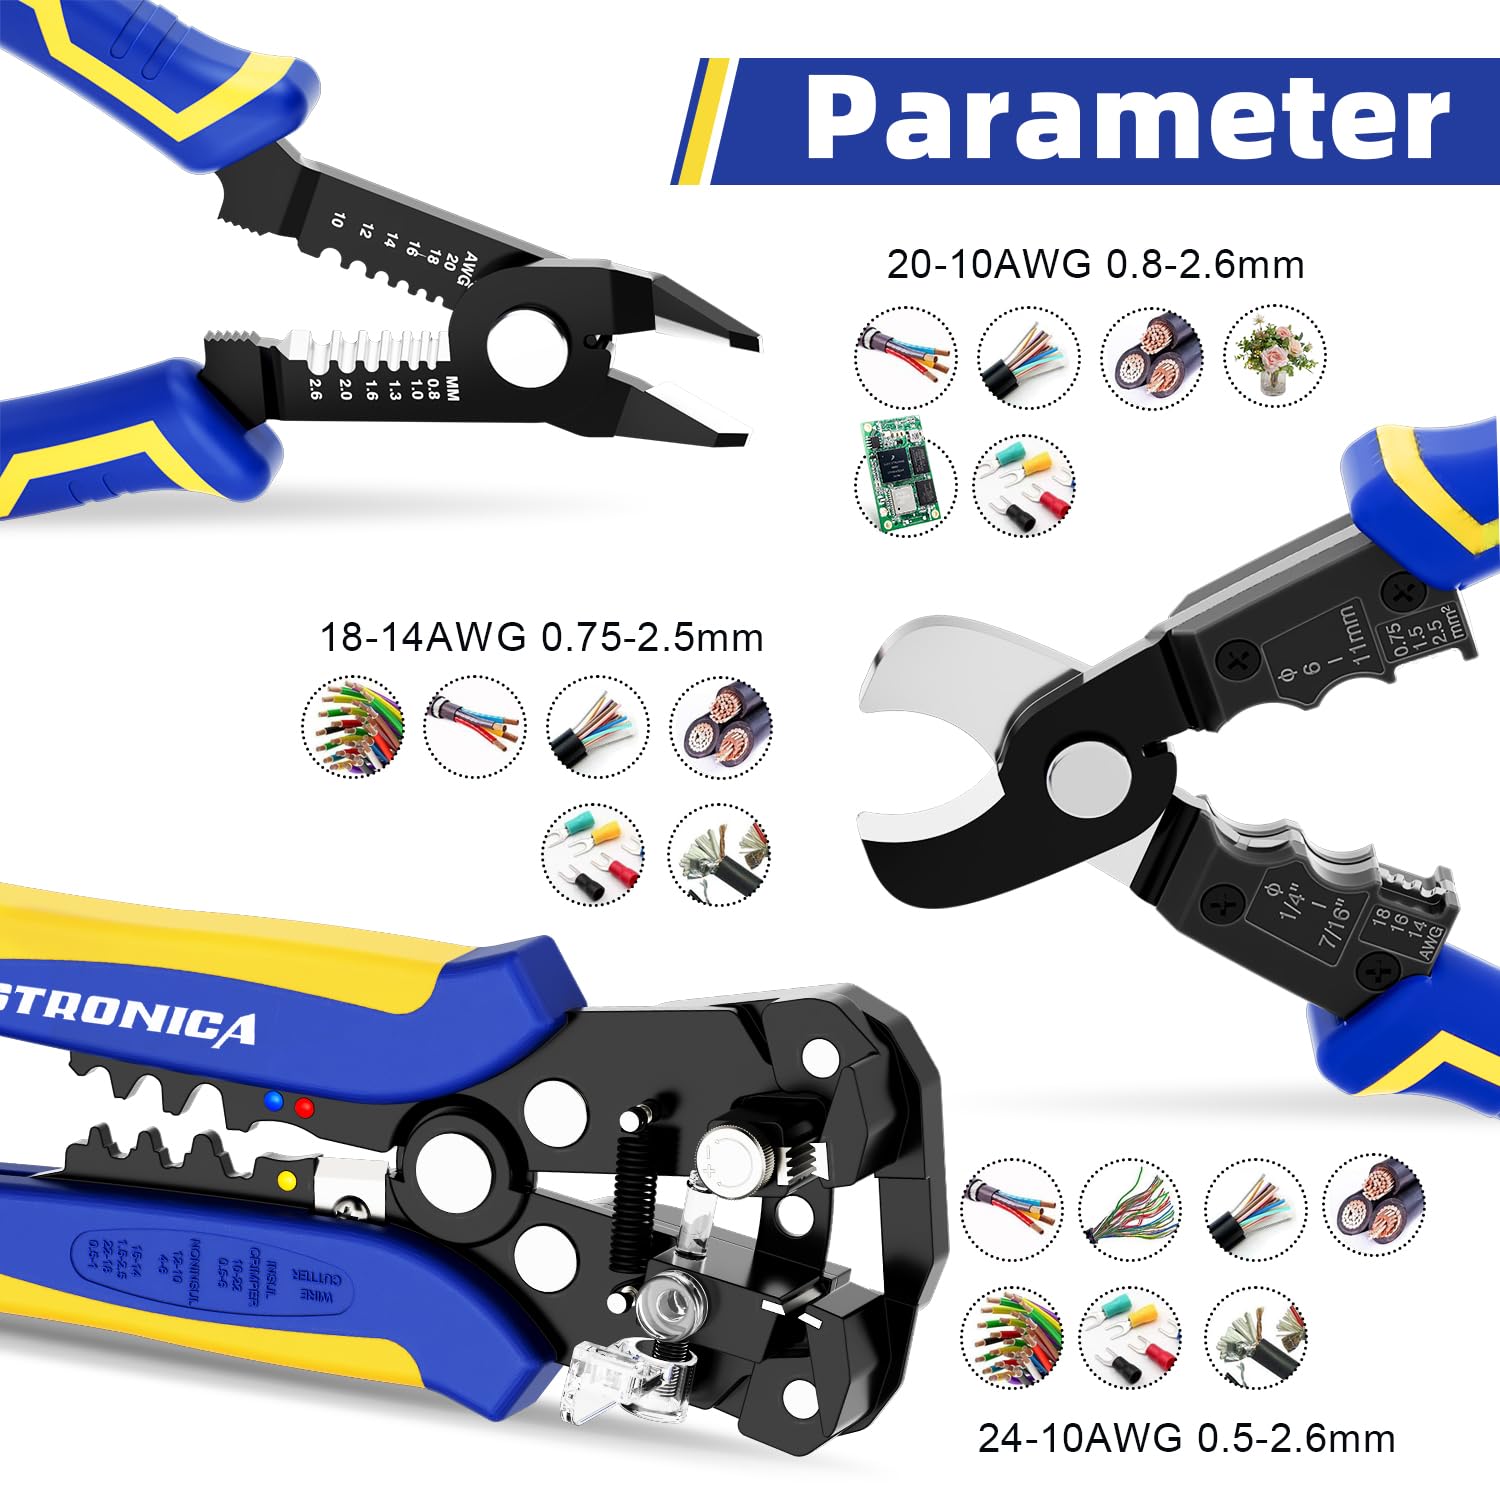
Review the HX1608 “Wire Stripper + Heat Shrink Crimping Tool” option. Its listed ranges are AWG 24–10 for stripping and AWG 22–10 for crimping; match the terminal profile separately.
Choose the correct variant. Connector assortments are not included in every option. The kit’s stripping application excludes THHN.
Review stripper + crimper kit →Frequently asked questions
Do I still need to adjust a self-adjusting stripper?
Yes. Automatic gauge adaptation reduces notch selection, but wire position, strip length and tension still need checking. Test again when the wire or insulation changes.
Can every crimping function handle the full stripping range?
No. Stripping and crimping have separate ranges and terminal requirements. A tool that strips 24 AWG does not automatically crimp a 24 AWG terminal. Read the markings for the exact crimp cavity or dedicated crimper.
Does one clean sample prove the tool works for every job?
No. Test the wire construction and insulation you actually use, and inspect production ends. Replace damaged wire ends and recheck the setup instead of accepting a fast but poor strip.
Build around your wire list—not the number of tools in the box
Choose the single stripper for compatible mixed-gauge preparation. Add a kit only when its crimper matches your recurring terminals. Move to a specialist stripper when the wire construction demands it.
Compare wire strippers →