Factory-grade crimps begin with two exact matches
Match the cable gauge to the lug barrel, then match the ring hole to the actual stud. After that, controlled stripping, the correct die, a verified crimp and adhesive-lined heat shrink complete the connection.
Buy by two measurements—not by appearance
A lug can look close and still be wrong. The barrel must be marked for the cable gauge, while the ring hole must fit the terminal, bus bar or chassis stud without drilling or forcing.
Strip to barrel depth—no shorter, no longer
Measure the usable barrel
Measure from the barrel opening to its internal stop. Mark that depth on the cable before stripping; do not include the lug palm in the measurement.
Strip without losing strands
Use a cutter sized for the conductor. The copper should stay bright, round and fully populated—nicked or missing strands reduce the finished cross-section.
Dry-fit before crimping
The conductor should bottom out, with no bare copper exposed beyond the barrel and no insulation trapped inside the compression zone.
Slide heat shrink on first
Put the correctly sized adhesive-lined tubing over the cable before installing the lug, then park it far enough away that crimping does not damage it.
Use the die marked for the lug and cable
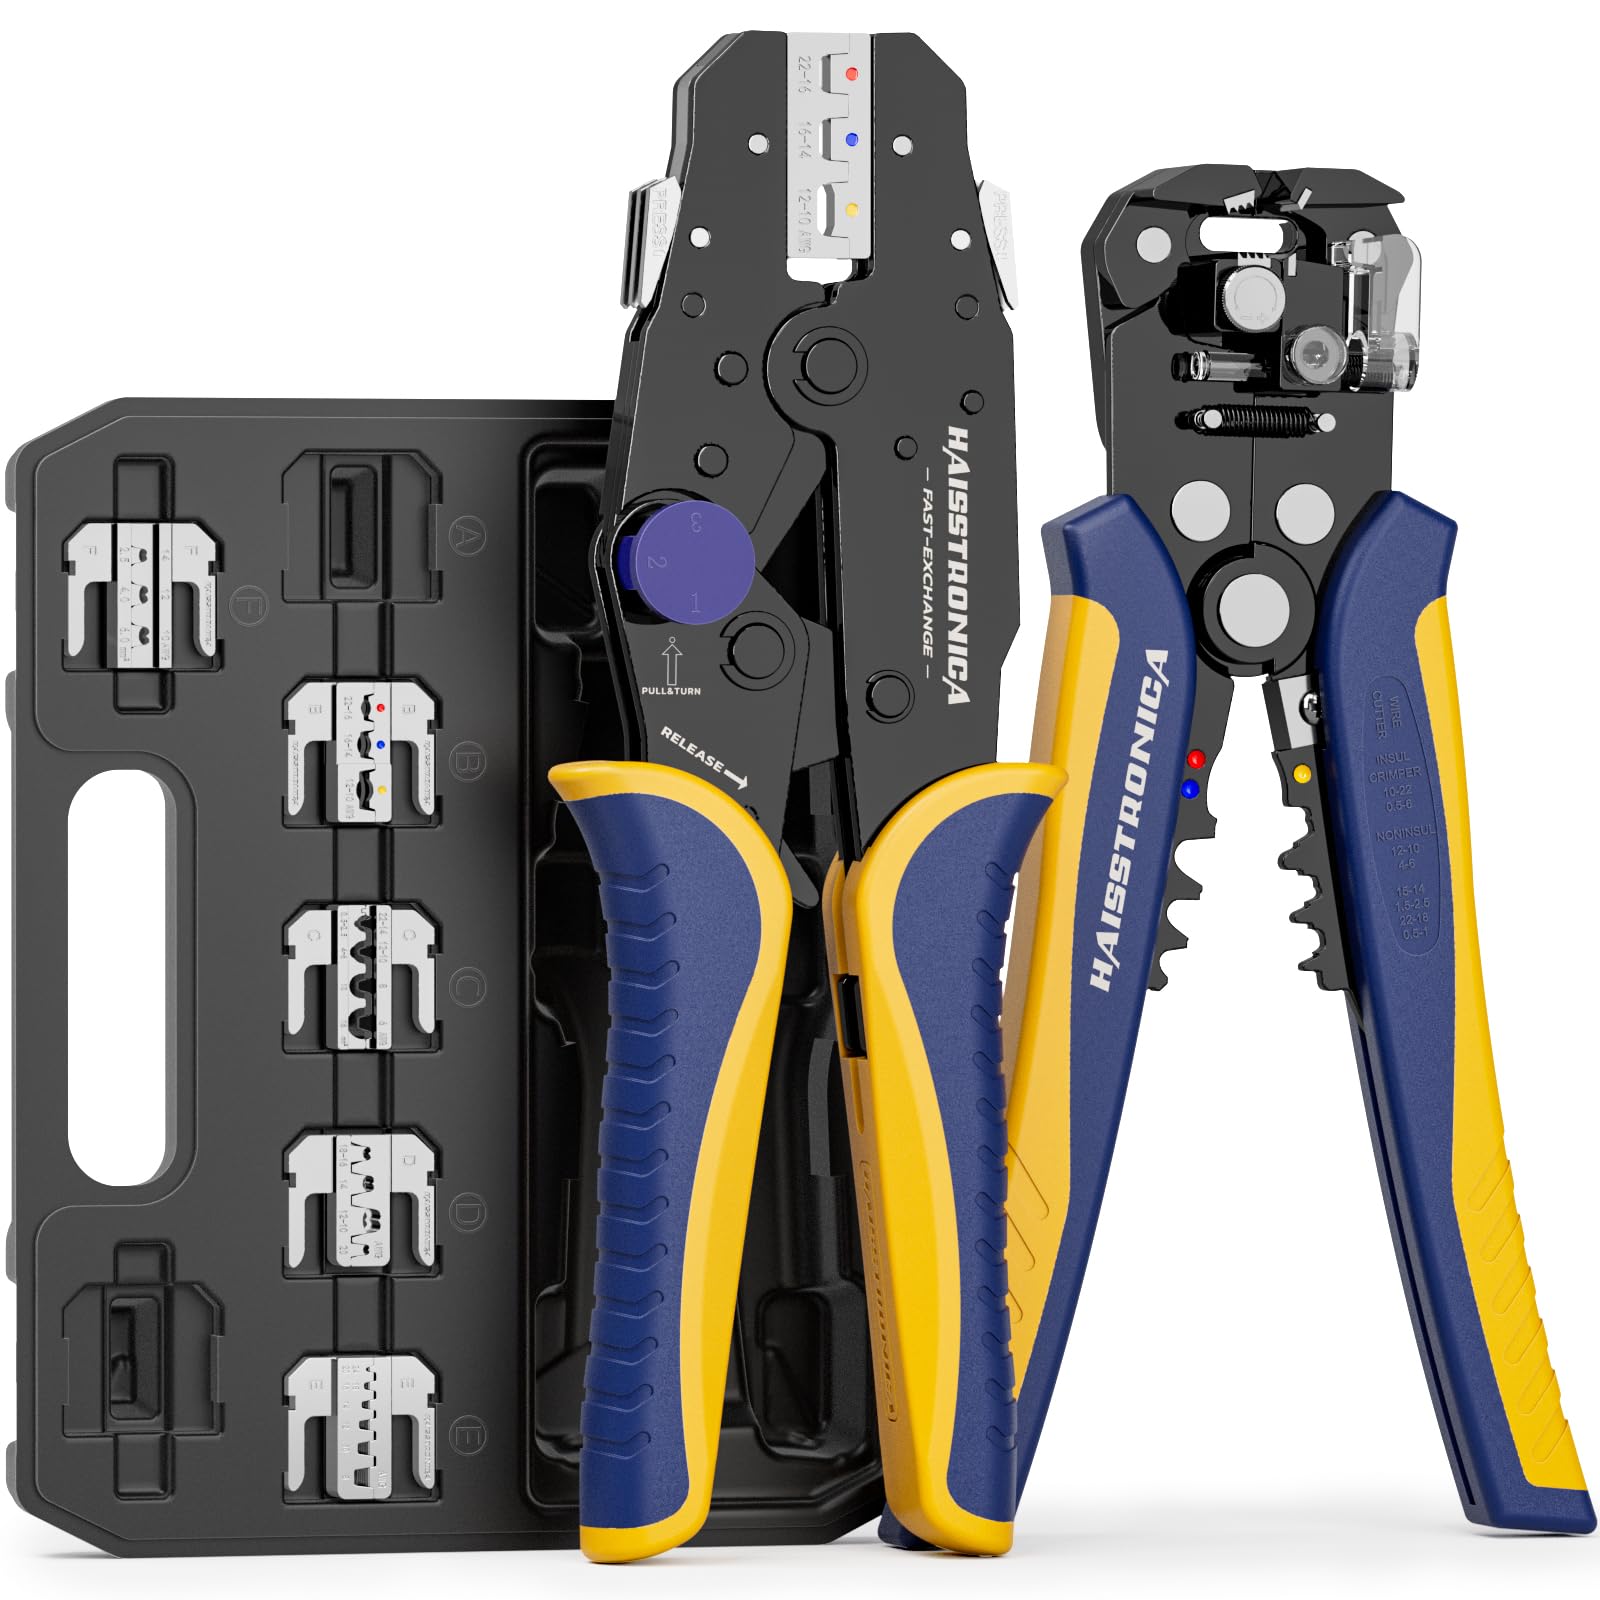
The Battery Terminal Crimper covers AWG 8 through 1/0 with matched rotating dies. Align the die over the lug’s compression zone and close the tool fully. For 2/0–4/0 or any lug outside the published range, move to the correctly rated hydraulic tool and die.

Let the lug maker define the sequence
A short barrel may require one complete compression; a longer barrel may call for two or more indexed crimps. Follow the lug and die chart rather than adding impressions at random.
One specified crimp
Center the correct die in the marked compression zone and complete the full stroke. Do not “touch up” the same spot with a second partial crimp.
Multiple specified crimps
Use the maker’s direction and spacing. Keep impressions aligned so the barrel compresses evenly without twisting the lug palm.
Stop if the die bottoms wrong
Severe flashing, a split barrel, loose strands or an incomplete tool stroke means the cable-lug-die combination must be rechecked.
A finished crimp must pass more than a visual check
Finish with adhesive-lined 3:1 heat shrink
Center the tubing across the cable insulation and lug barrel, then heat evenly until it fully recovers and a small adhesive bead appears at both ends. Keep the ring face and contact surface clean.

Choose the setup by application
Each path keeps the tool capacity, lug range and sealing materials together. Confirm the final cable gauge and stud size before ordering.
Compact AWG 8–1/0 service kit
For battery leads, grounds and workshop repairs where one matched manual crimper plus common lug sizes keeps the job portable.
Shop the battery kit →Broad lug assortment + crimper
For multiple cable sizes and repeat terminations, choose a stocked lug assortment with adhesive heat shrink and a tool covering every size in the plan.
Shop the complete combo →Plan the largest cable first
For storage banks and high-current inverter links, size every lug and tool to the engineered cable schedule. Separate AWG 8–1/0 work from 2/0–4/0 hydraulic work.
Browse Copper Wire Lugs →Battery cable lug crimping FAQ
Can I use the same crimper for AWG 8 and 4/0?
Only if the tool manufacturer explicitly lists both sizes with the correct dies. The featured manual Battery Terminal Crimper covers AWG 8–1/0; 2/0–4/0 requires a properly rated tool and die.
Should I solder a crimped battery lug?
Do not add solder unless the lug, cable and governing procedure specifically require it. Solder can wick into the conductor and create a rigid transition; a correctly engineered compression crimp does not need solder added afterward.
How much insulation should I strip?
Strip to the lug’s usable barrel depth. The copper must fully seat without leaving bare conductor outside the barrel or trapping insulation inside the compression zone.
What makes a lug suitable for wet or corrosive areas?
Use the correct tinned-copper lug, clean mating surfaces and adhesive-lined heat shrink. The terminal interface itself still needs the protection specified for the vehicle, marine or outdoor system.
For an organized lug-and-tubing assortment ready for the installation workflow above, choose the 220pcs battery cable lugs kit with heat shrink tubing.