Haisstronica · Wire Crimping Decision GuideMatch the connector first. Then choose the crimper.
AWG, connector geometry, and environment decide whether a crimp will be repeatable, secure, and sealed. Use this guide to move from wire and application to the correct connector, die, tool, and finish.
YOUR DECISION PATH
1Identify AWG, conductor type, and application→
2Choose butt, ring, open-barrel, ferrule, or lug→
3Match the die geometry and wire range→
4Strip, crimp through the full cycle, and inspect→
5Seal the connection when moisture is possible✓
Start with AWG and the job—not the tool
A crimper cannot correct a connector that is too large, too small, or designed for a different barrel shape. Read the conductor marking, confirm whether the wire is solid or stranded, then consider current, vibration, temperature, and moisture. The connector must fit the conductor before the die can form a dependable joint.
Butt connectorJoins two conductors inline. Choose heat-shrink versions for exposed or damp locations.
Ring or spade terminalTerminates a conductor at a stud or screw. Common in automotive and equipment wiring.
Open-barrel terminalUses an F-crimp around conductor and insulation wings for OEM plugs and harnesses.
FerruleContains fine strands before insertion into screw-clamp or spring terminals.
Copper lugHandles large battery, inverter, starter, and winch cable. It needs far more force than a hand terminal crimper.
Environment checkDry and protected may use standard insulation; wet, marine, outdoor, or under-car work needs a sealed system.
Connector → tool → product decision tree
Follow the row that matches the connector geometry. A ratchet mechanism improves repeatability, but the die profile is what determines where and how the barrel is compressed.
Connector & application
Matched crimper
Best product route
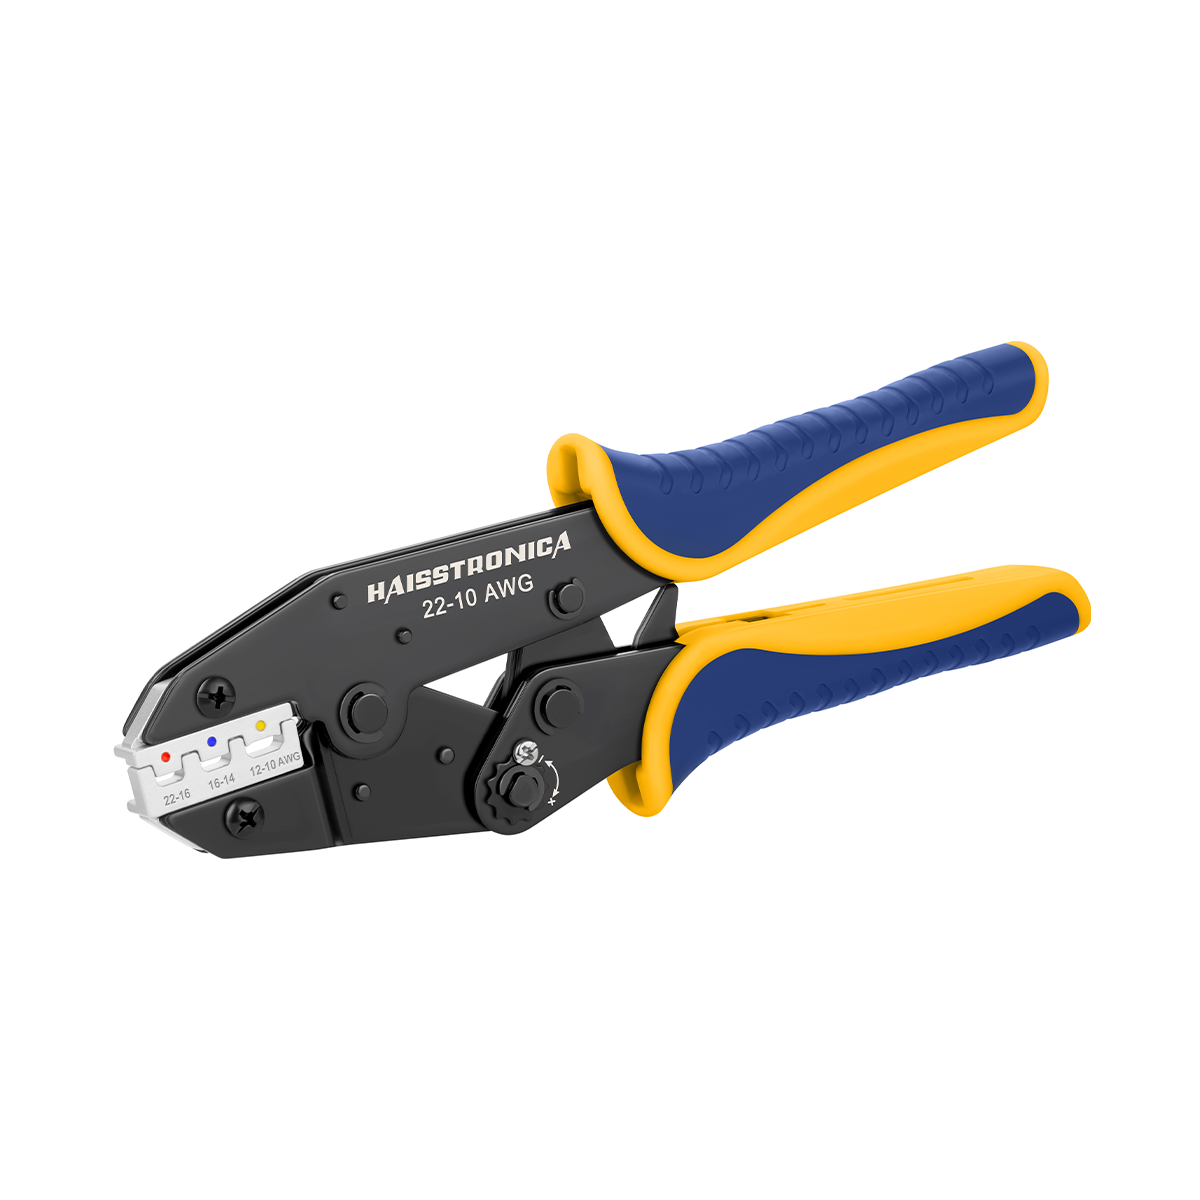
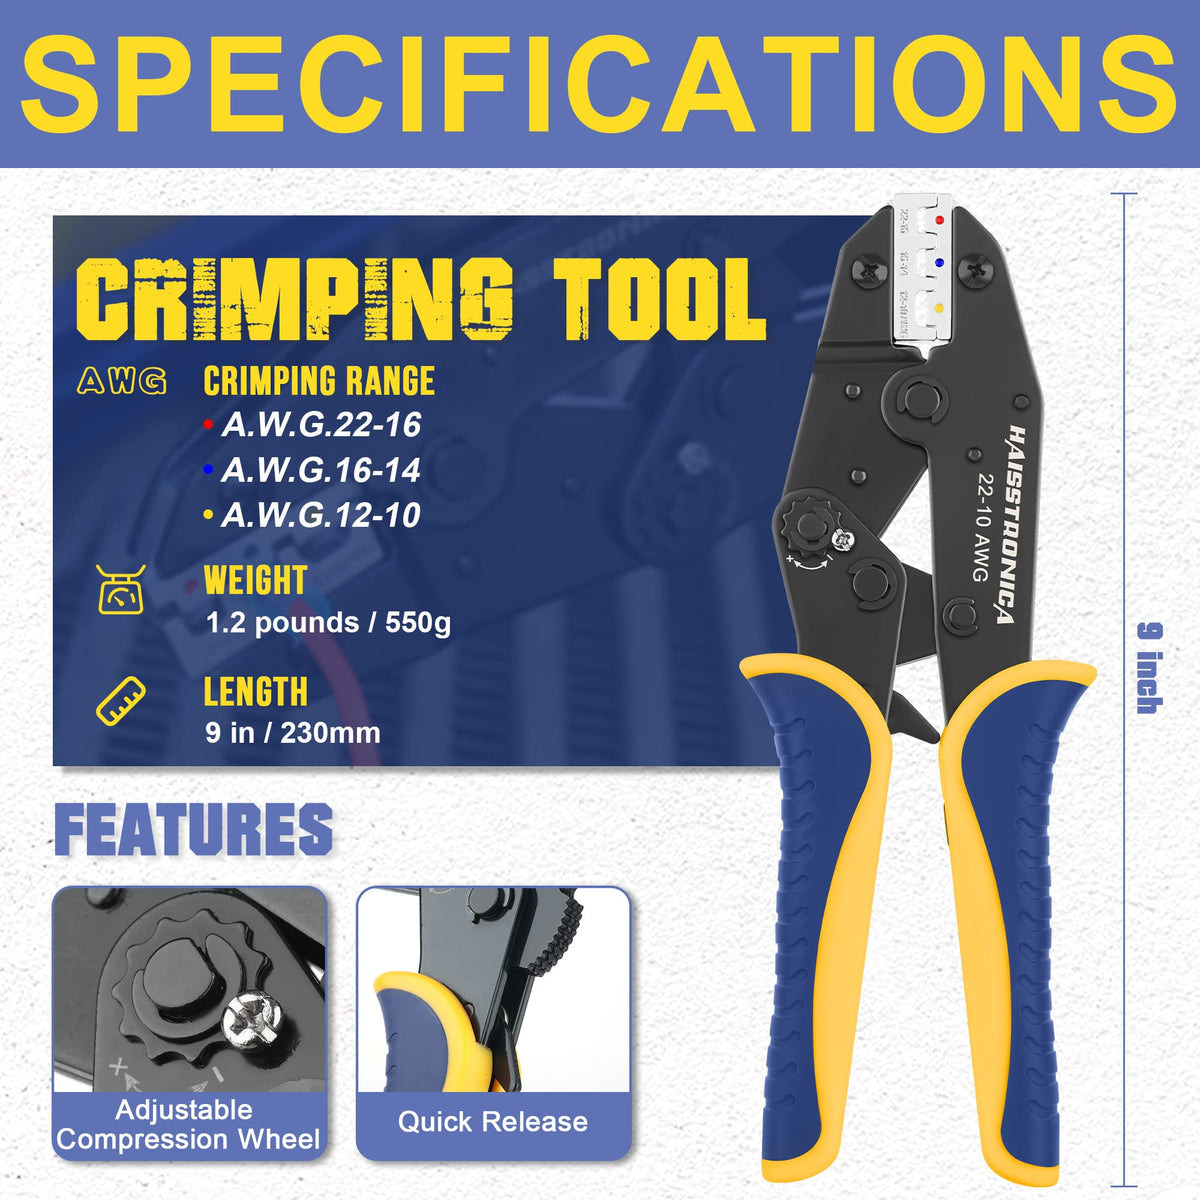
Insulated or heat-shrink butt, ring, and spade
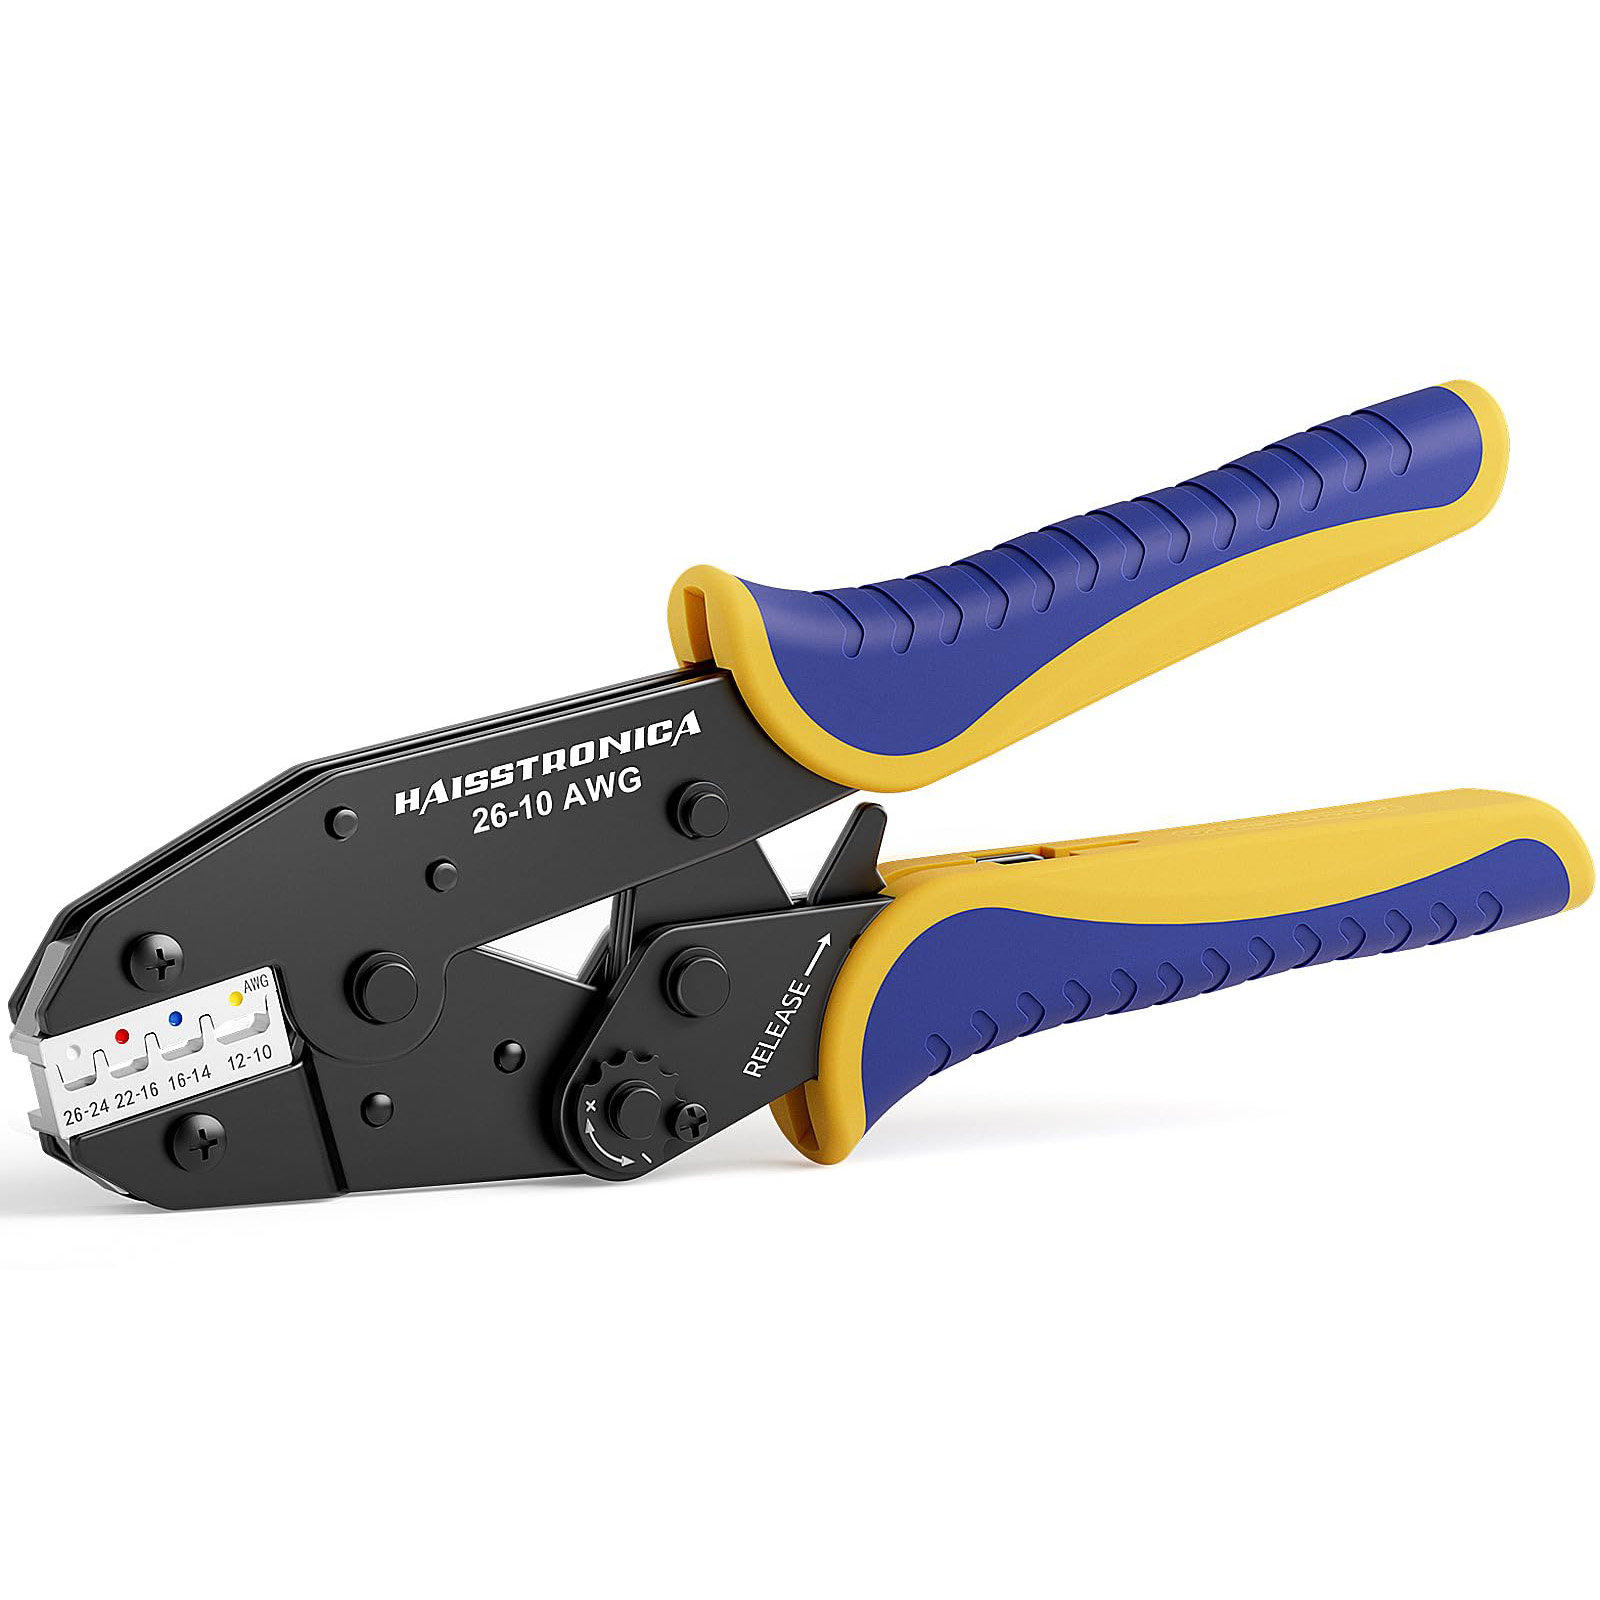
AWG 22–10 · automotive, trailer, appliance
Smooth, color-coded ratchet die matched to red, blue, and yellow terminals
Open-barrel / F-crimp
OEM sensors, plugs, and harness repair
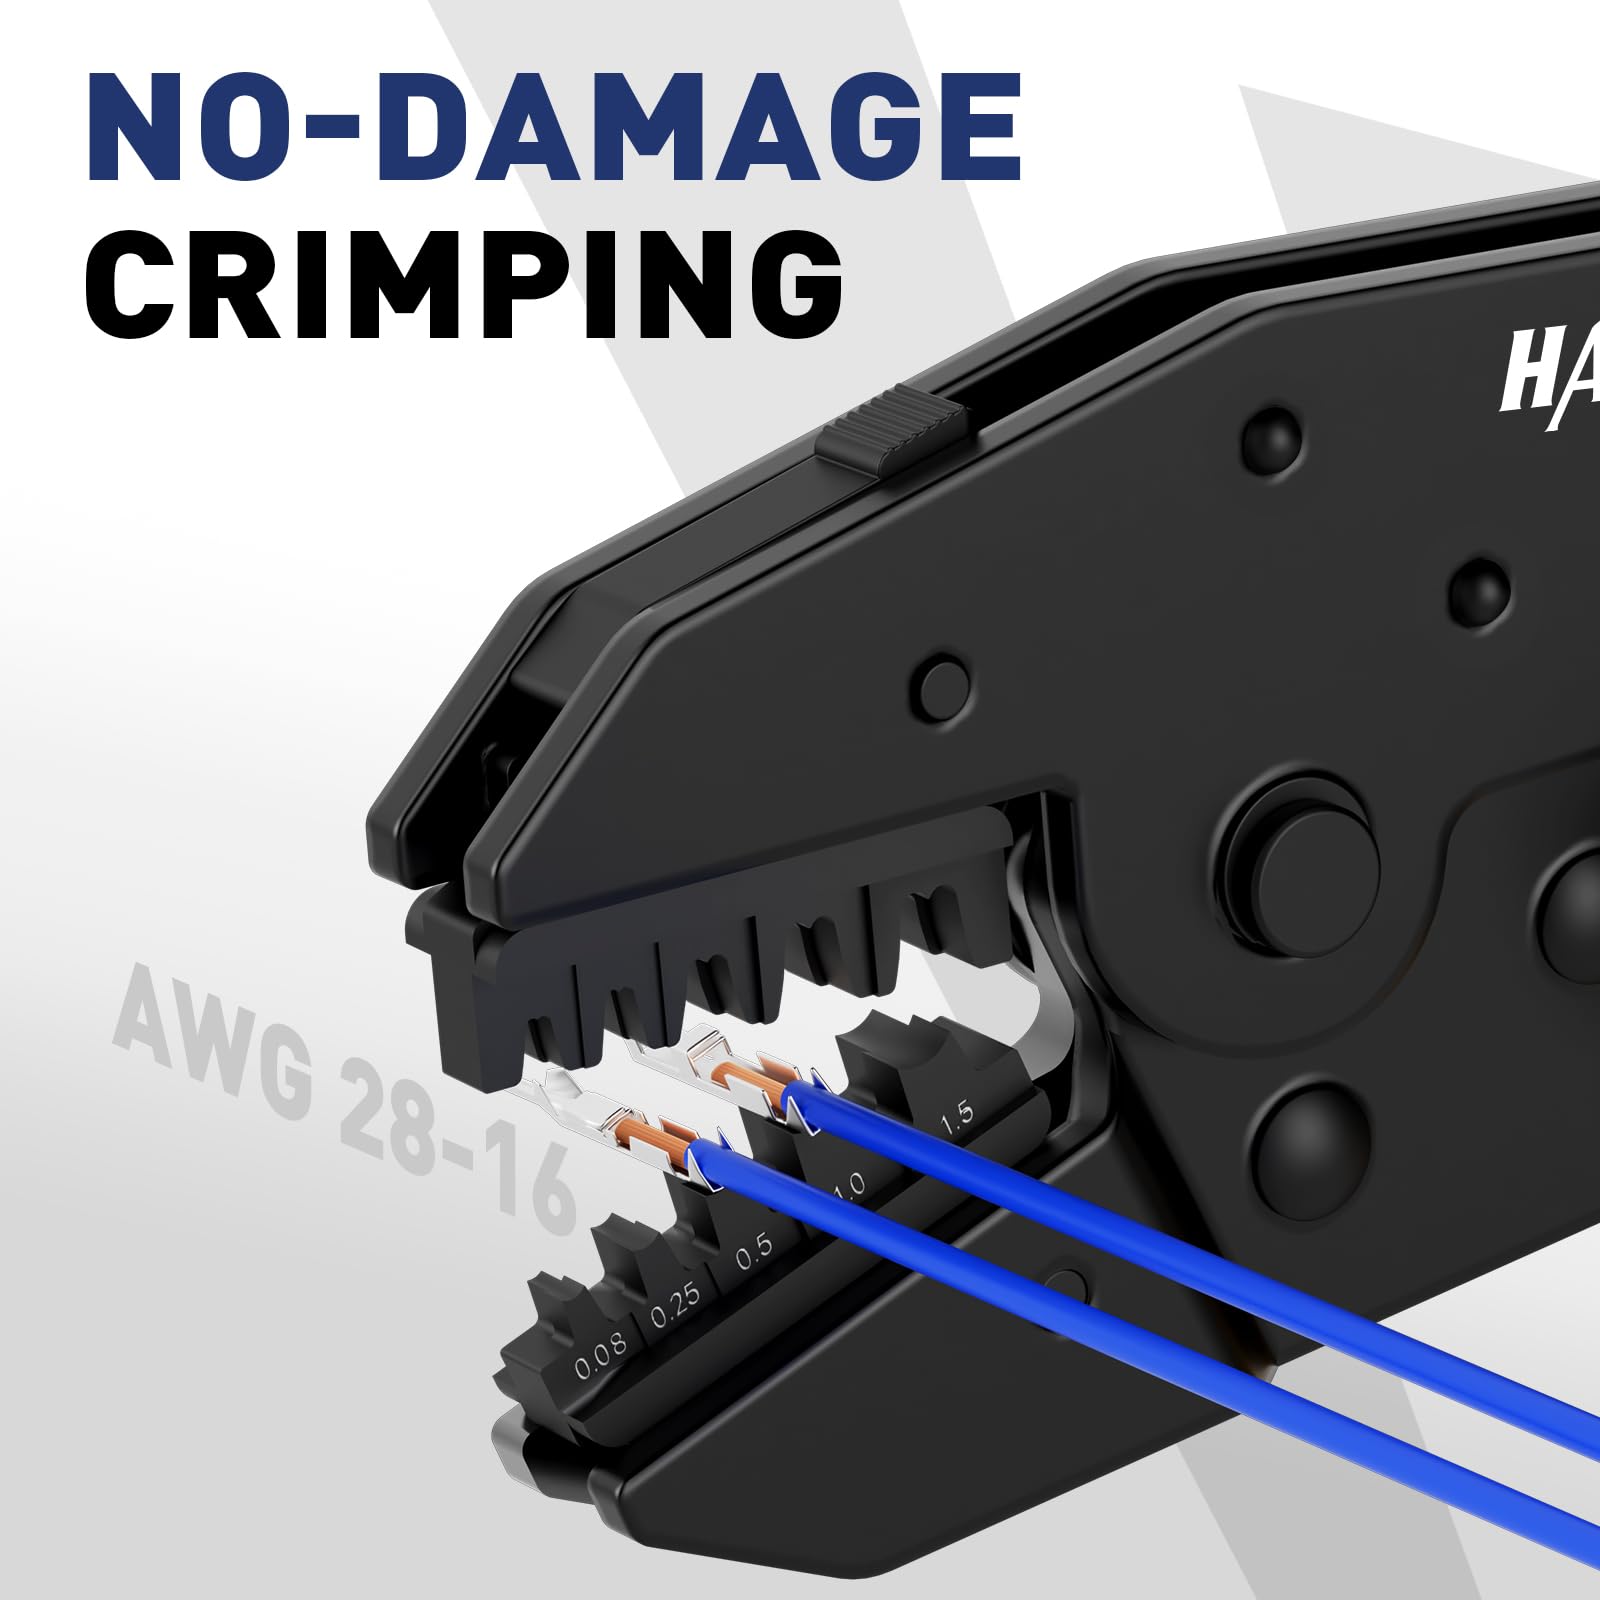
F-crimp die that forms conductor and insulation wings without flattening them
Ferrule
Control panels, PLCs, DIN terminals
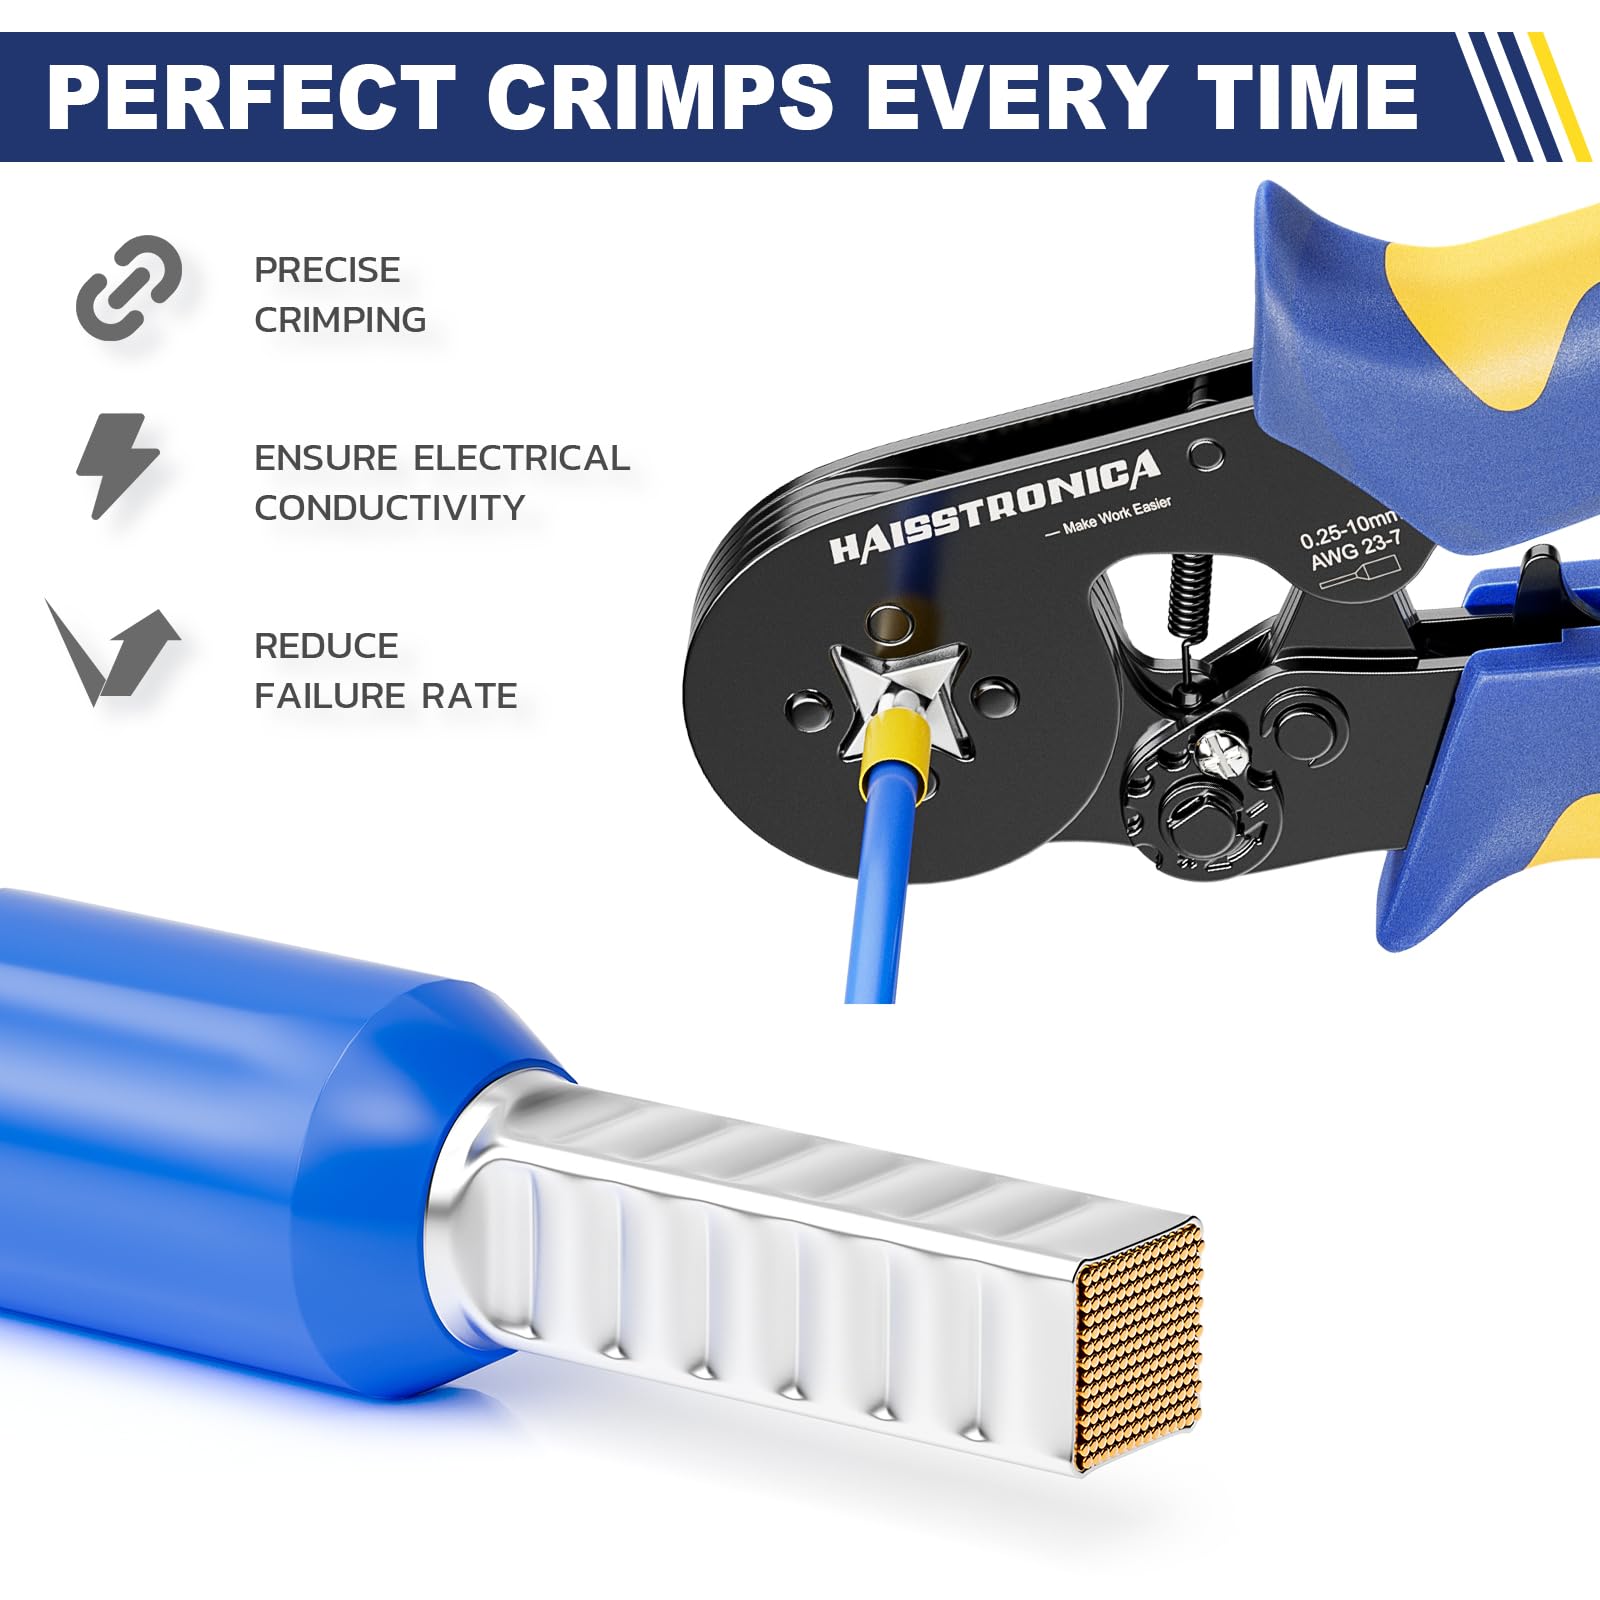
Square or hex ferrule die sized to the conductor and terminal block
Several connector families
Repair bench, workshop, mixed jobs
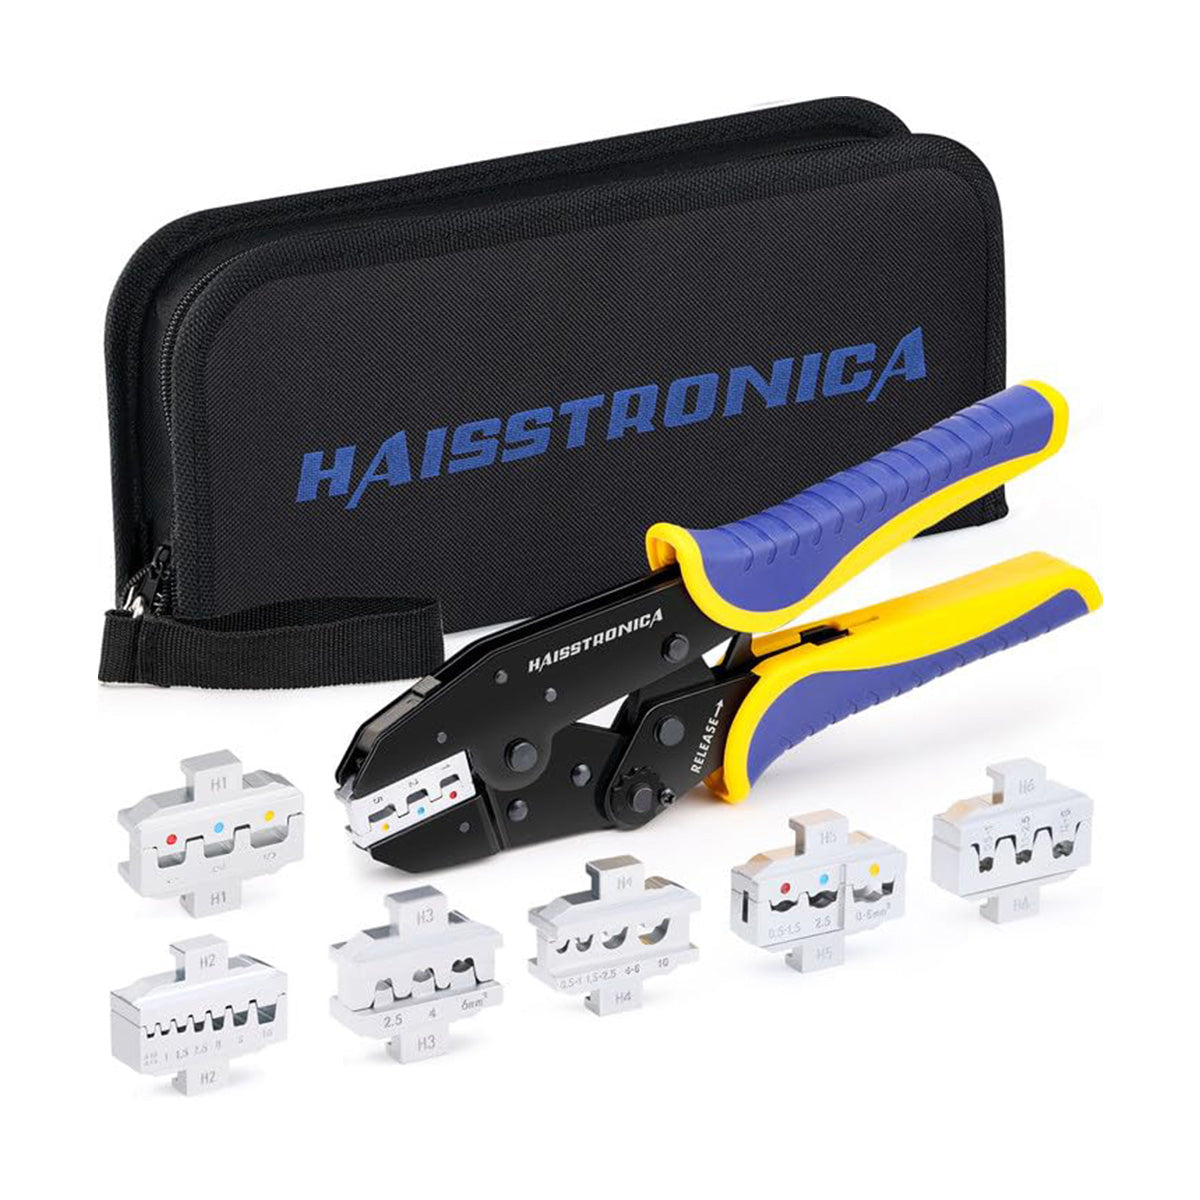
Quick-change ratchet frame with a dedicated die for each geometry
Copper battery lug
6 AWG–4/0 · battery, inverter, winch
Compound or hydraulic-style lug crimper with the tonnage and die size for heavy cable
Wet or exposed inline splice
Marine, outdoor, under-car, irrigation
Matched ratchet crimper, followed by controlled heat to activate the adhesive seal
Choose a focused tool or a multi-die system
Make the crimp safely in six checks
Confirm the AWG and connector rangeUse the conductor marking or measure the stripped conductor. Connector color is a guide; the printed AWG range is the final check.
Set the strip lengthRemove only enough insulation for the conductor to fill the metal barrel. Do not nick strands or leave bare copper outside the connector.
Place the metal barrel in the matched dieCenter the compression over metal. Keep pointed edges and pressure points away from heat-shrink tubing or insulation edges.
Insert the conductor fullyAll strands should enter the barrel. Do not twist off strands, fold them back, or mix wire sizes unless the connector is rated for it.
Complete the ratchet cycleSqueeze until the tool releases. An incomplete cycle can leave a loose, high-resistance joint.
Inspect and pull-testCheck barrel position, insulation support, exposed copper, cracking, and deformation. Apply a firm pull appropriate to the wire size before energizing the circuit.

Important: Crimping is a cold-forming process. Pliers, side cutters, a vise, or the wrong die may make the connector feel tight while leaving gaps, damaged strands, or an unreliable electrical interface.
Finish according to the environment
Dry + protected
A correctly sized insulated connector may be suitable inside a clean cabinet or protected enclosure. Match AWG, complete the ratchet cycle, and inspect the finished crimp.
Browse Connector Kits →
Wet + outdoor + marine
Use adhesive-lined heat-shrink connectors. Crimp the metal barrel first, then heat evenly until the tubing fully recovers and a small adhesive bead appears at the edges.
Choose Waterproof Connectors →
Before you buy: four questions
What AWG range?The tool, die, and connector must all cover the conductor size.
What barrel geometry?Insulated, open-barrel, ferrule, and lug dies are not interchangeable.
One job or many?A focused ratchet crimper is faster for repeated work; interchangeable dies scale better across connector families.
Dry or exposed?Moisture changes the connector and finishing method—not just the tool.
Choose the system—not just the pliers.
Start with the connector geometry, confirm AWG, match the die, complete the crimp, then add sealing only where the environment requires it.
Safety note: Follow the connector and equipment manufacturer's specifications. De-energize circuits before work, and use products rated for the circuit voltage, current, temperature, and environment.