圧着は、はんだ付けを必要とせず、強固で気密性の高い接続を実現できるため、自動車用途における電線接合方法として好まれています。適切に圧着することで、振動や過酷な環境にも耐える強力な機械的結合が形成されます。これは、自動車やトラックにとって不可欠な要素です。しかし、すべての圧着が同じように機能するわけではありません。不適切な技術や不適切な工具を使用すると、接続が弱くなり、時間の経過とともに機能しなくなる可能性があります。このガイドでは、電線コネクタを適切に圧着する方法(手順を追って)、使用する圧着工具とダイ、そして熱収縮圧着コネクタがシーリングと張力緩和に不可欠な理由について説明します。これらのベストプラクティスに従うことで、車両内のすべての圧着電線を安全かつ長持ちさせることができます。 (プロフェッショナルな仕上がりを得るには、常に高品質の機器を使用してください。例えば、 HaisstronicaのAWG 22-10熱収縮コネクタ用ラチェット電線端子圧着工具は、自動車用配線に安定した信頼性の高い圧着を提供します。)

圧着技術
信頼性の高い圧着接続を実現するには、適切な圧着技術を使用する必要があります。以下は、自動車用途における電線を正しく圧着するための手順です。
-
適切なコネクタを選ぶ:電線のゲージと用途に合った圧着コネクタを選びましょう。ほとんどの絶縁端子はサイズ別に色分けされています(赤は22~16AWG、青は16~14AWG、黄は12~10AWG)。これにより、しっかりとした接続が保証されます。コネクタが大きすぎると電線をしっかりと固定できず、小さすぎると電線を損傷する可能性があります。
-
電線を適切な長さに被覆を剥がします。ワイヤーストリッパーを使用して、電線端の被覆を剥がします。被覆を剥く長さは、電線がコネクタバレルに完全に挿入できる長さ(約6mm)にしてください。余分な電線がコネクタの外側に露出しないようにし、電線の被覆がバレルにぴったりと密着していることを確認してください。こうすることで、圧着部は導体のみを掴み、芯線がはみ出すのを防ぎます(はみ出すとショートや腐食の原因となります)。
-
電線をコネクタに挿入します。被覆を剥がした電線を軽くねじって(撚線の場合)、撚線同士をまとめます。次に、コネクタの金属製バレルに、絶縁体がバレルの端に触れるまで押し込みます。しっかりと圧着するには、すべての撚線がバレル内に収まっている必要があります。
-
圧着工具にコネクタを配置します。圧着工具(クリンパ)を開き、使用するコネクタに適したダイスに合わせます(多くの圧着工具には、コネクタのサイズに合わせてラベルや色分けされたジョーが付いています)。コネクタを工具のジョーに挿入し、バレルとダイスの位置を合わせます。通常、コネクタバレルの継ぎ目がダイスの窪み側に向くようにします。
-
しっかりと均一に圧着します。圧着工具のハンドルを完全に握り、コネクタバレルを電線の周りに押し込みます。ラチェット式圧着工具を使用する場合は、圧着部が完全に圧縮された場合にのみ解放されます。この設計により、常に一定の圧力がかかり、均一な圧着が保証されます。ラチェット式ではない工具を使用する場合は、圧着しすぎないように十分な力をかけるように注意してください。目指すのは、電線が滑らない程度にしっかりと圧着することですが、電線を切断するほど圧着しすぎないように注意してください。
-
圧着部の点検:圧着後、接続部を目視で確認してください。バレルが電線にしっかりと圧着し、露出した電線がないようにしてください。電線を適度に引っ張ってみて(プルテスト)、電線がコネクタから抜けないようにしてください。抜ける場合は、圧着が不十分か、不適切なサイズのコネクタを使用しています。
-
シール(熱収縮コネクタを使用する場合):接着剤付きの熱収縮コネクタを使用した場合は、ヒートガンなどで熱を加えてチューブを収縮させます。チューブが接合部周辺で収縮し、接着剤が溶けて接続部が湿気から保護されます。これにより、防水シールと追加の機械的サポートが得られます(詳細は「シーリング」の項をご覧ください)。
これらの手順に従うことで、空気や湿気を遮断し、腐食や振動からワイヤーを保護する気密圧着接続が実現します。 適切な圧着とは、電線と端子を一つの固体に「成形」することです。必ず時間をかけて正しく行うようにしてください。電線の圧着方法がわからない場合は、廃材の電線とコネクタで練習すると、自信をつけるのに最適です。高品質の電線圧着工具を使用すると、仕上がりが大幅に向上します。例えば、Haisstronica ラチェット式圧着工具は、電線の挿入から完全な圧縮までの各ステップで均一な圧力がかかるため、毎回確実な接続が確保され、よくある圧着ミスを防ぐことができます。

圧着工具とダイス
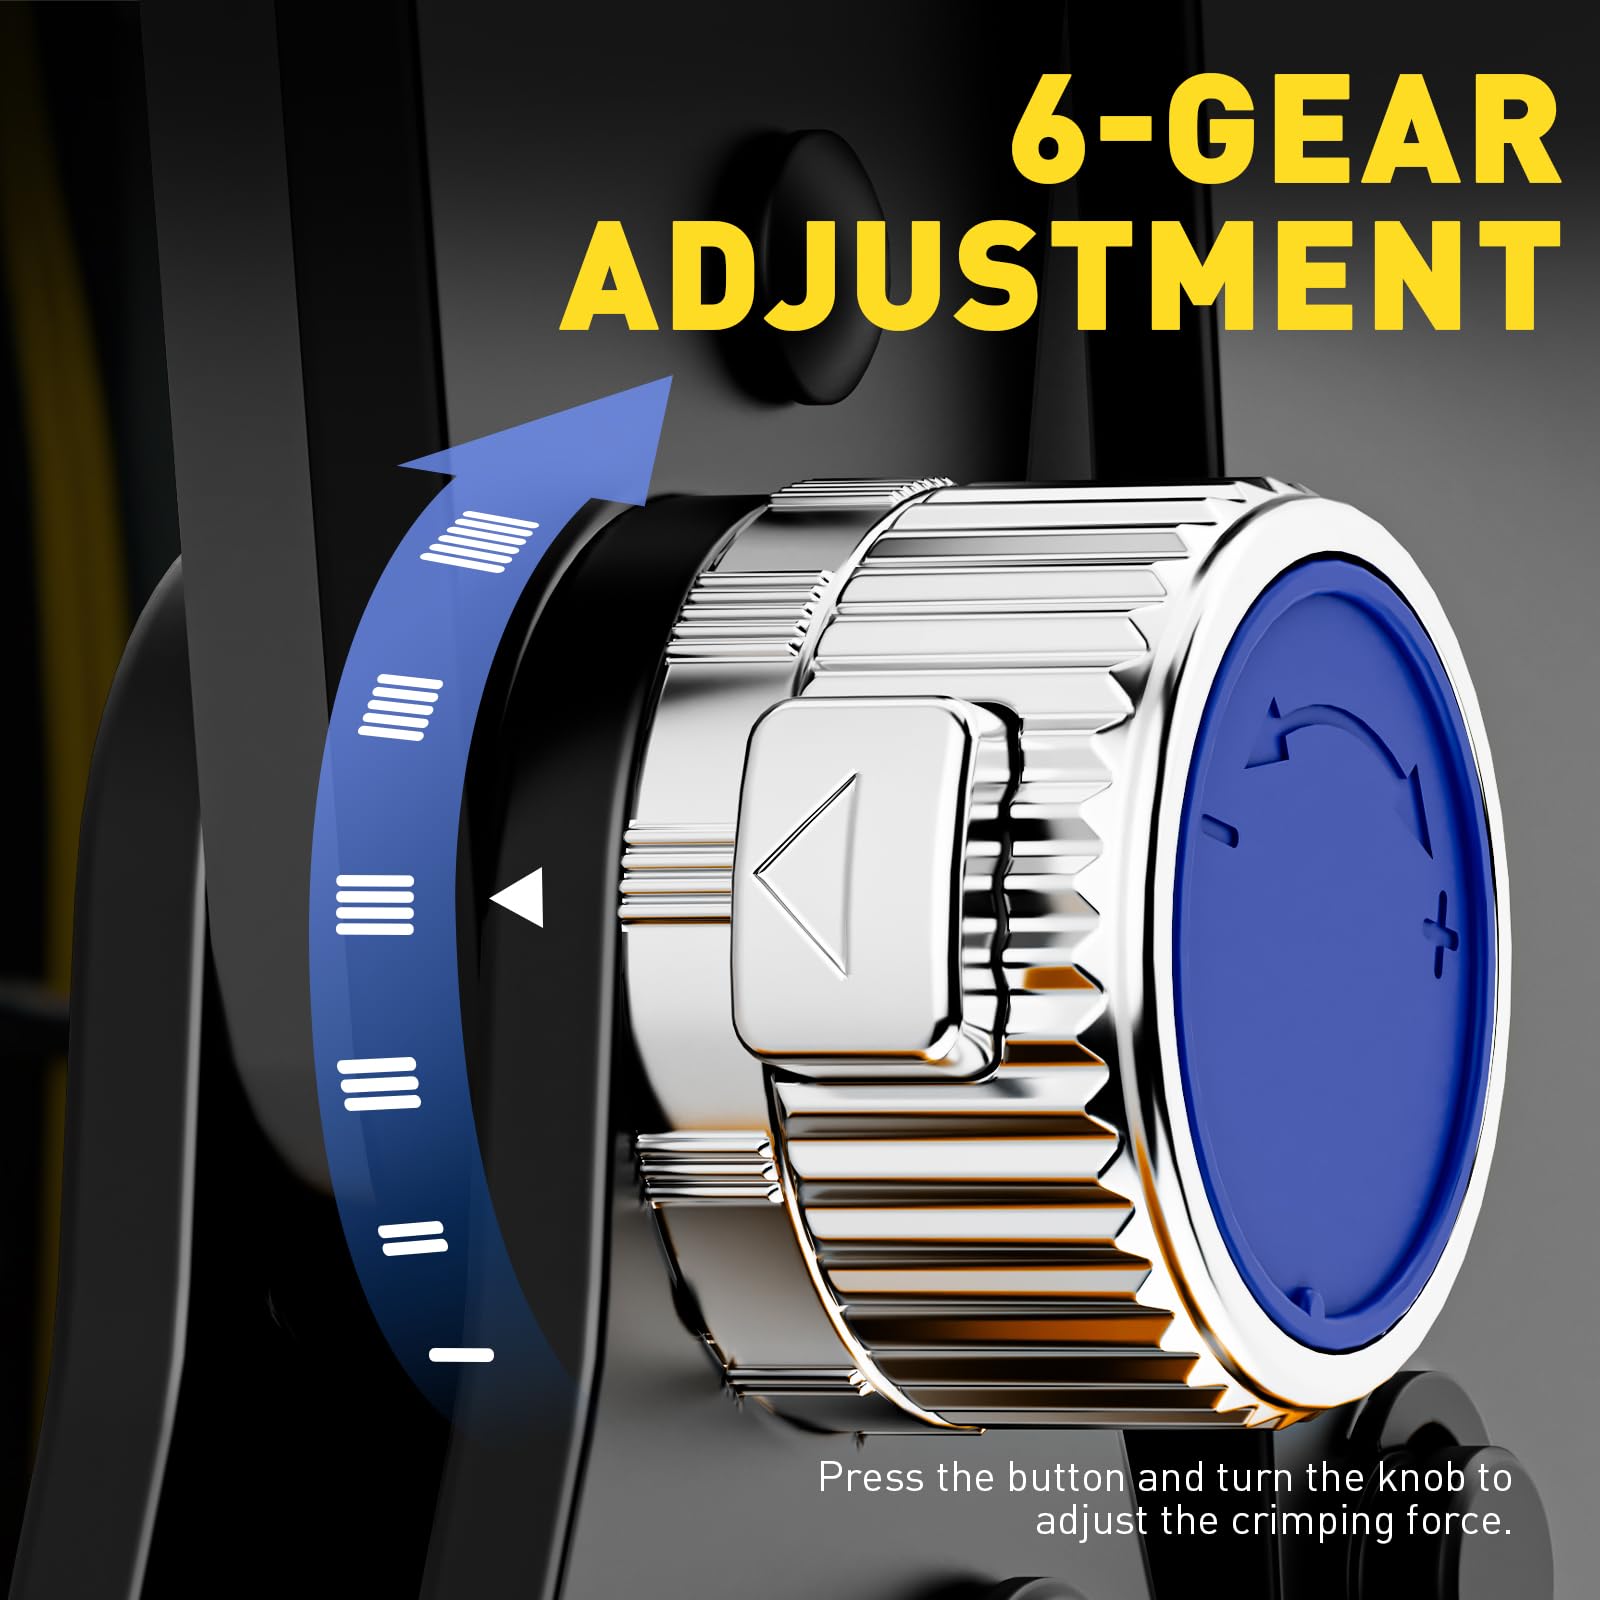
圧着には適切な工具を使用することが、優れた技術と同じくらい重要です。自動車業界のプロは、最も安定した結果を得るために、ラチェット式ワイヤークリンパ(ラチェット圧着ペンチ)を選ぶことが多いです。一般的なスクイーズ式クリンパとは異なり、ラチェット式圧着工具は均一な圧力を制御しながら加え、圧着が完了するまで圧力を解放しません。これにより、安価な工具やラチェット式ではない工具でよくある問題である、圧着不足(接続部の緩み)や圧着過剰(ワイヤーの損傷)を防止できます。実際、高品質のラチェット式圧着工具は、力のかけ過ぎや過度の力による圧着を防ぐため、勘に頼る作業は不要です。誤って力をかけすぎたり、かけ過ぎたりすることがないため、しっかりとした圧着が繰り返し行えます。
圧着ダイスは、工具内の交換可能なジョーまたはインデンターで、特定のコネクタの種類とサイズに合わせて形状が調整されています。ダイスは端子に適合させることが重要です。例えば、オープンバレル(非絶縁)の自動車用コネクタを、絶縁ビニル端子用のダイスで適切に圧着することはできません。形状が異なるためです。多くのプロ用電線圧着工具キットには、複数のダイスが含まれているか、一般的な絶縁端子サイズ(赤/青/黄)に対応するユニバーサルダイスが付属しています。絶縁リング端子、非絶縁フェルール端子、イグニッション端子など、様々なコネクタスタイルを扱う場合は、あらゆるニーズに対応できる交換可能なダイスを備えた圧着工具キットまたはクリンパをご検討ください。
自動車配線用の圧着工具を選ぶ際は、必要な電線サイズの範囲に注意してください。一般的な自動車配線は、AWG 22(細いセンサー線)からAWG 10(太い電源線)程度までです。この範囲に対応する電線圧着工具を選びましょう。例えば、Haisstronica ラチェット圧着工具はAWG 22~10用に設計されており、1つの工具でほとんどの自動車やトラックの配線ニーズに対応できます。人間工学と構造品質も重要です。快適なハンドルと、繰り返しの使用に耐える頑丈な機構を選びましょう。しっかりとした構造の電気圧着工具は、作業を容易にするだけでなく、圧着が安全かつ確実に仕上がります。
高品質のコネクタ圧着工具への投資は、信頼性という点で大きなメリットをもたらします。Haisstronica のラチェット式圧着工具(AWG 22~10用)は、精密ダイとスムーズなラチェット動作を特徴としており、配線作業において確実な圧着と引っ掛かりのない結線を保証します。このワイヤコネクタ用圧着工具は、毎回均一な圧力をかけるため、ワイヤ圧着不良というよくある問題を解消し、作業を大幅にスピードアップします。プロ仕様の工具を使用することで、自動車環境の要求にも耐えうる工場品質の圧着を実現し、振動による接続の緩みを防ぎます。

シーリングとストレインリリーフ
自動車環境では、電気接続部は湿気、汚れ、温度変化、そして絶え間ない振動にさらされます。単に電線を圧着するだけでは必ずしも十分ではありません。将来の問題を防ぐために、接続部を密閉し、しっかりと固定する必要があります。そこで、熱収縮コネクタなどのシーリング技術が役立ちます。
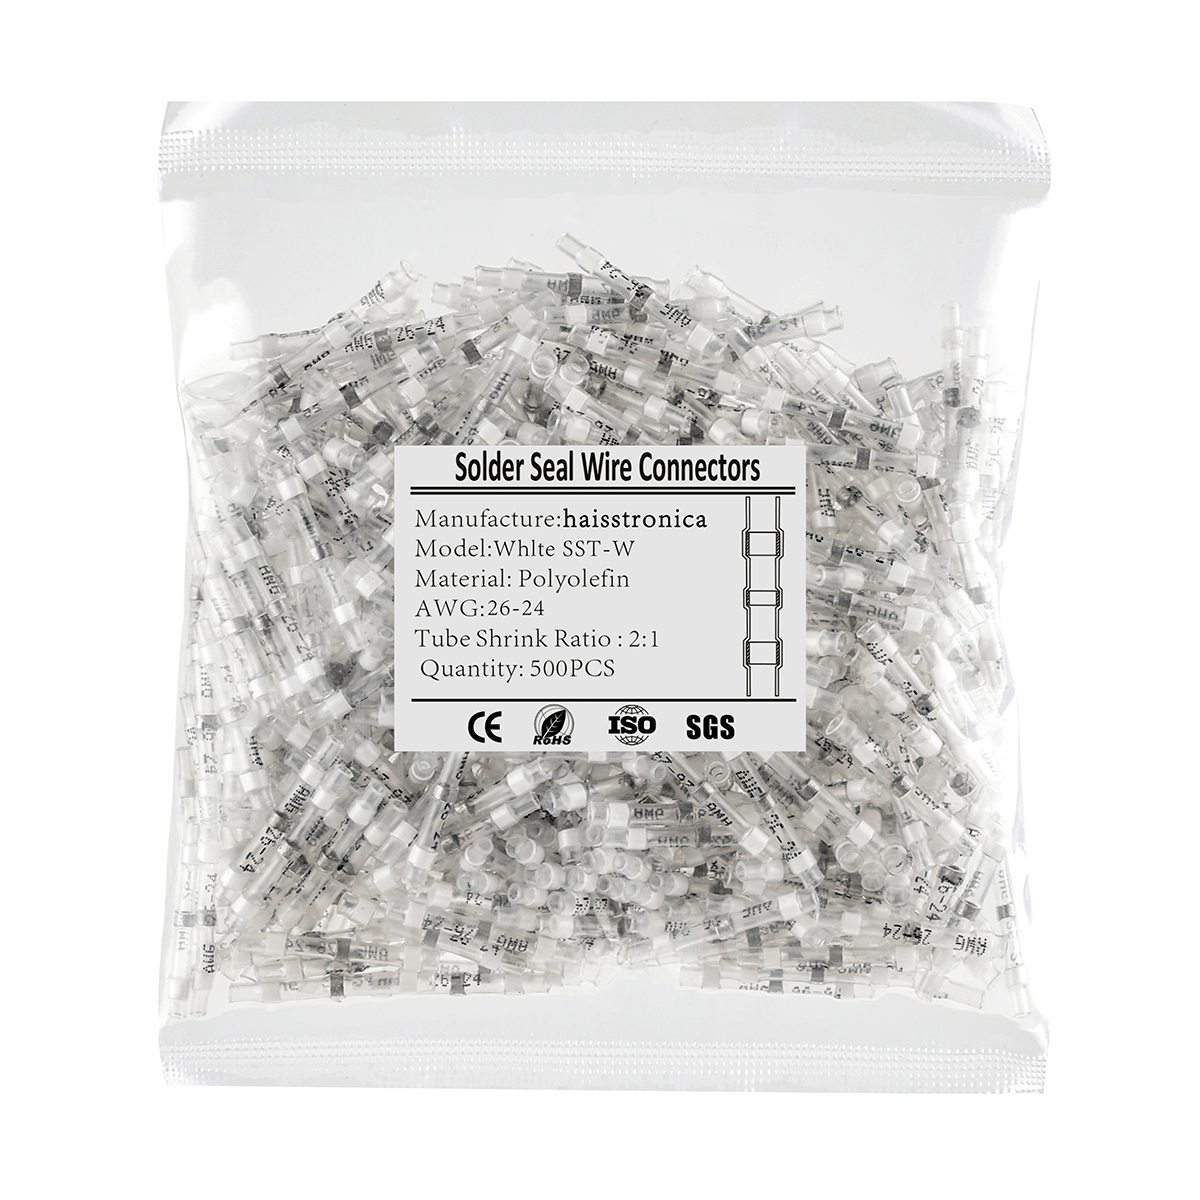
熱収縮圧着コネクタ(クリンプアンドシールコネクタとも呼ばれる)には、加熱すると収縮するポリオレフィン製のチューブスリーブが付いています。多くのコネクタは接着剤で裏打ちされており、加熱時に溶けて流れる特殊な接着剤が含まれています。これらのコネクタを圧着してから加熱すると、チューブがワイヤとコネクタの周りをしっかりと密閉し、水、塩分、その他の汚染物質の侵入を防ぎます。その結果、防水性と絶縁性を備えた接続部が実現します。これは、エンジンルームの配線や、雨や道路の水しぶきにさらされる可能性のある外部回路など、自動車の用途には不可欠です。実際、高品質の熱収縮コネクタ(船舶グレードのバットスプライスなど)は腐食に対するバリアとなり、内部の圧着を目視で検査できるように透明なチューブが付いています。
熱収縮チューブのもう一つの利点は、張力緩和です。スリーブが収縮すると、圧着部を超えて電線絶縁体をしっかりと掴み、機械的なサポートを追加します。これにより、電線が引っ張られたり振動したりした際に、圧着接合部自体にかかるストレスが軽減されます。3M社によると、追加された熱収縮チューブは引張強度を高め、接続部の張力緩和として機能するとのことです。振動するトラックや高性能車では、この追加のサポートが、接続が長持ちするか、最終的に緩んでしまうかの違いを生む可能性があります。車室内の接続部であっても、張力緩和機能を内蔵した絶縁端子を使用する(または圧着部に熱収縮チューブを追加する)ことが、長寿命化のためのベストプラクティスです。
より高度な自動車用コネクタ(Weather-PackコネクタやDeutschコネクタなど)のストレインリリーフの原理も同様です。コネクタ本体または二次圧着部が電線被覆を挟み込み、導体圧着部の屈曲を防ぎます。標準的な圧着端子を使用している場合は、圧着後に接合部に熱収縮チューブをスライドさせることで、この効果を再現できます。コネクタの両側の電線被覆部まで熱収縮チューブが確実に伸びていることを確認してください。この補強により、電線と端子が圧着部の端で曲がることなく、一体となって動きます。
最後に、ワイヤーハーネスを適切に配線し、固定することを忘れないでください。ワイヤーが垂れ下がったまま引っかかったり、常に曲がったりしていると、完璧な圧着でも失敗する可能性があります。ケーブルタイ、クランプ、またはロームを使用してワイヤーを固定し、コネクタの張力を軽減してください。ストレインリリーフは、コネクタの設計と取り付けの両方に関係します。
信頼性の高い圧着工具と熱収縮圧着コネクタを使用することで、自動車の電線接続部は電気的に堅牢で、環境からの保護も確保できます。Haisstronicaは、同社の圧着工具と完璧に組み合わせられる粘着剤付き熱収縮コネクタを幅広く取り揃えており、導電性と保護性の両立を実現します。例えば、Haisstronicaのラチェット工具で接続部を圧着した後、収縮チューブを加熱することで、密閉性と耐振動性を確保できます。このような圧着・シール方法は、プロの自動車整備士が配線の修理やアップグレードにおいてトラブルのないパフォーマンスを保証するためにまさに使用している方法です。

結論
圧着は、信頼性の高い自動車配線の要です。正しく行えば、圧着接続部は電線自体と同等の強度を確保し、道路での過酷な状況にも耐えることができます。適切な圧着技術、適切な工具とダイの使用、そして張力緩和のための熱収縮チューブによる接続部の密閉は、すべて相乗効果を発揮し、期待を裏切らない電気接続を実現します。これらの要素のいずれかを軽視すると、不良圧着が発生する可能性があります。つまり、最初は「機能」する接続であっても、振動、湿気、または高電流にさらされると機能しなくなります。
上記のベストプラクティスに従うことで、車やトラックの配線修理や設置を安全かつ長持ちさせることができます。コネクタは必ず電線サイズに適合させ、 専門的な電線圧着工具(理想的にはラチェット式圧着工具)を使用して均一な圧力をかけ、接続部は絶縁材とストレインリリーフで保護してください。これらの追加対策により、振動や腐食に強く、電気的に健全な接続が実現します。
最後に、高品質な工具と材料を揃えることが重要です。HaisstronicaのAWG 22~10用ラチェット圧着工具のような信頼性の高い圧着工具があれば、作業が楽になり、仕上がりもより安定します。プロ仕様の配線作業を実現するための投資と言えるでしょう。さらに高品質な熱収縮コネクタと組み合わせれば、圧着接続部は長距離でも何年も確実に保護されます。さあ、圧着作業を楽しみましょう!配線に関するヒントや最新の自動車用圧着工具については、 Haisstronicaのウェブサイトをご覧ください。今すぐ工具キットをアップグレードしましょう。

出典: