BATTERY CABLES · TROUBLESHOOTING GUIDE
Battery Cable Won’t Fit in Lug? Check Gauge, Strands, and Size Markings
If your battery cable won’t fit in a lug, stop before crimping. Check the conductor marking, the lug’s wire-size rating, the stripped cable end, and compatibility with the strand construction. Do not cut away strands, drill out the barrel, or use the crimper to force an incomplete assembly together. Battle Born Batteries

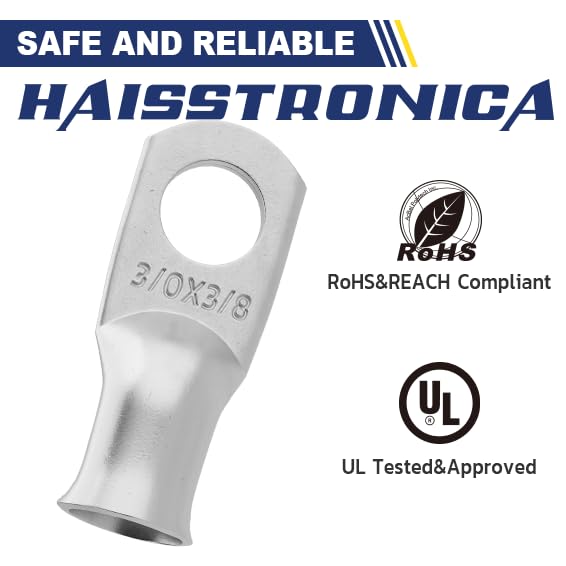
The barrel is the hollow part that receives the conductor; the stud hole is the opening that bolts to the equipment. A correctly sized stud hole does not establish that the barrel matches your cable. Haisstronica
This guide addresses insertion problems with copper battery-cable terminations. It is not a procedure for working on energized cables or EV high-voltage systems.
01Make the cable safe before checking its fit
Isolate the cable from all power sources using the vehicle or equipment manufacturer’s procedure. Account for batteries, chargers, and other connected supplies; switching off a load alone is not a substitute for isolation. If you cannot establish a safe, de-energized condition, have a qualified technician handle the repair.
Wear appropriate eye protection and keep metal tools from bridging battery terminals. Trojan Battery’s safety guidance specifically warns against sparks and metal objects around batteries. Perform trial fitting on an isolated cable, preferably away from exposed battery connections. Trojan Battery
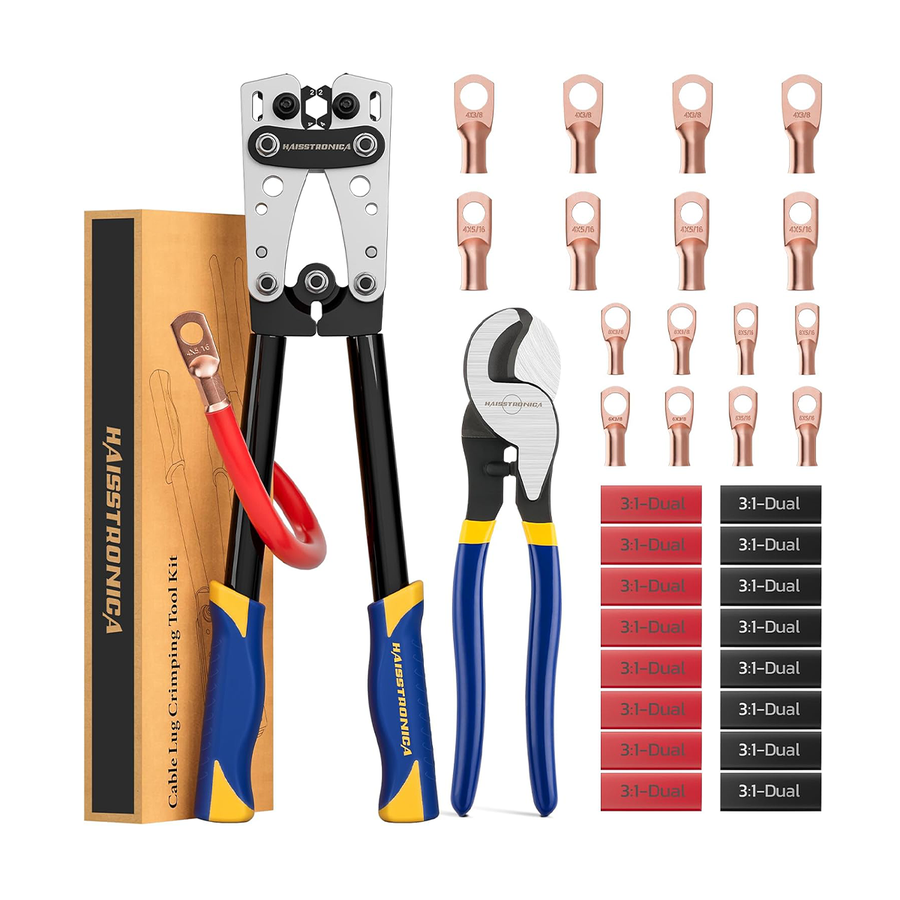
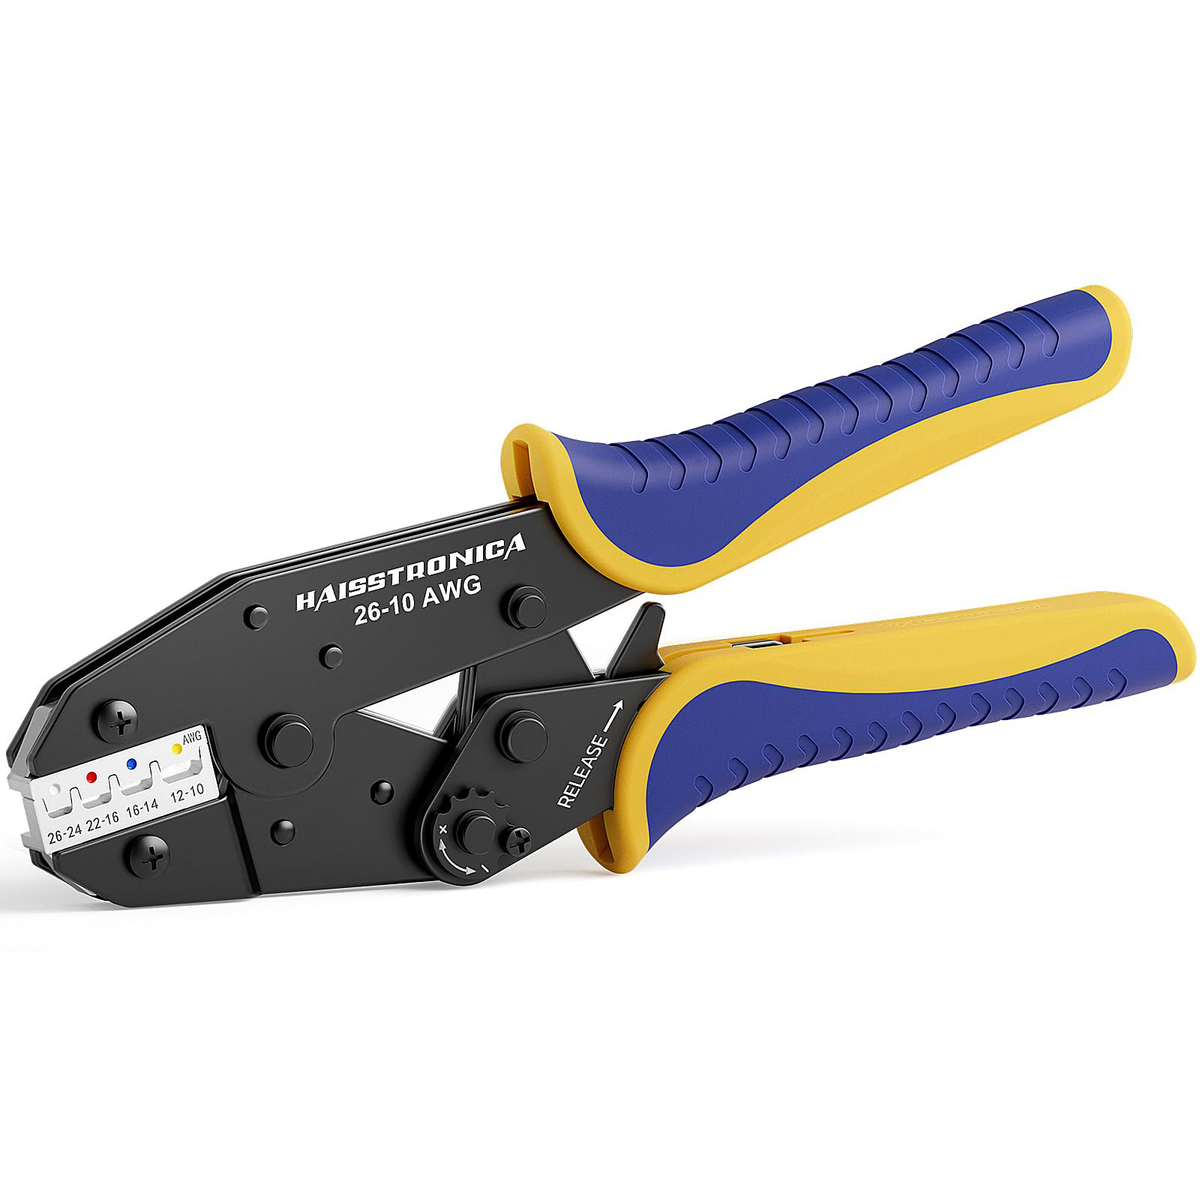
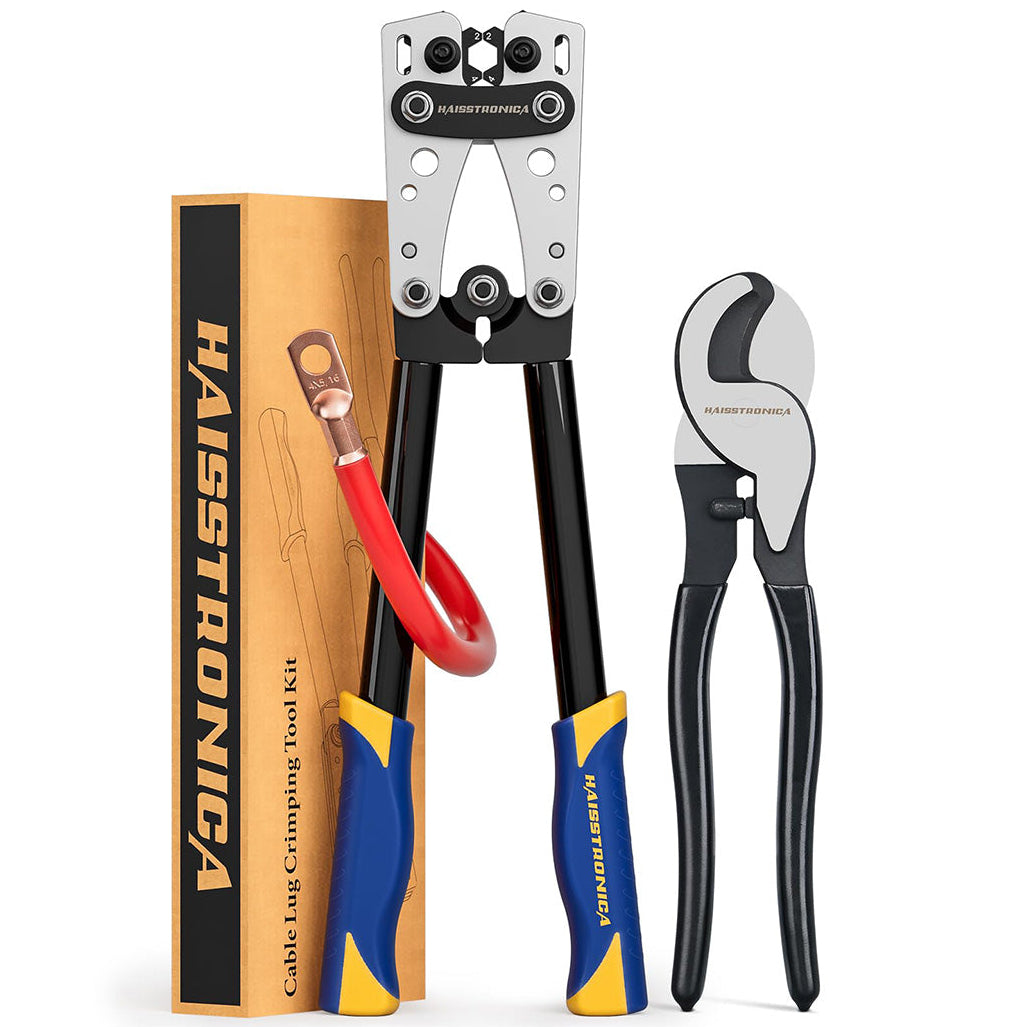
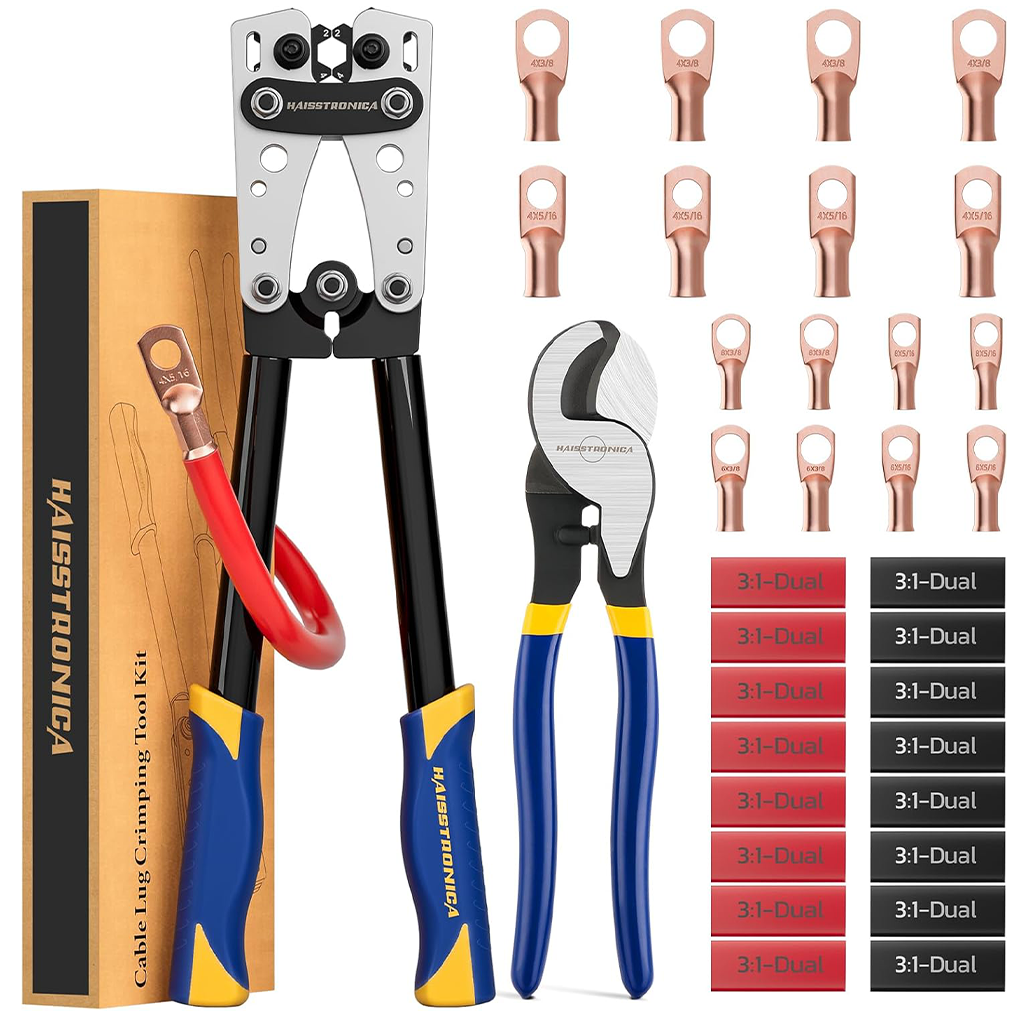
Haisstronica Battery Cable Lug Crimping Tool Kit AWG 8–1/0
The kit includes a manual lug crimper and cable cutter. Isolate the cable first, then confirm the conductor, lug, and tooling requirements before use.
View Kit & Specifications02Identify where insertion stops
Use these observations to choose a check—not to declare a confirmed fault.
| What you see | Check next |
|---|---|
| The entire conductor bundle will not enter | Wire-size notation, barrel specification, and conductor class |
| Most strands enter, but outer strands catch | Splayed or damaged strand ends and barrel-entry condition |
| The conductor enters, then stops early | Strip length, folded strands, obstruction, and intended insertion depth |
| The ring fits the mounting bolt, but the cable does not fit | Whether stud-hole size was mistaken for wire-size compatibility |
| One unused lug differs from others with the same part number | Possible damage, mixed parts, or a dimensional issue requiring supplier review |
Do not keep increasing force while testing these possibilities. Record the markings before altering or replacing anything. Haisstronica
03Read the cable and lug markings separately
Start with the printing on the cable jacket, then check the lug packaging and part number. Record the conductor size, material, and construction. If the jacket marking is incomplete, obtain the cable datasheet rather than estimating from its thickness.
Wire size is not stud-hole size
For a lug listed as 2 AWG × 3/8-inch stud, the first value identifies the intended conductor size and the second identifies the mounting hardware. The 3/8-inch dimension is not the barrel’s inside diameter.
Haisstronica’s tinned battery cable lug page separates AWG selection from stud-hole selection. Read both fields, and verify the chosen variant before requesting a replacement. Haisstronica
Preserve every character in the size
1 AWG is not 1/0 AWG; 2 AWG is not 2/0 AWG. Missing the slash and zero can explain why a cable and lug appear similarly labeled but differ substantially in size. Eland Cables
A bare number stamped on a lug may also be incomplete without its manufacturer’s marking key. Check the part’s drawing or packaging instead of assuming every number means AWG. Klauke
For an assortment, compare the actual lug with its label—not only the compartment it was stored in. Mixed parts are a possibility to investigate, not proof that the product was manufactured incorrectly.
Haisstronica Battery Cable Lug Crimping Tool Kit AWG 8–1/0
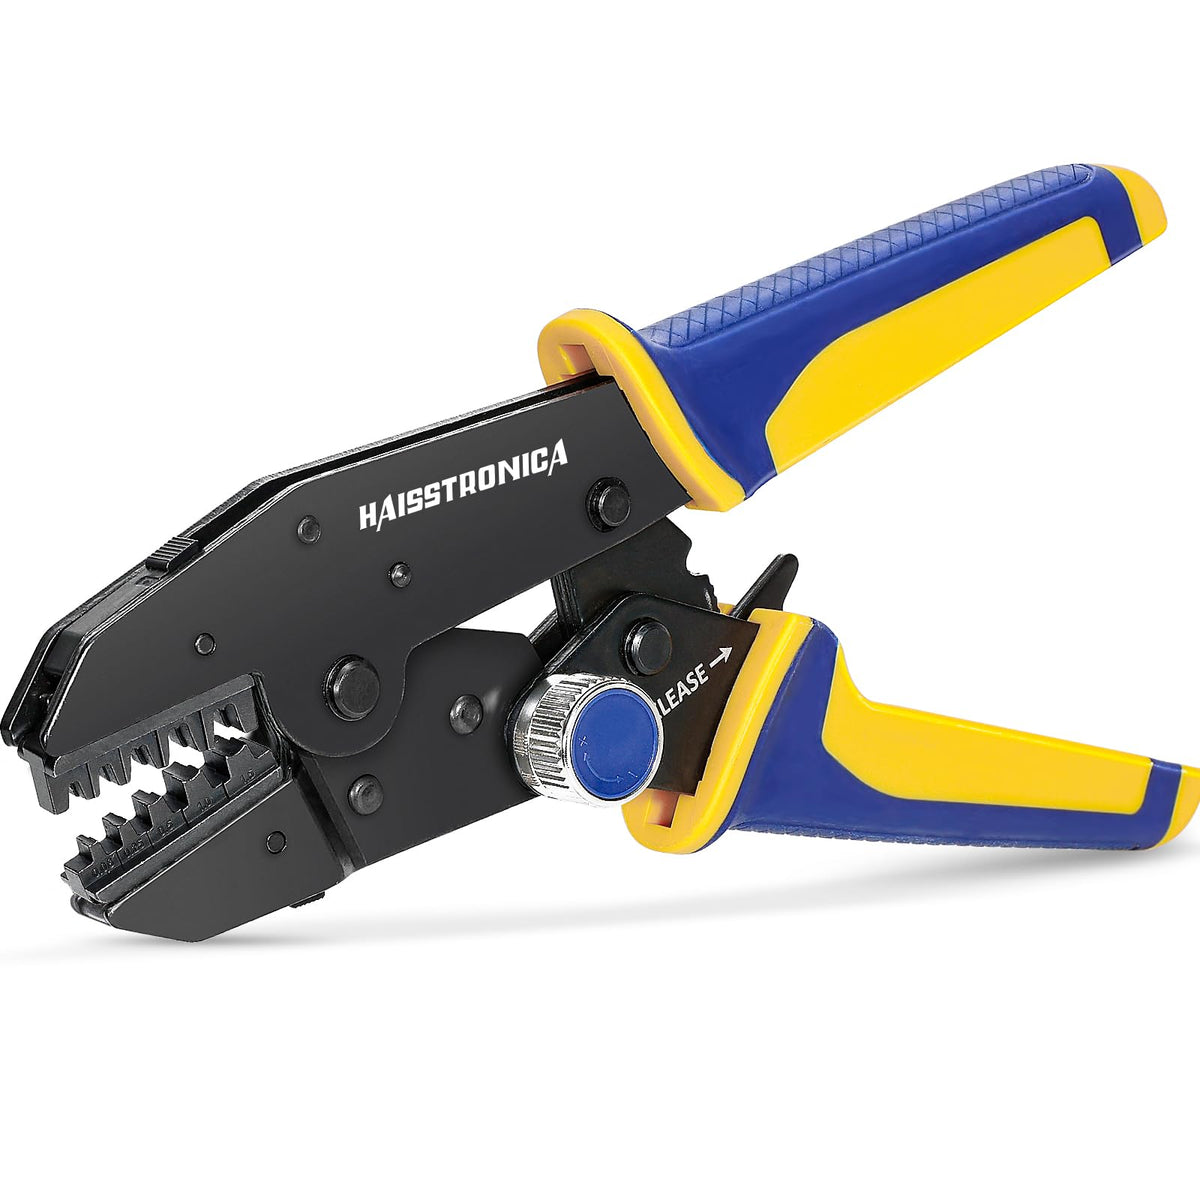
Read cable size and stud-hole size separately. The rotating hex dies are marked 8, 6, 4, 2, 1, and 1/0 AWG; those marks do not establish conductor-class compatibility.
View Kit & Specifications04Use AWG vs. mm² cable lug sizing as a cross-check
AWG and mm² are different ways of specifying conductor size. Millimeters measure a length or diameter; square millimeters measure an area. Neither a cable’s jacket diameter nor a lug’s outside diameter is its conductor rating.
The following values are approximate AWG cross-sectional areas, rounded from Pickering Connect’s reference chart:
| AWG marking | Approximate conductor area |
|---|---|
| 8 AWG | 8.37 mm² |
| 6 AWG | 13.30 mm² |
| 4 AWG | 21.15 mm² |
| 2 AWG | 33.63 mm² |
| 1 AWG | 42.41 mm² |
| 1/0 AWG | 53.48 mm² |
CONVERSION IS NOT COMPATIBILITY
This is not a lug-selection or die-selection chart.
For example, 4 AWG is approximately 21.15 mm², not 4 mm². Likewise, a 25 mm² cable is not identical to 4 AWG. Do not infer that either cable is approved for a particular lug from a conversion alone. Pickering Connect
Calipers can help document a suspected dimensional mismatch, but they cannot identify every cable construction. Nexans explains that measured conductor dimensions do not necessarily reproduce the nominal cross-section. Use the cable datasheet and the lug’s documented conductor range as the deciding references. Nexans
05Check preparation before deciding the barrel is too small
A damaged or spread-out end can obstruct insertion even when the underlying components are compatible. Check the end under good lighting before ordering a different size. Battle Born Batteries
When the outer strands catch
Look for a flattened cut, bent strand tips, or strands spread beyond the bundle’s natural shape. If the battery cable strands won’t fit in the lug, gently gather undamaged strands back into their original lay. Do not tightly wind them into a smaller rope.
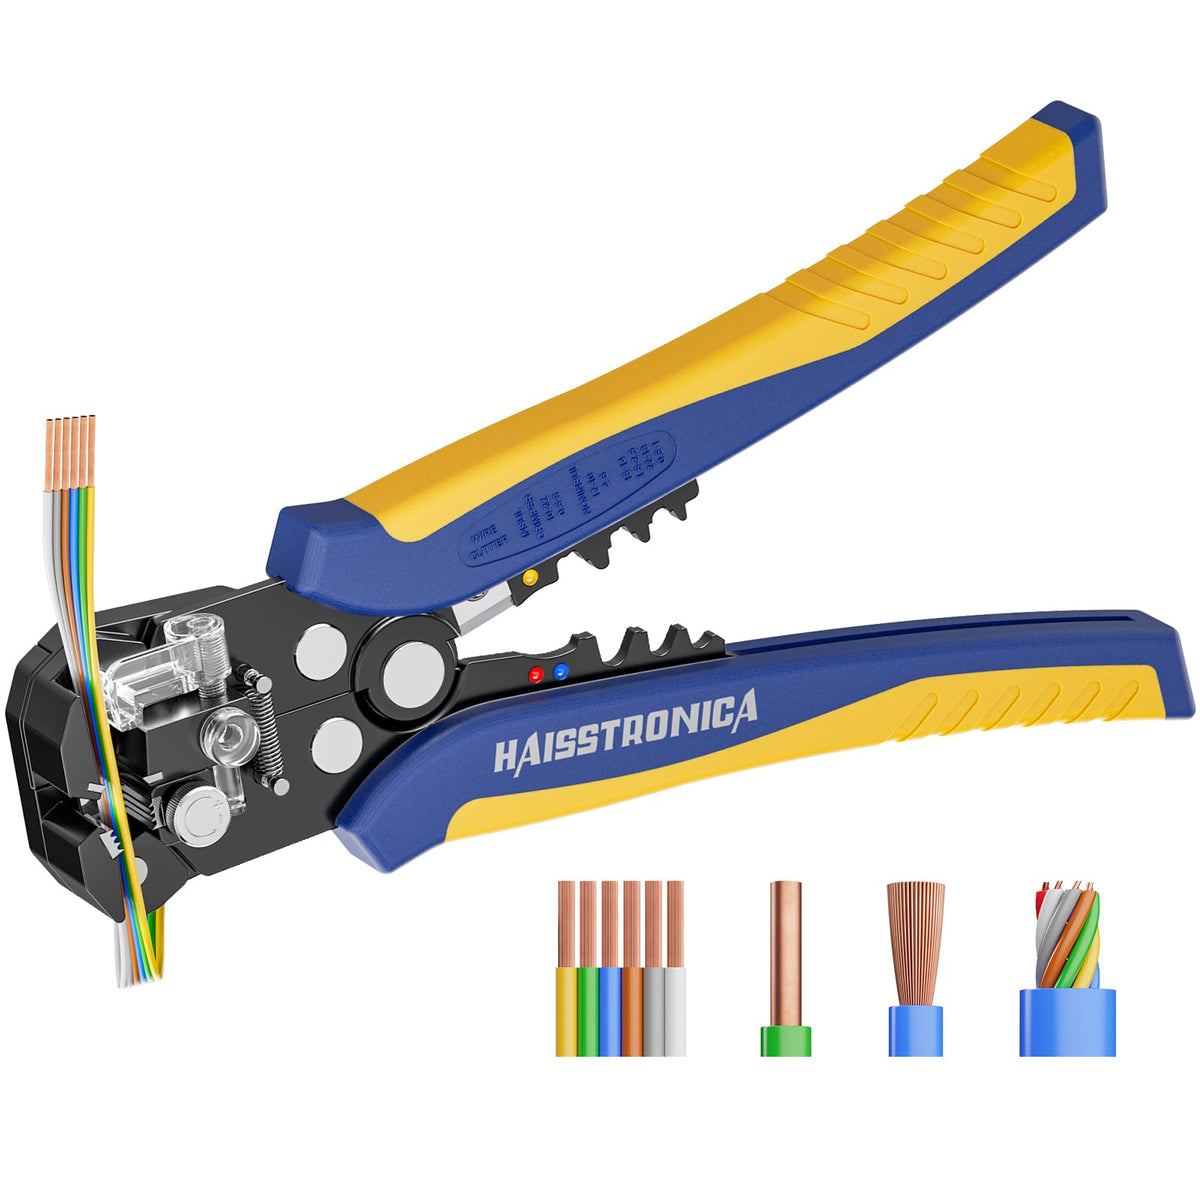
Haisstronica’s wire-preparation guide distinguishes gathering loose strands from excessive twisting. If the end is damaged, use a suitable cable cutter to make a fresh, square cut through the entire cable, then strip it correctly. Haisstronica
That is different from snipping individual outer strands to reduce the bundle’s diameter. Preserve the full conductor cross-section. If removing the damaged section would leave the cable too short or under tension, stop and arrange a replacement cable or professional rebuild.
When the cable starts but will not seat
Check whether insulation reaches the barrel entrance before the conductor reaches its specified insertion depth. Also look for strands folded backward during the first attempt.
Follow the exact lug’s strip-length requirement. Do not apply a small-terminal rule such as “strip a quarter inch” to every battery lug. Klauke’s preparation guidance emphasizes avoiding conductor damage and using the appropriate preparation for the connection. Klauke
The goal is complete insertion of the required conductor length, without insulation trapped in the conductor-compression area. If an inspection opening is provided, use it as instructed. An inspection opening helps check insertion; it does not prove compatibility. Battle Born Batteries
Haisstronica Battery Cable Lug Crimping Tool Kit AWG 8–1/0
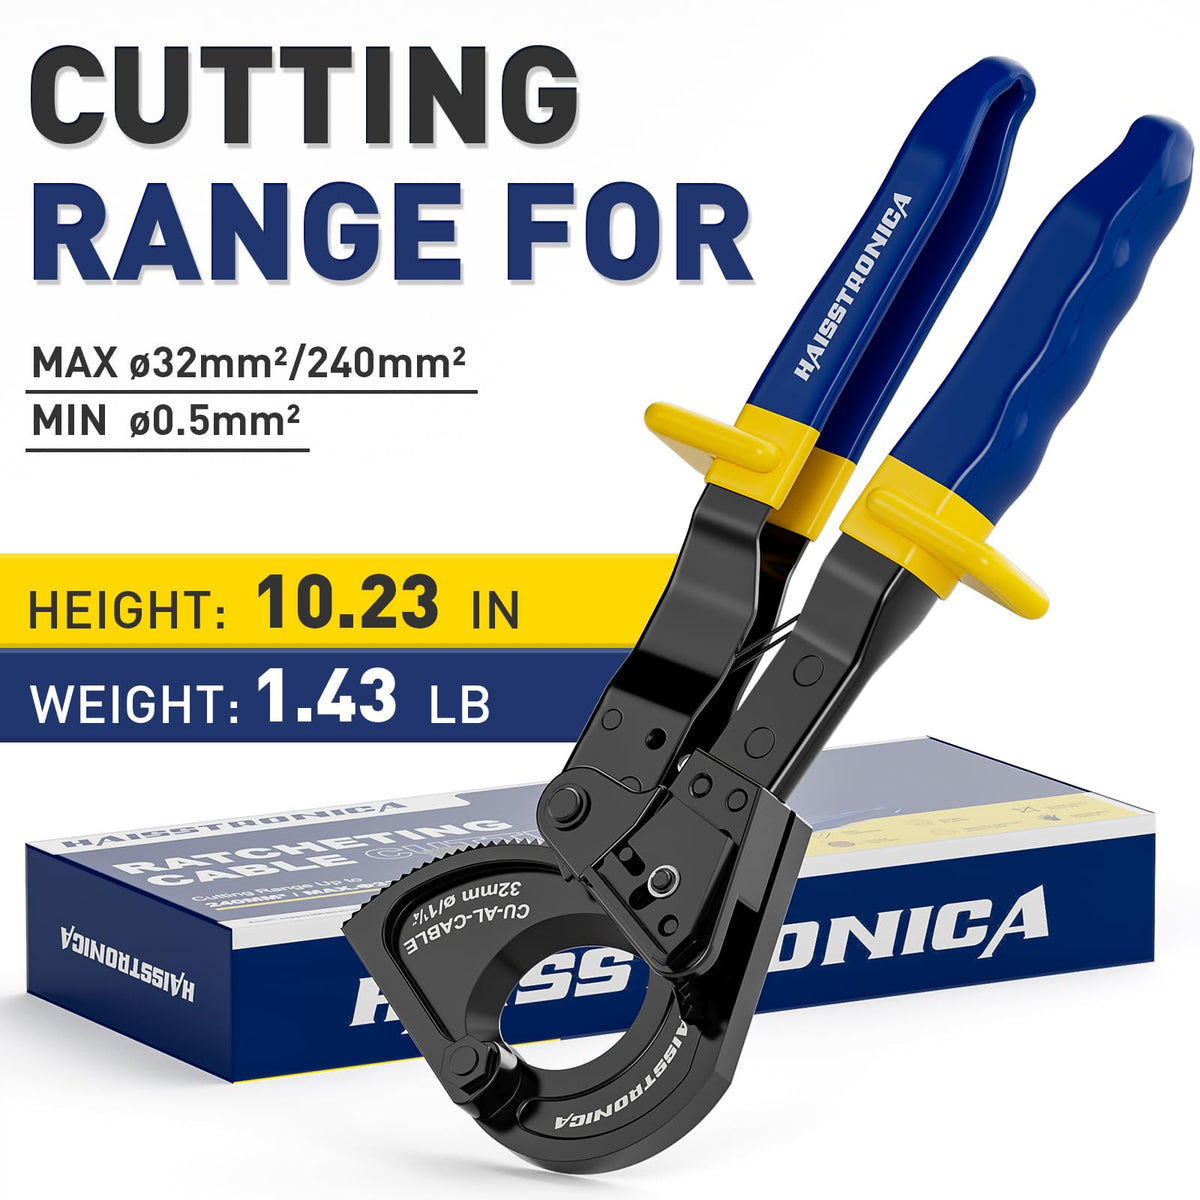
Prepare an intact, square-cut cable end with a suitable cable cutter. This kit combines a cable cutter and non-ratcheting lug crimper; included lugs and accessories depend on the variant.
View Kit & Specifications06Check strand construction when the gauge appears correct
If a clean, correctly prepared cable still will not enter, investigate conductor class before increasing the lug size.
Fine-stranded cables can behave differently at the barrel entrance. Klauke describes insertion problems caused by splaying and offers specific fine-strand lug designs with larger internal diameters and flared entries. That does not mean every flared lug accepts every flexible cable. Klauke
“Welding cable” is also not a complete conductor specification. Prysmian’s Carolprene welding cable uses Class K copper, while its Super Vu-Tron welding cable uses Class M copper. Obtain the exact cable construction and ask whether the lug accepts it. Prysmian North America
Do not automatically select the next larger AWG lug. A manufacturer may specify a particular terminal for a flexible conductor, but that choice must come from its compatibility data. The replacement must also have the right stud hole and an installation method your tool supports. Klauke
For the purchase-time checks, see our fine-stranded cable lug compatibility guide.
07Inspect the unused lug itself
Remove the cable and examine the barrel entrance. Look for crushing, an oval opening, a crack, or material obstructing the bore. Compare the unused part with its manufacturer’s drawing; compare against another identical part only as a troubleshooting aid.
Do not drill, file, flare, or hammer the barrel to make it larger. Its geometry is part of the specified termination system. Request replacement or technical guidance for a visibly damaged or questionable lug rather than modifying it. Battle Born Batteries
If several identical lugs reject the same undamaged cable, that still does not establish which component is wrong. Send the supplier the cable identification, lug part number, and photographs. Treat “cable lug barrel too small” as an observation to investigate, not a complete diagnosis.
Haisstronica Battery Cable Lug Crimping Tool Kit AWG 8–1/0
A questionable lug needs inspection or supplier guidance. Do not drill or reshape its barrel to suit the cable, and verify the documented lug and tool combination before crimping.
View Kit & Specifications08Check the Haisstronica kit without changing the cable to suit it
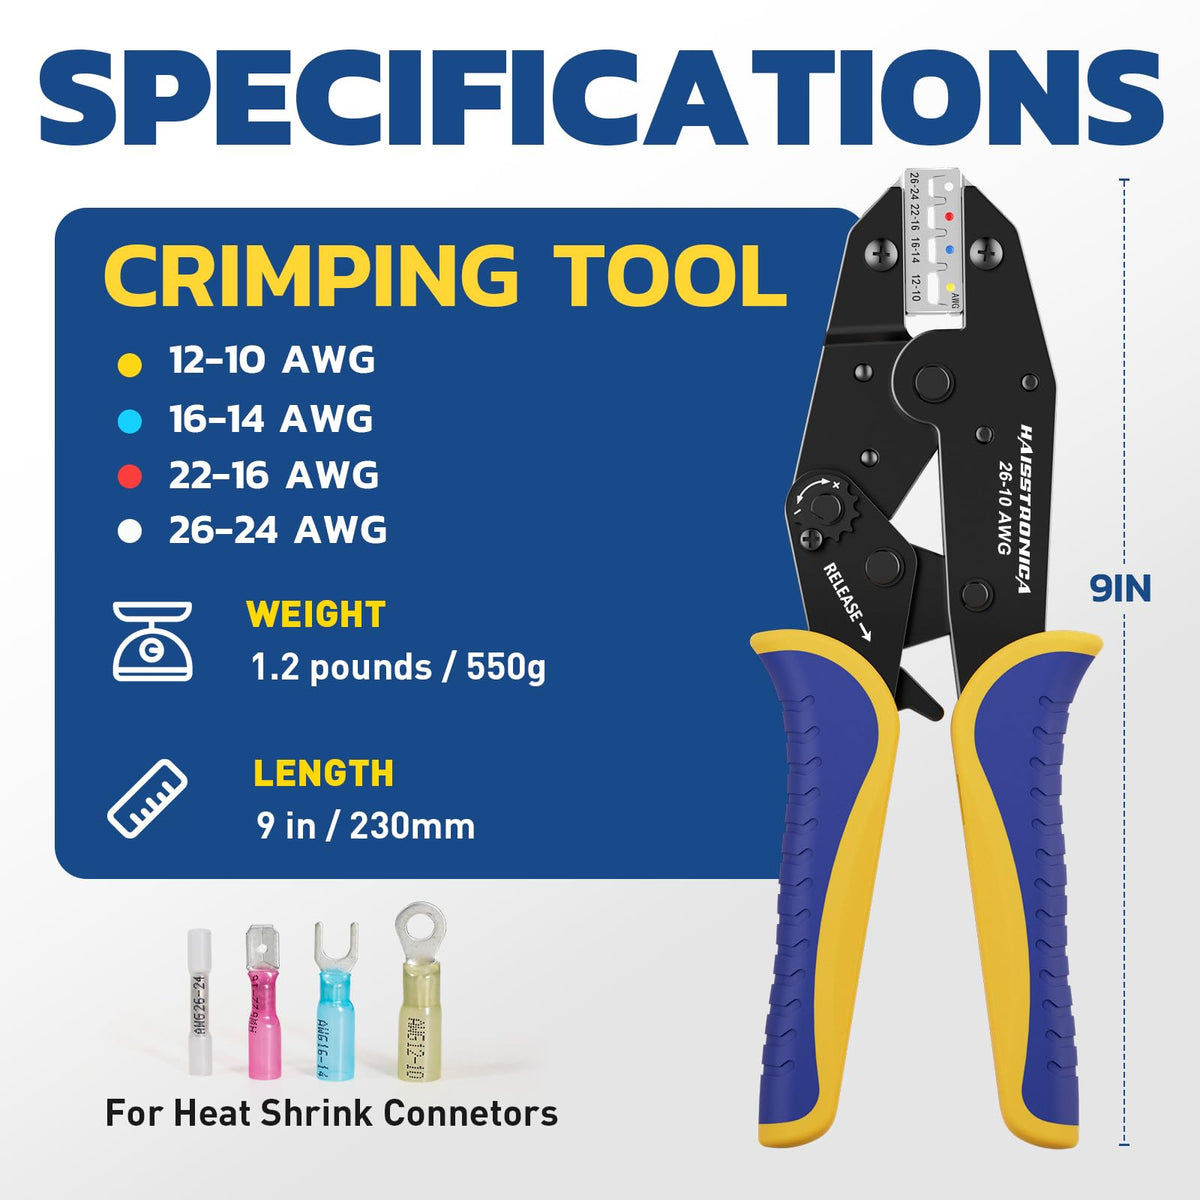
The Haisstronica Battery Cable Lug Crimping Tool Kit AWG 8–1/0 lists rotating hex dies for 8, 6, 4, 2, 1, and 1/0 AWG, with non-ratcheting lever compression. Included lugs and accessories vary by kit variant.
Those tool settings are not a substitute for the lug’s conductor-class and barrel requirements. The product page does not provide a class-specific cable–lug–die compatibility table. Haisstronica
If the cable cannot enter the loose lug before crimping, changing the die setting will not resolve that insertion mismatch. Confirm the compatible cable and lug first, then verify the required tooling.
Do not trim a 2/0 cable down to fit this tool’s stated range. Use components and tooling specified for the intact cable. Do not assume the kit contains a lug for every die size simply because those settings are available. Haisstronica
09After the cable fits, verify the termination
Successful insertion is only the preparation stage. Follow the applicable instructions for die selection, crimp placement and count, and completion of the compression. Different lug families can require different profiles and procedures. Klauke
Inspect the termination before applying insulation. A manual pull check can reveal an obviously loose cable, but it is not a specified pull-force qualification test. Complete the required electrical and mechanical checks, apply the specified insulation or sealing, and support the cable so the lug does not carry avoidable strain.
For the remaining workflow, see Haisstronica’s battery cable lug installation guide. Use the actual component instructions for numerical requirements, including mounting torque. Haisstronica
Haisstronica Battery Cable Lug Crimping Tool Kit AWG 8–1/0
Rotating hex dies and manual lever compression cover the stated AWG 8–1/0 range. Successful insertion still requires the correct lug, tooling, and installation instructions.
View Kit & Specifications10Still stuck? Send the details that identify the mismatch
Use Haisstronica’s support form with your order number, selected kit variant, cable datasheet, and lug identification. Include clear photographs of the jacket marking, stripped end, barrel opening, and any stamped numbers. Haisstronica
State whether the whole bundle will not enter, only outer strands catch, or insertion stops partway. Mention whether the lug has already been crimped or modified. If you measured anything, label it clearly: jacket diameter, conductor bundle diameter, barrel inside diameter, or stud hole.
Ask support to confirm the compatible lug and tooling—not merely whether the cable is “about the right size.”
Restore correct preparation or select a documented compatible component. Do not make the conductor smaller to fit the wrong lug.