
Waterproof or water-resistant? Choose solder-seal connectors by exposure—not by the label
A good solder-seal splice can resist rain, splash and road spray when the connector fits the wire and the adhesive fully flows. Continuous submersion is a different job and should not be treated as an automatic product fit.
Indoor enclosure
Moisture risk is low. Choose primarily by wire gauge, electrical load and serviceability.
Rain, splash, road spray
Use a quality, correctly sized solder-seal connector and verify adhesive flow at both ends.
Repeated wetting
Route above standing water, add strain relief, and consider adhesive-lined 3:1 tubing over the finished splice.
Continuous submersion
Use a connector system specifically verified for the immersion depth, duration and cable type—or a properly engineered potted joint.
Define the claim
Rate exposure
Check construction
Choose the kit
Heat evenly
Inspect + test
“Waterproof” and “water-resistant” are not interchangeable
Water-resistant means a completed splice can resist a defined level of moisture when installed correctly. Waterproof is meaningful only when the complete assembly has a stated test condition—such as exposure method, duration, pressure or depth. A marketing word without a test condition is not a design specification.
Check the connector before you buy
| What to check | Why it matters | Pass signal |
|---|---|---|
| Wire range | Too large prevents full recovery; too small leaves a leak path. | Both insulated jackets fit the marked range. |
| Adhesive rings | The end seal blocks capillary moisture paths. | Two even rings with no visible damage or contamination. |
| Solder ring | It must wet the overlapped conductors, not merely soften. | Centered over clean copper with enough overlap. |
| Tubing recovery | Full recovery creates insulation grip and strain relief. | No wrinkles, scorch marks or unshrunk pockets. |
| Heat control | Uneven heat can shrink the ends before the solder flows. | A heat gun with controlled, moving airflow. |

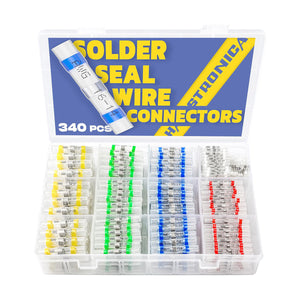
Choose a gauge-matched premium solder-seal kit
Use this route when the splice will face ordinary exterior moisture and you already have a suitable heat source. Select by conductor gauge, then verify both adhesive rings have flowed after heating.
View the Premium Solder-Seal Kit →Choose the product path by what is missing from your setup
Connector kit only
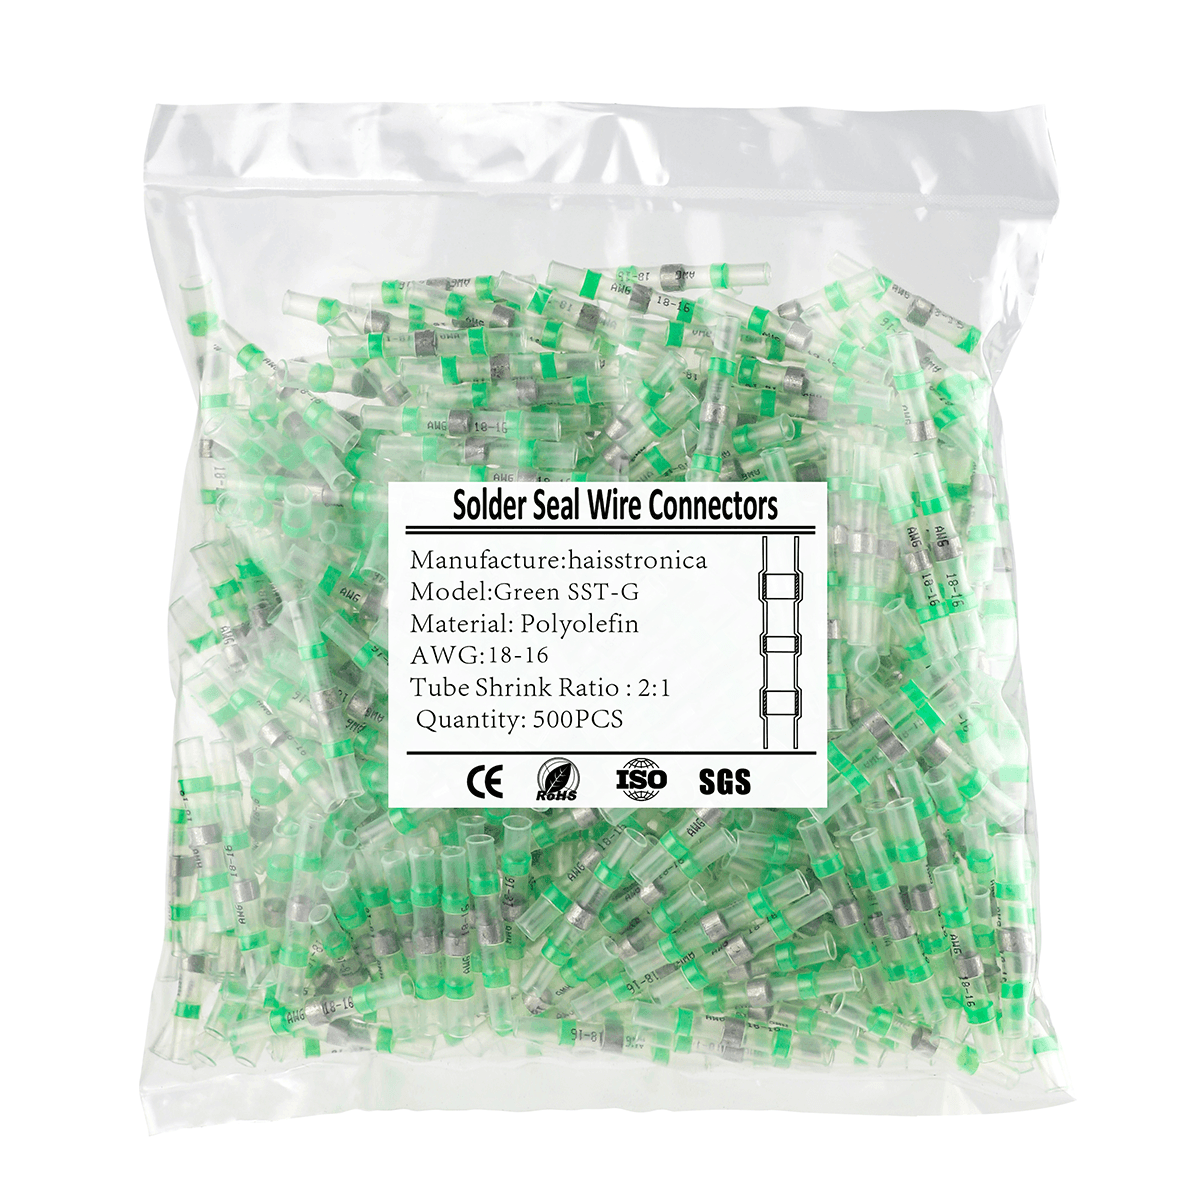
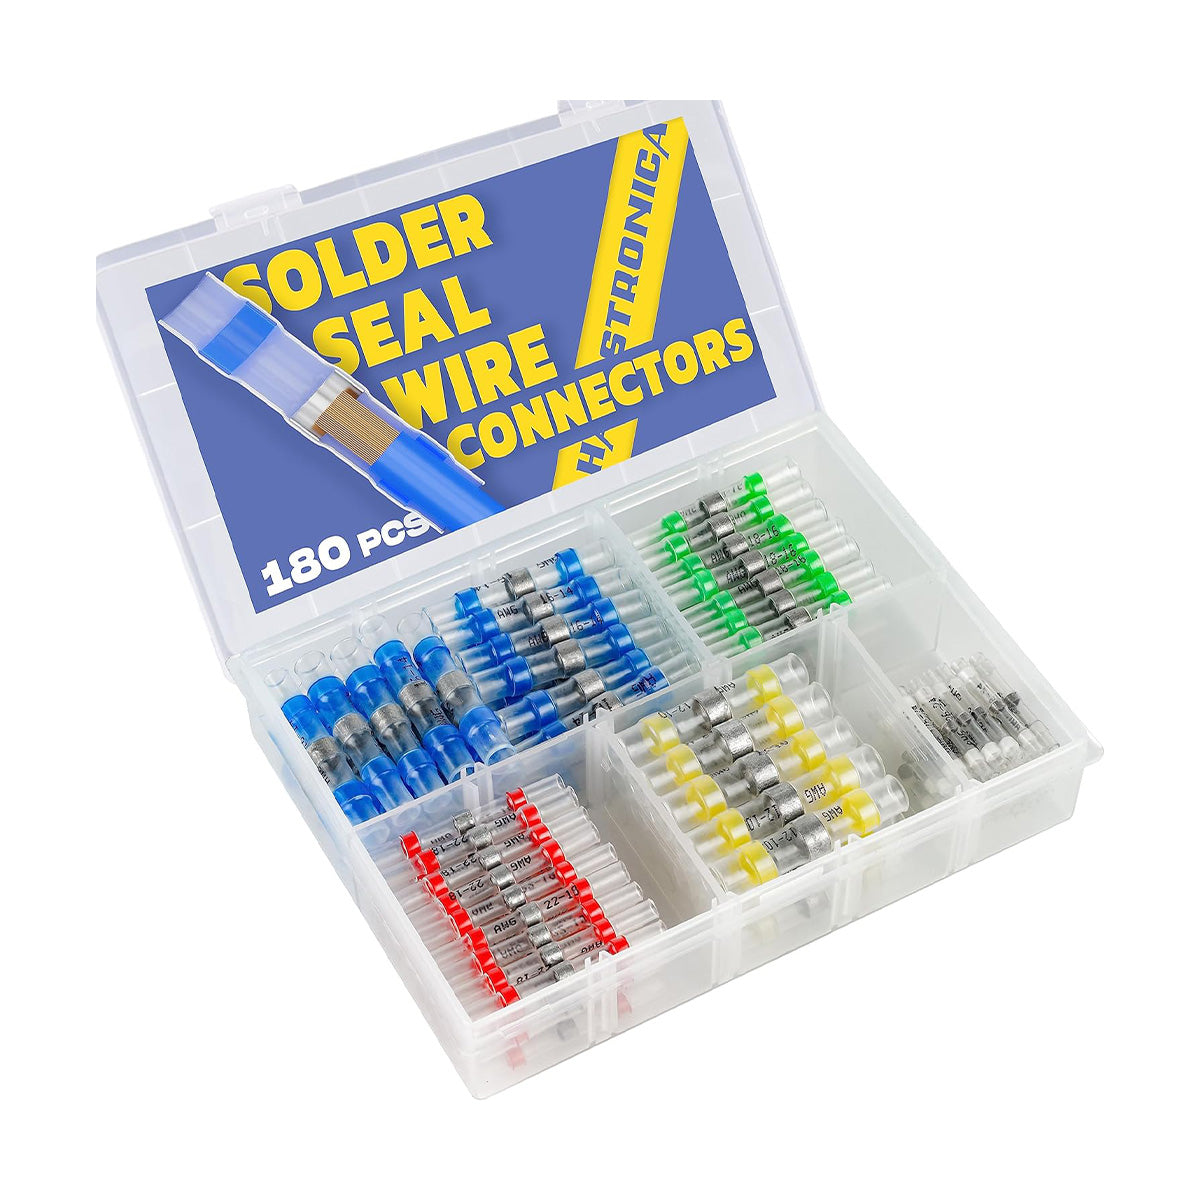
Choose the assortment that matches your real AWG mix. Do not buy a larger box if most sizes will remain unused.
Shop solder-seal kits →All-in-One Heat Gun Kit
The kit combines solder-seal connectors, a compact dual-temperature heat gun and separate adhesive-lined 3:1 tubing for added protection where appropriate.
View the All-in-One Kit →Choose another system
Do not buy a solder-seal kit merely because “waterproof” appears in the title. Specify an immersion-rated or potted connection for the actual depth and duration.
Correct heating determines whether the splice actually seals
The connector is only half of the system. Installation quality controls solder wet-out, adhesive flow and tubing recovery.
- Cut back to clean copper. Remove corrosion, oil and damaged strands; moisture trapped inside cannot be sealed out later.
- Select by conductor gauge. Center the solder ring over the conductor overlap while both adhesive rings sit on intact insulation.
- Stabilize the wires. Keep the splice straight and still so molten solder does not shift away from the overlap.
- Heat the center with moving airflow. Rotate the splice or sweep the nozzle so the solder flows through the strands without scorching one side.
- Finish the end seals. Continue evenly until the tubing has recovered and adhesive is visibly present at both ends.
- Cool before testing. Let the joint solidify, then inspect and perform a controlled pull test.
Use controlled hot air—not an open flame
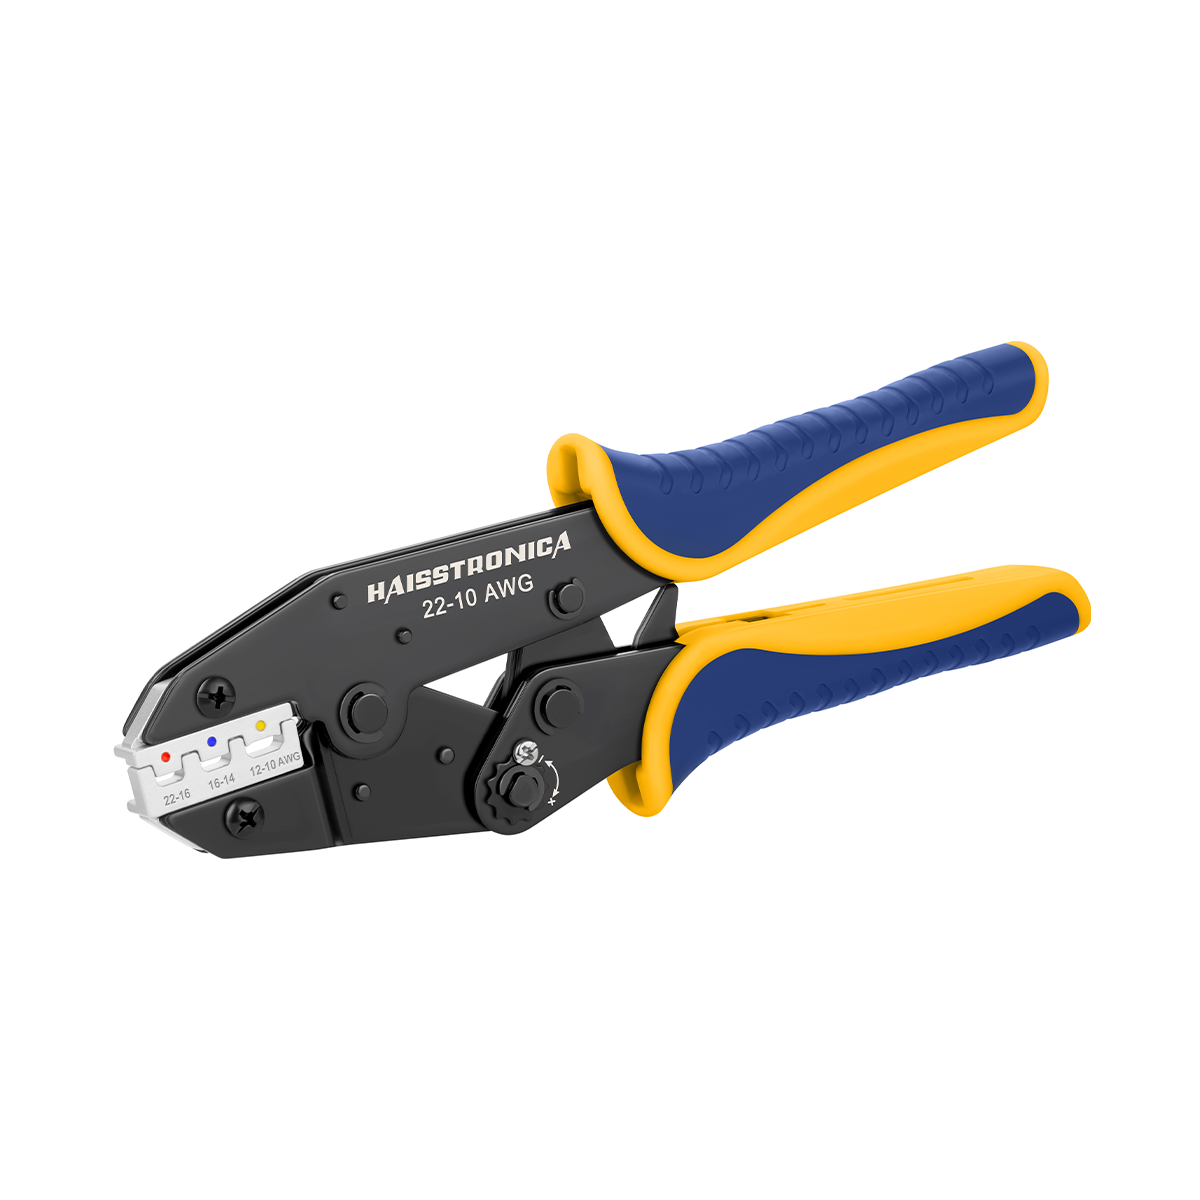
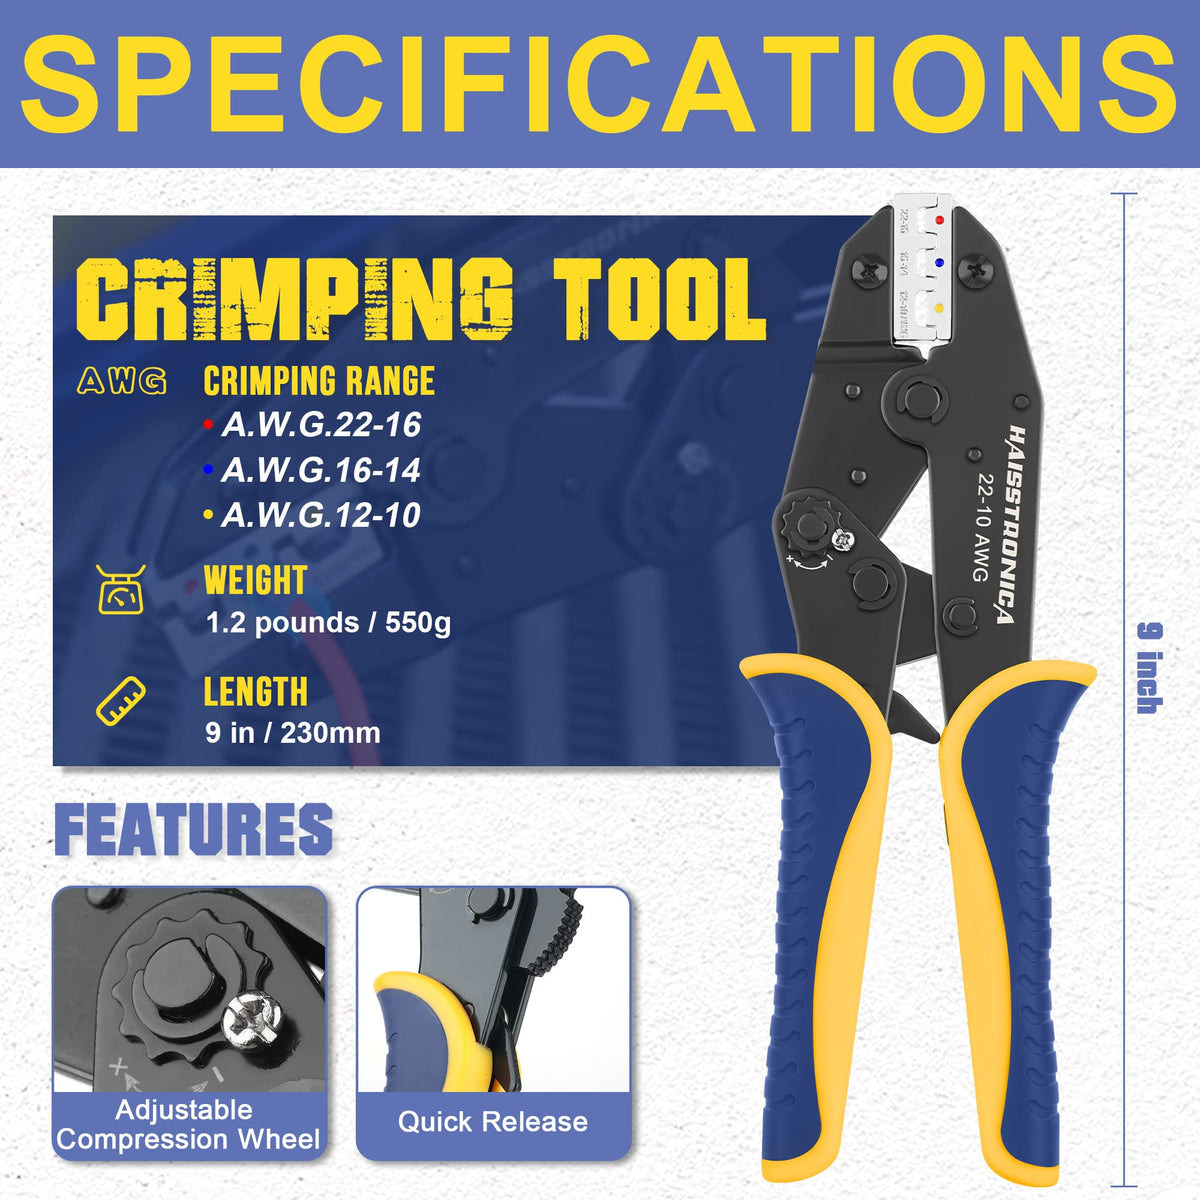
A focused heat gun makes it easier to melt the solder ring, recover the tubing and flow both adhesive rings without charring the sleeve. If you also need separate 3:1 tubing, the All-in-One kit consolidates the complete workflow.

Five checks before you trust the seal
The ring has melted into the conductor overlap rather than retaining its original shape.
Adhesive is visible evenly at both wire-jacket exits.
No air pockets, folds, splits, cloudy scorch marks or exposed copper remain.
The splice is routed away from flex points, sharp edges and standing water.
After cooling, a controlled tug does not move either conductor.
Failure signs and the right response
| What you see | Likely cause | Action |
|---|---|---|
| Solder ring still distinct | Underheating or connector too large | Do not trust it; cut out and remake with the correct size. |
| One end has no adhesive | Uneven heat or poor jacket fit | Remake the joint rather than covering a hidden leak path. |
| Tube is brown, split or brittle | Excess heat or open flame | Replace it and switch to controlled moving hot air. |
| Water can pool around the splice | Poor routing, regardless of connector quality | Reroute above the low point or specify an immersion-rated system. |
Frequently asked questions
Treat them as moisture-resistant splices unless the complete installed assembly has a verified rating for your exact exposure condition.
They can suit sheltered harnesses, rain and splash zones when properly installed and supported. A splice that is routinely submerged needs a different, explicitly rated solution.
No. A shrink ratio describes tubing recovery. Seal performance also depends on adhesive, wire fit, heating, routing and the exposure level. In the All-in-One kit, the separate 3:1 adhesive-lined tubing can add insulation and strain relief where appropriate.
A lighter concentrates heat and can scorch the sleeve before solder and adhesive flow evenly. A controlled heat gun is the more repeatable choice.
It can add abrasion protection and strain relief, but it cannot repair an under-melted solder ring or an incomplete primary seal. Inspect the base splice first.
Buy the seal you can verify—not the strongest marketing word
For rain, splash and road spray, start with a gauge-matched premium kit. If you also need controlled heat and adhesive-lined 3:1 tubing, choose the All-in-One setup. For continuous submersion, step away from this product category and specify an immersion-rated system.