
Choose Cable & Lugs (crimps wire • cable crimpers • battery cable lugs)
Pick the right cable
Battery circuits typically use fine‑strand copper from 8 AWG to 4/0 AWG. Automotive cable is commonly specified under SAE J1127 (SGT, SGX, etc.), which governs insulation and temperature ratings; SGX offers higher temp resistance for engine bays. (For marine builds, tinned fine‑strand is favored for corrosion resistance.)
Pick the right lug
Use seamless or brazed‑seam tinned‑copper compression lugs sized to the wire gauge and stud (e.g., 5/16 in or 3/8 in). A correct match between wire class/strand count, barrel I.D., and die code is critical; quality lugs include imprint marks that identify which crimp die to use and where to place each crimp.
Match die style to lug
-
Hex‑crimp dies (common on hydraulic tools) evenly compress and are widely specified by lug makers like Burndy and Panduit.
-
Indent‑crimp dies are also used—often with multiple crimps along the barrel—especially on larger sizes.
Manufacturers publish die index charts and crimp sequences; always follow them to ensure the lug crimps wire to spec and meets pull‑out requirements.
Tool categories to consider
-
Heavy duty battery cable crimping tool / hydraulic cable crimper (6‑12 ton) with hex dies for 6 AWG–4/0.
-
Battery cable crimping pliers / hammer‑type tools exist but are harder to control and often fail manufacturer criteria.
-
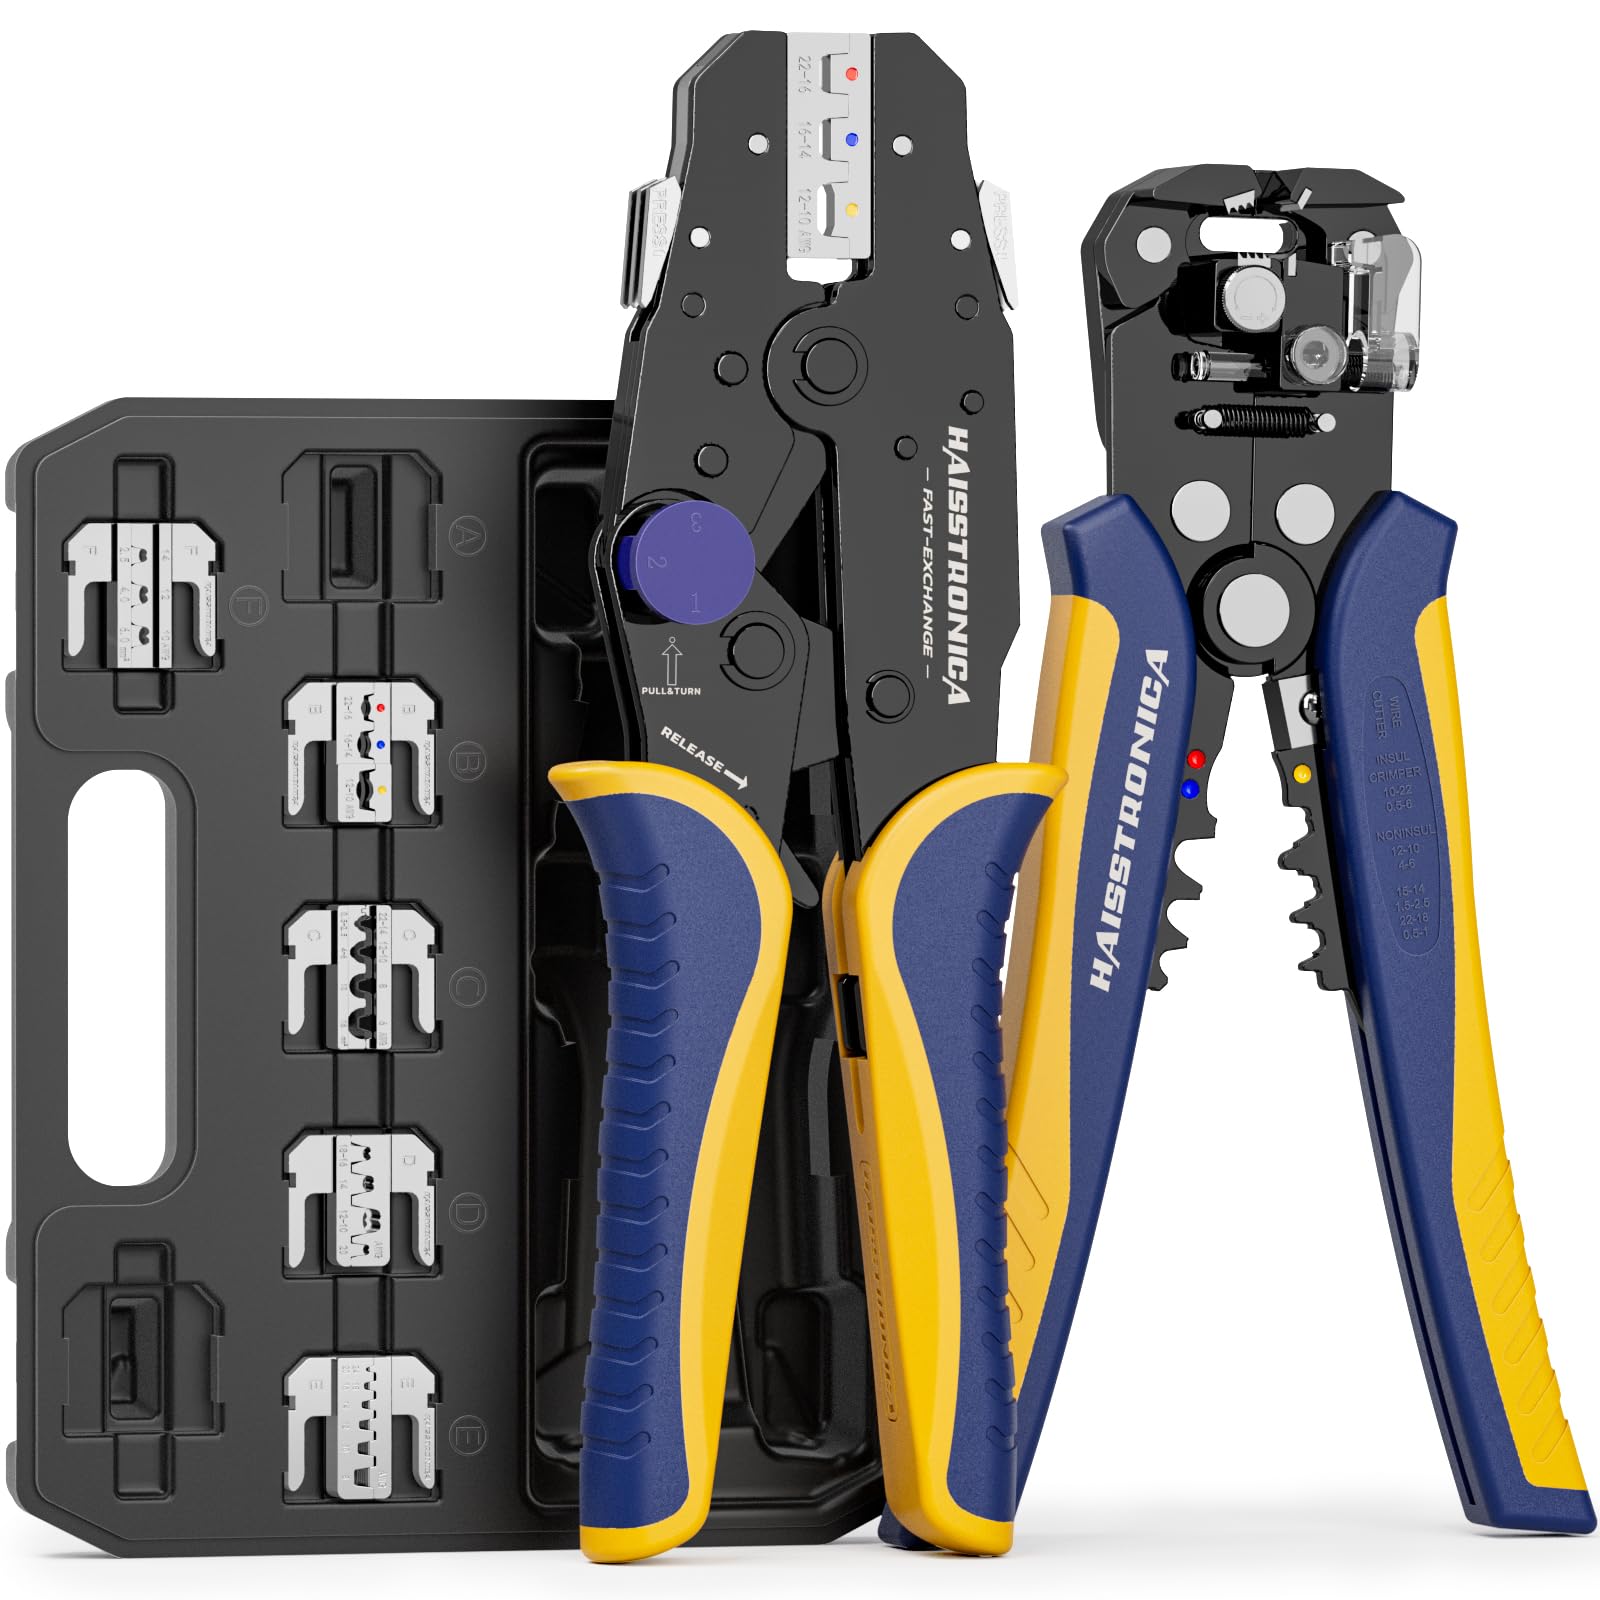
For auxiliary circuits (AWG 22–10) using heat‑shrink terminals or butt splices, a ratcheting wire crimper like the Haisstronica wire crimping tool ensures repeatable compression on insulated barrels.
For all the small‑gauge leads feeding relays, lights, and accessories, pair your lugs and terminals with a precise ratcheting tool. Check out the Haisstronica Ratchet Wire Terminal Crimping Tool (AWG 22–10) →
👉Crimpers electrical—Haisstronica AWG 22–10 Ratchet Wire Terminal Crimper

Prep the Cable (crimps wire • strip length • clean copper)
1) Square‑cut the conductor
Use a battery cable cutter and crimper kit or dedicated shear—avoid diagonal cutters that flare strands. A clean, square end helps the lug barrel crimps wire uniformly and eliminates strand splay.
2) Strip to the barrel depth
Measure the lug barrel depth (or use the inspection window) and strip just enough insulation so all strands seat flush with the lug’s palm end—no bare wire outside the barrel after crimping. NASA workmanship guidance emphasizes proper strip length and clean strands—no nicked conductors.
3) Don’t tin before crimping
Industry workmanship standards warn against solder‑tinned conductors under crimp barrels: solder can cold‑flow under heat and pressure, relaxing the joint and raising resistance. Keep strands bare, bright copper; the crimp itself forms the gas‑tight bond.
4) Pre‑stage your seal
Slide an adhesive‑lined heat‑shrink sleeve over the cable before crimping. After crimping, shrinking the sleeve bonds to insulation and lug barrel, creating a moisture barrier and strain relief per common marine/automotive practice. TE Connectivity’s crimping guidance likewise highlights correct prep—clean wire, right terminal, right tooling—before any crimp.
5) Dry fit
Insert the cable fully into the barrel until it bottoms. If strands resist, re‑trim and re‑strip; don’t twist excessively. The goal is for the crimp to crimps wire uniformly with no voids.
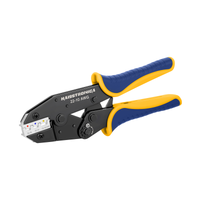
For accessory circuits and heat‑shrink terminals (AWG 22–10), the Haisstronica ratcheting wire crimper offers controlled compression that crimps wire and locks the sleeve evenly—shop it here →
👉Use auto crimp connectors—crimp perfectly with Haisstronica.

Crimp Technique (crimps wire • die index • multi‑crimp sequence)
1) Choose the die by the lug’s mark
Quality lugs (Burndy/Panduit) have a die index number and sometimes locator marks for the sequence (tongue‑to‑barrel or barrel‑to‑tongue). Install the corresponding hex or indent die in your heavy duty battery cable crimping tool and verify the wire size matched on both die and lug.
2) Position and first crimp
Align the first crimp per the lug maker’s diagram (often starting furthest from the tongue). Close the tool fully until it releases (ratcheting or hydraulic bypass). The die imprint should match the die code; this witness mark proves you used the correct die and that the tool fully cycled. (Panduit notes the imprint is part of the inspection criteria.)
3) Multiple crimps
Large barrels typically require two or more crimps along the length. Space them as shown on the lug chart. If using indent‑style, rotate 90° between crimps to keep compression symmetric. Burndy’s installation literature shows the correct order and spacing.
4) Visual and pull test
-
Visual: No cracked barrel, no exposed strands beyond the barrel, conductor visible in the inspection window.
-
Pull: Apply a firm pull; the wire should not move. Formal compliance follows UL 486A‑486B pull‑out values (manufacturers test this; your field check is a sanity check).
5) Seal and relieve strain
Center adhesive‑lined heat‑shrink over the barrel/insulation break and heat until adhesive flows and the sleeve turns glossy. This adds environmental protection and strain relief—critical near batteries and under‑hood areas. In marine service, using tinned fine‑strand combined with sealed terminations significantly improves longevity in salt exposure.
6) Torque and support
Install the lug on the stud and torque per equipment spec. Support heavy cables with P‑clips or clamps to avoid cyclic bending at the lug—the mechanical system, not just the crimp, keeps resistance low over time.
Finish the big‑gauge work with your hydraulic crimper, then use the Haisstronica wire crimping tool to add fused leads, sensor pigtails, or heat‑shrink butt splices (AWG 22–10). It crimps wire consistently on insulated terminals →
👉Find a crimp tool near me? Ship Haisstronica to your bench.

Wrap‑Up
A reliable battery‑lug termination comes from the system: correct cable, correctly sized compression lug, the right die, a full tool cycle that crimps wire to the barrel spec, verification (visual + pull), and a sealed finish. Follow the lug maker’s die chart, NASA’s workmanship “no‑tinning” rule, and UL’s connector principles and you’ll have a low‑resistance, gas‑tight joint that lasts. For your smaller AWG 22–10 accessory connections around the battery, the Haisstronica ratcheting crimper gives the same repeatability in a hand tool—add one to your kit here.
Our Top User-friendly Picks
Upgrade your shop standard with Haisstronica. The ratchet prevents partial releases, delivering tight crimp on electrical connectors that pass tug tests. Color‑coded nests remove guesswork, and you’ll form a reliable wire crimp connector and durable seal faster than with generic pliers when you crimp cables on site.
👉Fast wire splice crimper tasks—Haisstronica keeps you moving.