


Conectores impermeables son fundamentales para proyectos expuestos a humedad, polvo o vibración (por ejemplo, cableado automotriz, electrónica marina o instalaciones al aire libre). Un conector mal engarzado puede provocar corrosión, cortocircuitos o fallos en el equipo. Sigue esta guía paso a paso para lograr sellos de calidad profesional cada vez.
Herramientas y materiales necesarios
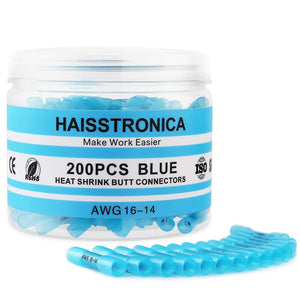
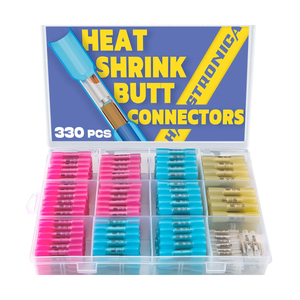
- Conectores impermeables: Elige el tamaño adecuado para el calibre de tu cable (tipos comunes: empalmes de tope, terminales de anillo).
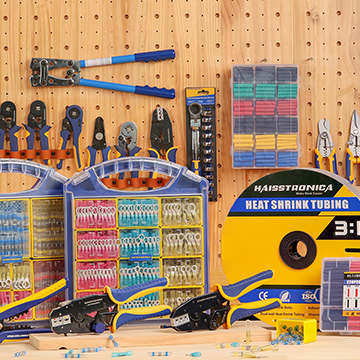
- Herramienta de engarzado: Un engarzador de trinquete con dados ajustables (por ejemplo, la herramienta de grado militar de HAISSTRONICA).
- Tubos termorretráctiles: Selecciona tubos con forro adhesivo para un sello impermeable.
- Pelacables: Pelado preciso para evitar dañar los hilos del cable.
- Soldador (Opcional): Añade resistencia extra para cables trenzados.
- Multímetro: Prueba la conductividad después del engarzado.
👉 Confía en Conectores de empalme termorretráctiles eléctricos HAISSTRONICA AWG 22-10 cuando necesites conectores eléctricos con tubo termorretráctil bien hechos.

Proceso de engarzado paso a paso
1. Prepara el cable
- Pela el aislamiento: Corta entre 1/4" y 1/2" del aislamiento con un pelacables, asegurándote de no cortar los hilos del cable.
- Estaña los cables trenzados (Opcional): Aplica una pequeña cantidad de soldadura en el extremo pelado para mejor conductividad y alivio de tensión.
2. Inserta el cable en el conector
- Desliza el cable dentro del conector hasta que la parte pelada quede completamente asentada.
- Para conectores termorretráctiles, asegúrate de que el tubo cubra todo el punto de conexión.
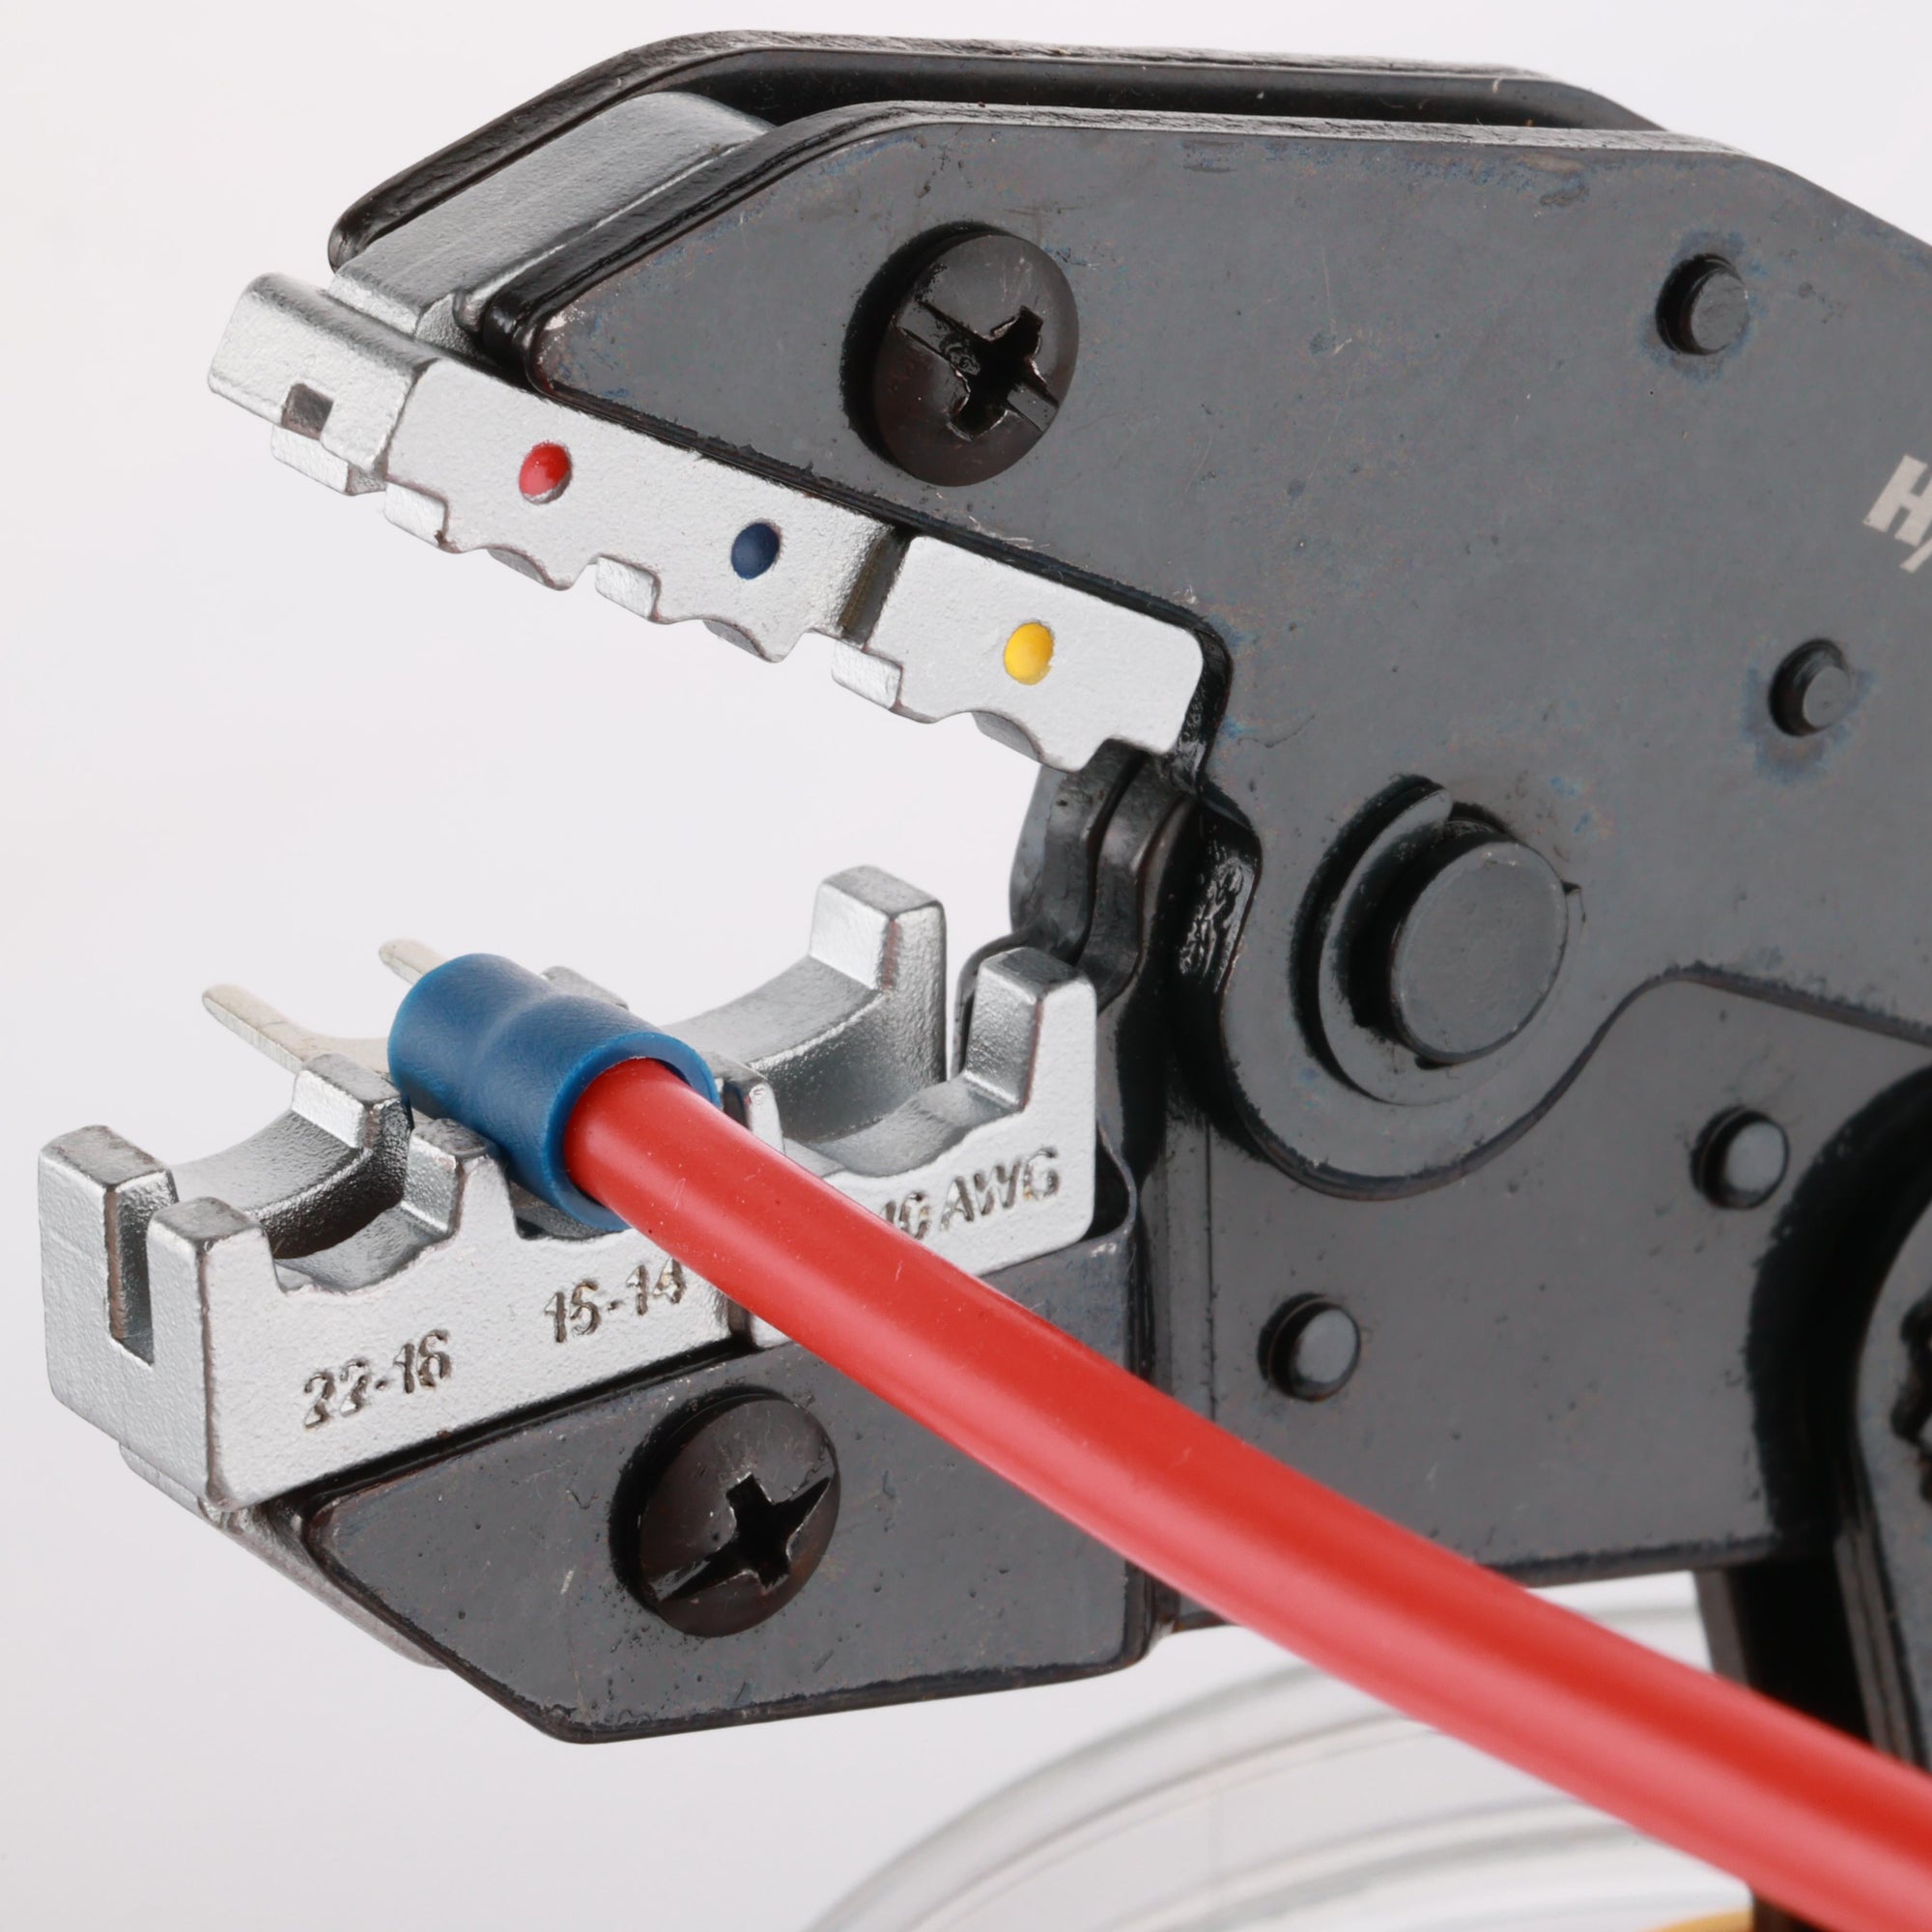
3. Engarza el conector
- Posiciona el engarzador: Alinea el barril del conector con el dado de la herramienta (consulta las indicaciones del fabricante).
- Aplica presión: Aprieta el engarzador firmemente en un solo movimiento suave. Evita sobreengrasar, ya que puede dañar el cable.
- Inspecciona el engarzado: El barril debe comprimirse firmemente alrededor del cable sin espacios.
4. Aplica el tubo termorretráctil
- Desliza el tubo sobre el área engarzada.
- Usa una pistola de calor o un encendedor para encoger el tubo de manera uniforme, asegurando cobertura total de la conexión.
5. Prueba la conexión
- Usa un multímetro para verificar continuidad y resistencia.
- Tira suavemente del cable para confirmar la resistencia mecánica.
👉 Para engarzar conectores de tope, elige Conectores de empalme termorretráctiles eléctricos HAISSTRONICA AWG 22-10 y termina con éxito.

Errores comunes a evitar
- Tamaño incorrecto del conector: Provoca mal contacto o daño al cable.
- Aplicación insuficiente de calor: Deja espacios en el tubo termorretráctil.
- Omitir la preparación del cable: La suciedad o hilos deshilachados reducen la conductividad.
Consejos profesionales para el éxito
- Usa conectores codificados por color: Simplifica la solución de problemas (por ejemplo, rojo para positivo, negro para negativo).
- Etiqueta las conexiones: Evita confusiones en configuraciones complejas.
- Almacena los conectores adecuadamente: Guárdalos en un recipiente seco y hermético cuando no los uses.
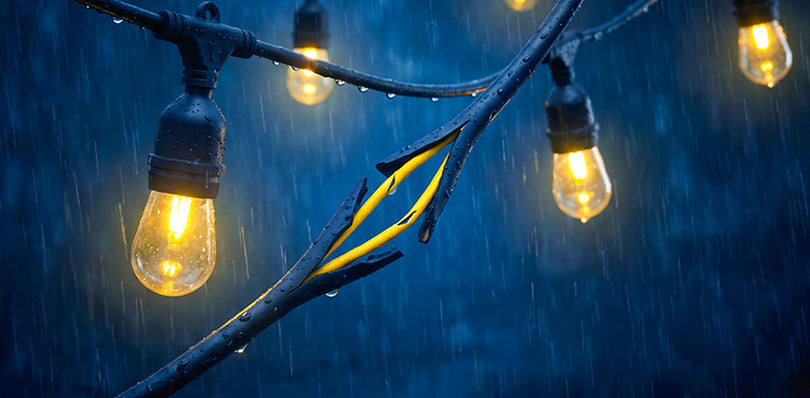
Cuándo usar conectores impermeables
- Proyectos al aire libre: Expuestos a lluvia, nieve o luz UV.
- Ambientes marinos: La exposición al agua salada requiere sellos resistentes a la corrosión.
- Áreas de alta vibración: Vehículos, maquinaria o robótica.
Preguntas frecuentes
P: ¿Puedo reutilizar conectores impermeables?
R: No. Una vez engarzado, el conector se deforma permanentemente y pierde su integridad de sellado.
P: ¿Necesito una pistola de calor para los tubos termorretráctiles?
R: Sí. Un secador de cabello puede no generar suficiente calor para un sello adecuado.
P: ¿Qué calibre de cable funciona mejor con conectores impermeables?
R: La mayoría de los kits soportan cables de 10 a 22 AWG. Revisa las especificaciones del producto para compatibilidad.
Conclusión
Los conectores impermeables son una pequeña inversión que se traduce en confiabilidad y seguridad. Siguiendo esta guía y usando herramientas de alta calidad como el Kit de Engarzado Impermeable de HAISSTRONICA, eliminarás tiempos de inactividad y asegurarás un rendimiento duradero.
Nuestras mejores opciones fáciles de usar
Construidos con un núcleo de cobre estañado de 0.7 mm de grosor, estos conectores ofrecen empalmes seguros y de baja resistencia. La manga translúcida con forro adhesivo se contrae 3:1 para un sello impermeable y alivio de tensión. Ideal conectores de cable para instalaciones limpias—combina cada conector de cable termorretráctil con un conector de tope de barril grueso para un agarre que no se desliza.

Compra ahora: [Kit de conectores impermeables HAISSTRONICA] + Envío gratis + Venta de primavera 20% de descuento→ [Haisstronica]
👏 Puede que te interesen los siguientes:
-
Cómo usar conectores de cable
-
🔥 Guía definitiva de conectores de tope - Respuestas completas a todas tus preguntas
- cómo engarzar un conector de tope