Crimp Pressure Diagnosis
Do Not Buy Another Tool Yet
Repeated crimp failures usually come from one of three causes: too little pressure, too much pressure, or a mismatch between the die, terminal, and wire gauge. Identify the failure first; then decide whether your current tool can be corrected.
1. Is It Under-Crimped or Over-Crimped?
Inspect a failed sample before touching the pressure adjustment. The two failure modes need opposite corrections.
Under-Crimp
Not Enough Compression
- Wire moves, rotates, or pulls out
- Barrel remains round or visibly loose
- Crimp fails a firm pull test
- Voltage drop or heat appears under load
Correction: Increase pressure by only one adjustment step, then make a new test crimp.
Over-Crimp
Too Much Compression
- Barrel is cracked, split, or excessively flat
- Conductor strands are cut or extruded
- Insulation support is crushed
- Tool is abnormally difficult to close
Correction: Reduce pressure by one adjustment step, replace the damaged terminal, and test again.
2. Adjust the Pressure and Make a Test Crimp
Use scrap wire of the same AWG and the same terminal used in the real connection.
Check that the die profile, terminal type, and AWG range all match. Pressure adjustment cannot correct incompatible parts.
Photograph or mark the adjustment wheel before changing it, so you can return to the starting position.
Toward “+” for an under-crimp; toward “−” for an over-crimp. Large changes make the correct setting harder to find.
Keep the terminal centered in the correct cavity and the wire fully inserted until the ratchet releases.
Look for even barrel compression, perform a firm pull test, and—on critical work—compare crimp height with the terminal specification.
Decision Point
Can Your Current Tool Make This Correction?
Keep the tool. Adjust one step at a time and continue making test crimps until the sample passes inspection and the pull test.
The tool cannot reliably control the full compression cycle. This is the point where replacement becomes justified.

Only If Your Current Tool Cannot Adjust
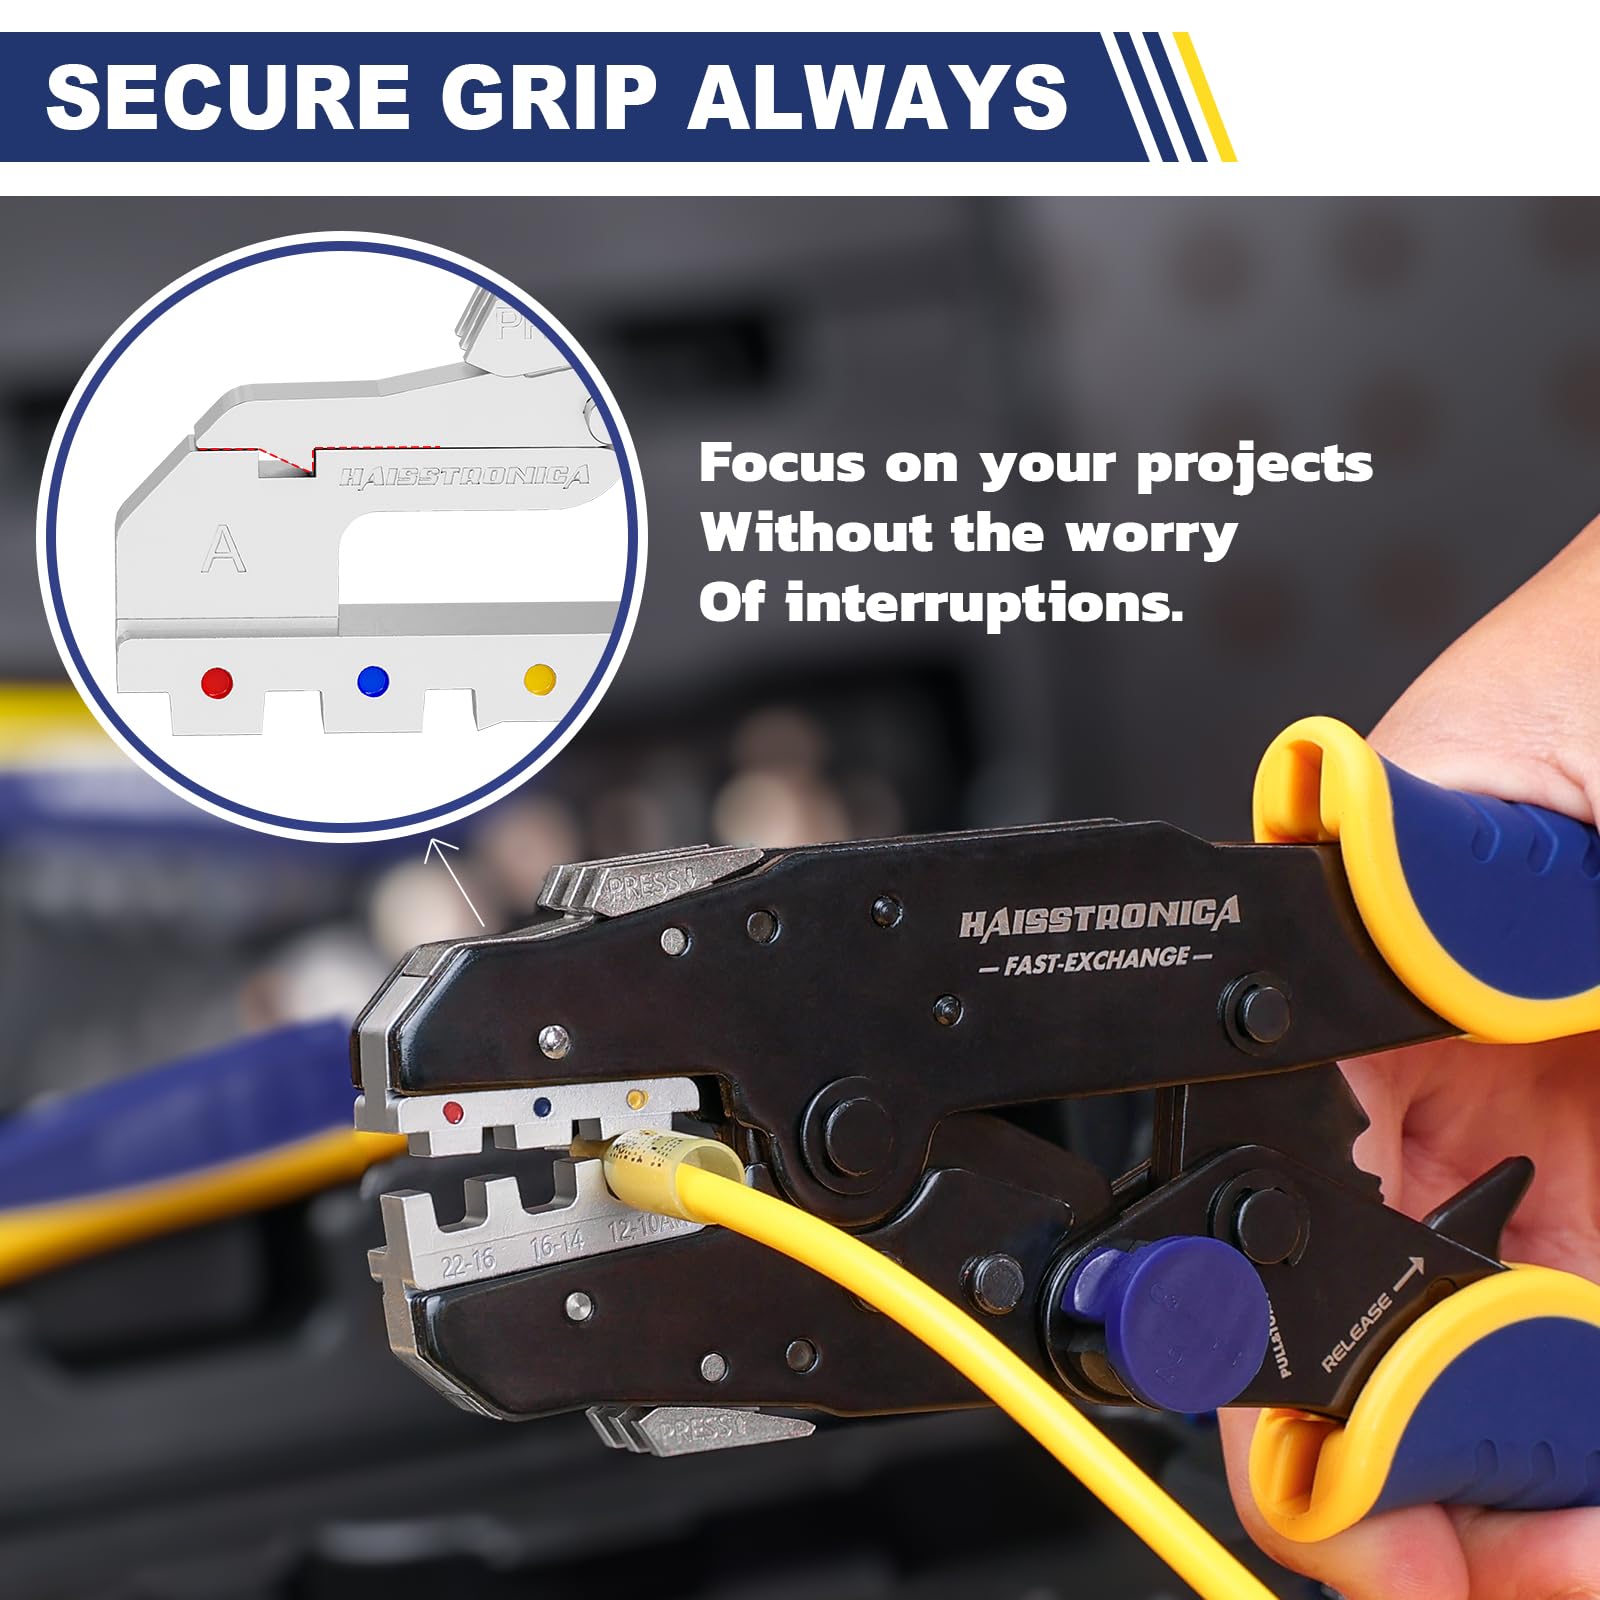
Adjustable Ratchet Crimper
A full-cycle ratchet helps prevent early release, while the pressure adjustment lets you correct under- or over-crimping through controlled test crimps.
View the Adjustable Ratchet Crimper →3. What If Pressure Is Not the Real Problem?
If one setting works for one terminal but fails on another, stop adjusting the tool. The likely issue is an incompatible die, terminal design, or AWG range.
| Symptom | Likely Cause | Action |
|---|---|---|
| Crimp is lopsided | Wrong die profile or terminal orientation | Choose a crimper made for that terminal type |
| Barrel closes but wire stays loose | Terminal is too large for the wire | Match the connector's AWG range |
| Tool will not complete the cycle | Wire/terminal exceeds the die capacity | Do not force it; select the correct range |


Frequently Asked Questions
How many adjustment steps should I change at once?
One step. Make a fresh test crimp after each change. Moving several positions at once can turn an under-crimp into an over-crimp without revealing the correct setting.
Does more pressure always make a stronger crimp?
No. Excess pressure can crack the barrel, cut conductor strands, and weaken the connection. The goal is the specified compression—not maximum force.
Why do identical settings produce different results?
Check terminal wall thickness, wire strand count, die wear, connector orientation, and whether every part is genuinely within the same specification.
Conditional Next Step
Still Getting Inconsistent Crimps? Choose the Right Ratchet Crimper.
If the terminal, die, and AWG all match—and pressure adjustments still cannot produce a repeatable pull-test result—move to a full-cycle adjustable ratchet tool.
Choose the Right Ratchet Crimper →