Is the crimp actually over-compressed?
Do not change tools or connectors until you identify the failure mode. Start with evidence: the barrel, strands, insulation support, and a controlled pull test.
Look for a split seam, knife-edge deformation, cracked plating, or a flattened profile.
Check for cut, extruded, or visibly damaged copper at either bell-mouth.
Deep jacket cuts or discoloration point to excessive compression in the insulation area.
Pull straight at a controlled rate. Movement or early pull-out means the connection must be replaced.
Decision rule: If the crimp shows no damage and passes the pull test, do not replace equipment based on appearance alone. Diagnose first, then route by cause.
What “Over‑Crimp” Means — crimp wiring fundamentals
Over‑crimping happens when you compress the terminal barrel beyond its designed crimp height. Instead of producing a dense, gas‑tight interface, you thin the barrel wall, cut or cold‑work strands, crack plating, and sometimes nick insulation. Electrical resistance may rise over time as the joint relaxes, and mechanical pull‑out strength can drop unpredictably. (Translation: too much force is as bad as too little.)
Prevent over‑crimping with a controlled‑cycle ratcheting crimp tool that releases only at the correct stroke.
In standards language (e.g., IPC/WHMA‑A‑620, manufacturer handbooks), “in‑spec” means your finished crimp height lands within a narrow window for a specific terminal, wire gauge, and die geometry. Fall below the lower limit and you’ve over‑compressed the joint; the “cold weld” becomes strand damage and seam collapse.
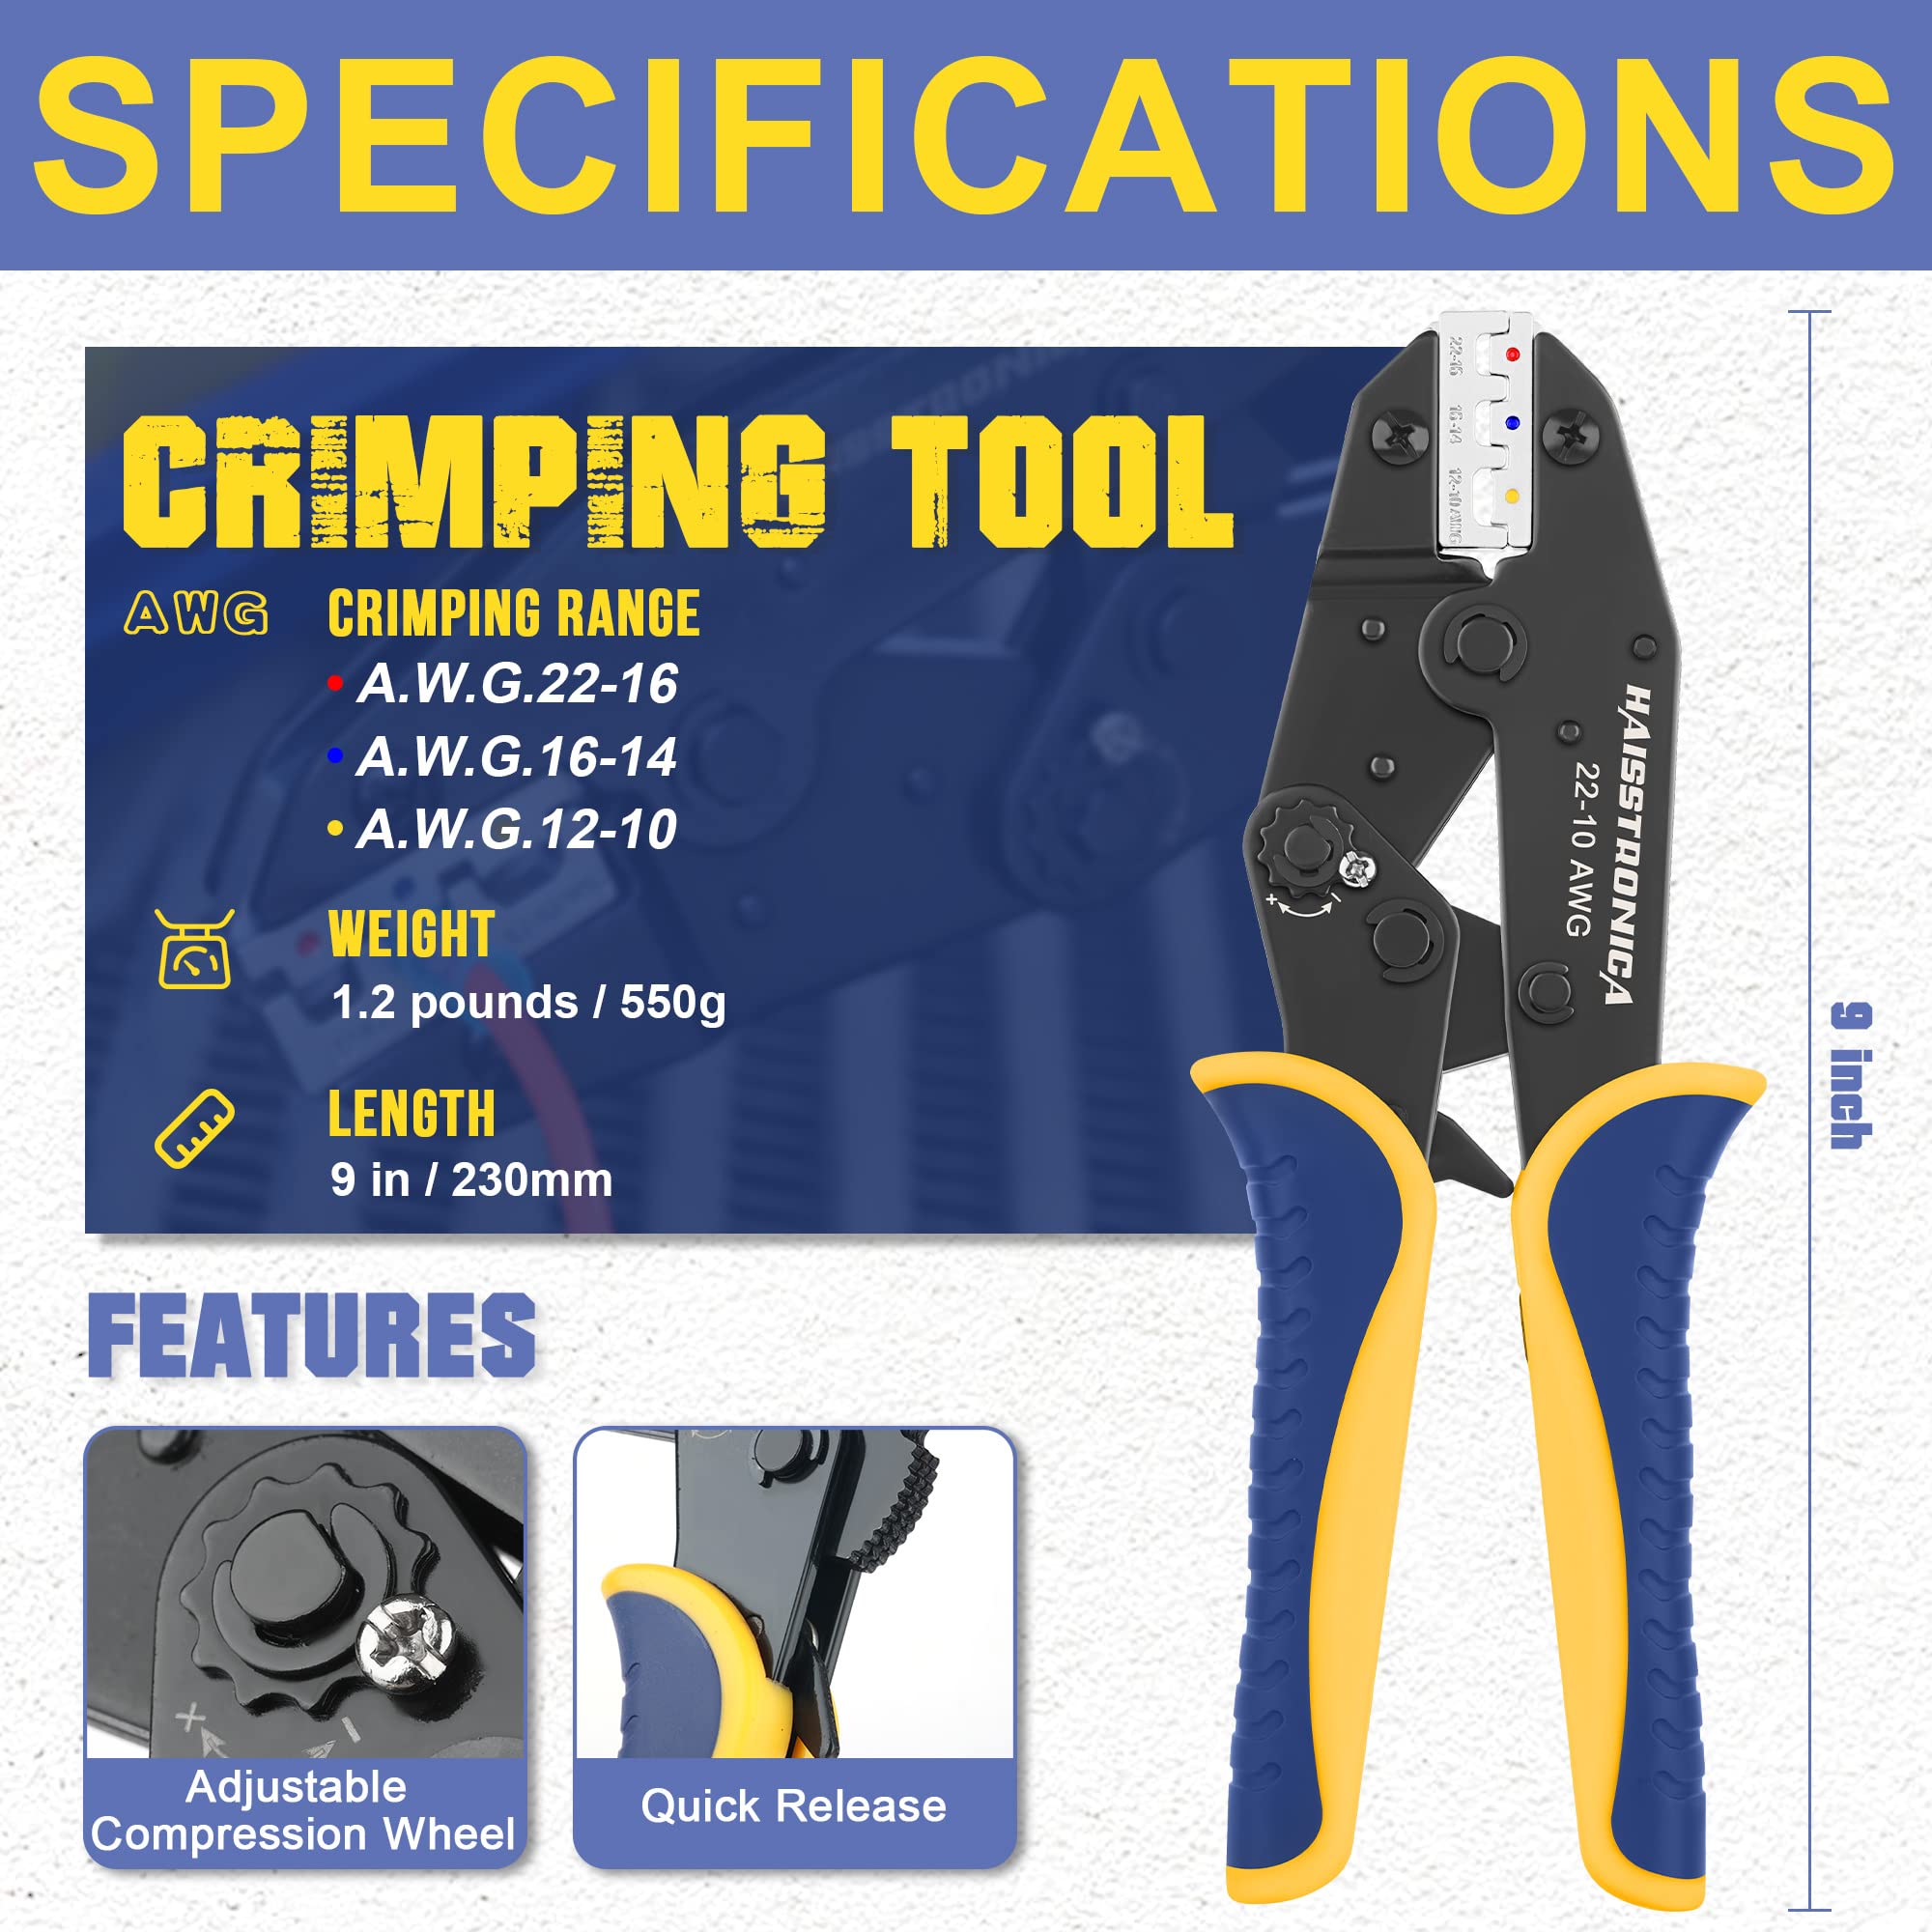
Use a crimper tool with clearly marked cavities for red/blue/yellow insulated lugs (AWG 22–10) to keep crimp wiring within spec.

Over‑crimping is common when:
-
you choose the wrong die cavity for the wire/terminal,
-
you use non‑calibrated pliers instead of a wire crimping tool, or
-
you defeat the ratchet and “double‑pump” the handle.
Each of these can take you below the target crimp height and into damage territory.
Related vocabulary you’ll see in specs and handbooks: connector crimping, crimping terminal connectors, crimp connectors electrical, and crimp connector—all assume that crimp height, bell‑mouth, and pull‑out are verified, not guessed.
👉Get repeatability with Haisstronica’s wire crimper tools for AWG 22–10.

Visual Cues—How to Spot Over‑Crimping — crimp wiring inspection
1) Collapsed or “knife‑edged” seam
On closed‑barrel terminals, the lap seam should be intact. If the seam is split, rolled over, or shows a thin knife‑edge, you’ve crushed it. This is a classic over‑crimp indicator.
A properly sized crimping wire tool cavity prevents seam collapse.
2) Cut or extruded strands
Look at the bell‑mouths. You want small flares that protect strands—not copper extruding like whiskers or visibly severed filaments. Over‑crimping often shears the outer layer of the conductor.
3) Barrel cracking / plating flake
Nickel/tin plating can craze or flake when the barrel is over‑worked. Under magnification, you’ll see micro‑cracks along the high‑strain region. Those cracks invite corrosion.
4) No bell‑mouths (or “fish‑mouth”)
Proper crimps show a small bell‑mouth at each end. Over‑crimping can erase them entirely, or create a sharp “fish‑mouth” split.
5) Insulation damage at the support crimp
If the jacket under the insulation‑support barrel is cut, deeply imprinted, or discolored, you likely over‑crimped the support area, trading strain relief for future cracks.
6) Misshapen cross‑section
Acceptable profiles (oval/hex for insulated barrels, “B” or “F” profiles for open‑barrel) become flattened pancakes or sharp‑cornered wedges when over‑crimped.
Diagram suggestions (for your SOP or training binder):
-
Cross‑section comparison: Correct vs. over‑crimped butt splice (show seam, bell‑mouths, strand compression).
-
Seam detail: Microphoto of intact lap seam vs. collapsed seam.
-
Insulation support: Good jacket compression vs. jacket cut‑through.
- 👉Standardize your visuals and tools—outfit each bench with the Haisstronica crimp ratchet tool.

Tests That Prove It — crimp wiring validation
A) Crimp height with calipers or micrometer
Crimp height is the primary quality metric. Terminal makers publish target heights and tolerances by part number and gauge. Measure the narrow dimension across the compressed conductor barrel; below‑spec = over‑crimp. Record results per lot.
B) Tensile pull test (per UL 486A‑B guidance)
Clamp the terminal and pull the wire straight out at a controlled rate. A healthy crimp meets or exceeds the minimum pull‑out for its gauge (e.g., AWG 22 vs. 10 have different thresholds). Over‑crimped joints can fail early due to cut strands and stress risers.
C) Milliohm check (voltage‑drop method)
Use a low‑ohm meter (Kelvin 4‑wire if available) to measure crimp resistance. While over‑crimping initially can look “low‑resistance,” strand damage and micro‑cracks often drift upward under vibration/heat cycles. Trend resistance across samples.
D) Cross‑section (micro‑section) audit
For critical harnesses, cut, mount, and polish a sample. Over‑crimps show smeared copper, voids, split seams, and crushed bell‑mouths. Capture photos for your quality record.
E) Process controls that prevent over‑crimping
-
Tool selection: match the crimp tool cavity to the terminal family and AWG.
-
Calibration: verify ratchet release and crimp height weekly; replace worn dies.
-
Operator discipline: no “double‑pump”; no plier‑style shortcuts.
-
Materials: use terminals compatible with your strand class; don’t tin leads before crimping (solder cold‑flows).
Quick checklist (print this):
-
Confirm part number & gauge → pick cavity.
-
Strip to barrel depth; strands intact; no tinning.
-
Seat terminal, insert wire to inspection window.
-
Full ratchet cycle; inspect bell‑mouths & seam.
-
Measure crimp height; perform pull test on first‑off.
- 👉Equip your bench with the Haisstronica wire crimp tools kit (AWG 22–10).
Choose the fix only after diagnosis.
Over-crimp symptoms can come from two different systems. Treating both as “more or less force” creates repeat failures.
Pressure or ratchet-cycle problem
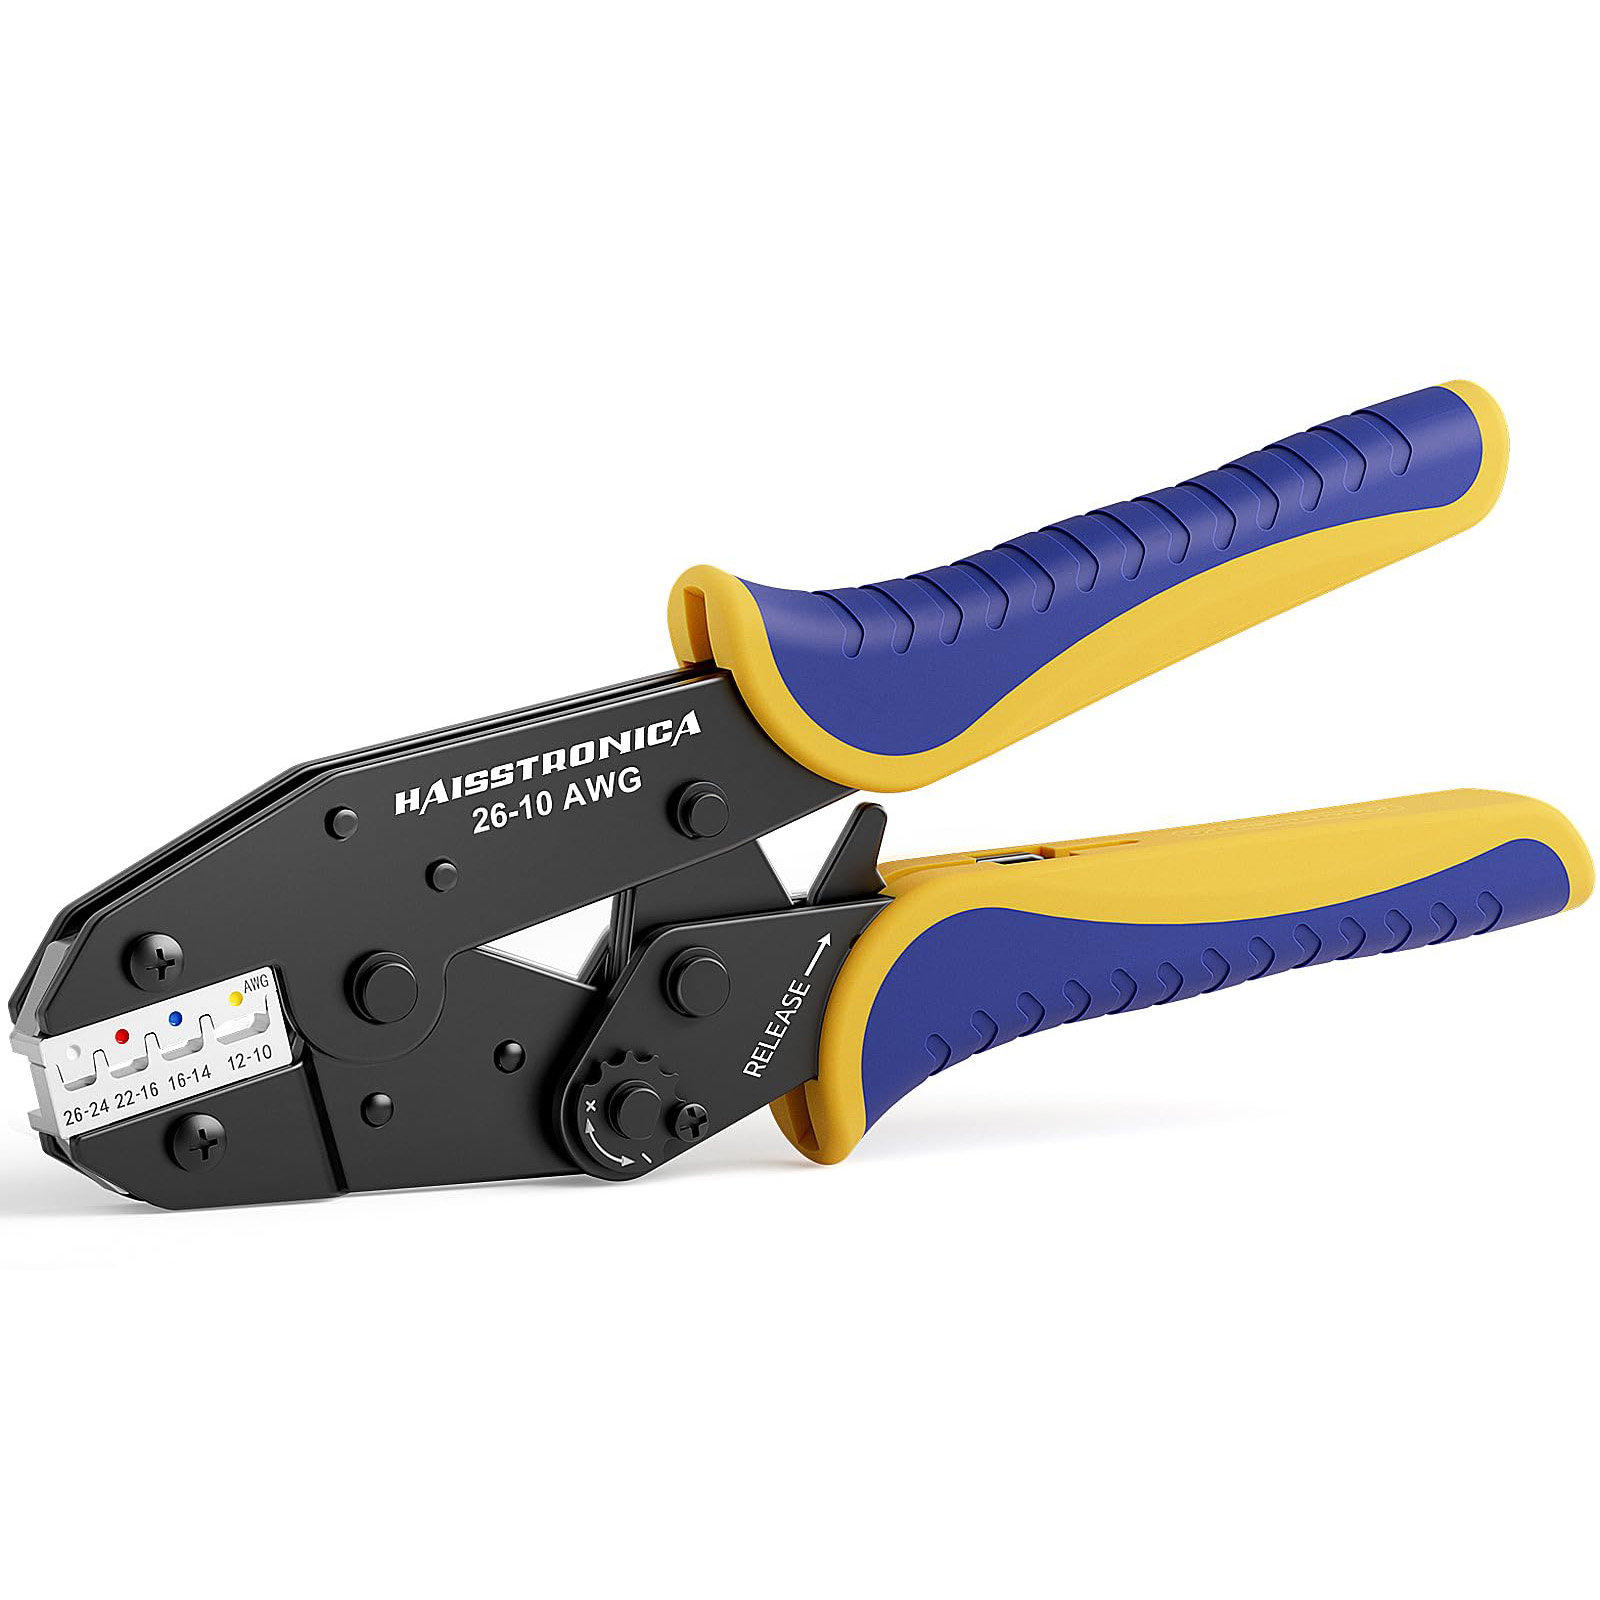
Use this path when the connector and wire gauge are correct, but the crimp height is consistently too low, the ratchet is double-cycled, or release pressure is not repeatable.
Die, wire gauge, or connector mismatch
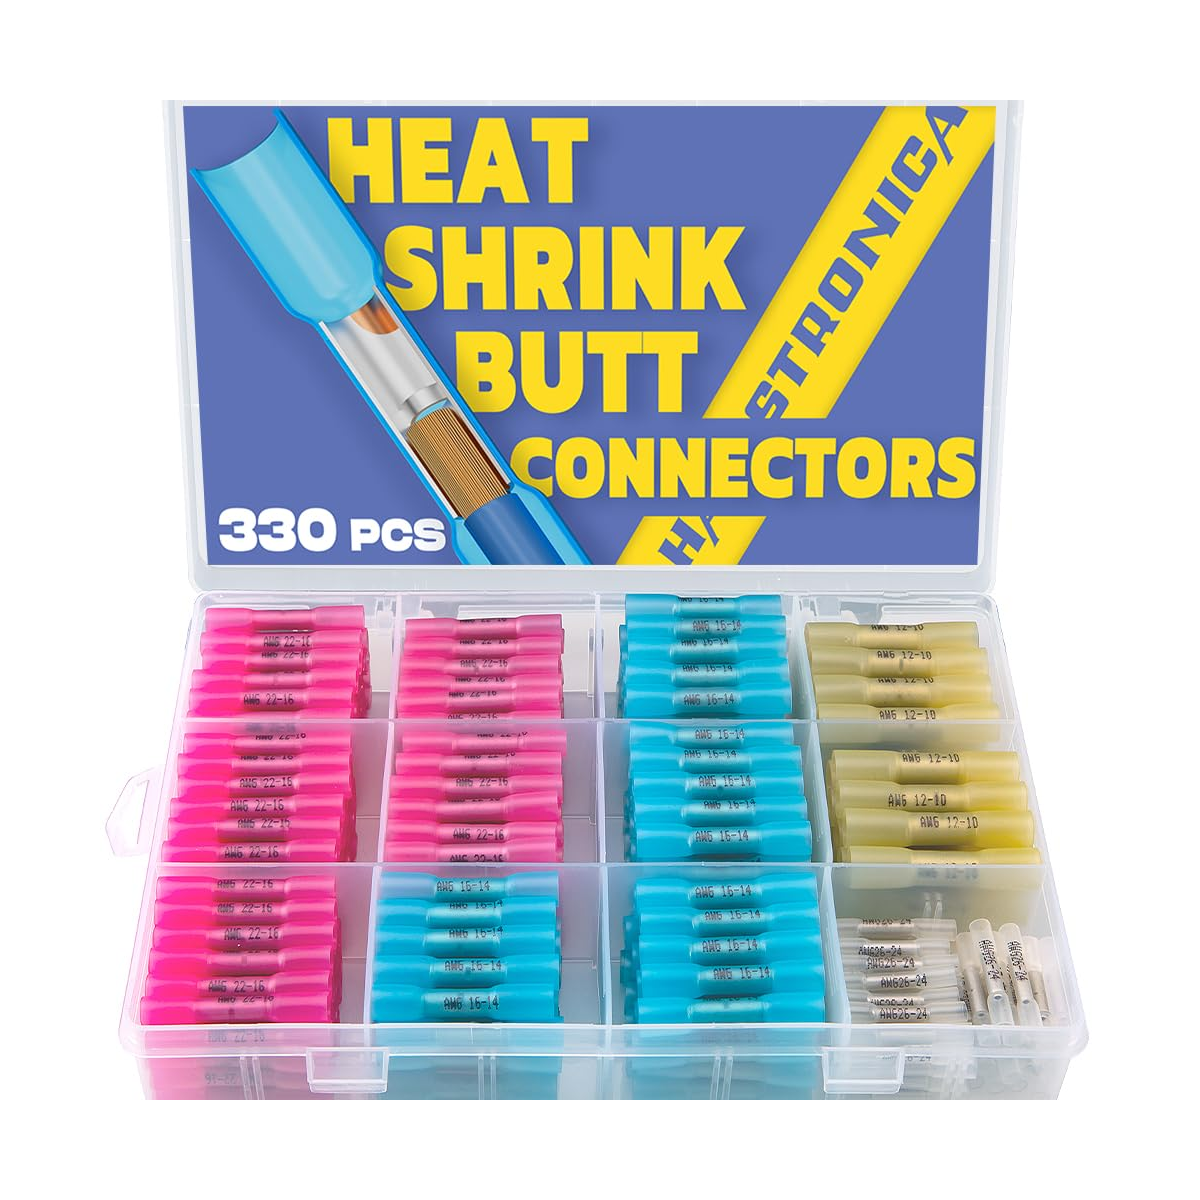
Use this path when the cavity, terminal family, or AWG range does not match. More pressure will not fix incompatible geometry.
Replace the failed connector—do not crimp it again.
A damaged barrel or cut strand cannot be restored by a second squeeze. Cut out the failed connection and rebuild it as a matched system.
- Cut back to clean, undamaged conductor.
- Match wire gauge, connector family, and die cavity.
- Strip to the specified barrel depth without nicking strands.
- Complete one full ratchet cycle—never double-pump.
- Inspect the bell-mouth and seam before sealing the connection.
Wrap‑up
Yes, you can over‑crimp—and it matters. In crimp wiring, too much compression thins the barrel, cuts strands, cracks plating, and quietly sets up intermittent faults. The fix isn’t guesswork; it’s a repeatable method: correct die + correct stroke + verified crimp height + simple pull and resistance checks. Standardize those steps and your crimps will be strong, low‑resistance, and durable.
Ready to take over‑crimp off the table? Choose a controlled‑cycle tool built for insulated terminals and AWG 22–10.
Our Top User-friendly Picks
In harsh environments, reliability is everything. Pair Haisstronica with marine‑grade terminals for sealed joints that resist corrosion during electrical cable crimping. The sturdy frame rivals many heavy duty wire crimpers, giving you repeatable crimping connection strength without over‑crushing.
👉Buy now: Haisstronica Ratcheting Wire Terminal Crimping Tool (AWG 22–10) →
Sources (industry authorities & further reading)
👏 You may be interested in the following:
-
Marine Electrical Connections: Using Heat Shrink Crimp Terminals for Boat Wiring
-
Can you crimp wires with regular pliers?
-
What can I use to crimp wires together?
Let the pull-test result decide what happens next.
A product recommendation is not the finish line. The rebuilt joint must prove that the tool, connector, wire, and process now work together.
The wire stays fixed, the terminal does not rotate, the seam remains intact, and no strands or insulation are damaged. Record the setup and repeat the same process.
Any movement, pull-out, cracking, exposed copper, or jacket damage means the connection is rejected. Cut it out, return to the cause path above, and rebuild with a new connector.
Quality gate: Compare pull strength with the connector manufacturer’s specification or applicable UL guidance for the wire gauge. Do not approve a connection by feel alone.