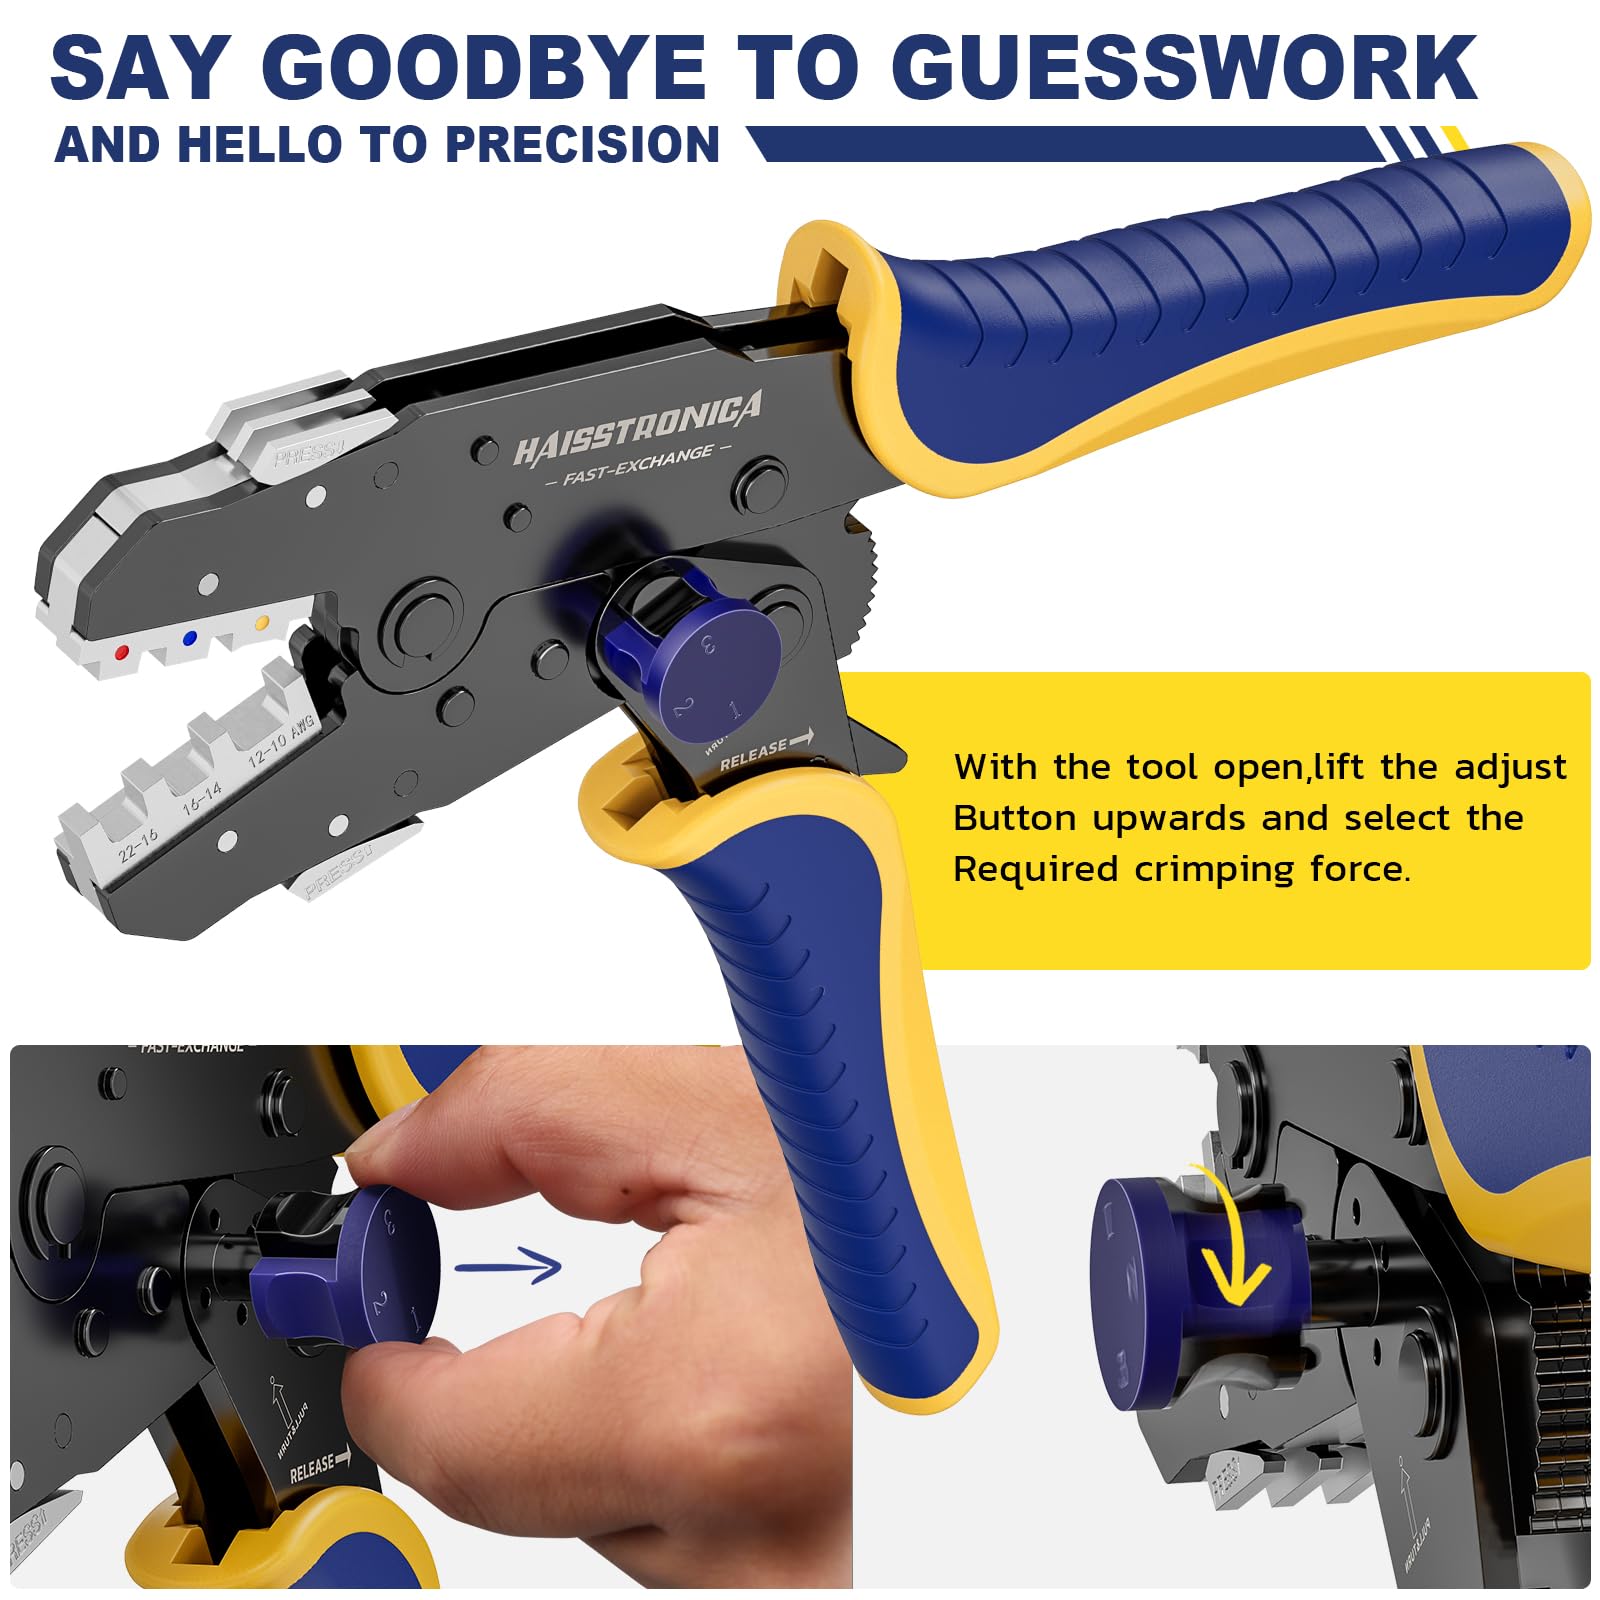
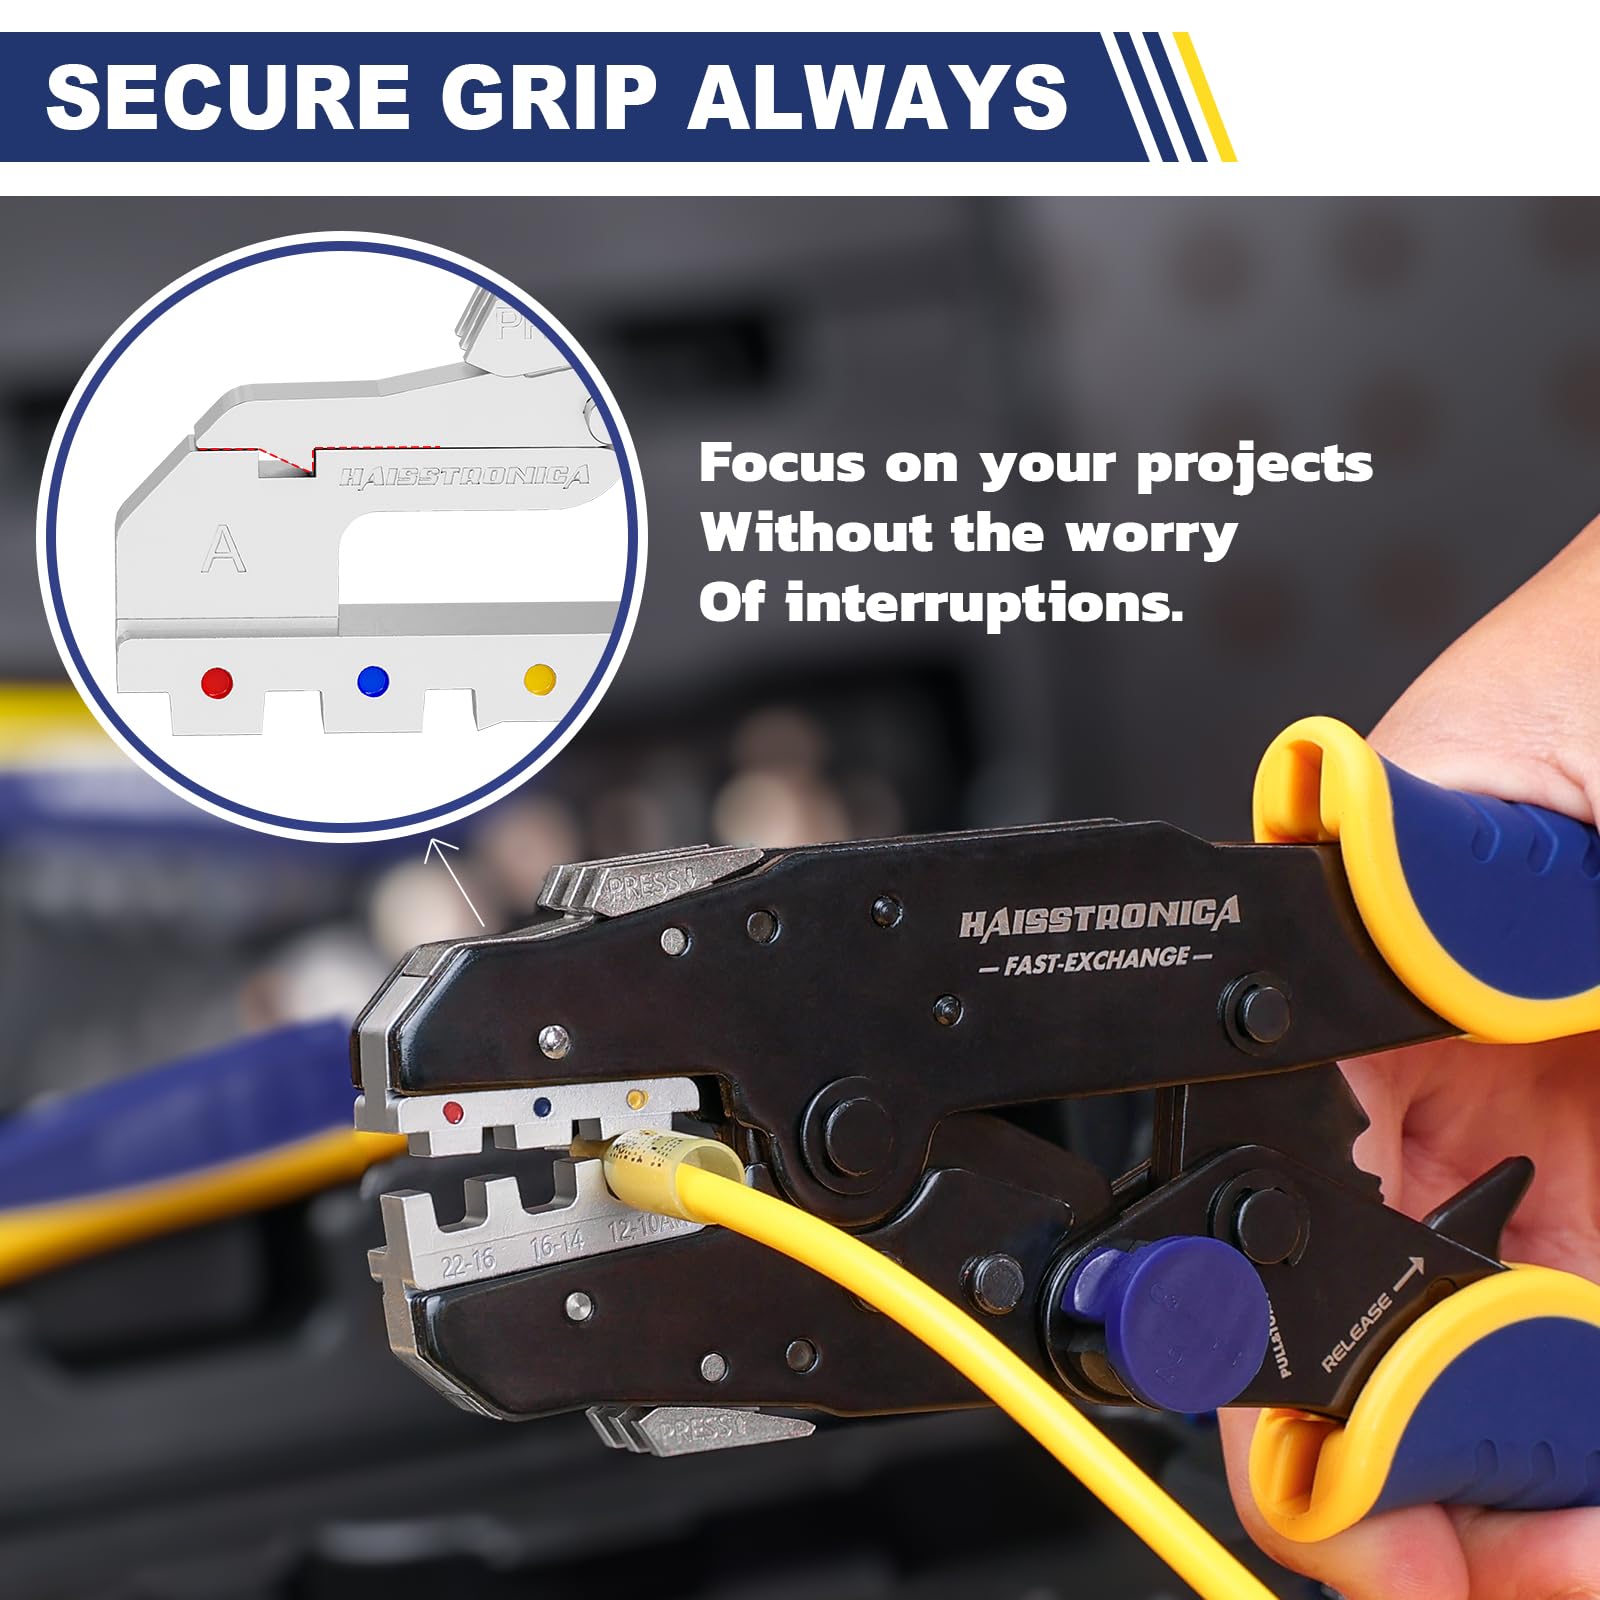
Crimp the metal barrel—not the heat-shrink sleeve.
A clean sealed connection starts before the heat gun turns on. Match the AWG and die, place pressure on the metal barrel, complete the ratchet cycle, then shrink the sleeve with slow, even heat.
Start with the die: why sleeves split or deform
Most “melted sleeve” problems begin before heating. A sharp staking die, the wrong cavity, or a crimp placed on the sleeve edge can puncture or flatten the insulation. The die must compress the metal barrel with a smooth insulated-terminal profile while leaving the sleeve outside the pressure zone.
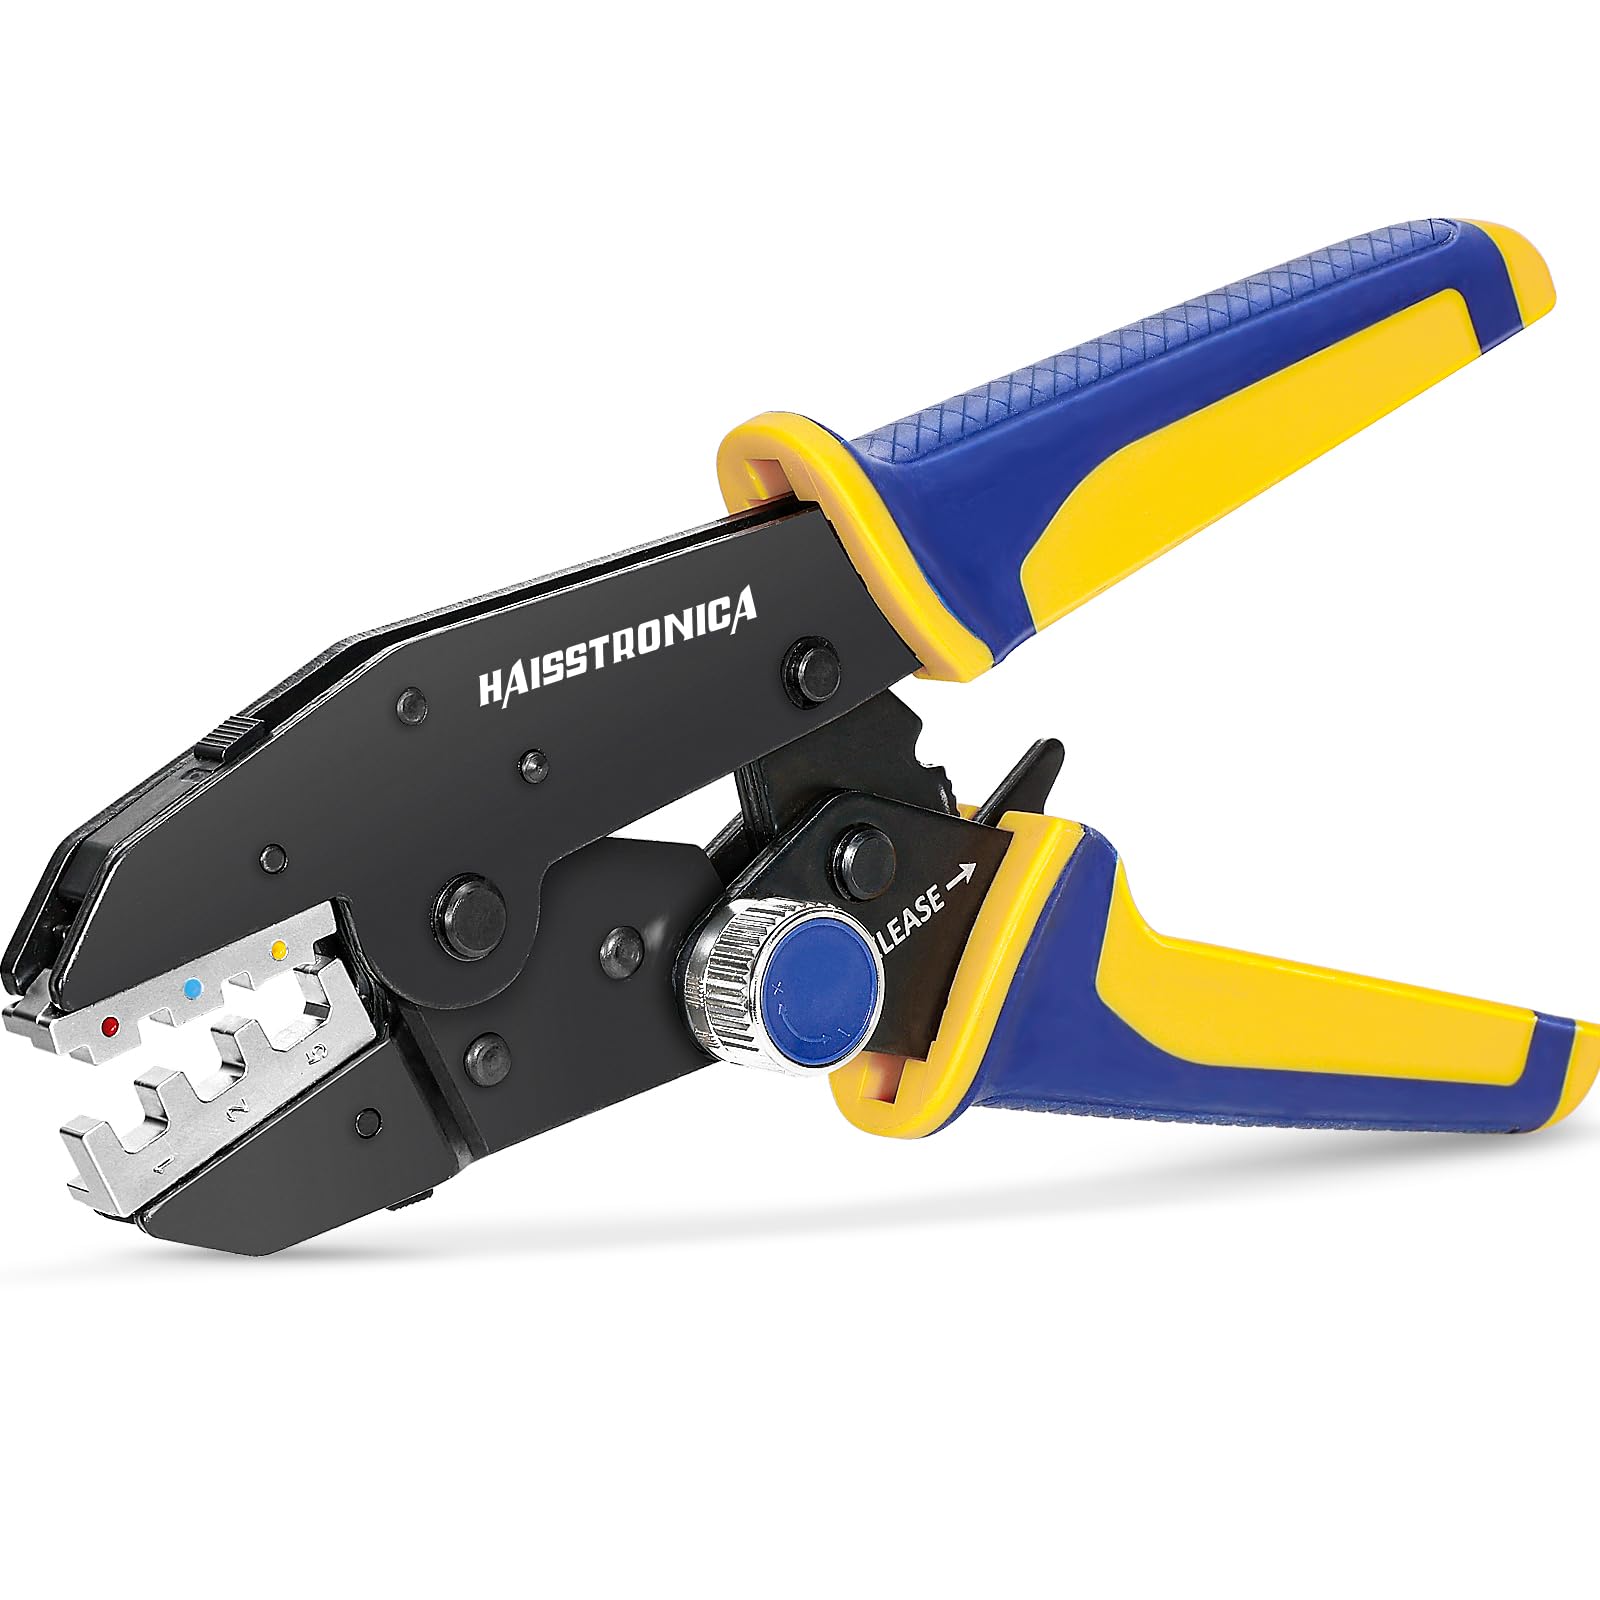
Use a ratchet crimper made for heat-shrink connectors
A matched cavity supports the sleeve and focuses pressure on the barrel. The ratchet prevents an incomplete squeeze.
Shop Ratchet Crimper →Match connector size and AWG before crimping
Do not choose by insulation color alone. Read the conductor marking, confirm the connector’s published range, and select the matching die cavity. A connector that is too large invites over-crimping; one that is too small may split when the wire is inserted.
| Wire range | Common color | Die decision | Before you squeeze |
|---|---|---|---|
| AWG 26–24 | White / clear | Use the cavity specified for the small-gauge connector | All strands enter the barrel; no folded strands |
| AWG 22–16 | Red | Match the red insulated-terminal cavity | Barrel—not sleeve edge—sits in the pressure zone |
| AWG 16–14 | Blue | Match the blue insulated-terminal cavity | Wire reaches the internal stop |
| AWG 12–10 | Yellow | Match the yellow insulated-terminal cavity | No bare copper remains outside the sleeve |
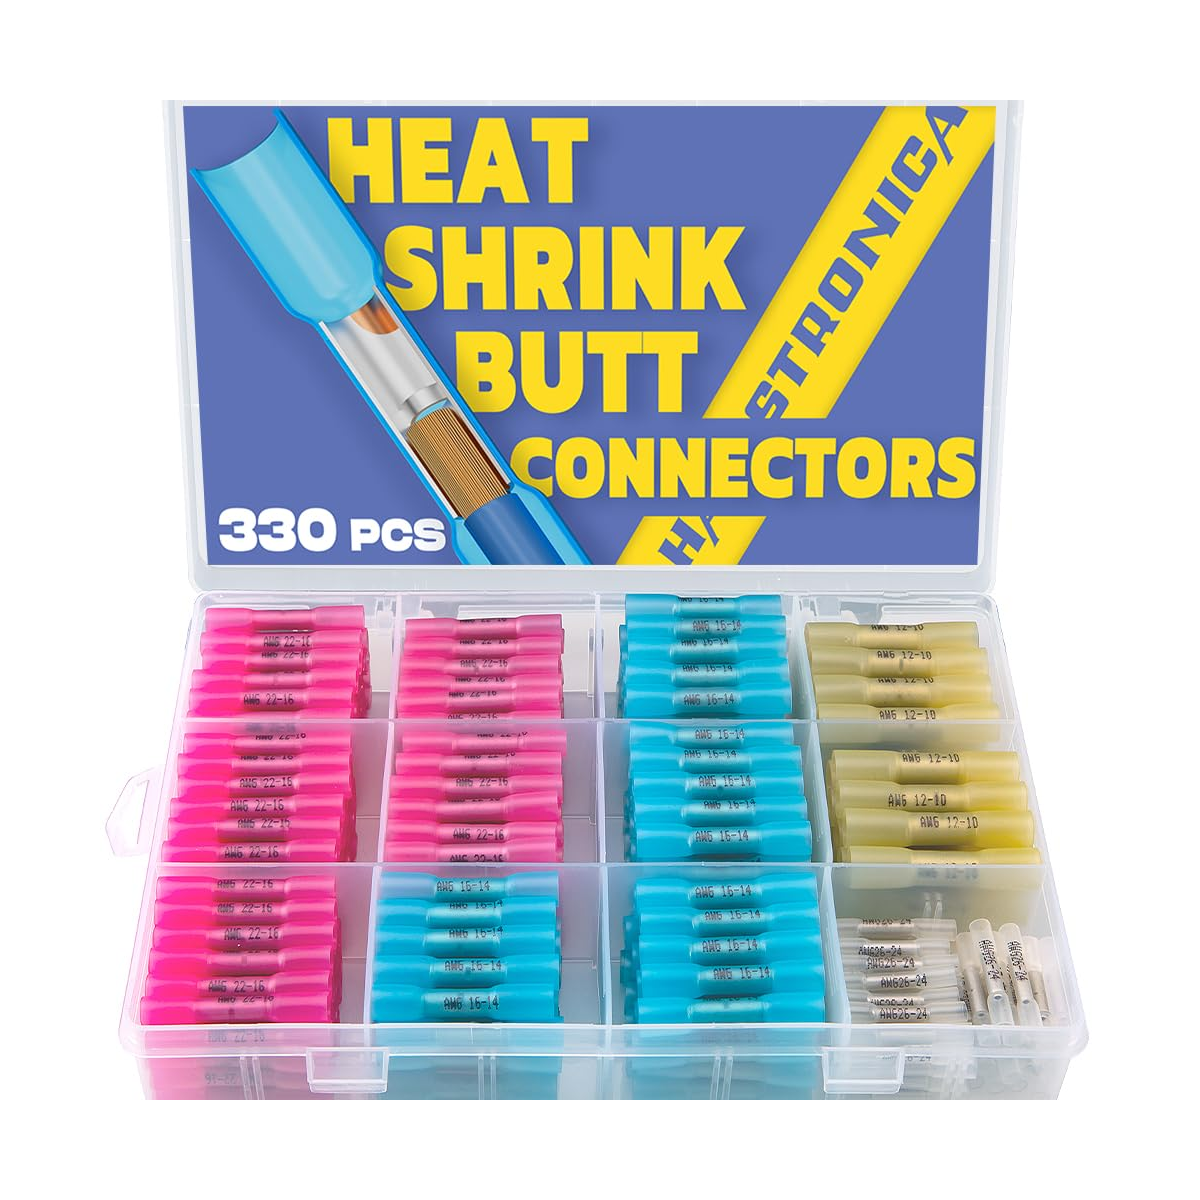
Keep matched connector sizes in one kit
A multi-size kit reduces the temptation to force a near-match. Select the connector by actual conductor gauge, then move to the corresponding die cavity.
Choose a Heat Shrink Connector Kit →Place the metal barrel in the correct groove
- Strip only the barrel length. Do not nick strands or leave exposed copper outside the sleeve.
- Pre-load the connector. Close the ratchet one or two clicks so the die holds the connector without deforming it.
- Find the metal barrel. Use the translucent sleeve and internal stop as your reference.
- Keep the sleeve edge outside the die. Pressure belongs on metal, not on the adhesive-lined entry area.
- Insert the wire fully. Every strand should enter the barrel and remain straight.
Complete one full crimp, then inspect the sleeve
Squeeze the handles until the ratchet releases. Do not stop halfway, and do not repeatedly crimp different points on the same barrel. A correct crimp should hold the conductor firmly without cuts, whitening, sharp ridges, or splits in the sleeve.
The conductor stays locked in the barrel.
No puncture, cut, split, or crushed edge.
No stray strands or exposed copper.
Use low, even heat—never a direct flame
After the mechanical connection passes inspection, activate the seal with controlled hot air. Start near the center, move toward both ends, and rotate the connector so the sleeve recovers evenly. Keep the nozzle moving and use the lowest effective setting for the connector and work area.
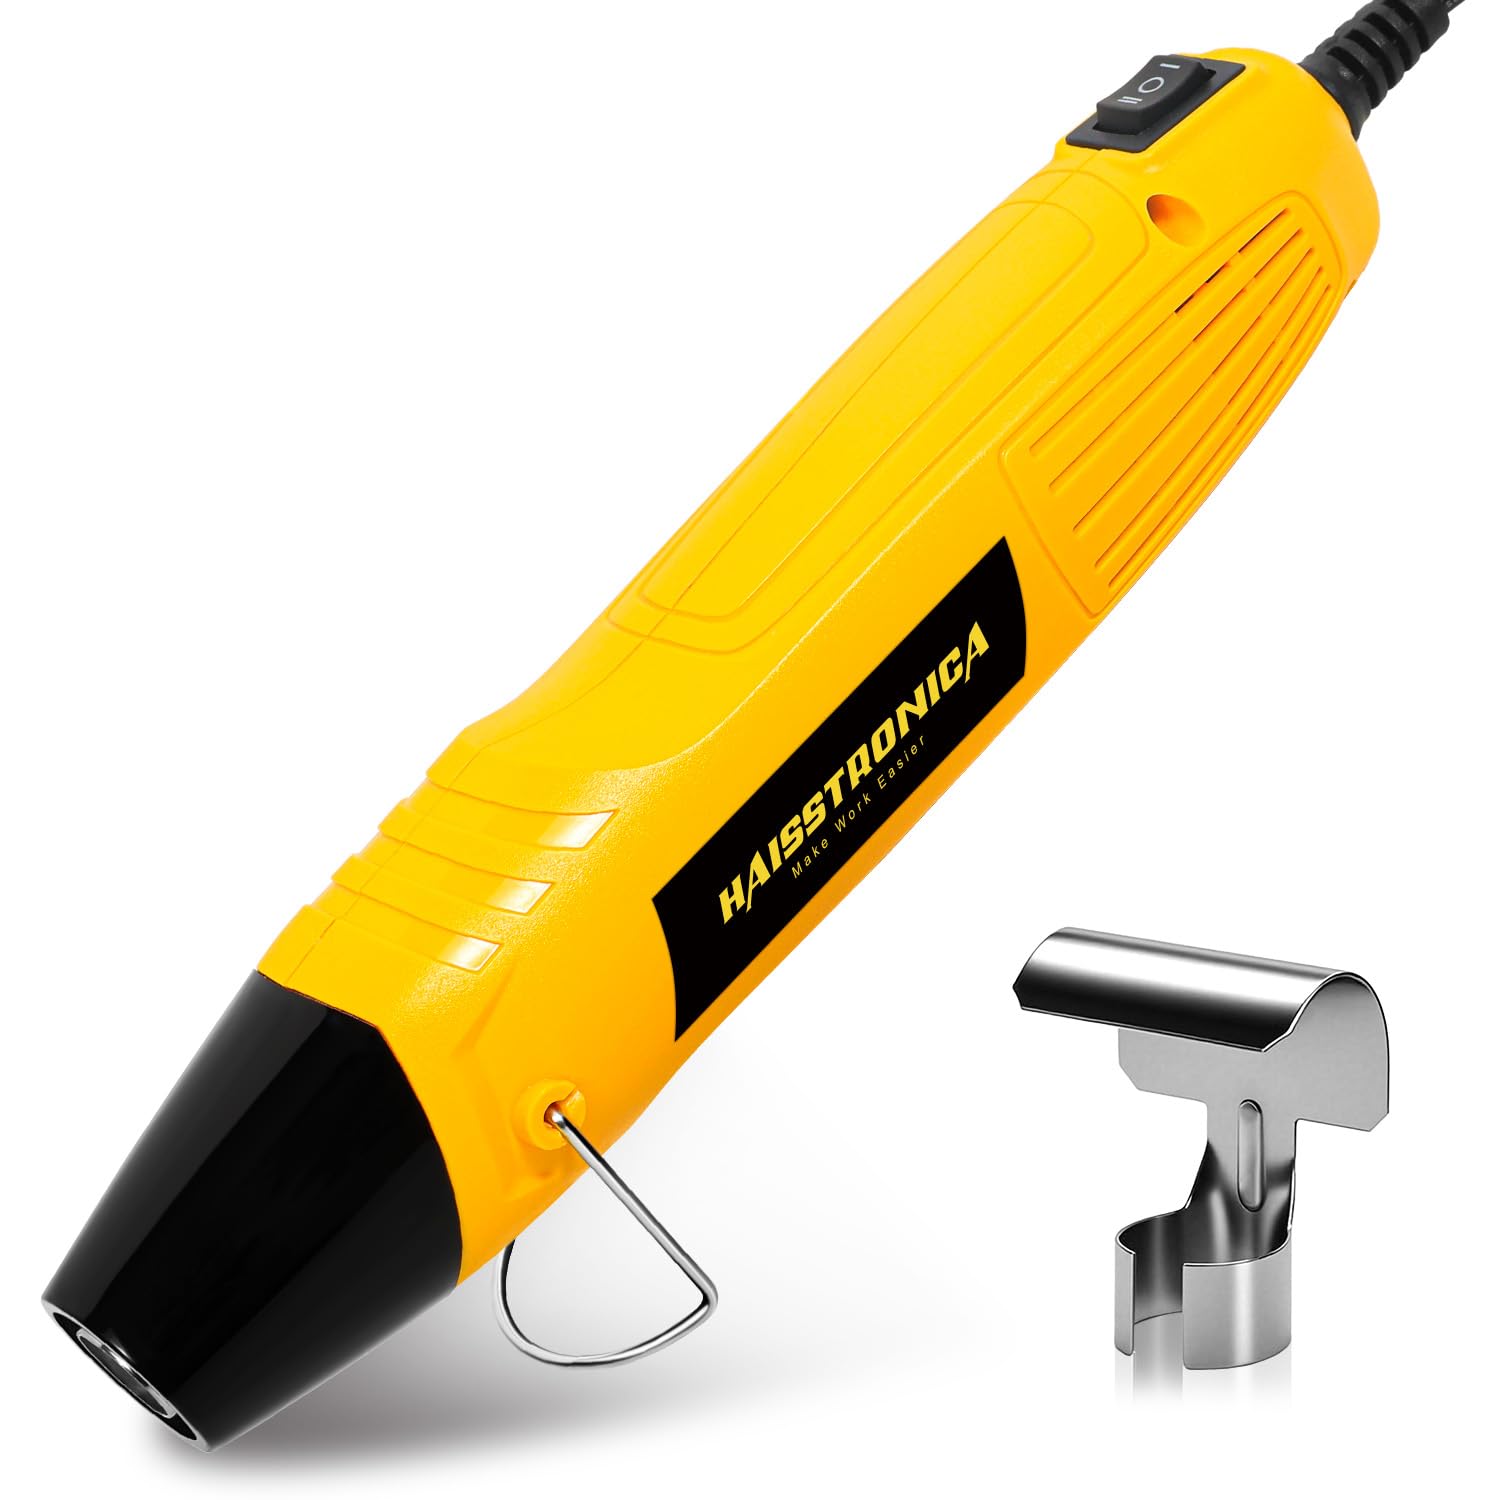
Shrink the sleeve evenly with a Mini Heat Gun
A focused heat source is easier to move around the connector than an open flame and reduces hot spots.
Shop Mini Heat Gun →Warm the middle of the sleeve before moving outward.
Rotate the connector and avoid holding heat in one spot.
Stop when the tubing conforms and a small, even adhesive bead appears.
Final inspection: what a finished seal should look like
| Check | Pass | Redo the connection if… |
|---|---|---|
| Mechanical hold | Wire passes a firm pull test | Wire moves or pulls out |
| Sleeve | Smooth, intact, evenly recovered | Split, punctured, bubbled, or scorched |
| Adhesive seal | Small, even bead at both cable entries | One end remains open or adhesive is badly overheated |
| Copper | No bare conductor is exposed | Strands or copper extend beyond the sleeve |
Choose one compatible kit path—not a pile of unrelated tools
Pair connector sizes with the correct ratchet die and a controlled heat source. A matched setup makes the process repeatable from wire preparation through final seal inspection.
Further reading: Titan WNC · Panbo · Marine How To