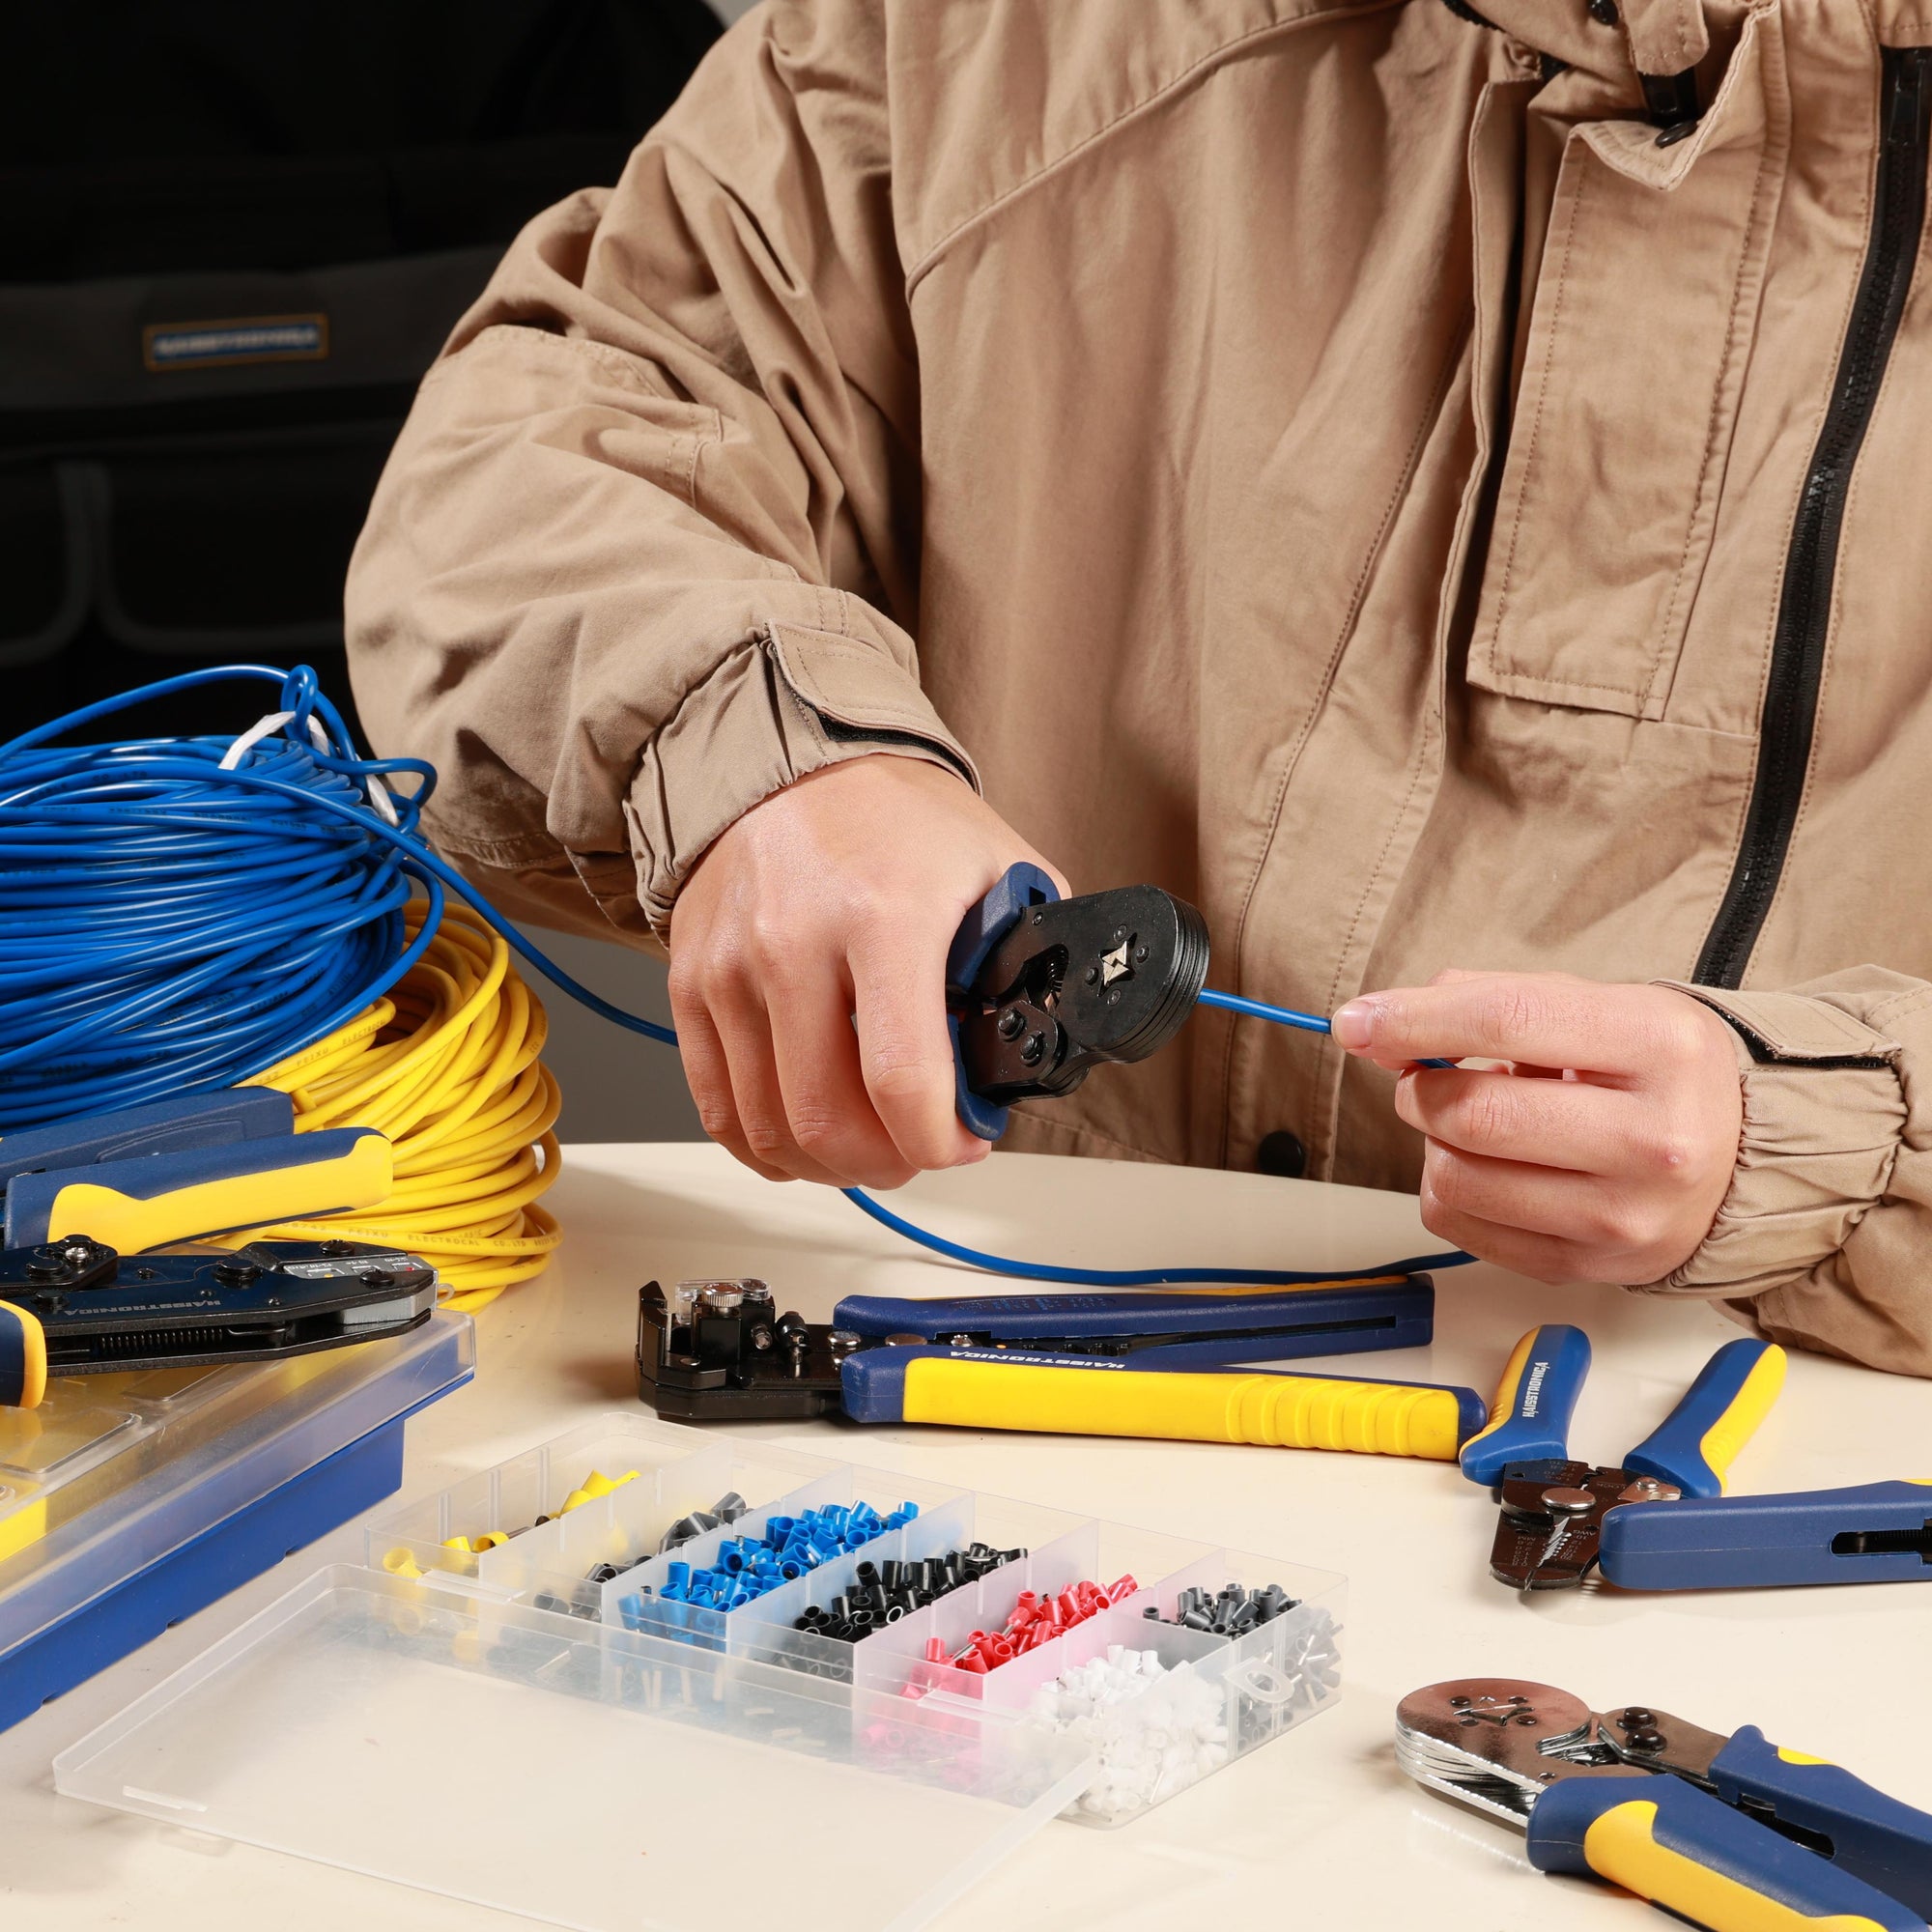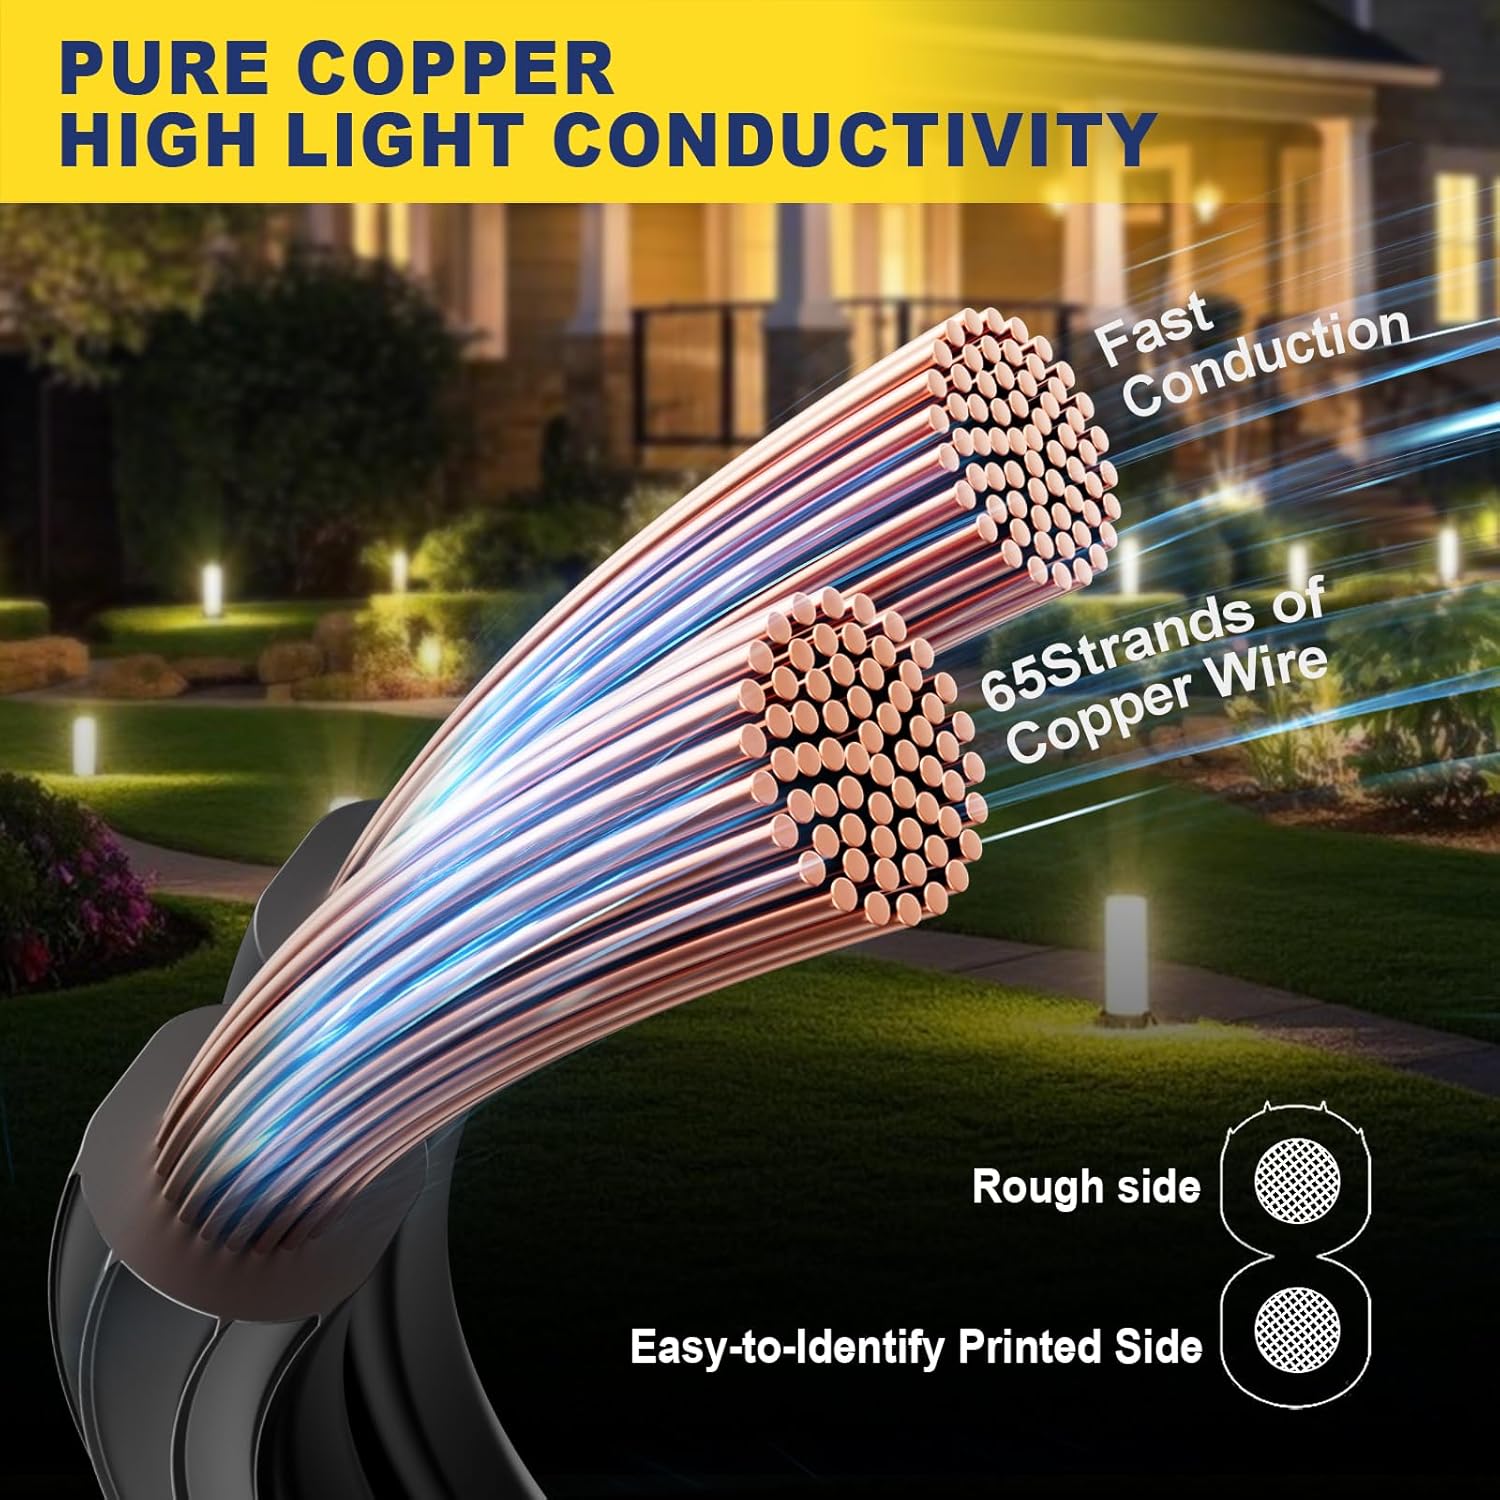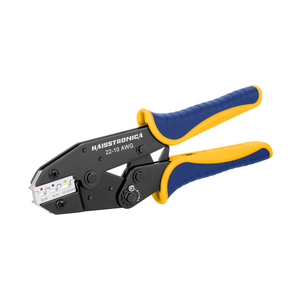

Match the connector, AWG, and die—then make the crimp.
A crimper is not universal. The connector geometry determines the die, the conductor size determines the cavity, and the task determines whether you need a ratchet, specialty, multi-die, or heavy-cable tool.
Start Here: Connector × AWG × Tool
Begin with the terminal in your hand—not the shape of the handles. Swipe the table on a narrow screen and choose the row that matches both the connector and conductor range.
| Connector / task | Typical range | Required crimp geometry | Best tool type | Product route |
|---|---|---|---|---|
| Insulated or heat-shrink butt, ring, and spade | AWG 22–10 | Smooth, color-coded insulated-terminal die | Full-cycle ratchet | Ratchet Crimper → |
| Open-barrel / F-crimp terminals | AWG 20–10 | F-crimp wings formed separately around conductor and insulation | Open-barrel crimper | Open-Barrel Tool → |
| Ferrules for screw terminals | AWG 24–8 | Square or controlled ferrule compression | Ferrule crimper | Ferrule Crimper → |
| Battery lugs and heavy cable | AWG 8–1/0 | Hex compression matched to the lug and conductor | Heavy-cable lug crimper | Battery Crimper → |
| Spark-plug terminals | 8.5 mm wire | Specialized fold and strain-relief profile | Spark-plug crimper | Spark-Plug Tool → |
| Several connector families in one workshop | Multiple ranges | Interchangeable, connector-specific dies | Multi-die ratchet kit | 6-in-1 Kit → |
What a Good Crimp Actually Does
A tight-looking dent is not proof of a good crimp. A reliable connection requires the correct connector, intact strands, a matched cavity, full compression, and inspection.
The Universal Crimping Process
Confirm the conductor
Read the cable marking. Verify AWG, stranded or solid construction, conductor material, and the application.
Select the connector
Match the barrel range, terminal style, insulation, sealing method, and environmental rating.
Browse Connectors →Set the strip length
Expose enough copper to fill the metal barrel without leaving bare conductor outside the sleeve. Keep every strand intact.
Insert fully
Push the conductor to the internal stop. Confirm that no strands have folded back or escaped the barrel.
Crimp with the matched die
Center the metal barrel in the correct cavity and complete the full ratchet cycle without changing position.
Start with a Ratchet Crimper →Inspect and pull-test
Check alignment, exposed copper, sleeve damage, and barrel compression. Apply a firm pull test before sealing or energizing the circuit.
Recognize the Connector Before Choosing the Tool
Butt splice
Joins two conductors end-to-end. Insulated and heat-shrink versions normally use a smooth, color-coded ratchet die.
Ring, fork, and spade terminal
Terminates a conductor at a stud, screw, or tab. The barrel construction—not the contact shape—determines the die.
Open-barrel terminal
Uses separate conductor and insulation wings. A dedicated F-crimp profile folds the wings instead of flattening them.
Ferrule
Contains fine strands for screw-clamp terminals. It needs controlled square or hex compression sized to the conductor.
Battery lug and specialty terminal
Large cable lugs, spark-plug terminals, solar contacts, and other specialty connectors require purpose-built dies. Do not substitute a general insulated-terminal cavity.
Manual, Ratchet, Heavy-Cable, or Specialty?
Manual pliers
Compact and inexpensive, but pressure and release depend on the operator. Suitable only when the connector manufacturer permits that profile and the user can verify compression consistently.
Ratchet crimper
A full-cycle mechanism helps deliver repeatable compression and prevents an early release. It is the practical starting point for insulated and heat-shrink terminals.
Heavy-cable or hydraulic tool
Designed for battery cable and larger lugs that require substantially more force. Match the lug material, conductor size, and compression geometry.
Specialty crimper
Open-barrel, ferrule, spark-plug, solar, coaxial, and modular contacts use distinct shapes. The dedicated die protects the terminal geometry.
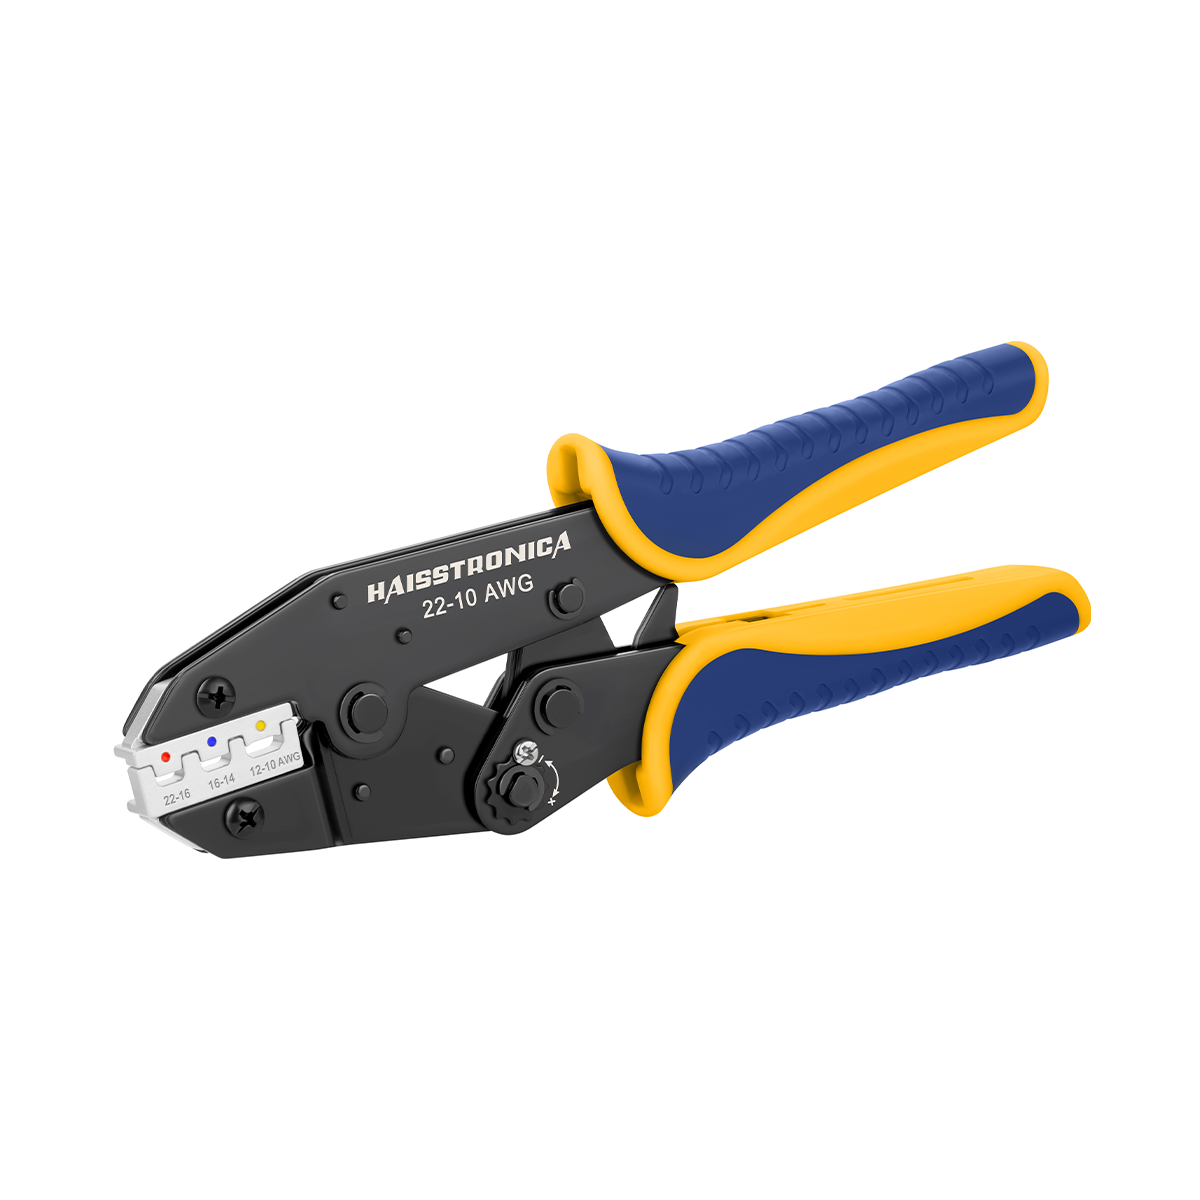
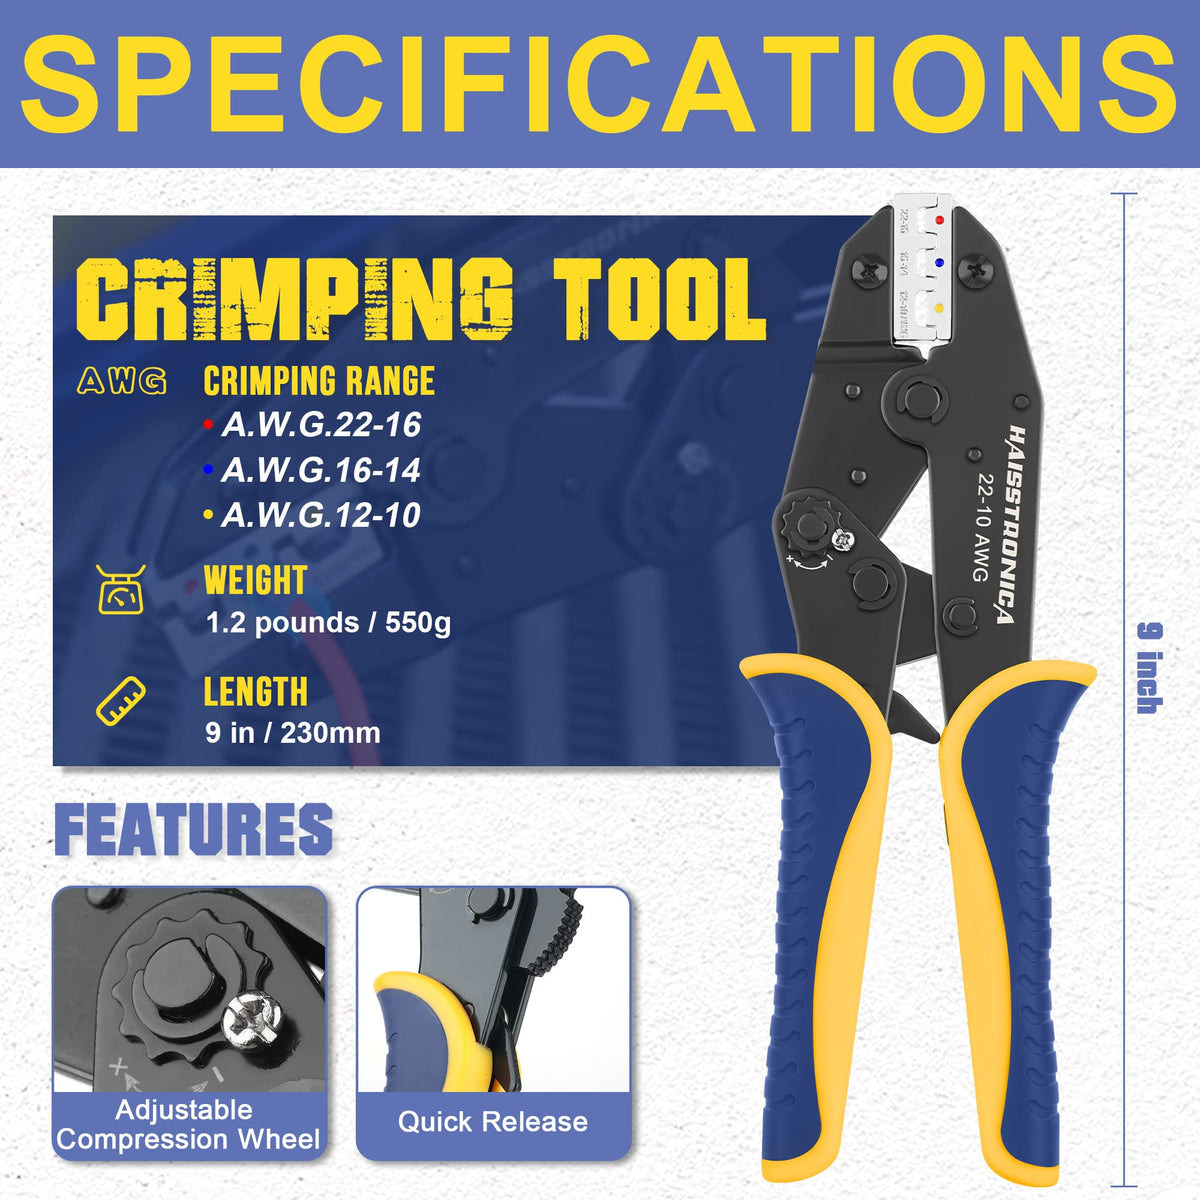
Best Starting Point: AWG 22–10 Ratchet Crimper
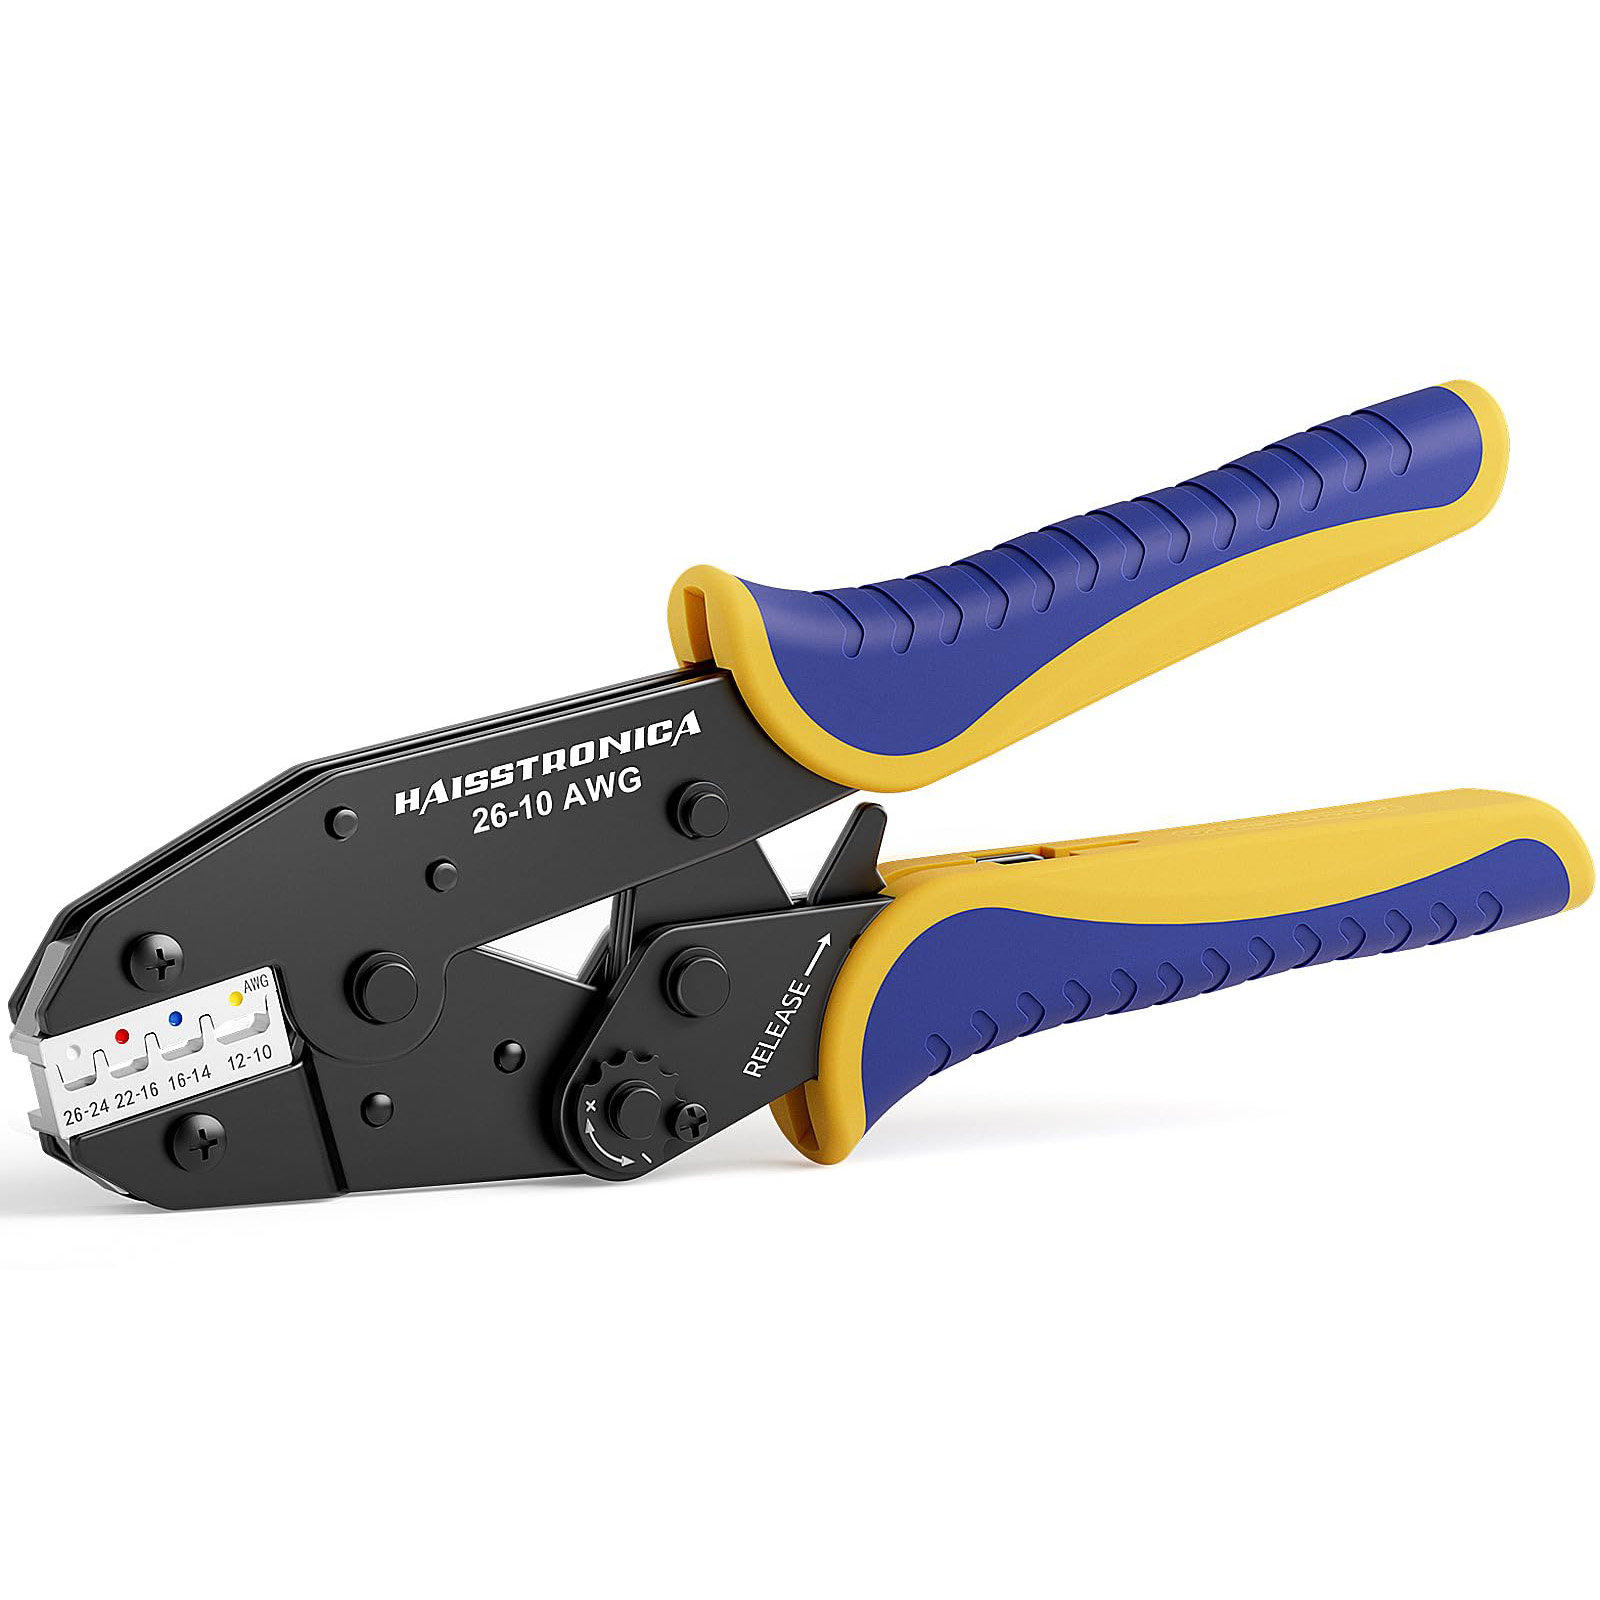
Use one matched system first
For common red, blue, and yellow insulated or heat-shrink terminals, a dedicated AWG 22–10 ratchet crimper is easier to verify than a multi-purpose plier. Match the color range, center the barrel, and complete the full cycle.
Shop the AWG 22–10 Ratchet Crimper →Specialty Tools: Go Directly to the Correct Die
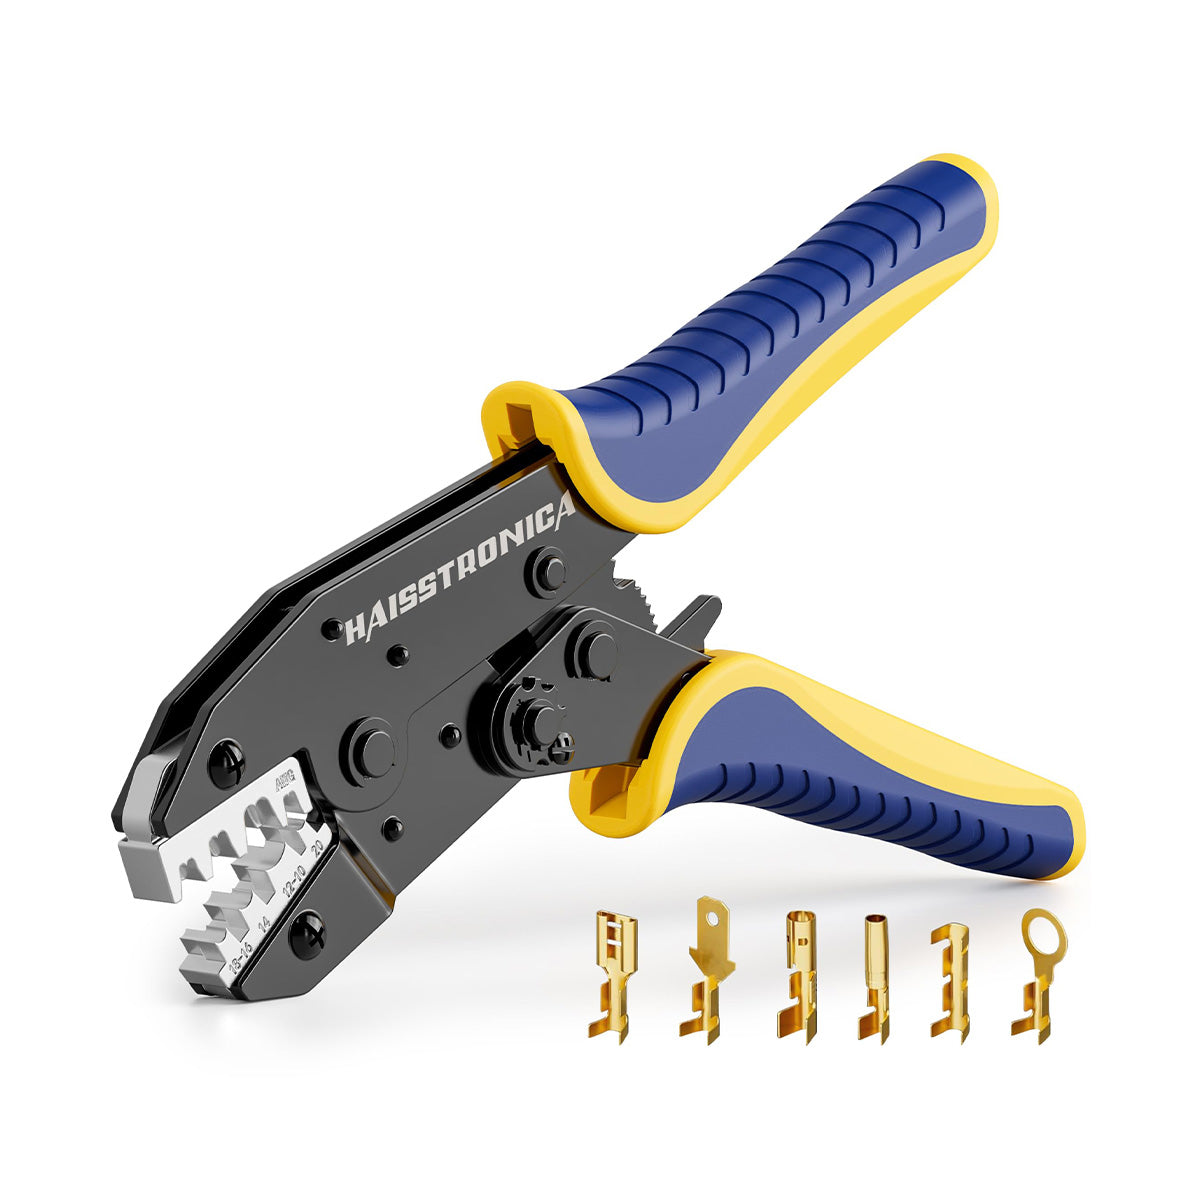
Open-Barrel Crimper
For OEM-style F-crimp terminals with conductor and insulation wings.
Shop Open-Barrel Tool →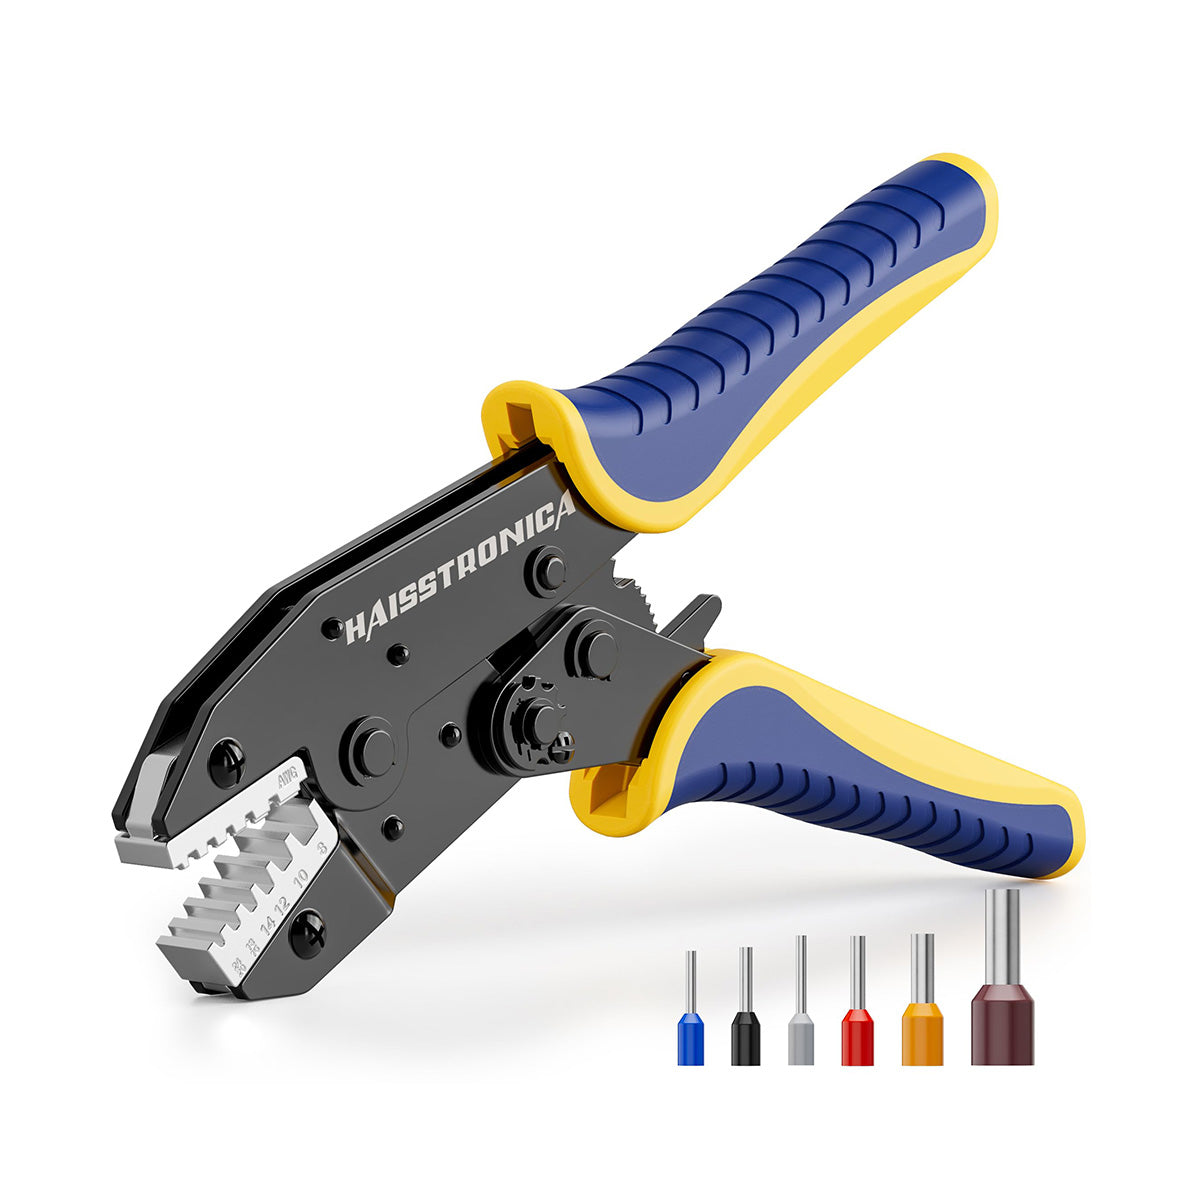
Ferrule Crimper
For controlled ferrule compression in panels, terminal blocks, and screw clamps.
Shop Ferrule Tool →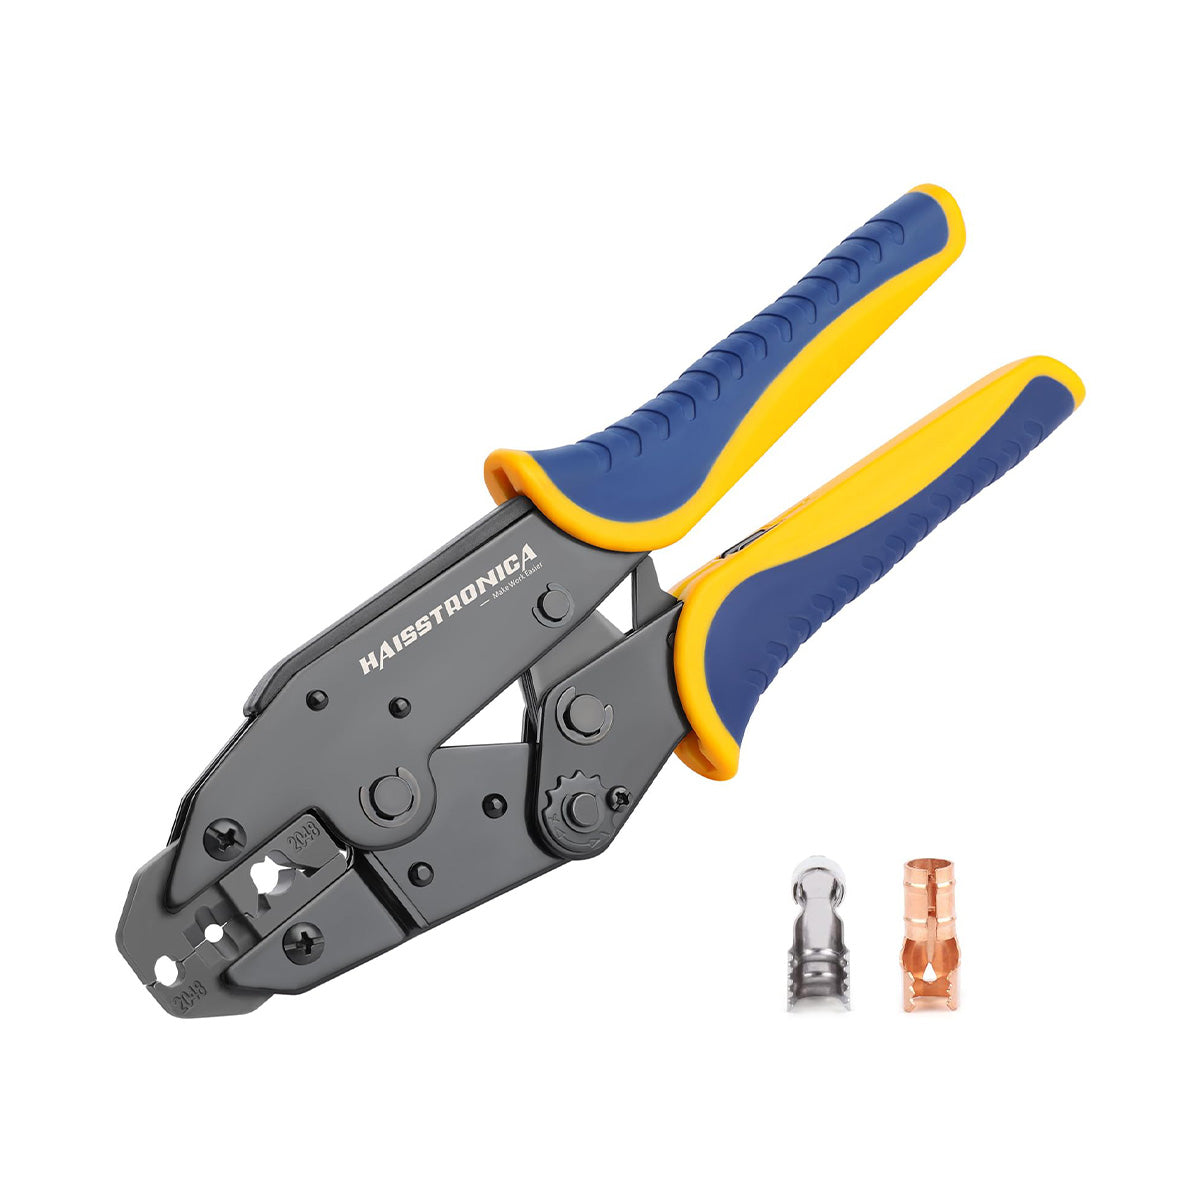
Spark-Plug Crimper
For the fold and strain-relief profile used on compatible 8.5 mm ignition wire.
Shop Spark-Plug Tool →Heavy Cable: Battery Lug Crimping

Use lug-sized force and geometry
Battery lugs require more force than small insulated terminals. Match the cable and lug range, select the correct hex cavity, complete the compression, and inspect for full conductor capture before adding heat shrink.
Shop Battery Terminal Crimper →One Workshop, Several Connector Families
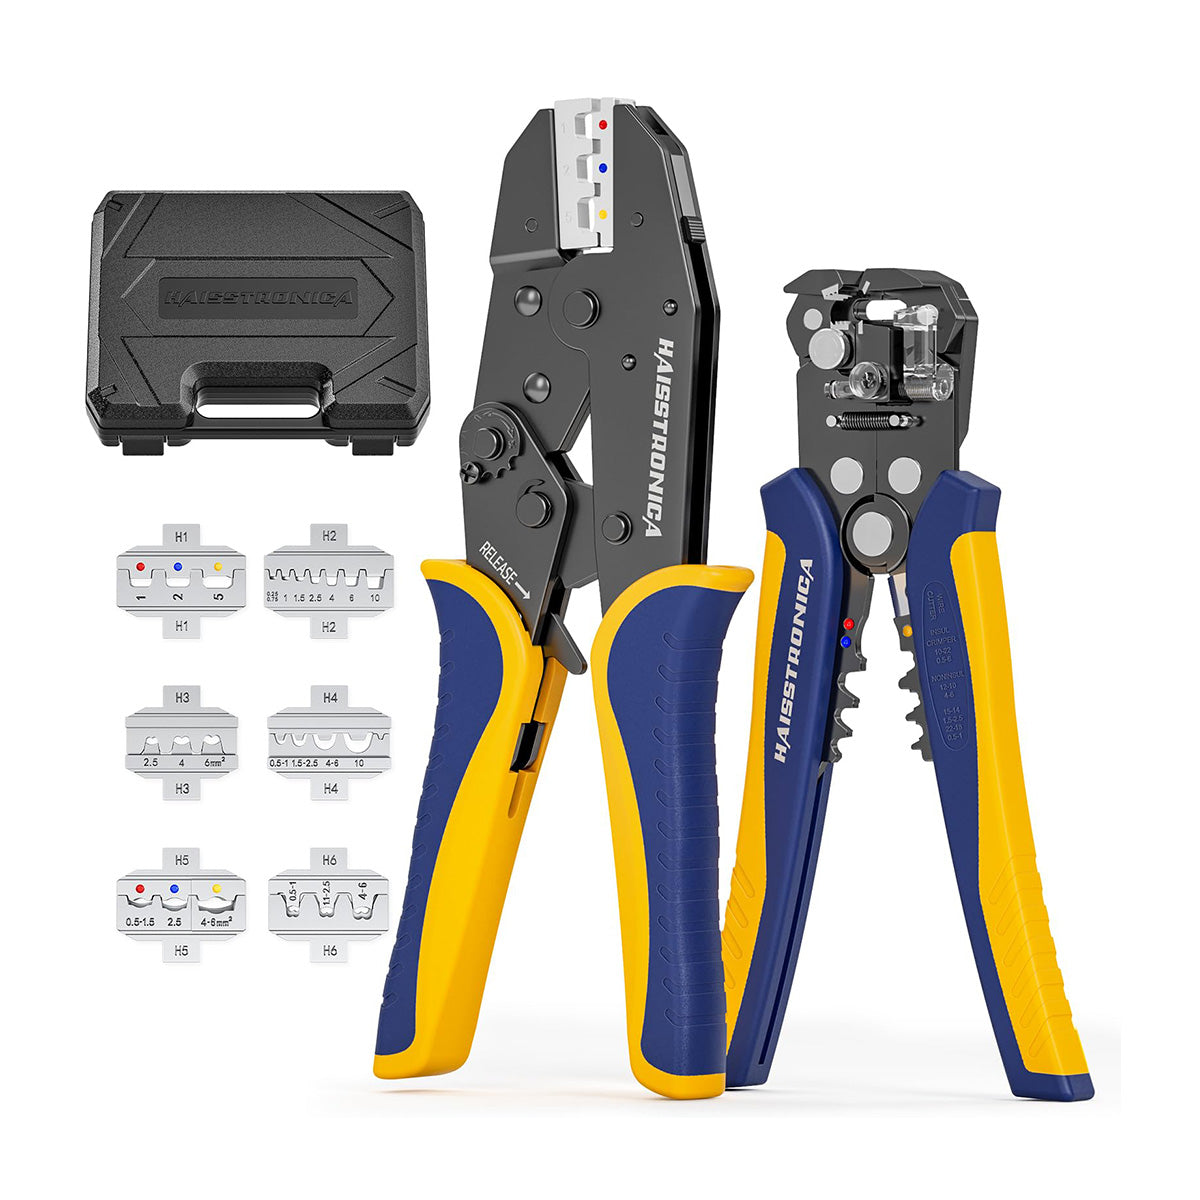
Choose interchangeable dies—not a universal cavity
A 6-in-1 kit is useful when the workbench regularly sees several connector families. Each job still requires the correct die, AWG range, and connector orientation; the advantage is organized changeover within one ratchet system.
Shop the 6-in-1 Crimping Kit →Choose Your Route
New to crimping
Start with common AWG 22–10 insulated or heat-shrink terminals and one dedicated ratchet tool.
Choose Ratchet Starter →Several connector types
Use a ratchet platform with separate, clearly labeled dies for each terminal geometry.
Choose 6-in-1 Kit →Battery lugs / heavy cable
Move to a heavy-cable tool sized for the lug and conductor—do not force the job into a small terminal die.
Choose Battery Crimper →Tool Maintenance and Pre-Use Checks
Before each job
- Confirm the die matches the connector
- Inspect jaws for chips, contamination, or misalignment
- Check that the ratchet closes and releases smoothly
- Verify adjustment settings have not moved
After the job
- Remove metal fragments and adhesive residue
- Wipe the tool dry and protect it from corrosion
- Lubricate pivots only as the tool instructions permit
- Store dies together and label their connector ranges
Choose the crimper from the connection backward.
Start with connector geometry, confirm the conductor range, then select the matched die and tool. That sequence prevents the most common purchasing mistake: buying one “universal” crimper and forcing every terminal into it.