
Know Your Tool: Understanding Your Crimping Tool and Its Importance
Before diving into maintenance, it’s important to understand what your crimping tool is and why it’s critical to keep it in good condition. A crimping tool (sometimes simply called a wire crimper, crimp tool, or crimper pliers) is used to join a connector to a wire by deforming the metal terminal tightly around the strands. This process, known as crimping, creates a strong, low-resistance electrical connection without the need for solder. For example, electricians and technicians use crimpers to attach crimp wire connectors like ring terminals, spade connectors, butt splice connectors, bullet connectors, and closed-end crimp caps onto wires. A well-executed crimp is often gas-tight and mechanically robust, capable of withstanding vibration and environmental stress over time. In short, using a proper electrical crimping tool ensures your wire connections are secure and long-lasting – but this is only true if the tool itself is in top working shape.
Why care and calibration matter: Even high-quality professional wire crimping tools require maintenance and occasional calibration. Over time, the tool’s moving parts and crimping dies can wear or drift out of alignment. If a crimper is dirty, damaged, or misaligned, it won’t apply the correct pressure or form to the connector – leading to bad crimps that can fail (loose wires, poor conductivity, or even safety hazards). In critical industries like automotive, aerospace, or electrical installations, using a poorly maintained crimper can result in connections that don’t meet safety codes or standards. In fact, proper maintenance and periodic calibration of crimping tools “ensures reliable electrical connections, prevents equipment failure, and maintains compliance with industry standards.” Neglecting your tool can not only ruin connectors and wires but also violate electrical codes (for instance, NEC Article 110.14 or UL 486A-486B) which require secure, consistent crimps.
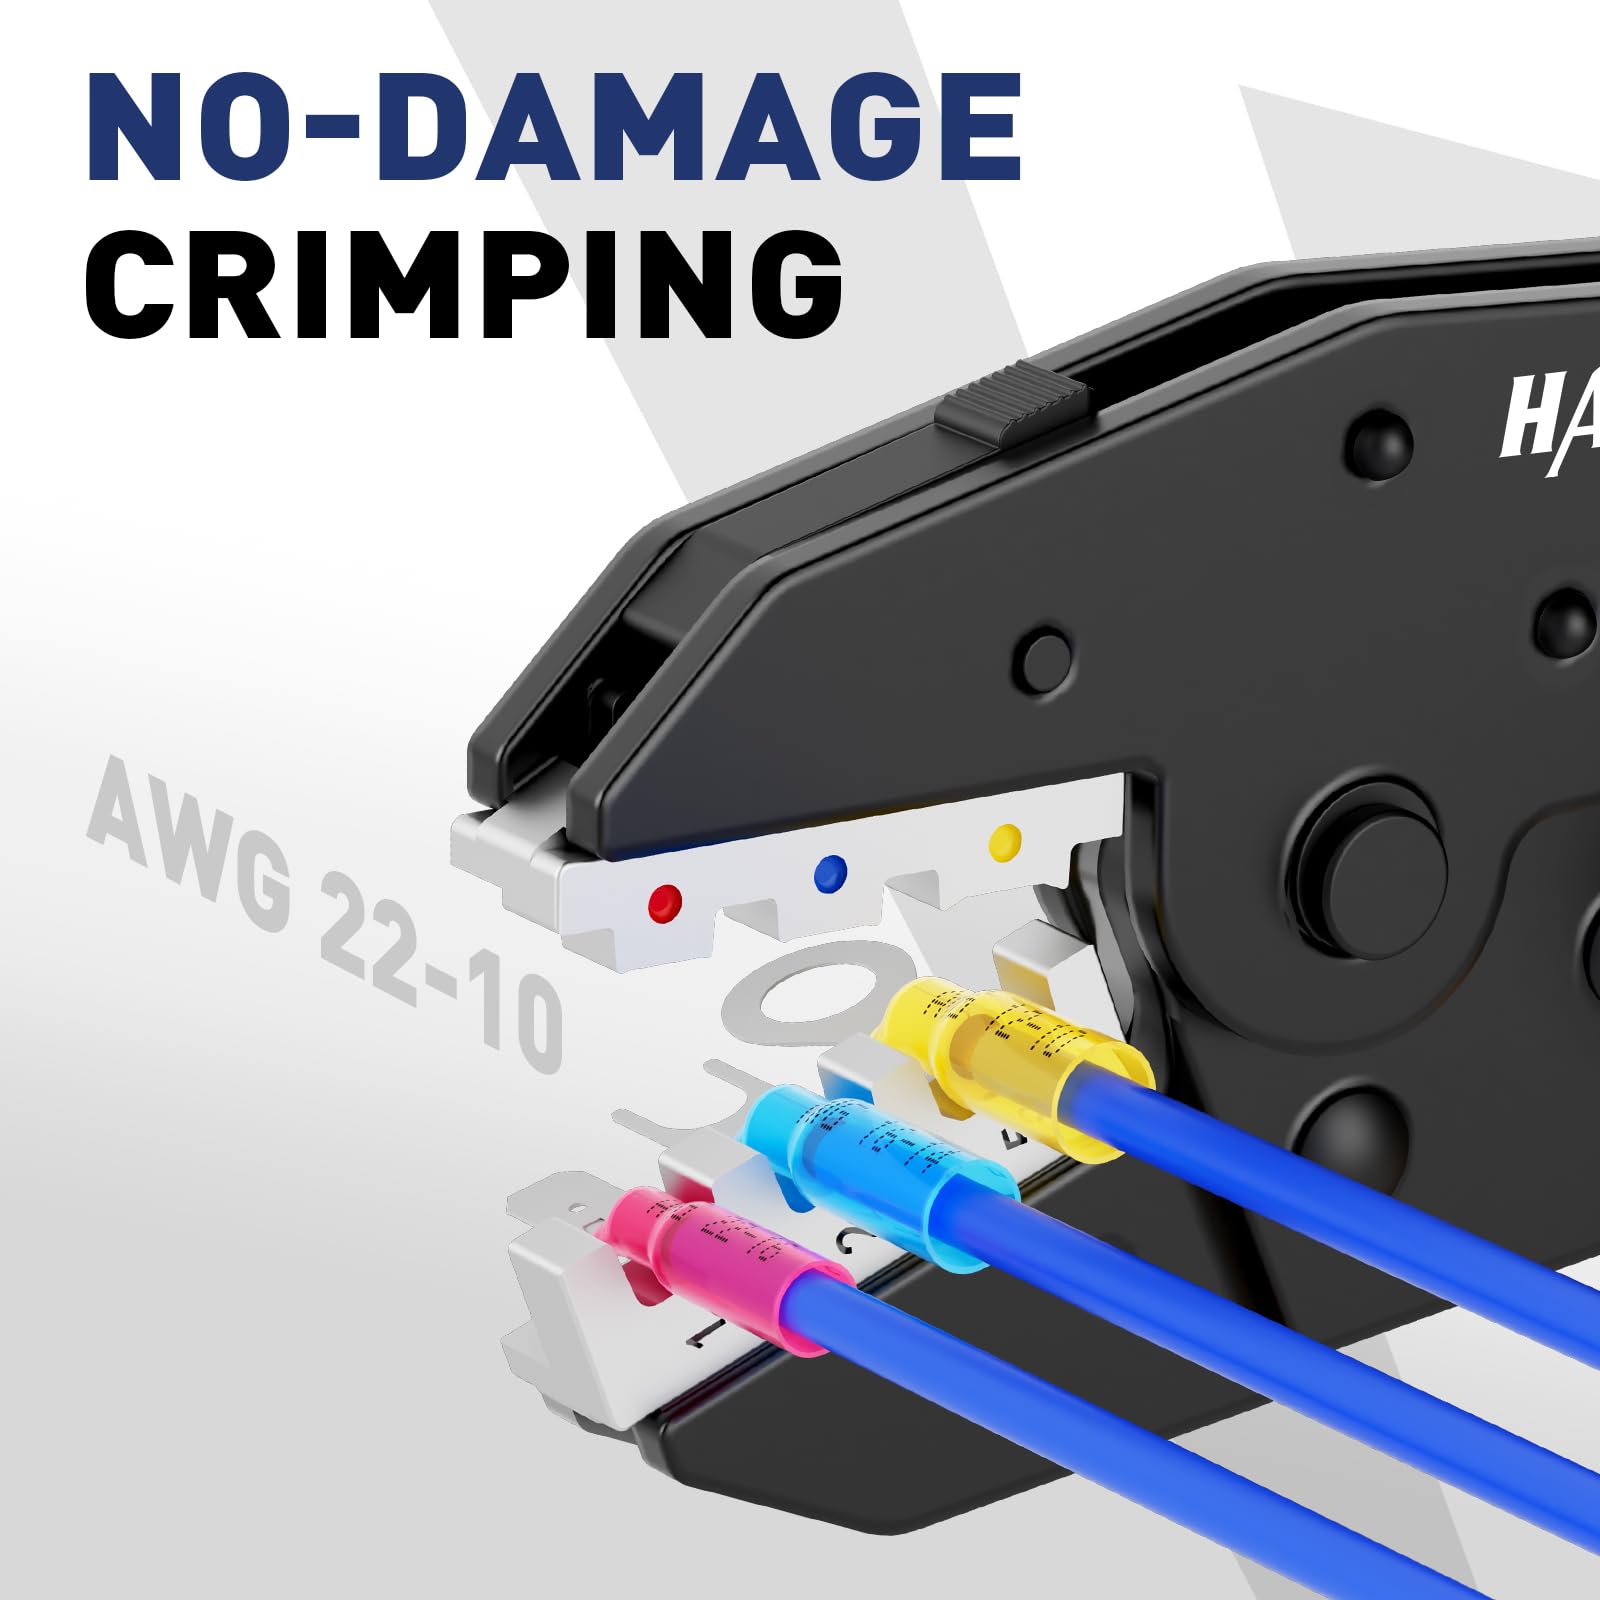
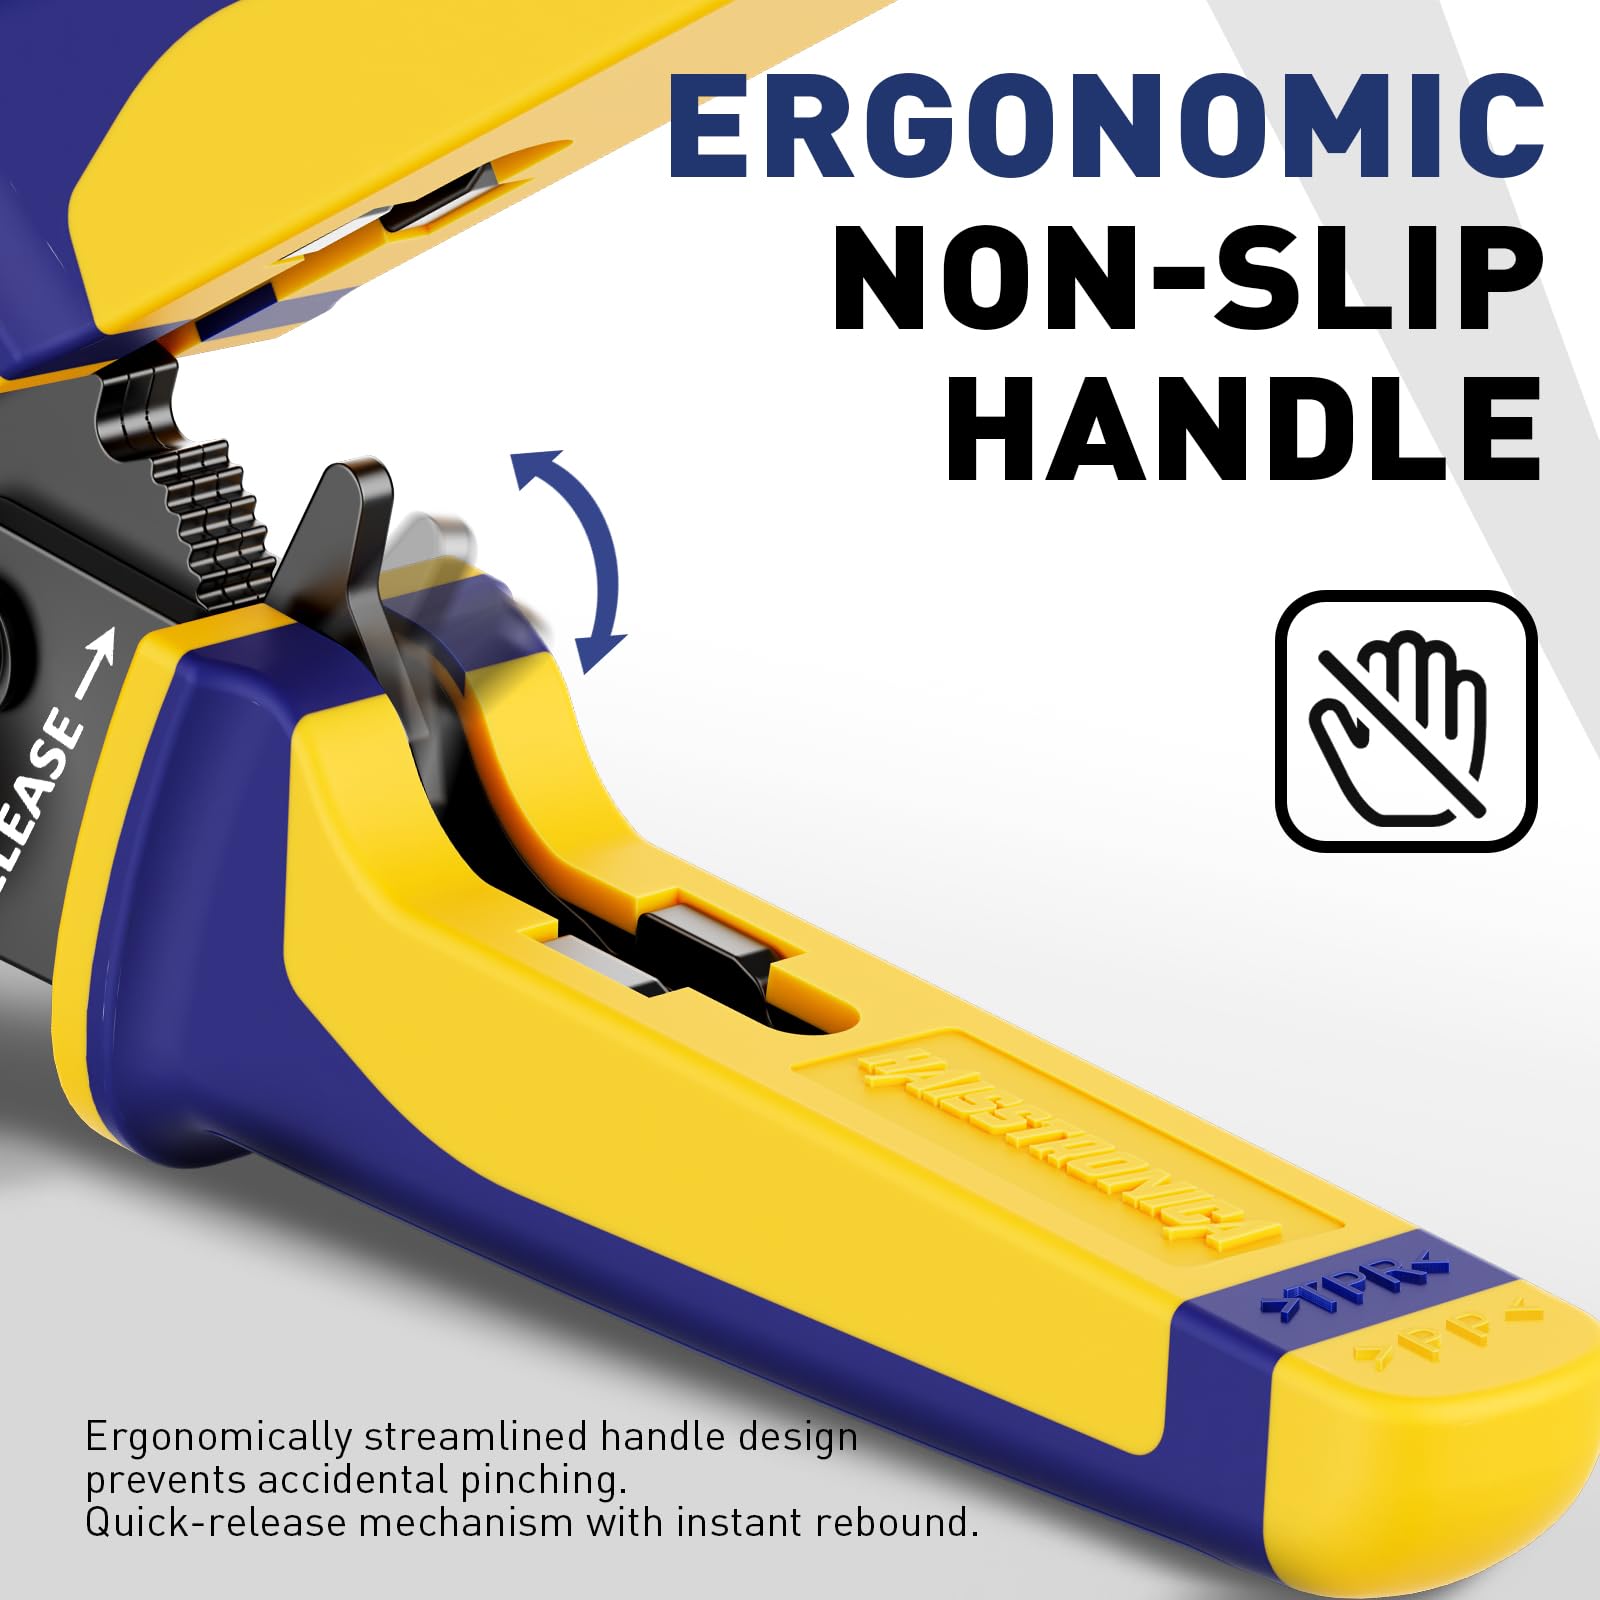
Know your crimper’s features: Take a moment to familiarize yourself with your specific wire crimping tool. Most hand crimpers for electrical terminals (like the Haisstronica Ratchet Wire Terminal Crimping Tool for AWG 22-10 Heat Shrink Connectors) have a few key components: precision machined dies for different wire sizes, a ratcheting mechanism, adjustment knobs or tension screws, and ergonomic handles. The ratchet mechanism on a quality tool ensures consistent pressure – it won’t release until the crimp is fully compressed, so you achieve a uniform result every time. Many ratcheting terminal crimpers also have a quick-release lever to open the jaws mid-cycle if needed, and some allow interchangeable die sets for different connector types. By knowing how your tool is designed, you can use it properly and identify any parts that might need attention during maintenance (for example, the ratchet tension or a specific die cavity). Remember that even the best crimping tool will perform poorly if used on the wrong connectors or wire gauge. Always use the correct die size for your connector (match the AWG range on the tool to your wire size), and don’t force the tool on tasks beyond its design (for instance, do not use a light-duty wire crimper on large cable lugs). Proper usage will prevent undue strain on the tool and is actually the first step in maintenance – it’s easier to keep a tool in shape if it’s not being abused.
The role of calibration: Calibration refers to verifying and adjusting the tool’s performance (crimp pressure, die alignment, etc.) to meet manufacturer specs. Over a long period or very heavy use, a crimper’s ratchet tension might drift or the dies could wear down slightly. An out-of-calibration tool may produce crimps that are too loose or too tight. Industry experts emphasize the importance of calibration – one authoritative source notes that crimp tools should be calibrated at least annually or every 10,000 crimps, whichever comes first. In high-stakes environments, calibrated tools are often accompanied by certification papers and must pass regular inspections. For everyday users, this means you should be aware that your crimper won’t last forever without tune-ups. If you notice that crimps are not as secure as they used to be (wires pull out easily or connectors get deformed improperly), it might be a sign your tool needs adjustment or replacement. In general, plan to have your connector crimping tool formally calibrated by a professional service or replaced roughly every year or so, depending on usage frequency. Using a calibrated tool gives you peace of mind that each crimp meets the required specification and reduces the risk of connection failures. In the next sections, we’ll outline simple daily and weekly care routines that will dramatically extend the life of your crimper and keep it working “like new” until those calibration checkups.
👉Skip generic walmart crimpers—upgrade to Haisstronica quality.

Daily Care: Simple Habits to Maintain Your Crimping Tool Every Day
Even if you’re crimping wires only occasionally, adopting a daily care routine will keep your tool in peak condition. Daily care for a crimping tool revolves around cleanliness, inspection, and proper handling. Here are the key steps to include in your after-use ritual:
-
Wipe down the tool after each use. Whenever you finish a crimping session, take a moment to remove any debris. Dirt, dust, and tiny metal shavings can accumulate in the crimping die cavities and moving parts of the tool. Use a clean, dry lint-free cloth to wipe the jaws (dies), the handles, and especially around the pivot and ratchet mechanism. For any stubborn bits of wire stripping or terminal fragments stuck in the dies, use a soft brush (an old toothbrush works well) to gently dislodge them. Avoid using abrasive materials or excessive force – you don’t want to scratch the polished die surfaces or remove protective coatings. Some experts also caution against using compressed air to blow out a hand crimper, as it might drive debris deeper into the hinge or ratchet mechanism. Generally, a soft bristle brush and cloth are sufficient for daily cleaning of wire crimpers.
-
Quick visual inspection. Before you put the tool away (and likewise before you start the next job), do a brief check for any obvious damage or wear. Look for cracked or chipped handles, loose screws or pins, or any misalignment in the jaws. Verify that the tool’s dies close evenly and the ratchet engages and releases smoothly by cycling the tool once with no wire (this is effectively a quick function test to ensure nothing is jammed). If you spot a problem – for example, a bent crimp die or a loose pivot pin – address it before the next use. It might be as simple as tightening a screw, or it might indicate the tool needs repair/replacement. Catching these issues early prevents bad crimps and possible injury (using a damaged tool can be dangerous). Fortunately, quality crimpers are built tough; finding a cracked component is rare unless the tool has been subjected to heavy abuse (like being dropped from height on a hard surface).
-
Light lubrication of moving parts. While you don’t need to oil your crimper every day, it’s wise to keep the joints moving freely. Depending on usage, a drop of oil on the pivot pin and the ratchet mechanism occasionally (e.g. once a week or whenever the tool feels rough) will maintain smooth operation Use a lightweight machine oil or multi-purpose lubricant sparingly – one drop per hinge is enough. After applying, open and close the crimper a few times to work the oil in, and then wipe off any excess. Never apply lubricant to the crimping surfaces (dies) where the connector and wire go. Oil or grease on the die faces can transfer to your connectors and wires, contaminating the crimp and potentially causing electrical resistance or even connection failure. Keep the oil confined to the tool’s mechanical joints only. If your tool has a spring or adjustable tension wheel, you can put a tiny dab of oil there too. Regular mild lubrication prevents rust and reduces wear on the ratcheting parts, ensuring your ratcheting crimper tool continues to operate with the same tight precision as the day you bought it.
-
Proper handling and storage. Treat your crimp tool as a precision instrument. After cleaning and inspecting, close the handles to the locked position (most ratchet crimpers have a latch or they stay slightly closed when the ratchet is at rest) to keep the dies protected. Store the tool in a dry, indoor environment – ideally in a toolbox or a protective case where it won’t get banged around. If your tool came as part of a wire crimping tool kit, use the provided case or holder to keep it safe from dust and impacts. Avoid leaving the crimper in high humidity areas which could cause corrosion, and definitely keep it away from any liquids or chemicals that could spill on it. A good practice is to store it with a silica gel pack or rust inhibitor chip if you’re in a humid climate. By simply wiping down, inspecting, oiling, and storing your tool properly each day, you prevent a lot of problems. These few minutes of care can add years of reliable service to your crimping tool – not to mention ensuring that every time you reach for it, it’s ready to perform a perfect crimp.
👉Keep spare crimping tool dies—Haisstronica swaps in seconds.

Weekly Inspection: Deeper Cleaning and Calibration Checks for Consistency
Beyond daily care, it’s important to perform a more thorough inspection and maintenance routine on a regular schedule. For most users, a weekly inspection (or roughly after each few hundred crimps, if you use the tool heavily each day) strikes a good balance. This weekly regimen will address any build-up or wear that daily quick-cleaning might miss, and it gives you a chance to verify the tool’s accuracy before any small issues become big problems.
Deep cleaning: After many uses, tiny debris can accumulate in places you don’t easily catch with a simple wipe. About once a week, do a deeper clean of your crimping tool. You can use a can of compressed air or electronics duster to blow out any particles from the crimp die cavities (unlike daily, here you’re disassembling or being very thorough, so using compressed air in a well-ventilated area is fine). Alternatively, use a small brush and perhaps a wooden toothpick to get into the crevices of the die to remove bits of solder, wire strands, or plastic from insulated connectors that might have stuck. Clean around the pivot joints and inside the ratchet teeth as well. If there’s any sign of rust starting on the tool (for example, a brownish film on the steel), address it now: use fine steel wool or a rust eraser to gently buff it off, then wipe the area with a lightly oiled cloth to prevent future rust. Keeping the tool dry and rust-free is crucial for maintaining the precise tolerances of the crimp dies.
Component checks: As part of the weekly inspection, examine all the mechanical parts of the crimper more closely. Check the pivot pins and hinges for any wobble or loosening. If your tool has removable dies or screws, ensure they are still tight (but be careful not to strip any threads if you tighten them). Inspect the spring (if any) that opens the tool to make sure it isn’t damaged or coming out of place. Look at the ratchet release and make sure it’s functioning (you can test the release lever to confirm it unlocks the ratchet smoothly). Also, inspect the handles, including any rubber grip covers. Over time, handle grips can wear, crack, or slip. If the grips are sliding off, you might re-glue them or consider replacements. A firm handle grip is important for safety and accuracy. Verifying these components weekly helps catch wear-and-tear early. For example, if a pivot pin is working loose, you can have it tightened or peened before it falls out mid-job. If a die is slightly chipped, you’ll notice and stop using the affected cavity to avoid bad crimps.
Crimp quality and calibration check: One of the most important aspects of weekly maintenance is ensuring the tool is still crimping to spec. Professionals often use go/no-go gauges and sample pull tests on a schedule to verify calibration. In fact, many manufacturer instructions recommend gauging the tool at set intervals; for instance, a TE Connectivity guide suggests tools might need recalibration every “5,000 cycles or six months” of use, and advises users to regularly use go/no-go gauge inserts to check that the crimp die closure is within tolerance. If you have access to a go/no-go gauge for your crimp tool (often small rods or blocks that test the die gap), incorporate that in your weekly check. Essentially, you close the tool on the “go” gauge (it should fit) and the “no-go” gauge (it should not fit) to confirm the tool’s jaw alignment and closure force are correct. This simple test can quickly tell you if the crimper has gone out of adjustment. Similarly, you can perform a quick crimp test: take a few scrap pieces of wire and the corresponding connectors (e.g., a butt connector on a wire gauge at the top end of the tool’s range and one at the bottom end). Crimp them and then inspect the results. Look for signs of under-crimp (wire slips out easily, crimp barrel not fully compressed) or over-crimp (connector barrel cracked or flattened too much). If you have a tensile tester or simply a pair of pliers, do a pull test – a properly crimped wire connector should hold firmly; a gentle tug should not pull it out. Some industry guidelines for high-reliability wiring even say to perform such checks weekly or every 10k crimps, whichever comes first. While an average DIYer might not need to gauge every single week, it’s a good practice to at least visually and physically test your crimps regularly. If anything seems off, it might be time to adjust the tool’s calibration or send it for professional calibration service.
When to recalibrate or replace: During your weekly inspections, keep an eye on the overall condition. If you notice the crimper consistently making subpar crimps even after cleaning and minor adjustments, the tool may require a calibration tune-up. Many manufacturers offer calibration and repair services – for example, some will recalibrate a tool and provide a certificate of calibration that it meets standards like UL or IPC/WHMA-A-620. As mentioned earlier, a common rule is to calibrate annually or at ~10,000 crimps, but heavy daily use might accelerate that. Also, if you ever drop the tool from a significant height, it’s wise to check its calibration immediately or at least do a thorough test – a sharp impact can knock the precision out of alignment. In some cases, if a tool is very old or worn (say the ratchet no longer holds, or the dies have visible wear and cannot crimp properly), replacement might be more economical than calibration. Modern crimping tool kits are relatively affordable, and a new tool could save you from uncertainty. Of course, if you invested in a high-end tool, recalibration is usually worth it to extend its life. The key point is that regular weekly check-ups will inform you of the tool’s status. You’ll know when it’s time to lubricate more, tighten something, or call in a professional for calibration. This routine keeps your electrical crimping tool performing at its best and ensures your wire connections remain uniformly excellent across all projects.
👉Precision crimp tool dies—Haisstronica fit, long service life.

Summary & Conclusion
Caring for your crimping tool is not difficult, but it does require consistency. By now, we’ve seen that a little regular maintenance can prevent a host of problems and keep your crimper performing as if it were new. In summary, the recipe for a long-lasting, reliable crimp tool is: daily cleaning and inspection, weekly deeper check-ups (with occasional calibration verification), and using the tool correctly within its design limits. These steps will preserve the tool’s precision, extend its lifespan, and guarantee that every crimp you make is safe and secure. Remember, a well-maintained crimping tool helps you create quality crimp connections efficiently, and it also improves the tool’s longevity, saving you money in the long run. Professionals and seasoned electricians follow these practices because they know the integrity of an electrical connection is only as good as the tool that made it.
Importantly, if you notice your crimps failing or the tool struggling despite maintenance, don’t hesitate to recalibrate or replace the unit. Your safety and the quality of your work depend on it. For hobbyists and automotive wiring enthusiasts, treating your crimpers with care is an easy way to ensure your car’s wiring or DIY project doesn’t let you down due to a faulty connection. For commercial and industrial users, tool maintenance and calibration might even be mandated by workplace standards – and it certainly helps in avoiding downtime or rework caused by bad crimps.
At the end of the day, taking care of your crimping tool is all about protecting your investment and ensuring every crimp is a good crimp. Just as you wouldn’t expect a car to run for years without oil changes and tune-ups, you shouldn’t expect your wire crimping tools to perform flawlessly year after year without a bit of TLC. The good news is, the required upkeep is minimal – a few minutes of cleaning and inspection can make a tremendous difference.
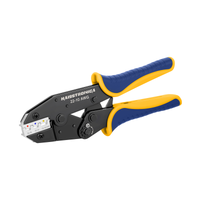
If your current crimper is showing its age or you’re looking to upgrade to a more robust model, consider investing in a high-quality tool that will reward you with longevity. The Haisstronica Ratchet Wire Terminal Crimping Tool (AWG 22-10 Heat Shrink Connectors) mentioned in this guide is a great example of a durable, well-designed crimper that comes ready for the long haul. It’s built with the features and quality materials needed to withstand heavy use, and with the care tips outlined above, it will serve you reliably whether you’re crimping a few wires on weekends or tackling professional wiring projects daily. By pairing a top-notch crimping tool with proper care and calibration, you’ll ensure every crimp is tight, every connection is sound, and your tool remains an asset rather than a liability in your toolbox.
Our Top User-friendly Picks
From dashboards to junction boxes, the Haisstronica electric cable crimper provides controlled compression for AWG 22–10 heat‑shrink connectors. Its smooth mechanism rivals bench‑top electrical cable crimpers, yet it’s compact enough for field work. Make safer terminations when crimping electrical cables in tight spaces—without crushing insulation.
👉One crimp tool die, many jobs—Haisstronica versatility.

References: