Bad Crimp Troubleshooting
Test Before You Replace Anything
A poor crimp can cause intermittent power, voltage drop, heat buildup, or complete failure. Diagnose it in this order: look, pull, then measure. Only choose replacement parts after you know why the connection failed.
1. Run These Three Tests First
Visual Inspection
Check for exposed or missing strands, insulation trapped inside the conductor barrel, cracks, an open seam, uneven compression, or the wrong connector size.
Pull Test
Hold the connector and apply a firm, steady pull to the wire. Any movement, rotation, or strand pullout means the crimp must be replaced.
Electrical Test
Check continuity and voltage drop with a multimeter. Intermittent readings, unusual resistance, or heat under load indicate a high-resistance joint.
2. Match the Fix to the Cause
The tool is not always the problem. Use the failure pattern below to avoid buying the wrong fix.

Cause A · Loose or Over-Crushed
Connector Size Does Not Match the Wire
A barrel that is too large stays loose; one that is too small damages strands or splits. Confirm the terminal's AWG range before re-crimping.
Find the Right Connector Kit →
Cause B · Nicked Strands or Wrong Strip Length
The Wire Was Stripped Incorrectly
Too little exposed copper traps insulation in the barrel. Too much leaves bare conductor exposed. Nicked strands reduce both strength and current capacity.
See the Self-Adjusting Stripper →
Cause C · Lopsided Barrel or Failed Pull Test
Pressure Was Uneven or the Die Was Wrong
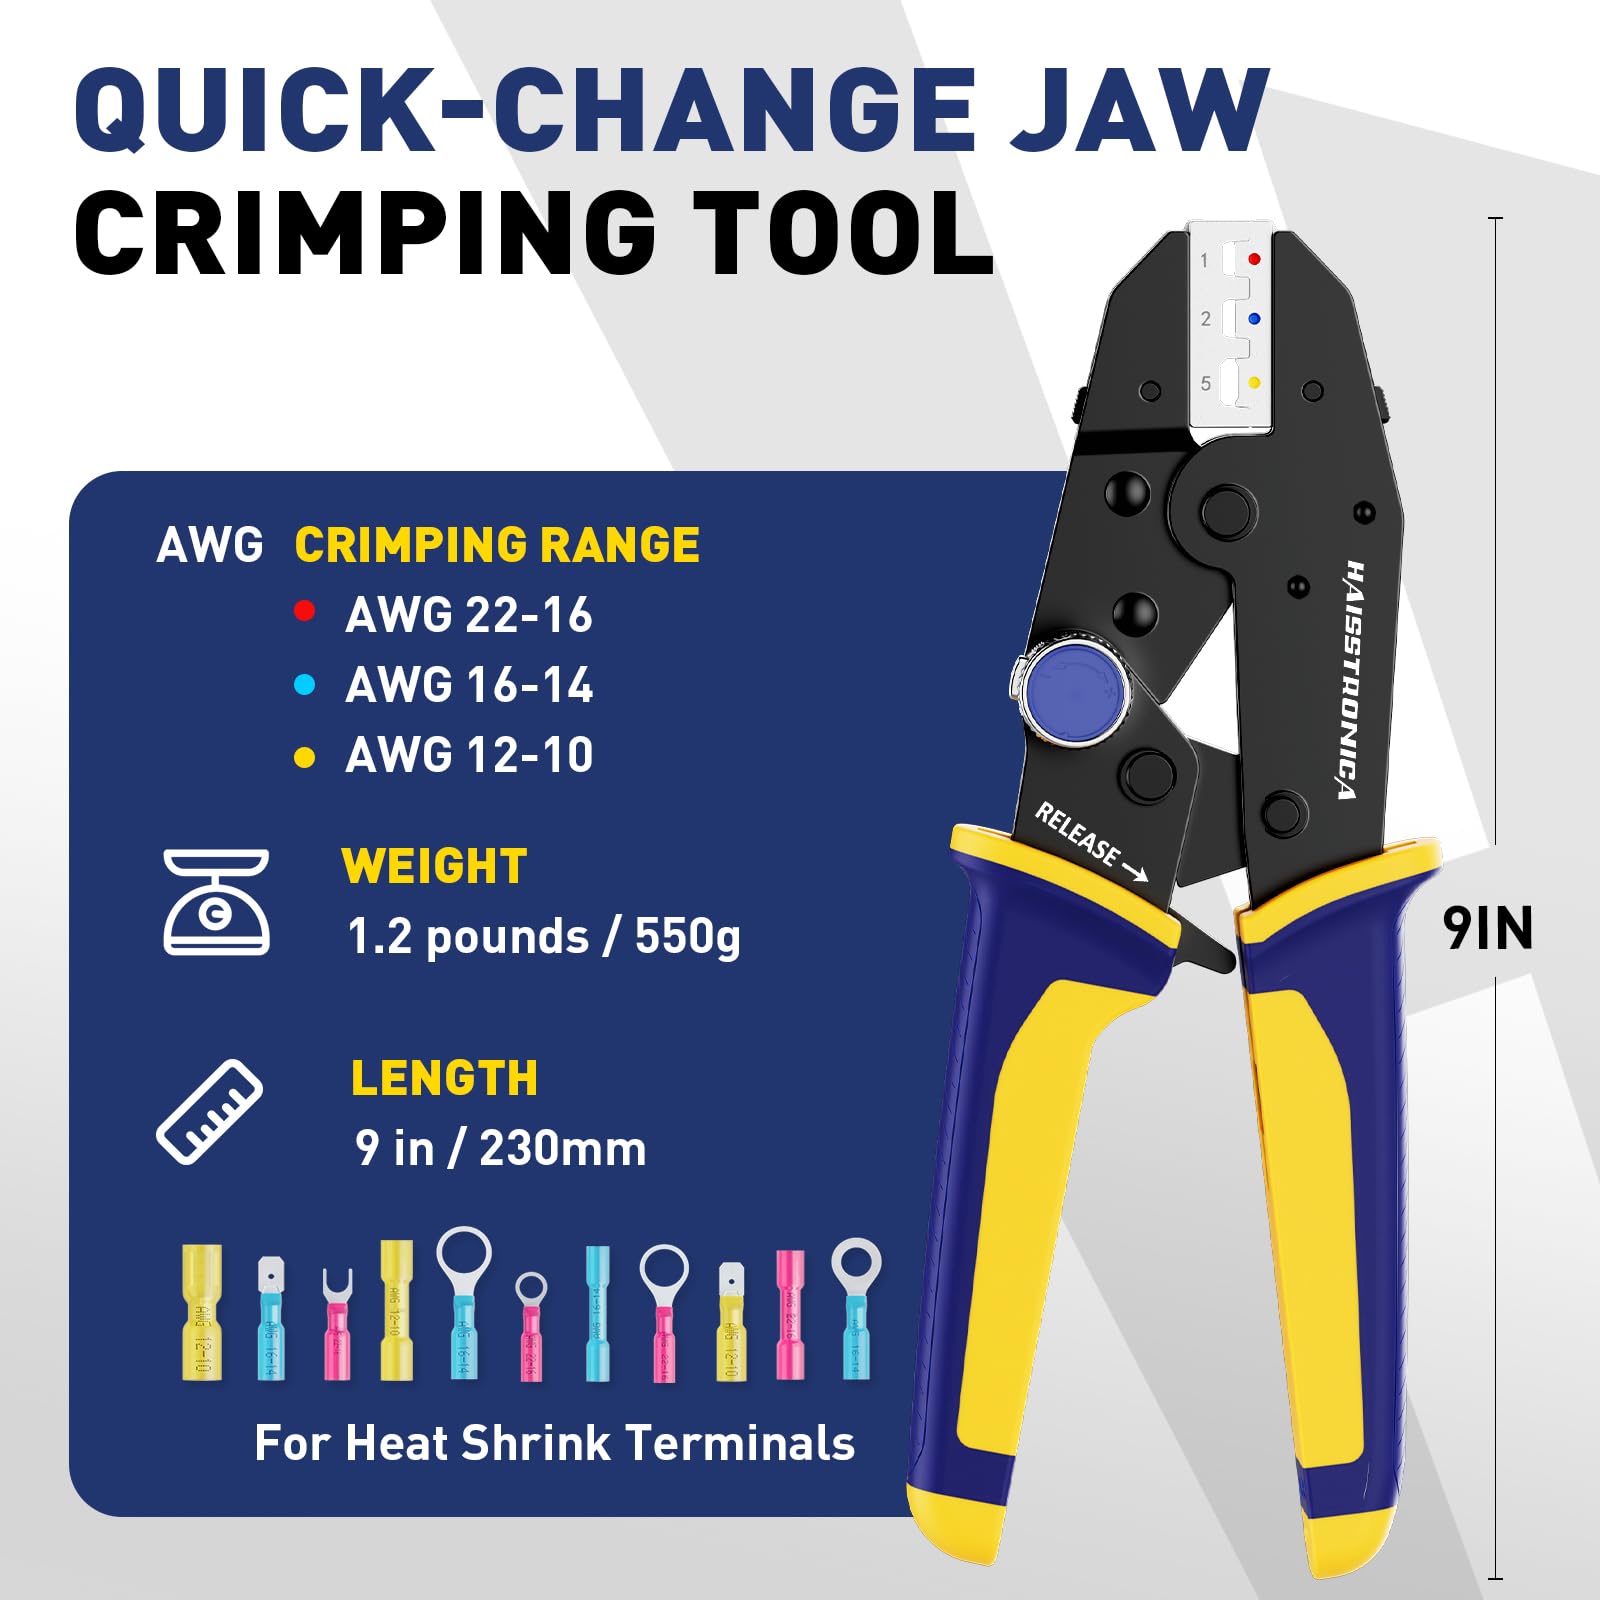
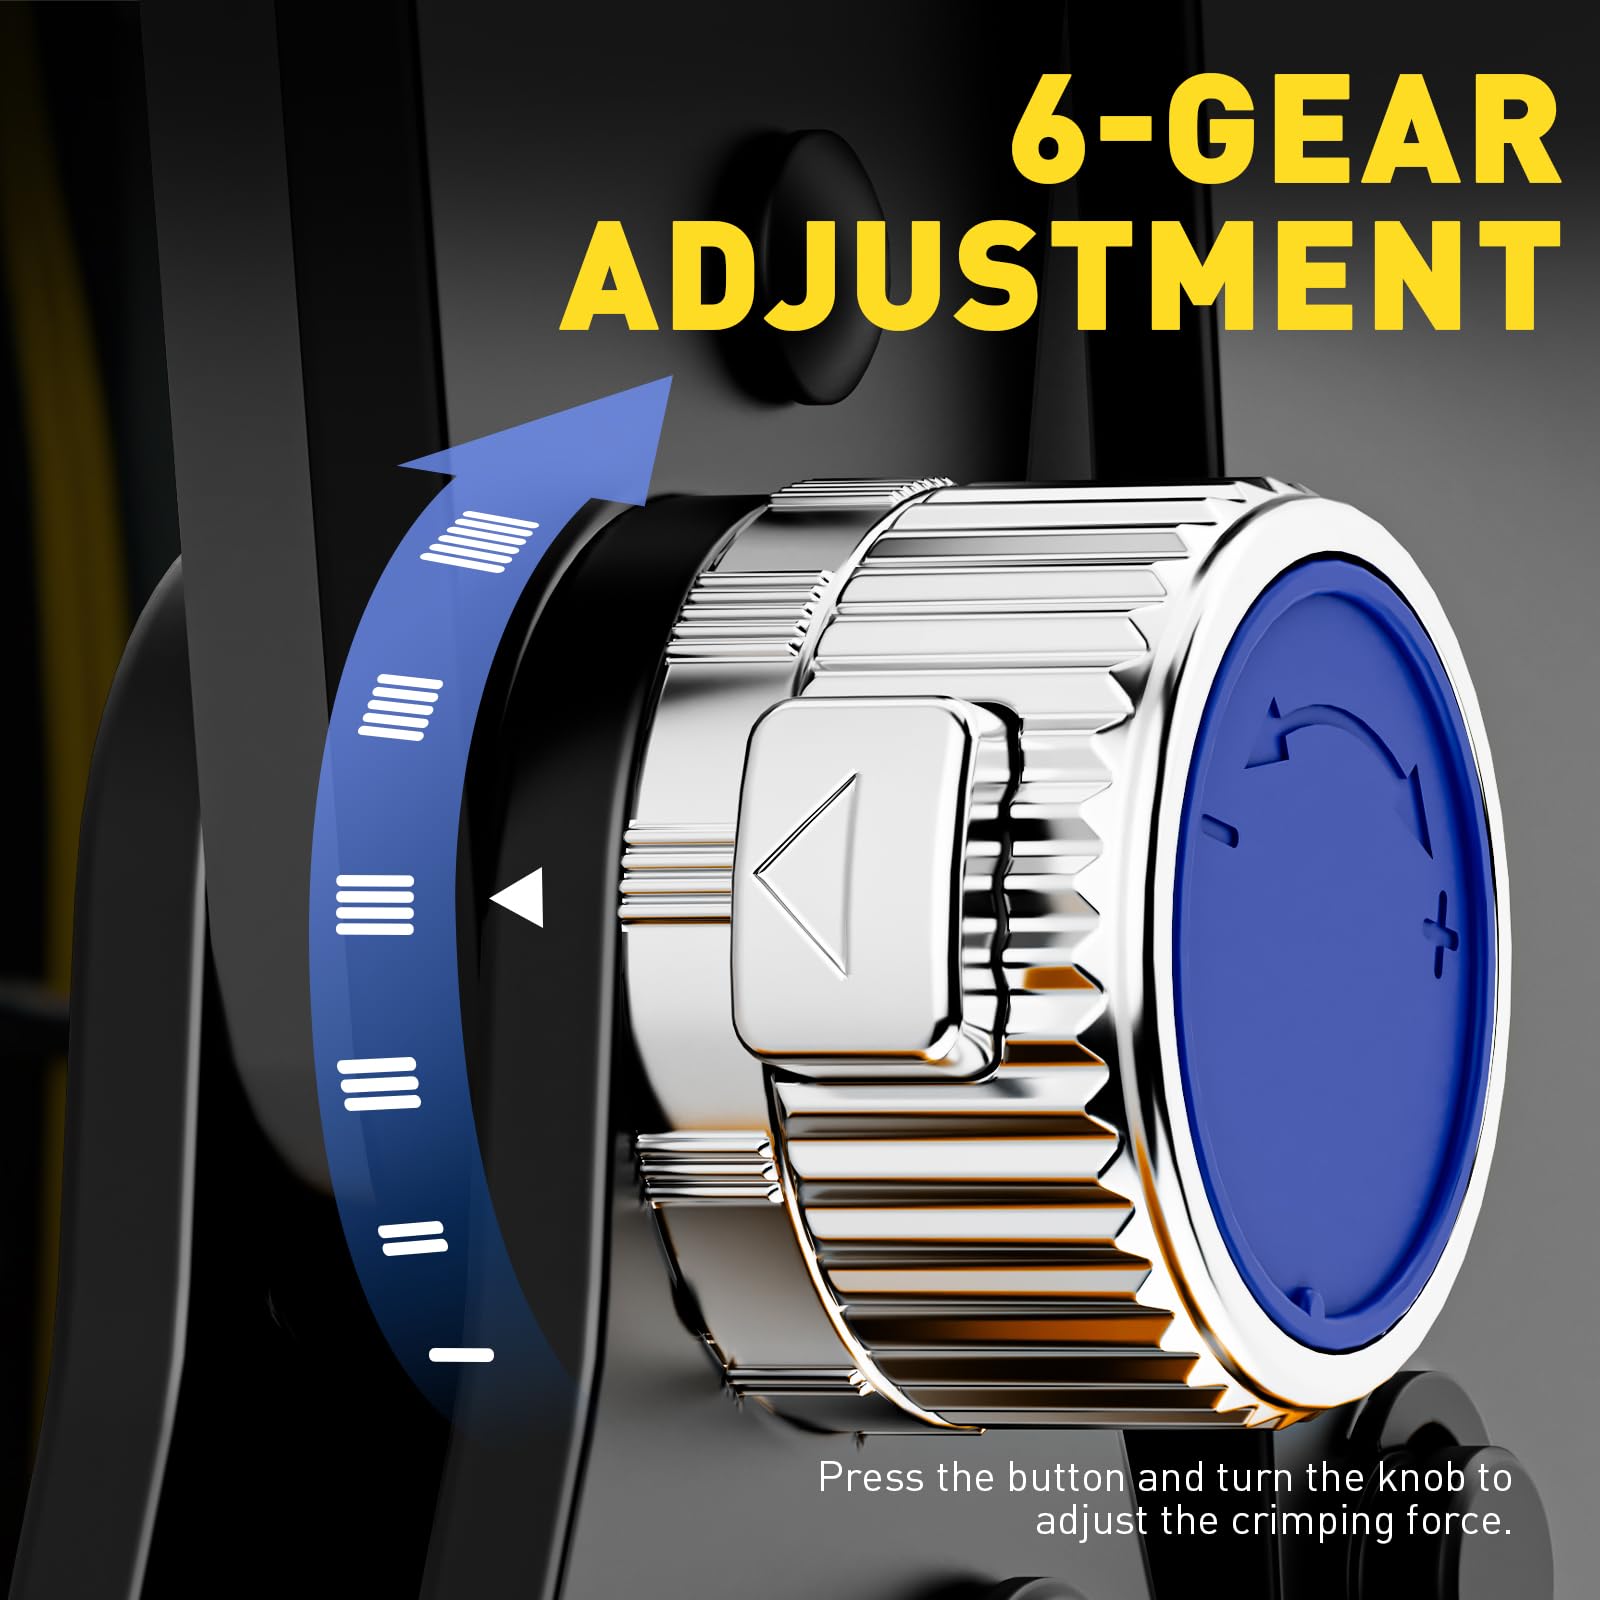
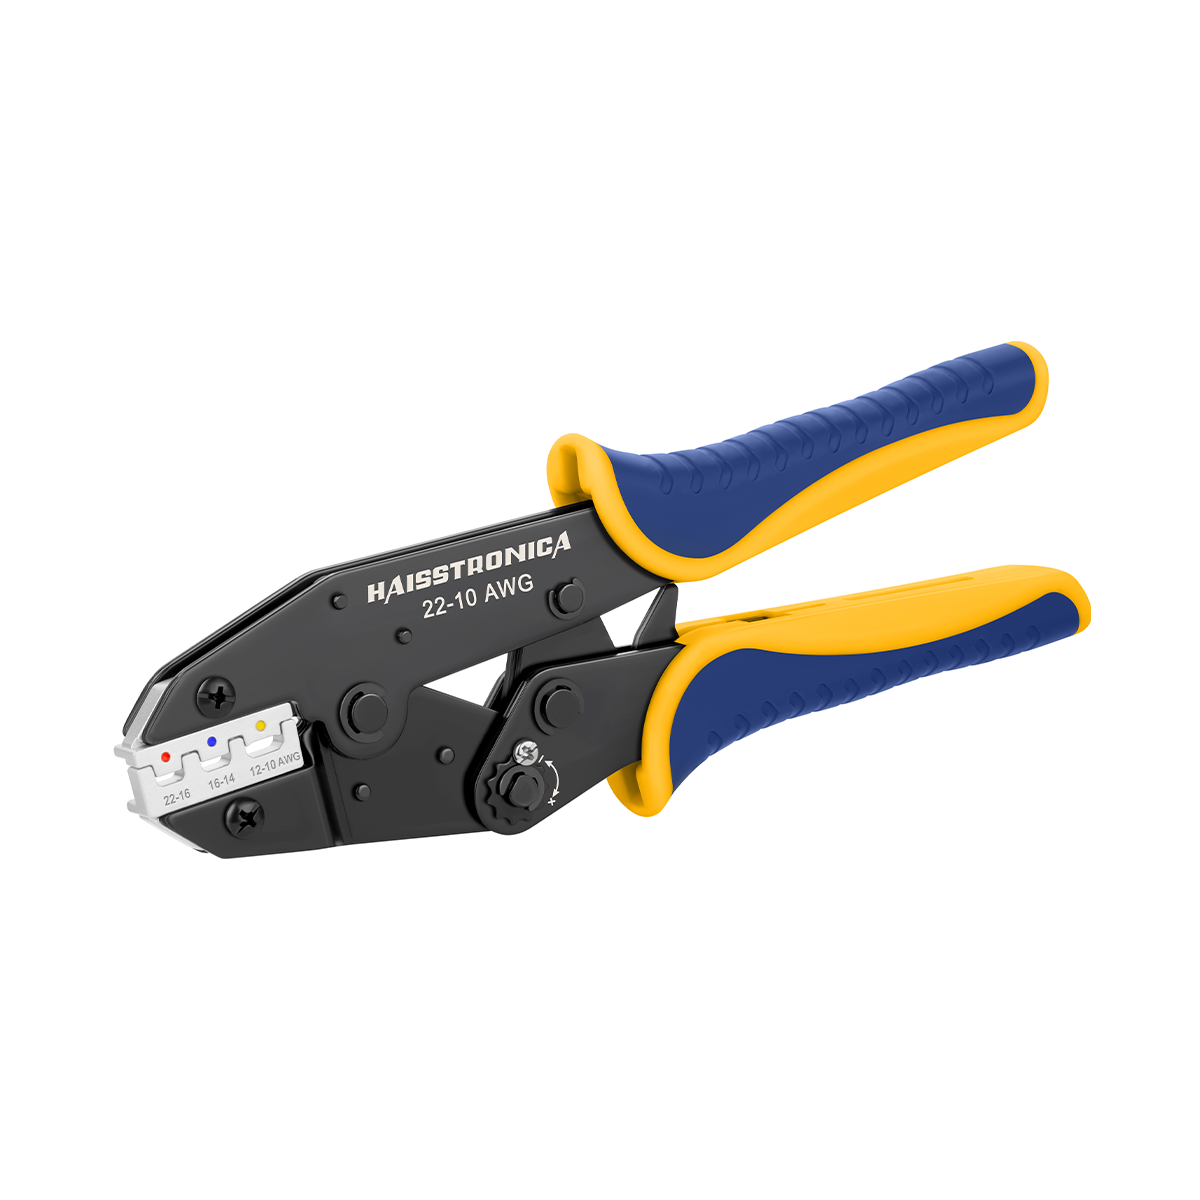
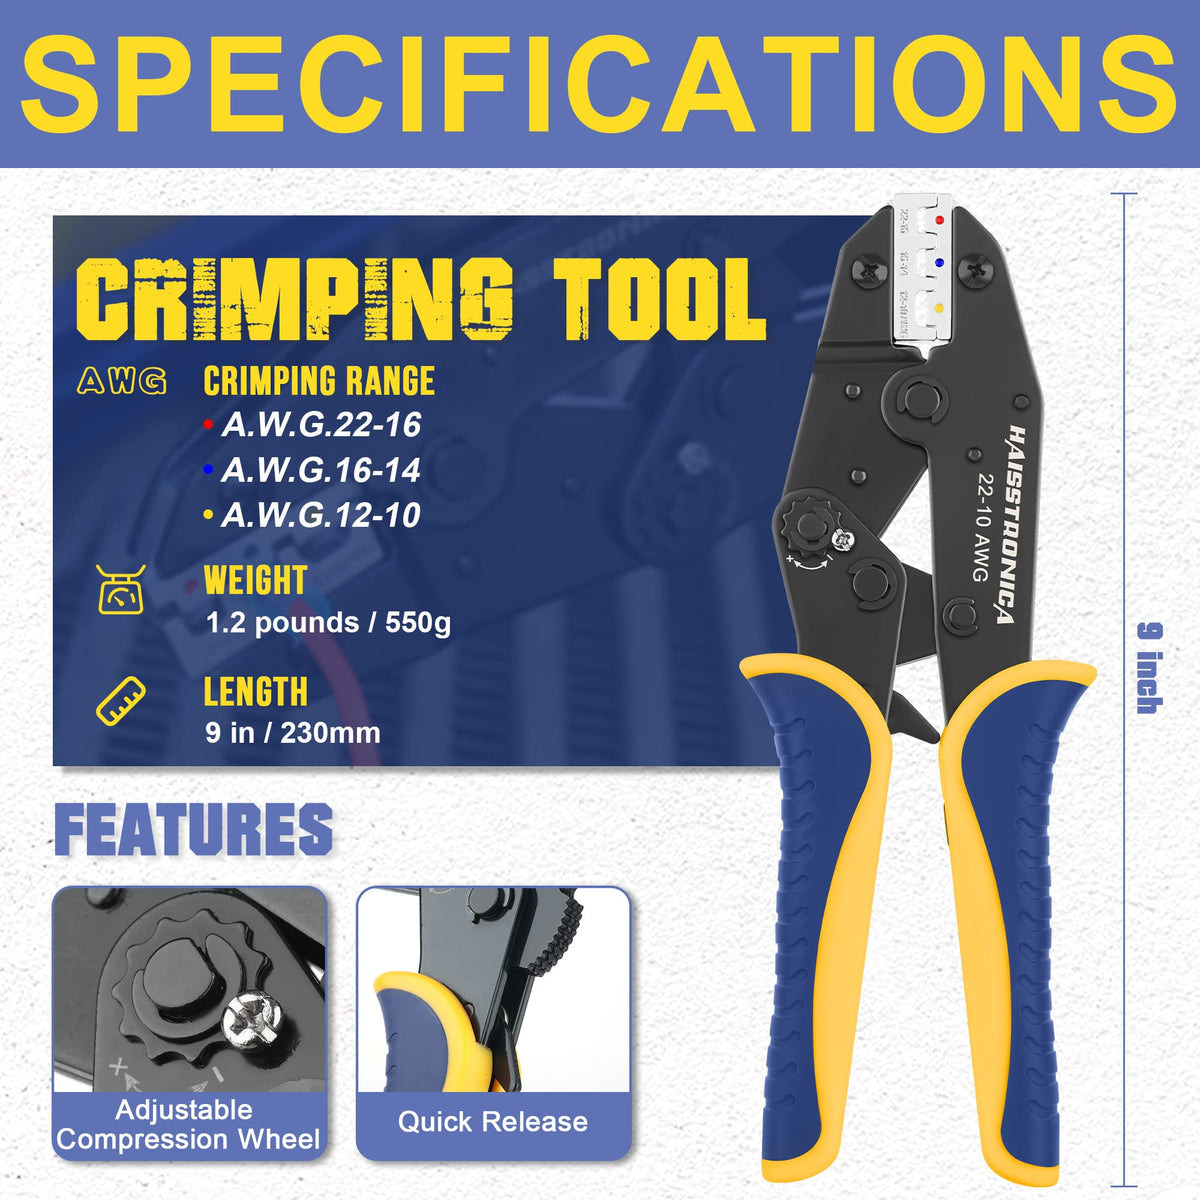
Ordinary pliers and mismatched dies create inconsistent compression. A ratchet mechanism completes the full cycle and helps prevent under-crimping.
Choose the Matching Ratchet Crimper →Before You Rework the Connection
Three-Item Repair Checklist
3. Rebuild the Crimp Correctly
- Disconnect power. Cut the failed connector off; never reuse a visibly deformed terminal.
- Inspect the conductor. Trim back to clean, bright copper if strands are broken, darkened, corroded, or heat-damaged.
- Strip to the barrel length. Keep every strand intact and avoid leaving excess bare copper outside the connector.
- Match connector, AWG, and die. Place the barrel—not the insulation—in the correct crimp cavity.
- Complete the full ratchet cycle. Keep the wire fully inserted and straight until the tool releases.
- Retest. Repeat the visual, pull, and electrical checks before returning the circuit to service.
Quick Failure Guide
| What You See | Likely Cause | Best Next Move |
|---|---|---|
| Wire moves or pulls out | Oversized connector or low pressure | Check AWG, then use the matching die |
| Cut or missing strands | Damaged during stripping | Trim and strip again with a calibrated stripper |
| Barrel is flat or lopsided | Wrong die or ordinary pliers | Replace terminal and use a ratchet crimper |
| Heat or voltage drop | High-resistance connection | Remove immediately and rebuild the joint |
Frequently Asked Questions
Can I re-crimp a loose connector?
Replace it. A second squeeze cannot reliably restore a barrel that was incorrectly sized, positioned, or already deformed.
Should I solder a bad crimp?
No. Solder can hide the mechanical fault and wick into the wire, creating a rigid stress point. Rebuild the crimp with the correct connector and tool.
Why does a crimp pass continuity but fail under load?
A few touching strands may pass a low-current continuity test while still creating excessive resistance, voltage drop, and heat at operating current.

One Case, Complete Repair Setup
Fix More Than One Connector Type?
The 8-piece rapid-replace kit combines a ratchet crimper, wire stripper, six interchangeable dies, and a storage case—built for users who repair multiple terminal styles.
View the Complete Tool Kit →