


Crimping is a method of joining wires to connectors by deforming a metal terminal around the wire using concentrated pressure. Unlike soldering, which uses heat, crimping creates a solderless bond through mechanical force – effectively forging the wire and connector together into a solid unit. A proper crimp, done with the right wire crimping tool, results in a connection that is electrically conductive, mechanically strong, and sealed from air and moisture (often called a “gas-tight” connection). In this blog, we’ll dive deep into how a crimp tool (or “crimper”) works: examining its anatomy, how it multiplies your hand force, and how different crimp die styles achieve that coveted gas-tight joint. By understanding these principles, general DIYers and professional electricians alike can improve their wiring projects – and ensure every crimped wire connection is safe and long-lasting. (Using a high-quality ratcheting crimper, like Haisstronica’s Ratchet Wire Terminal Crimping Tool for AWG 22–10 Heat Shrink Connectors, makes it much easier to consistently achieve these results in your own projects.)
Recommended next step: After learning how a crimp tool works, compare the wire crimping tool collection by connector type. For heat shrink terminals, start with the AWG 22-10 ratchet wire terminal crimping tool; for non-insulated terminals, compare the AWG 22-6 non-insulated terminal crimping tool.
👉Add a ground crimper—then finish the rest with Haisstronica.

Anatomy of a Wire Crimping Tool (Handles, Jaws, and Ratchet)
To understand how a crimp tool works, let’s first look at its basic anatomy. A typical handheld wire crimping tool — often resembling a sturdy set of pliers — has several key components that work together to turn a simple squeeze into a solid crimp:
-
Handles (Leverage): Long, insulated handles provide grip and mechanical advantage. By applying force at the handles, you’re leveraging a much greater force at the jaws through the tool’s pivot. High-quality crimpers are designed with optimal handle length and linkage to maximize this leverage, so you exert less effort for the same crimping force.
-
Jaws and Dies: The business end of the crimper consists of two metal jaws that come together when the tool is squeezed. These jaws hold the dies – shaped inserts or cutouts that correspond to specific connector types and wire sizes. The dies are what actually deform the terminal onto the wire. Some crimping pliers have fixed multiple-size die slots (for common connector sizes), while others have interchangeable die sets for different connectors (for example, you might swap in a different die for coaxial cable connectors, ferrule crimps, or RJ45 plugs). Each die is precision-engineered to create a specific crimp profile (hexagonal, indent, B-crimp, etc.), which we’ll discuss more shortly.
-
Pivot and Linkage: The handles are connected to the jaws via a pivot (fulcrum) pin. Many crimp tools also incorporate linkage mechanisms (like a compound hinge or toggle link) to further multiply force. As you squeeze the handles together, the pivot and linkage translate that motion into a powerful closing force at the jaws. This design lets a relatively modest hand grip generate the very high pressure needed to crimp metal.
-
Ratcheting Mechanism: Most quality ratchet crimping tools include a built-in ratcheting mechanism inside the handles. The ratchet engages as soon as you begin squeezing, and it will not release until the crimp has been completed fully. In practical terms, the ratchet ensures you apply sufficient pressure to form a proper crimp – you can’t under-crimp because the tool locks until the correct compression is achieved. It also means you don’t have to squeeze with all your force in one go; you can press incrementally until the ratchet clicks through and finally releases at full compression. This guarantees consistency and prevents a partially crimped (and unreliable) connection. (Haisstronica’s ratcheting crimpers utilize this same principle – the tool won’t let go until your terminal crimp is securely complete, giving even beginners a foolproof way to get a perfect crimp on every try!)
-
Release & Adjustment Features: Additionally, crimpers often have a quick-release lever to open the jaws mid-cycle if needed (for example, if you started the wrong size connector and need to abort). Many ratcheting crimp tools also offer an adjustable tension dial that calibrates the force needed to complete a crimp, ensuring the tool can be tuned for different terminals or to compensate for tool wear. This level of control helps maintain that every crimp is gas-tight and according to spec.
In short, each part of the crimp tool’s anatomy – from the long handles to the precision dies and ratchet – is designed to turn human hand force into a tight, reliable crimp connection. Unlike using generic pliers, which lack the proper dies and force control (regular pliers can’t create a true cold-welded crimp joint), a purpose-built crimper tool makes all the difference. (For example, the Haisstronica wire crimper tool mentioned above has ergonomically designed handles and a calibrated ratchet, so you get maximum leverage and consistency. It’s a must-have for anyone wiring electrical connectors, ensuring each crimp is firm and secure – grab one for your toolbox to upgrade your wiring projects.)
👉Ready to crimp it right? Choose Haisstronica precision.

The Force Path: From Hand Squeeze to Crimped Wire Connection
Now that we know the parts of a crimping tool, let’s follow the force path when you actually use a crimper. How does the strength of your hand translate into the extreme pressure that binds a connector to a wire? It’s all about mechanical advantage and focused force delivery:
-
Squeezing the Handles: It starts with your hand squeezing the crimp tool’s handles together. You might apply, say, 5 to 10 pounds of force with your grip. This doesn’t sound like much, but the tool’s design will magnify it greatly at the jaws. High-leverage handles (especially on longer ratchet crimpers) mean that even moderate hand force results in a much larger force at the jaw tips. The ratchet mechanism also allows you to incrementally build up force – you don’t have to do it all in one squeeze, you can re-grip and continue pressing, with the ratchet holding progress.
-
Fulcrum and Leverage: As the handles move, they pivot around the tool’s fulcrum. This leverage conversion is the key to a crimp tool’s power. A well-engineered electrical crimp tool has an optimized pivot placement and link geometry that multiplies your input. For example, if the mechanical advantage is 10:1, your 10-pound squeeze becomes 100 pounds of force at the jaws. Some compound-action crimpers have even higher ratios. The result is that by the time the jaws start pressing on the connector, a tremendous compressive force is available to deform metal. (This is why using the right cable crimper is so important – it applies far more uniform pressure than you could with pliers or improvised methods. Investing in a proper ratcheting crimp tool ensures your hand force is translated into the necessary crimp force for a secure connection.)
-
Die Closure and Compression: The force travels into the closing jaws and their crimping dies. The connector (and the stripped wire inside it) is caught between the die faces. As the dies come together, they compress the connector barrel tightly around the wire. The shaped die concentrates pressure in the correct areas. For insulated terminals (closed barrel), one side of the die might have a concave shape while the other has a pointed indent that drives into the connector, creating a firm crimp without cutting the insulation. For open-barrel terminals, the dies curl the “wings” of the terminal around the wire and insulation. At full closure, the metal of the terminal yields and flows plastically around the wire strands. This is where the magic happens – the wire strands themselves also get pressed together, usually flattening into a bundle. Any small gaps between strands or between wire and terminal are squeezed out. In a proper crimp, the metals actually deform to exclude all air space. Surface oxides are broken and pushed away as fresh metal-to-metal contact is made under pressure. Essentially, the crimp tool is forcing the materials to cold-weld together at a microscopic level.
-
Gas-Tight Cold Weld Formation: With the connector barrel now fully compressed, the result is a gas-tight junction between the wire and connector. In a correctly executed crimp, the wire strands and connector have been crushed together so tightly that there are no voids or air pockets left. This prevents oxygen and moisture from creeping into the interface. The absence of air means no oxidation (corrosion) can form over time, preserving a low-resistance electrical connection. In fact, a well-made crimp is often stronger and more reliable than a solder joint for wiring, because it’s not brittle and it won’t loosen – the metal has essentially fused together under pressure. Such a crimped wire is also highly resistant to vibration and thermal cycling, as the elastic tension in the deformed metals holds the joint tight. This is why industries from automotive to aerospace rely on crimped electrical connectors for critical connections. (Using a calibrated ratchet crimping tool helps ensure you achieve this level of compression every time. Haisstronica’s ratcheting crimpers, for example, apply the precise pressure needed for a gas-tight crimp, taking the guesswork out of the process – a great confidence booster for DIYers aiming for pro-level crimps!)
In summary, the force path in a crimp tool goes from your hand, through the handles and pivot (amplifying the force), into the closing dies, and finally into the connector and wire – permanently mashing them together. A good crimping pliers or crimper tool makes this process efficient and repeatable, turning a simple hand squeeze into a reliable crimped wire connection. Understanding this process underscores why using the right tool is essential: it’s literally the difference between a loose connection and a solid cold-welded bond.
👉Prefer crimp‑it style? Haisstronica delivers repeatable compression.

Crimp Styles & What the Dies Do (Indent vs. Hex and More)
Crimping is used for a wide variety of wire connectors, and not all crimps are the same. The dies in a crimp tool are designed to create specific crimp shapes and to accommodate different terminal styles. Here we’ll overview some common crimp styles and how the dies work in each case, as this is key to achieving the intended gas-tight connection for different connector types:
-
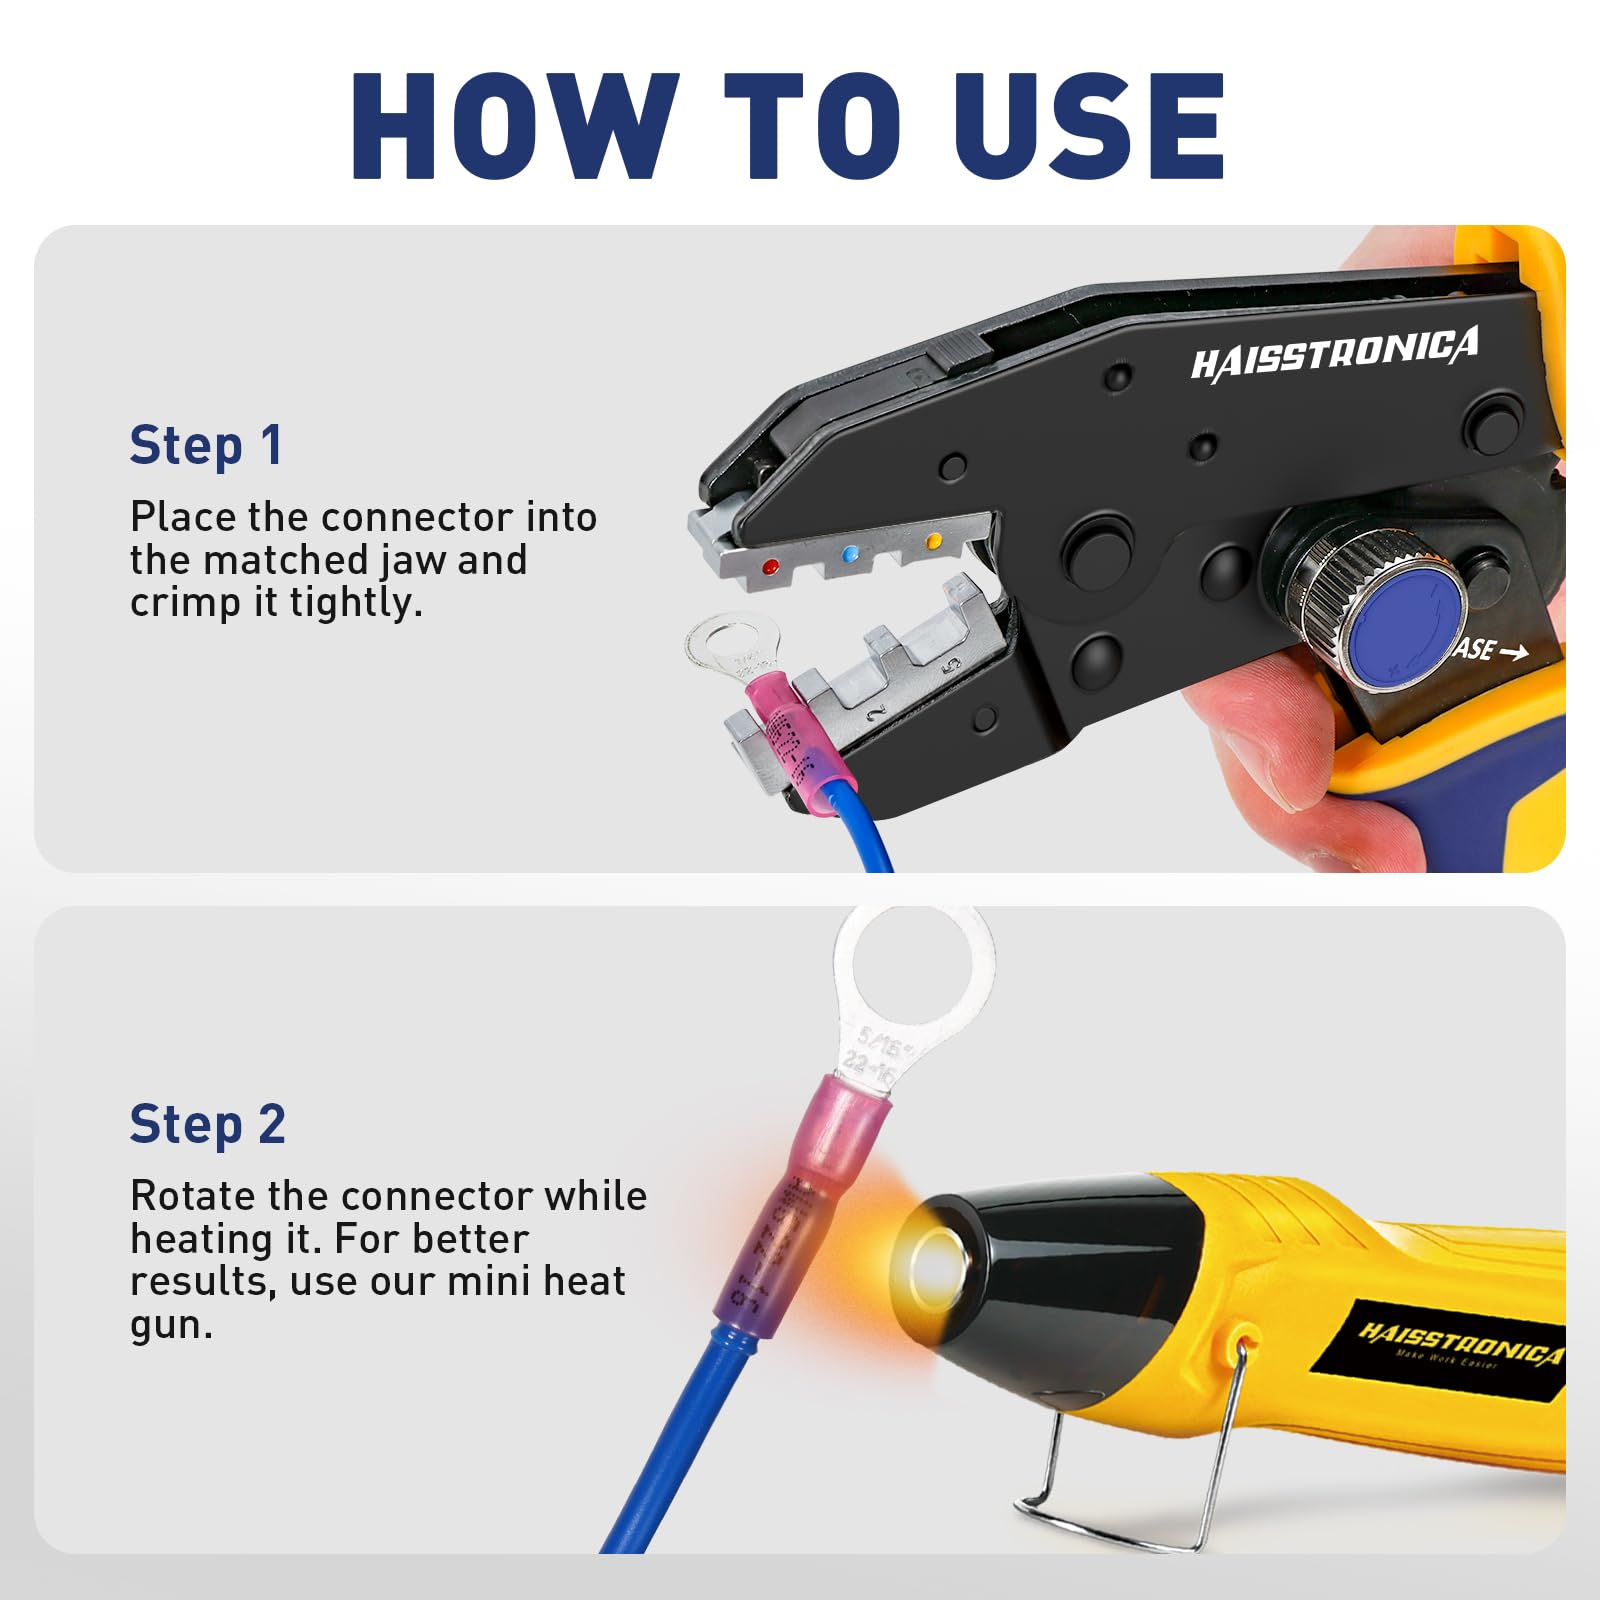
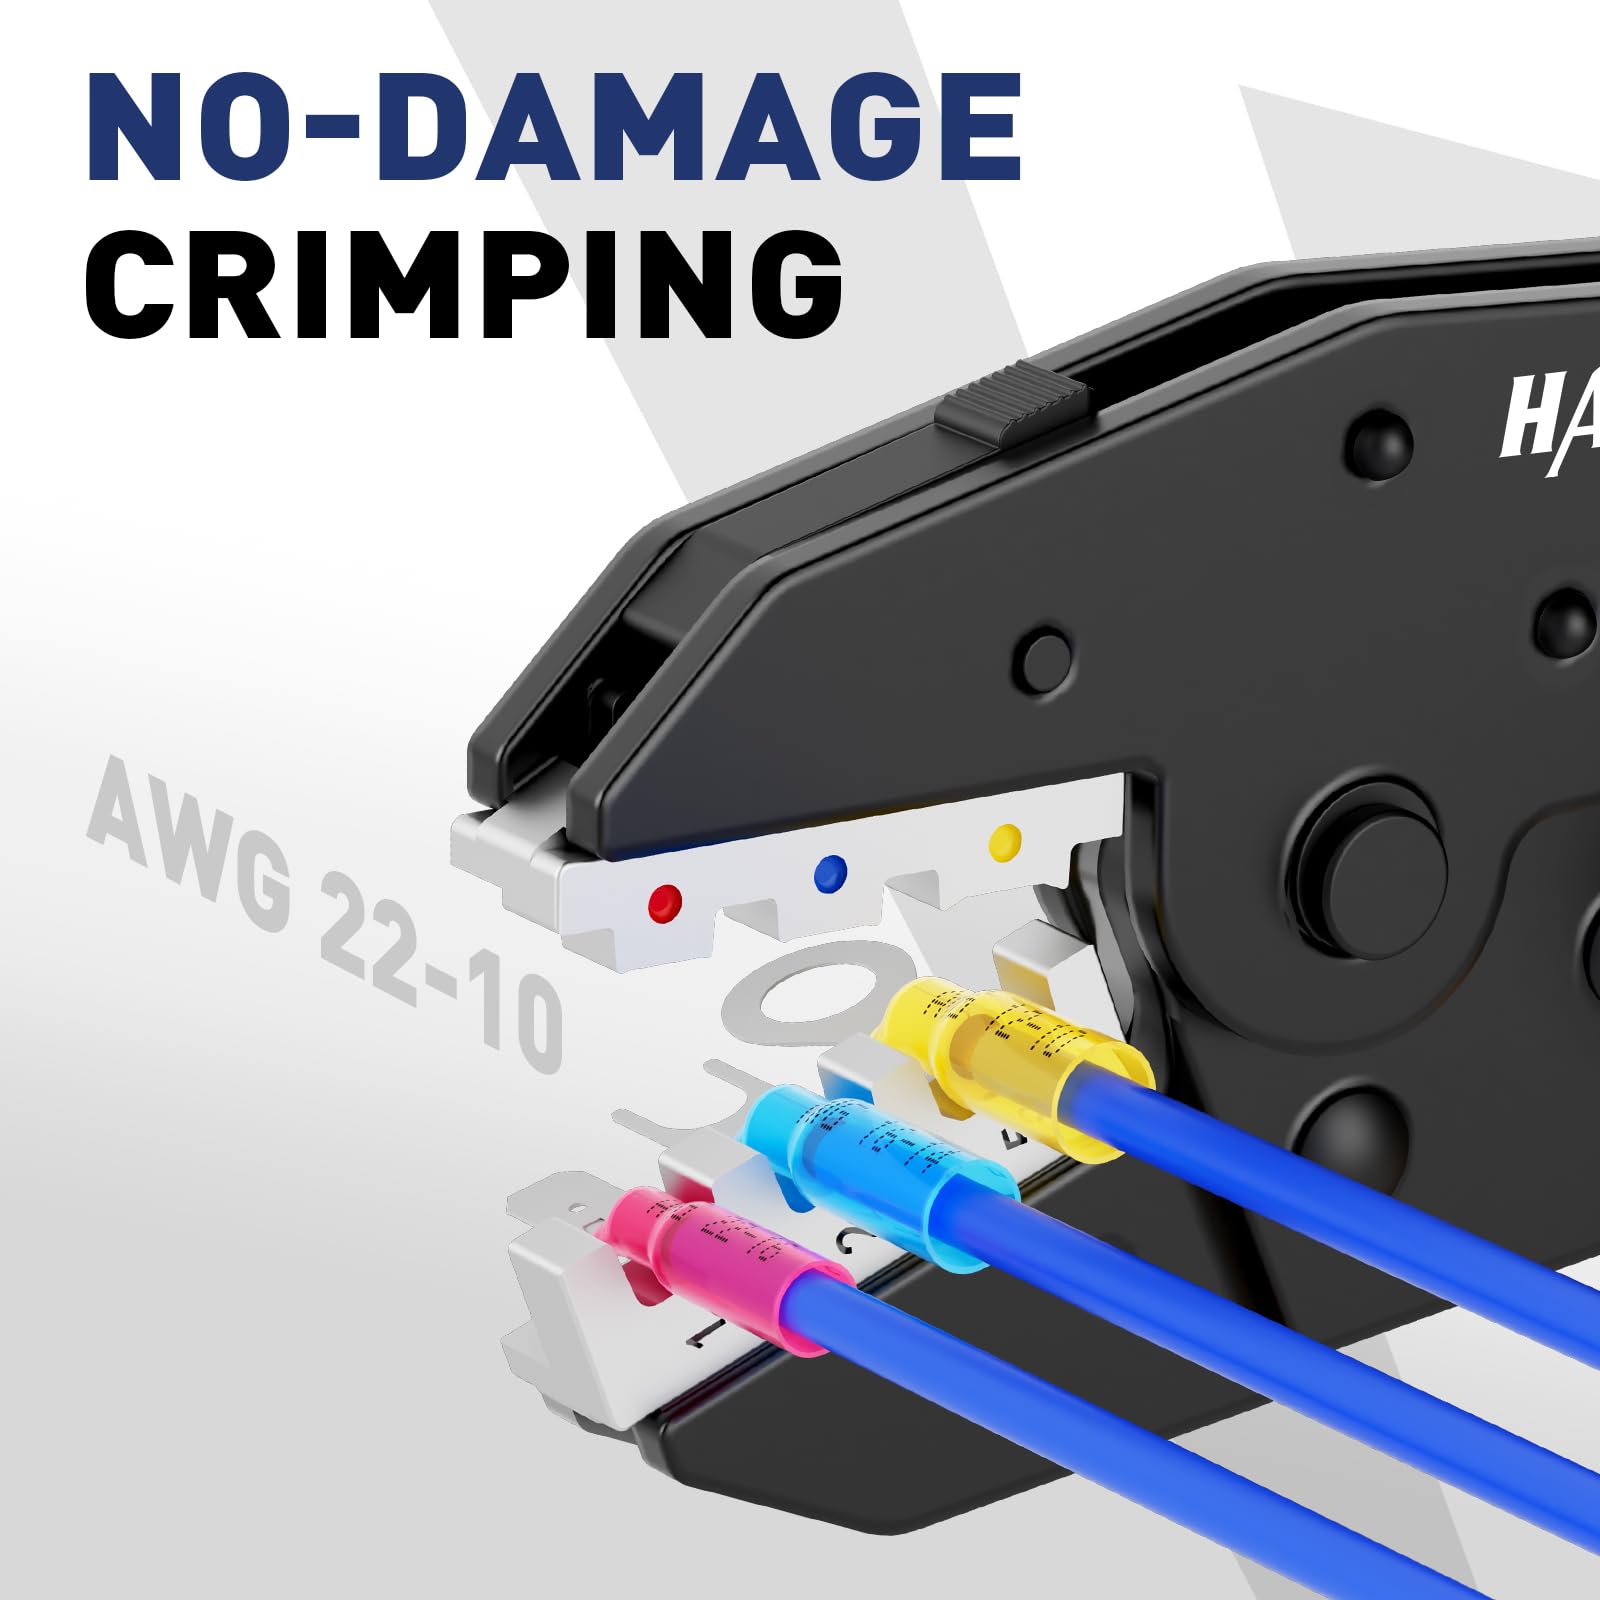
Closed-Barrel Crimps (Circular Terminals): These are the typical insulated terminals (ring lugs, spade connectors, butt splice connectors, etc.) often used in automotive or marine wiring. The connector has a cylindrical metal barrel where the stripped wire is inserted. The crimp die for these is usually designed to deform that round barrel into a tight ovoid shape or indent. Often, one side of the die is an anvil (curved shape) and the other side impresses a dimple into the barrel, forming what’s sometimes called a “B-crimp” or indented crimp. This style wraps the wire strands firmly and is quite secure, though closed-barrel crimps can be slightly less vibration-resistant compared to some open-barrel crimps. Quality ratcheting crimp tools intended for insulated terminals will have color-coded or labeled die nests (for example, red, blue, yellow to match common connector sizes) to ensure the right compression. When done correctly, the result is a neatly indented barrel that’s tightly gripping the wire – you’ll notice the butt connector or terminal will not rotate or slip off the wire when pulled. (Our featured Haisstronica crimp tool is optimized for insulated heat-shrink connectors in the AWG 22–10 range, precisely crimping those closed barrels so that the connection is secure and ready to be heat shrunk for waterproofing. It’s a crimper for wire connectors that gives professional results with minimal effort.)
-
Open-Barrel Crimps (F-Crimp Style): Open-barrel terminals are common in automotive and electronics connectors (like the pins inside plastic connector housings, e.g. ATX PC power connectors, automotive multi-pin plugs, etc.). These terminals have ears or tabs that wrap around the wire. One pair of tabs grips the bare wire strands, and a second pair can crimp onto the insulation for strain relief. The F-crimp is a type of open-barrel crimp – named because the crimped shape of the tabs looks somewhat like the letter “B” or a curled ribbon. The dies for open-barrel crimps are made to fold these tabs inward and down. When you compress an open-barrel terminal in the proper die, the two open “wings” curl in, embracing the wire, and overlap slightly to form a tight seam. This creates a very robust crimp that also includes an insulation crimp in a separate section. Automobiles use F-crimped terminals almost exclusively because of their reliability – the combination of a conductor crimp and an insulation crimp provides excellent strain relief against vibration. Importantly, these crimp connections, when done with a ratcheting tool matched to the terminal, are gas-tight without any solder. (In fact, adding solder to an open-barrel crimp can weaken it and is against industry standards.) The dies must match the specific terminal size and style, so typically you’d use a dedicated terminal crimping tool or a universal tool with interchangeable dies for these. If you’re a DIYer working on automotive wiring, investing in an open-barrel wire terminal crimper is wise for proper results. (Haisstronica offers a range of crimp tools for various terminals – while our spotlight tool is geared toward heat-shrink insulated crimps, we also know the value of the open-barrel style. Always use a proper ratcheting crimp tool for open-barrel connectors to get that perfect wrap-around crimp that won’t shake loose on the road!)
-
Hexagonal Crimps (Hex Dies): A hex crimp is commonly used for cable lugs, ferrules (bootlace ferrule sleeves on fine-stranded wires), and coaxial connectors. In this style, the crimping die has a hexagon profile. When fully compressed, it squashes the connector around the wire into a hexagonal shape. Hex crimps are very uniform and distribute pressure evenly around the conductor. For example, a ferrule crimper tool often makes a square or hex crimp that turns the ferrule and wire into a solid square/hex cross-section that can be inserted into a terminal block. Similarly, many RF coax connector crimp tools use a hex die to crimp the outer ferrule of an RF connector onto coax cable for a 360° crimp. The result is a strong crimp that is also gas-tight and has good electrical properties. Hex dies typically come in specific sizes (e.g., 2.5mm², 6mm², etc. for ferrules, or specific RG cable sizes for coax). If you’re working with electrical crimp connectors like ferrules or larger battery lugs, you’d use a different tool or die than for smaller insulated terminals. Some heavy-duty hex crimpers are even hydraulic or hammer-driven for large gauge cables. (For instance, a battery terminal crimping tool may use a large hex or indent die to crimp battery lugs on thick cables – far beyond the hand force of a normal plier. While our Haisstronica ratchet crimper is for small-to-medium gauge wire connectors, keep in mind that larger cables require a beefier cable crimper or hydraulic crimp tool.)
-
Four-Indent and Other Specialty Crimps: In aerospace and high-reliability applications, you might encounter four-indent crimp tools (sometimes called indent crimp tools or cycle crimpers). These use a special quad-die that pinches the connector from four sides, forming a tight crimp often used on circular connector pins (like D-sub or MIL-spec connectors). The dies converge to indent the barrel evenly from multiple sides. Other crimp styles include lap crimps, oval crimps, W-crimps, etc., each requiring its matching die geometry. The average DIY enthusiast won’t use these often, but it’s good to know they exist. Essentially, for every type of wire terminal or connector, there is a corresponding crimp die designed to compress it properly. Using the correct die is crucial – a mismatched crimp can result in either a loose connection or damage to the terminal/wire. Always select a crimping tool die that matches the specific terminal type and wire gauge for best results.
As you can see, crimp tools and dies come in many flavors, each suited to a particular style of connector and ensuring the crimp compresses the wire just right. The common theme, however, is that all these crimp styles aim to plastically deform the metal around the wire to create a solid, gas-tight union. Whether it’s a simple indent crimp on a butt splice or a hex crimp on a coax connector, the goal is the same: maximum contact and zero gaps. (Haisstronica’s focus is on providing the DIYer and professional with the right crimping tools for electrical connectors – for example, our ratcheting tools for insulated terminals ensure you get a perfect indent crimp every time. No matter the crimp style, having a dependable crimper in your toolbox means you can tackle wiring jobs with confidence. Upgrade to a quality crimp tool and feel the difference in the security of your connections!)
Before we conclude, it’s worth noting that there are many specialized crimpers beyond what we covered. For instance, an RJ45 crimping tool is designed to crimp Ethernet plugs (bending down tiny gold contacts and crimping a strain relief on the plug) – a very different mechanism than a wire lug crimper. There are MC4 connector crimp tools for solar panel connectors, flag-terminal crimpers for flag-shaped quick-disconnects, and even dupont crimper tools for the small pin connectors used in electronics hobby projects. Each of these crimper tools is engineered for a specific connector geometry. While the details differ, the fundamental idea of using mechanical force to create a reliable joint holds true. So if you’re expanding your toolkit, choose the crimpers that match the connectors you’ll be working with. And remember, crimping wires to connectors is all about using the right amount of force in the right places – exactly what a good crimp tool helps you achieve.
👉Clean a crimp ring terminal with Haisstronica accuracy.

Conclusion: Achieving a Reliable Crimp Connection
A crimp tool might look unassuming, but it’s a brilliantly engineered device that transforms hand pressure into a permanent electrical connection. By now, we’ve seen how the anatomy of a crimping tool (its handles, dies, and ratchet) works together to focus force onto a connector, how the force path lets a modest squeeze create a high-pressure crimped bond, and how different crimp styles are made possible with specific die designs. The end result of a proper crimp is a gas-tight, cold-welded junction that keeps electricity flowing without corrosion or loosening. In practice, achieving this comes down to using a quality crimping tool matched to your connector and wire. Skimping with pliers or the wrong tool can lead to under-crimping, leaving air gaps or weak connections. But with a well-designed ratchet crimp tool, even general DIYers can consistently produce professional-grade crimps that pass the test of time (and tug tests!).
In essence, a crimp tool takes the simple action of your hand and amplifies it into a precisely controlled operation. This gives you confidence that every crimped wire in your car, boat, or home wiring will perform reliably. The phrase “from hand force to gas-tight connection” nicely sums it up – your effort, guided by the tool, yields a connection as solid as a weld. So next time you pick up your crimpers, you’ll know exactly what’s happening from the inside out, and why that firm “click” of a ratchet release is the sound of success. Now you’re equipped with the deep understanding to crimp with authority and get the most out of your tools. And if you’re looking to upgrade your crimping experience, consider adding Haisstronica’s Ratchet Wire Terminal Crimping Tool to your toolkit – it’s designed to take your hand force and turn it into perfect, gas-tight crimps every time!
Our Top User-friendly Picks
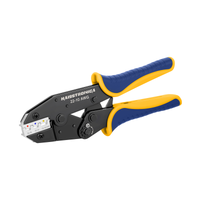
Built for the trade, Haisstronica is a true professional crimping tool with hardened steel jaws, a quick‑release lever, and an adjustable dial for consistent compression. Master crimp tool use quickly: color cues guide sizing, the ratchet prevents partial crimps, and you’ll reach for it over other professional crimping tools every time.
👉Make a tight ring terminal crimp—Haisstronica holds fast.

References: