Introduction
Installing landscaping lighting in your yard is an exciting DIY project, but it raises a common question: How far can you run 12/2 low-voltage landscape wire outdoors? The answer is crucial for planning your landscape wiring layout. In low-voltage (12V) landscape lighting systems, wire length directly affects performance because of voltage drop – the longer the wire, the more resistance and the greater the drop in voltage. This can dim your lights if you exceed the proper run length. Fortunately, with some basic understanding of landscape wires and careful planning, you can ensure all your garden lights shine brightly. In this blog, we’ll explain what 12/2 wire is, how far it can go, and how to choose the correct gauge, roll length, and waterproof connections for the project.
CALCULATE BEFORE YOU BUY
Distance alone does not determine wire gauge.
Calculate one branch at a time using the one-way run length, branch wattage, system voltage, and target voltage drop. Then choose the wire gauge and roll length.
Start with the calculation ↓Definition: What is 12/2 Low-Voltage Landscape Wire?
“12/2” landscape wire refers to a cable with two 12-gauge conductors. Wire gauge is a measure of wire diameter: the lower the gauge number, the thicker the wire. A 12-gauge wire is thicker than a 14-gauge wire, allowing it to carry more current with less resistance (hence less voltage drop) over long distances. Low-voltage landscape lighting cable like 12/2 or 14/2 is specially made for outdoor use – it typically has a UV-resistant insulated jacket and is direct burial landscape wire (meaning you can bury it in the ground without conduit). The insulation is designed to withstand weather, moisture, and sunlight over time. For example, Haisstronica’s 14/2 landscape wire uses pure copper conductors with a durable PVC jacket that resists UV, abrasion, and moisture. Both 12/2 and 14/2 cables are electrical wire for outdoor lighting systems, but their capacity differs, which affects how far you can run them.
Short answer: 12/2 wire does not have one universal “200 ft” limit. With a 12V system, a 60W load concentrated at the end of the run, and copper conductors, 12/2 is approximately 38 ft at 5% voltage drop or 76 ft at 10% voltage drop. A 200-ft run requires a much lower branch load, distributed fixtures, or a suitable higher-voltage transformer tap.
HAISSTRONICA PROJECT CHECK
Calculate first. Buy the correct wire second.
Use the figures for each transformer branch—not the total wattage or cable length for the whole yard.
Voltage drop ≈ 2 × one-way length × current × wire resistance ÷ 1000.
60W at 12V: conservative one-way run example
| Gauge | Copper resistance | 5% drop | 10% drop | Availability |
|---|---|---|---|---|
| 16/2 | 4.02 Ω/1000 ft | ≈15 ft | ≈30 ft | Shop 16/2 |
Example assumes the full load is at the end of the run. Confirm the calculated voltage drop before choosing the currently available wire.
Operation Steps: Running Low-Voltage Landscape Wiring
Proper planning and installation will help you wire your landscape lighting effectively and safely. Follow these steps to make the most of your low-voltage landscape wiring:
-
Measure the Distance: Sketch your layout and measure the distance from the transformer to your farthest light fixture. Remember to account for the actual routing of the cable (including curves or loops) – not just “as the crow flies” distance. This total length will determine the wire gauge needed, since you can’t run a super long wire without experiencing voltage drop. As a rule, try to keep individual runs as short as possible; if one run would be extremely long (150+ feet), consider splitting it into two runs from the transformer.
-
Calculate the Total Wattage: Add the wattage of the fixtures on this branch only. Current equals branch watts divided by system voltage. Confirm the transformer and circuit remain within their listed limits; for many projects, voltage drop—not conductor ampacity—becomes the practical limit first.
-
Choose the Right Wire Gauge: Use the voltage-drop calculation and gauge table above. A lower AWG number is thicker and reduces resistance, but buying a longer spool does not increase the safe distance of one branch. If the calculated drop is too high, use a thicker gauge, reduce the branch load, split the project into shorter home runs, or use an approved transformer tap.
-
Lay Out and Bury the Cable: Once you have the correct low voltage landscape lighting cable, route it through your yard. How to bury low-voltage landscape wire? It’s recommended to dig a small trench about 6 inches deep to lay the cable underground. This depth protects the wire from accidental damage (such as lawn aerators or shovels) and keeps your yard looking neat. You can use a flat spade or trencher tool (specifically made for burying landscape wire) to make this job easier – simply slide it into the soil along your layout line to create a slit, then press the wire down. If you need to run wire under a sidewalk or driveway, plan to snake it through a PVC conduit or a hose pipe under the hardscape for protection. The good news is most landscaping low-voltage wire is direct-burial rated, so you do not need to run it in conduit for ordinary soil burial (conduit is only needed in high-traffic areas or when crossing hard obstacles). Leave a little slack in the cable at corners or turns and near fixtures in case adjustments are needed.
-
Connect Fixtures and Transformer: Now it’s time to hook everything up. Strip the ends of the cable (usually about 1/2 inch of insulation) to expose the copper strands. At each light fixture, use landscape lighting wire connectors to attach the fixture’s lead wires to your main cable. It’s crucial to use waterproof wire connectors for landscape lighting – these are often gel-filled wire nuts or clip-on connectors designed for direct burial. They keep moisture out of the connection, preventing corrosion and voltage drop at the splice. For example, an outdoor landscaping light wire connector usually comes pre-filled with silicone; when you insert the wires and tighten it, it seals the joint. Make sure each fixture’s connectors are tight and fully sealed. At the transformer, connect your 12/2 or 14/2 landscape electrical wire to the transformer’s terminals (typically one wire to the common tap, the other to the 12V or 15V tap as instructed by the transformer manual). Double-check polarity if applicable (some systems have two identical conductors, in which case it doesn’t matter for AC low-voltage; for DC systems, observe the markings for positive/negative). After connecting all lights, test the system before burying the cable fully: power on the transformer and verify every light comes on with equal brightness. This step ensures there are no loose connections or wiring mistakes. If all looks good, backfill your trenches with soil and you’re done!

Application Scenarios: Choosing 12/2 vs 14/2 in Real Projects
How do you decide between 12/2 and 14/2 in practice? Consider a few typical scenarios:
-
Small Garden or Short Run: If you’re lighting a small flower bed or porch path with only a handful of LED fixtures, your wiring run might only be 30–60 feet. In this case, a 14/2 low-voltage landscape wire is more than sufficient. For example, 4 path lights at 4W each (16W total) spread over 50 feet – 14-gauge wire will handle that with minimal voltage drop. Using 12-gauge here would work too, but it’s like using a highway for a neighborhood street – not necessary. The thinner 14/2 is easier to handle and cost-effective for these short landscape wiring applications.
-
Average Yard Lighting: Many home landscape lighting systems fall into this category. Suppose you have 8 to 12 LED fixtures (say 4W to 7W each, totaling ~50–80W) around your front yard and along walkways. The farthest fixture might be about 80 to 100 feet from the transformer. This is right on the cusp where 14/2 and 12/2 meet. Here you have a choice: you could use 14/2 if the total wattage is on the lower side (and perhaps use a 15V tap on the transformer to compensate for drop), but using 12/2 would give an extra safety margin for voltage drop. Many homeowners in this scenario choose 14/2 if the runs are around 80 ft or less (especially with LED lights which are more forgiving to slight voltage drop), because it’s cheaper and still meets needs. If the run is closer to the 100 ft mark with ~80W load, upsizing to 12/2 is wise to ensure full brightness at the end of the line. In either case, make sure not to exceed the maximum wattage of the wire or the transformer’s circuit. (Note: A 150W rated transformer on a single 14/2 run of 100 ft might be too much load; consider splitting into two runs.)
-
Large Yard or Long Run: Imagine a big backyard with string lights on trees or uplights around a perimeter, where the farthest light is 150–200 feet away. This is where 12/2 landscape lighting wiring shines. A 12 AWG cable can carry the power over longer distances – roughly 200 ft as noted – and is rated for up to 20A (240W) if needed. In practice, you might have a run of 150 ft with 10 LED uplights at 8W each (80W total). A 14/2 wire would likely experience a noticeable voltage drop in that scenario, resulting in dimmer lights toward the far end. The 12/2 wire is the correct choice here, delivering power more efficiently over the distance. For extremely long runs (200+ ft) or very high loads (over ~100W on one run), even 12-gauge might not be enough – that’s when you consider multiple shorter runs or upgrading to 10/2 landscape wire (10 AWG) to carry the current. For example, professional installers might run an 8-gauge feeder cable partway across a property and then split to shorter 12-gauge branches. The key is to spread the load across multiple circuits if needed so each wire run stays within distance and wattage limits.
-
Mixed Gauge Runs (Advanced): It’s worth noting you can mix gauges in one system if needed. You might run a thicker main line and then step down to shorter 14-gauge spurs for different lighting zones. Always ensure the connections are secure when transitioning between wire sizes (use proper wire nuts or junction boxes). This hybrid approach is useful in complex landscapes – but for most basic setups, sticking to one consistent gauge per run is simpler.
In summary, choose the smallest gauge that keeps the calculated voltage drop within the target. When practical, keep one consistent gauge per branch, and do not treat spool length as the safe distance of a single run.
Purchase Guide: Selecting the Best Landscape Lighting Wire
Choosing the right wire involves considering gauge, quality, and length. Here’s what to look for when shopping for wire for low-voltage landscape lighting:
-
Gauge and Length Options: Determine the gauge from the branch calculation first. Then total the actual routed length of every branch and add 10–15% for turns, fixture loops, and future adjustments. Buy the next roll size above that total. Current 16/2 options include 200 ft, 250 ft, and 500 ft; check live availability for other gauges.
-
Pure Copper Conductors: Not all wires are equal. High-quality landscaping lighting wire uses pure copper strands for maximum conductivity. Avoid cheap wires that may use copper-clad aluminum (CCA) – those have higher resistance and don’t carry current as well (leading to more voltage drop and potential overheating). Look for specifications like “stranded bare copper” conductors. The landscape lighting direct bury cables from reputable brands will advertise oxygen-free pure copper which optimizes performance. For example, Haisstronica’s 14/2 wire is built with 41 strands of pure copper per conductor for superior conductivity and flexibility (as shown in the product images).
-
Durable Insulation (UV & Weather Resistant): Because this is electrical wire for outdoor lighting, the insulation jacket must tolerate sun, rain, soil, and temperature extremes. A good landscape cable will have a thick PVC or polyethylene insulation rated for direct burial. UV resistance prevents the jacket from cracking due to sunlight if a portion is exposed above ground. Water resistance keeps moisture out of the conductor area. Check for an outdoor UL rating (Underwriters Laboratories) which indicates the wire has passed safety tests for wet locations. For instance, Haisstronica’s low-voltage wires use a UV-resistant PVC jacket that remains flexible from about -20°C (-4°F) up to 105°C (221°F) – meaning it can handle summer heat and winter freezes without issues. Quality insulation also ensures your landscape cable won’t degrade over time, which is important for maintaining consistent voltage delivery.
-
Ease of Use: If you are doing the installation yourself, consider user-friendly features. Some landscape wires come with a stripe or ridged side to easily identify polarity or one conductor versus the other. This can be handy when hooking to the transformer and fixtures (so you connect consistently). Also, a more flexible cable (fine strand conductors, soft insulation) will be easier to bend around corners and route through gardens or under pathways. Our goal is a cable that’s robust but not too stiff – you want to be able to wire landscape lighting without fighting the wire. Haisstronica’s landscape wires, for example, are designed for flexibility so that routing around flower beds and rocks is “trouble-free”.
-
Compatible Accessories: Don’t forget to pick up wire connectors for low-voltage landscape lighting and other accessories when purchasing your wire. Waterproof twist connectors, cable connectors (splice kits), or low-voltage landscape wire connectors are essential for tying wires together or adding fixtures. You might also need cable staples or stakes to secure the wire in soil (though avoid damaging the insulation). Some suppliers offer kits with the wire plus connectors included. Ensuring you have the proper landscape wire nuts and splice connectors will save you a trip to the store in the middle of your project. Always use connectors rated for outdoor direct-burial usage to maintain a safe, long-lasting connection.
In short, make two separate decisions: choose the gauge from voltage drop, then choose the roll length from total routed cable plus spare. Verify live product availability before checkout.


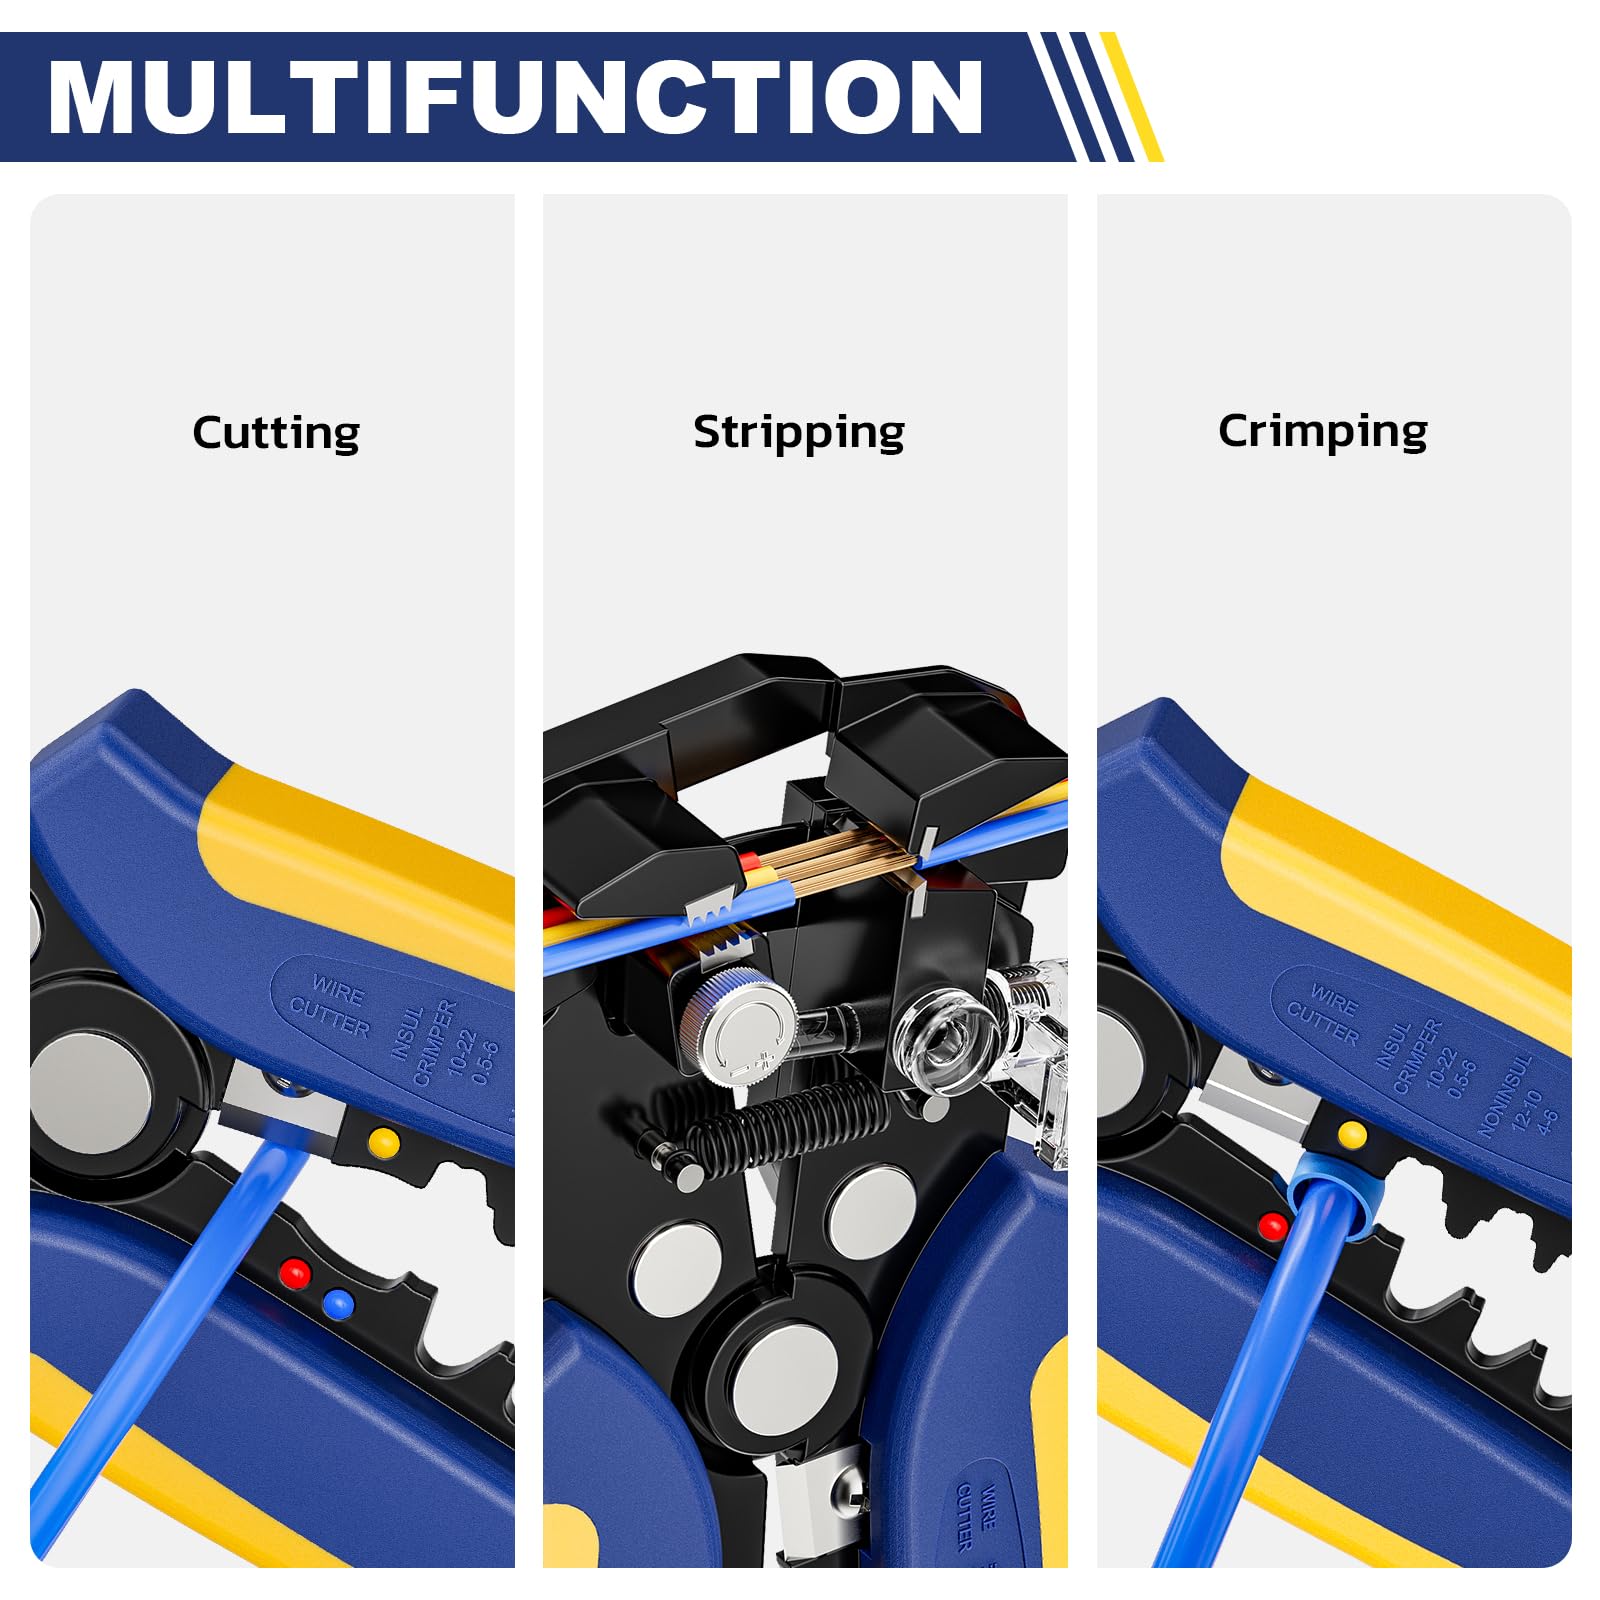
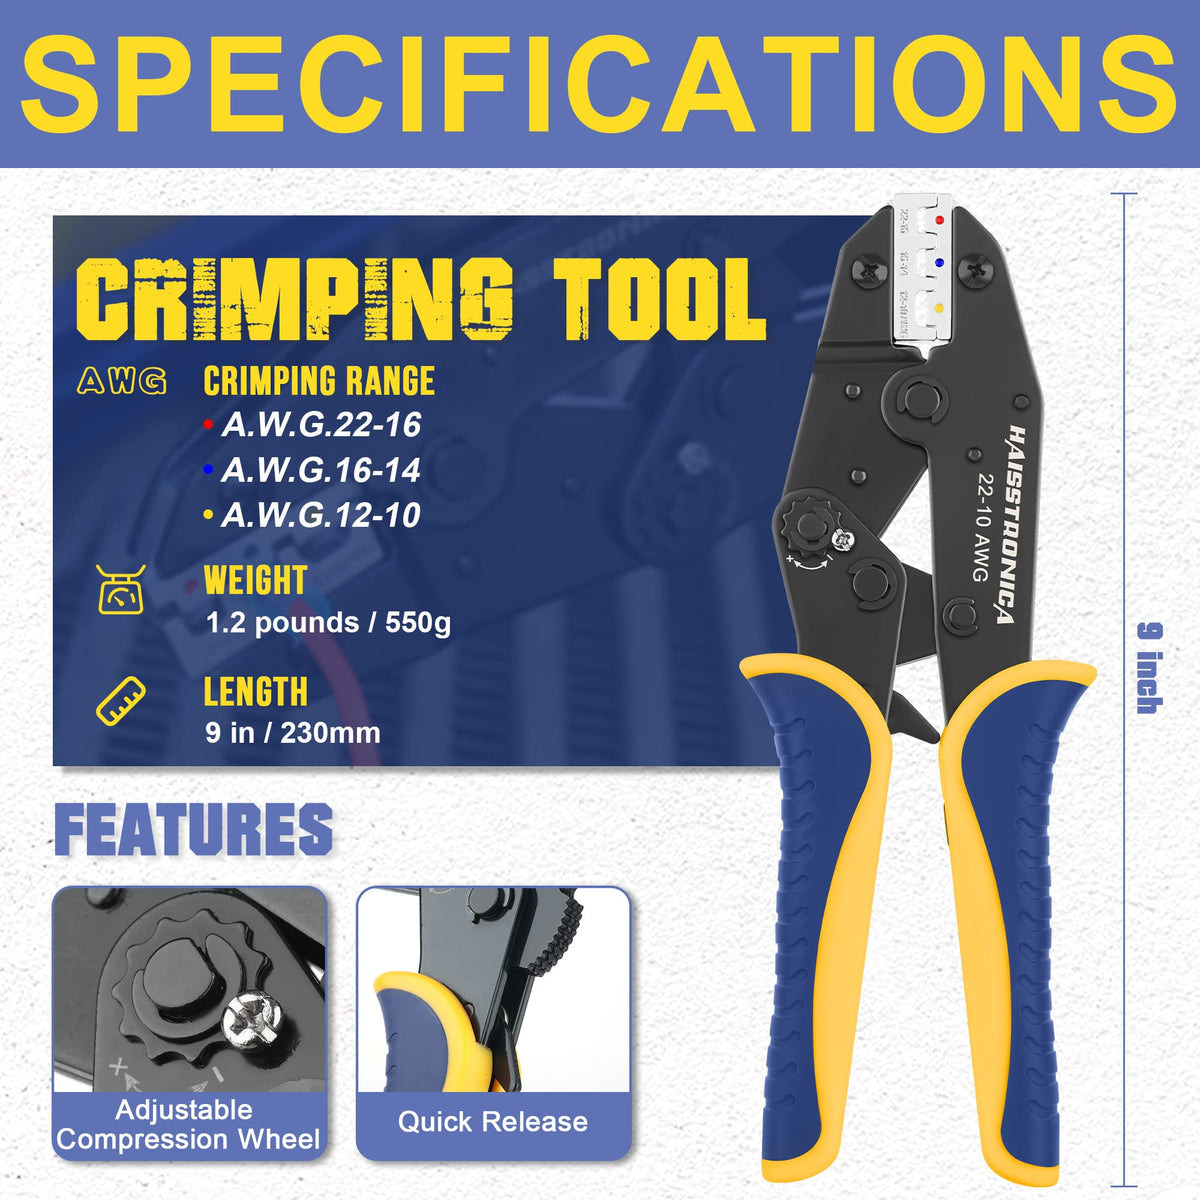
Pro Tip: While shopping, you may also want to get a few low-voltage wire connectors and a wire stripper tool. Haisstronica, for instance, offers a range of connectors and tools that pair well with their landscape cables. Using the proper crimpers or strippers will make the job of connecting low-voltage wires much cleaner and faster.
FAQ (Frequently Asked Questions)
Q1: What gauge wire should I use for low-voltage landscape lighting?
A1: Calculate each transformer branch using its one-way distance, branch watts, system voltage, and allowed voltage drop. For a conservative end-of-run example at 12V and 60W, 12/2 copper is about 38 ft at 5% drop or 76 ft at 10% drop. Choose a lower AWG number until the calculated drop meets the equipment specification; do not use roll length as the run limit.
Q2: 12/2 vs 14/2 landscape wire—which one is better?
A2: Neither is automatically better. 12/2 has lower resistance and provides more voltage-drop margin, while 14/2 is lighter, easier to route, and can cost less. Choose 12/2 only when the 14/2 calculation exceeds your target drop or when the transformer and project specifications call for it.
Q3: How far can I run low-voltage landscape wire from the transformer?
A3: There is no fixed maximum. The distance depends on gauge, branch watts, system voltage, fixture distribution, and allowable voltage drop. A 200-ft 12/2 run is possible only under the right load and transformer conditions—not as a universal 60W rule. For long projects, reduce watts per branch, create multiple home runs, use a thicker gauge, or use an approved multi-tap transformer.
Q4: Do I need to put low-voltage landscape wire in conduit?
A4: In most cases, no – conduit is not required for low-voltage landscape wire. The cables are rated for direct burial, meaning the insulation is tough enough for underground use and exposure to moisture, etc. You can simply bury the wire 4-6 inches deep in the soil (6 inches is often recommended). That said, there are scenarios where using a conduit is smart. If running wire under a paved area (sidewalk, driveway) or through a lawn that you aerate often, slip the wire through a PVC pipe for extra protection. Also, if local code requires it in certain situations (though most electrical codes are lenient on 12V wiring). Generally, as long as the wire is underground and out of harm’s way, conduit isn’t needed. The direct-bury landscape wires have thick jackets for this reason. One more tip: if you’re running wire along a building or fence, stapling it neatly or putting it in a small plastic wire channel can protect it from snags or sunlight. But for garden beds and open lawn, burying it directly is perfectly fine and standard practice.
Q5: How do I connect or splice low-voltage landscape wires?
A5: To splice landscape wire (for example, splitting one cable into two directions, or repairing a cut wire), you should always use proper low-voltage landscape wire connectors that are waterproof. Here’s how to do a common splice: Disconnect power, then cut the cable and strip about 1/2" of insulation off each end of the wires you need to join. Take the corresponding wires (ensure you match the same wire on each side, since the cable isn’t polarized you just keep consistency) and twist them together, then insert into a weatherproof wire connector (gel-filled twist connector or a crimp-style connector with heat shrink tubing). For a “T” splice (three cables joining), you’ll have three conductors twisted together per connection. Once crimped or screwed tight inside the connector, the gel or heat shrink will seal out water. Waterproof landscape wire connectors are vital – regular household wire nuts with tape will fail outdoors. If done correctly, a splice is as reliable as an unbroken cable. Many landscape lighting kits include easy wire splice connectors that clip onto the main line without cutting it (piercing connectors), but these can be failure points over time. For best results, the most robust method is to manually splice with quality connectors or use a junction box. Always bury splices a few inches down and, if possible, note their locations (taking photos or notes) so you can find them if troubleshooting later. If a wire is accidentally cut by digging, don’t fret – just splice it back together with the proper connectors and it should work good as new.
Q6: How can I minimize voltage drop in a large landscape lighting system?
A6: Voltage drop is managed by good design. Here are a few strategies: 1) Use a heavier gauge wire for long runs (e.g., 10 AWG instead of 12 AWG) to reduce resistance. 2) Shorten runs or create multiple home-run circuits from the transformer so no one run is too long or too loaded. 3) Distribute the load evenly – try to have a similar number of watts on each cable run leaving the transformer, rather than one run carrying everything. 4) If available, use a multi-tap transformer to increase the voltage on longer runs (for example, using a 13V or 15V tap so that by the end of a long run the voltage at the last light is around 11-12V). 5) Ensure all connections are tight and corrosion-free, as a bad connection can mimic the effects of a long run by adding resistance. By planning your landscape low-voltage wiring layout thoughtfully – maybe splitting the yard into zones – you can keep voltage drop under control and all your lights will appear equally bright. If you are ever unsure, consult with a professional or use online tools; many landscape lighting manufacturers provide wire gauge charts or even voltage drop calculators to help you map out your project.
Hopefully this guide demystifies how far you can run 12/2 low-voltage landscape wire and how to optimize your landscape lighting wiring for a beautiful, bright yard. By choosing the right gauge (don’t overpay for thicker wire if you don’t need it, but also don’t skimp if you do!), using quality materials, and following best practices for installation, you’ll have a reliable outdoor lighting setup. If you’re ready to get started, be sure to pick up the supplies you need. Haisstronica offers top-notch low-voltage landscape wires, connectors, and tools to help you wire landscape lighting like a pro. Happy lighting!