
How to Choose the Right Size (solder wire connectors)
Correct sizing is everything. A solder-seal splice works only if the conductor cross-section, insulation OD, and sleeve ID play nicely together, so the solder wets the copper and the adhesives form a continuous moisture barrier.
1) Start with AWG and color code
Most quality solder wire connectors follow a predictable color standard (always confirm the vendor’s chart):
-
White: AWG 26–24 (micro-electronic leads, signal work)
-
Red: AWG 22–18 (sensors, automotive primary in smaller circuits)
-
Blue: AWG 16–14 (most accessories, pumps, lighting)
-
Yellow: AWG 12–10 (higher-draw loads, bilge blowers, power distro pigtails)
These ranges describe the conductor size that the solder ring is engineered to wet and fill. If you stuff an AWG 12 into a blue sleeve, the solder volume is insufficient; if you jam AWG 20 into a blue, you’ll struggle to shrink the tubing tight enough to seal.
2) Check insulation OD, not just copper
Two wires of the same AWG can have very different jacket thicknesses (PVC, cross-linked XLPE, silicone, PTFE). Before buying, check your wire’s outside diameter (OD) against the unshrunk and fully-shrunk inner diameters of the sleeve. As a rule of thumb, after shrinking you want the tubing wall to be uniformly compressed onto the jacket with no voids near the adhesive rings.
-
If you’re splicing fine-strand silicone with a thick jacket, prefer 3:1 or 4:1 shrink connectors.
-
If you’re splicing thin-jacket PTFE, a 2:1 can be fine but demands precise heating to avoid cold spots.
3) Mind strip length and overlap
The solder ring wants copper on both sides. A good workflow:
-
Strip 6–7 mm (≈1/4") per side for red/blue, 8–10 mm for yellow.
-
Insert both conductors so their bare ends overlap under the solder ring by ~3–5 mm (1/8"). No gap. No insulation under the solder.
-
For stranded wire, give a gentle twist to keep strands bundled, not a tight bind that forms a point and starves solder.
4) Pick the sleeve type for your environment
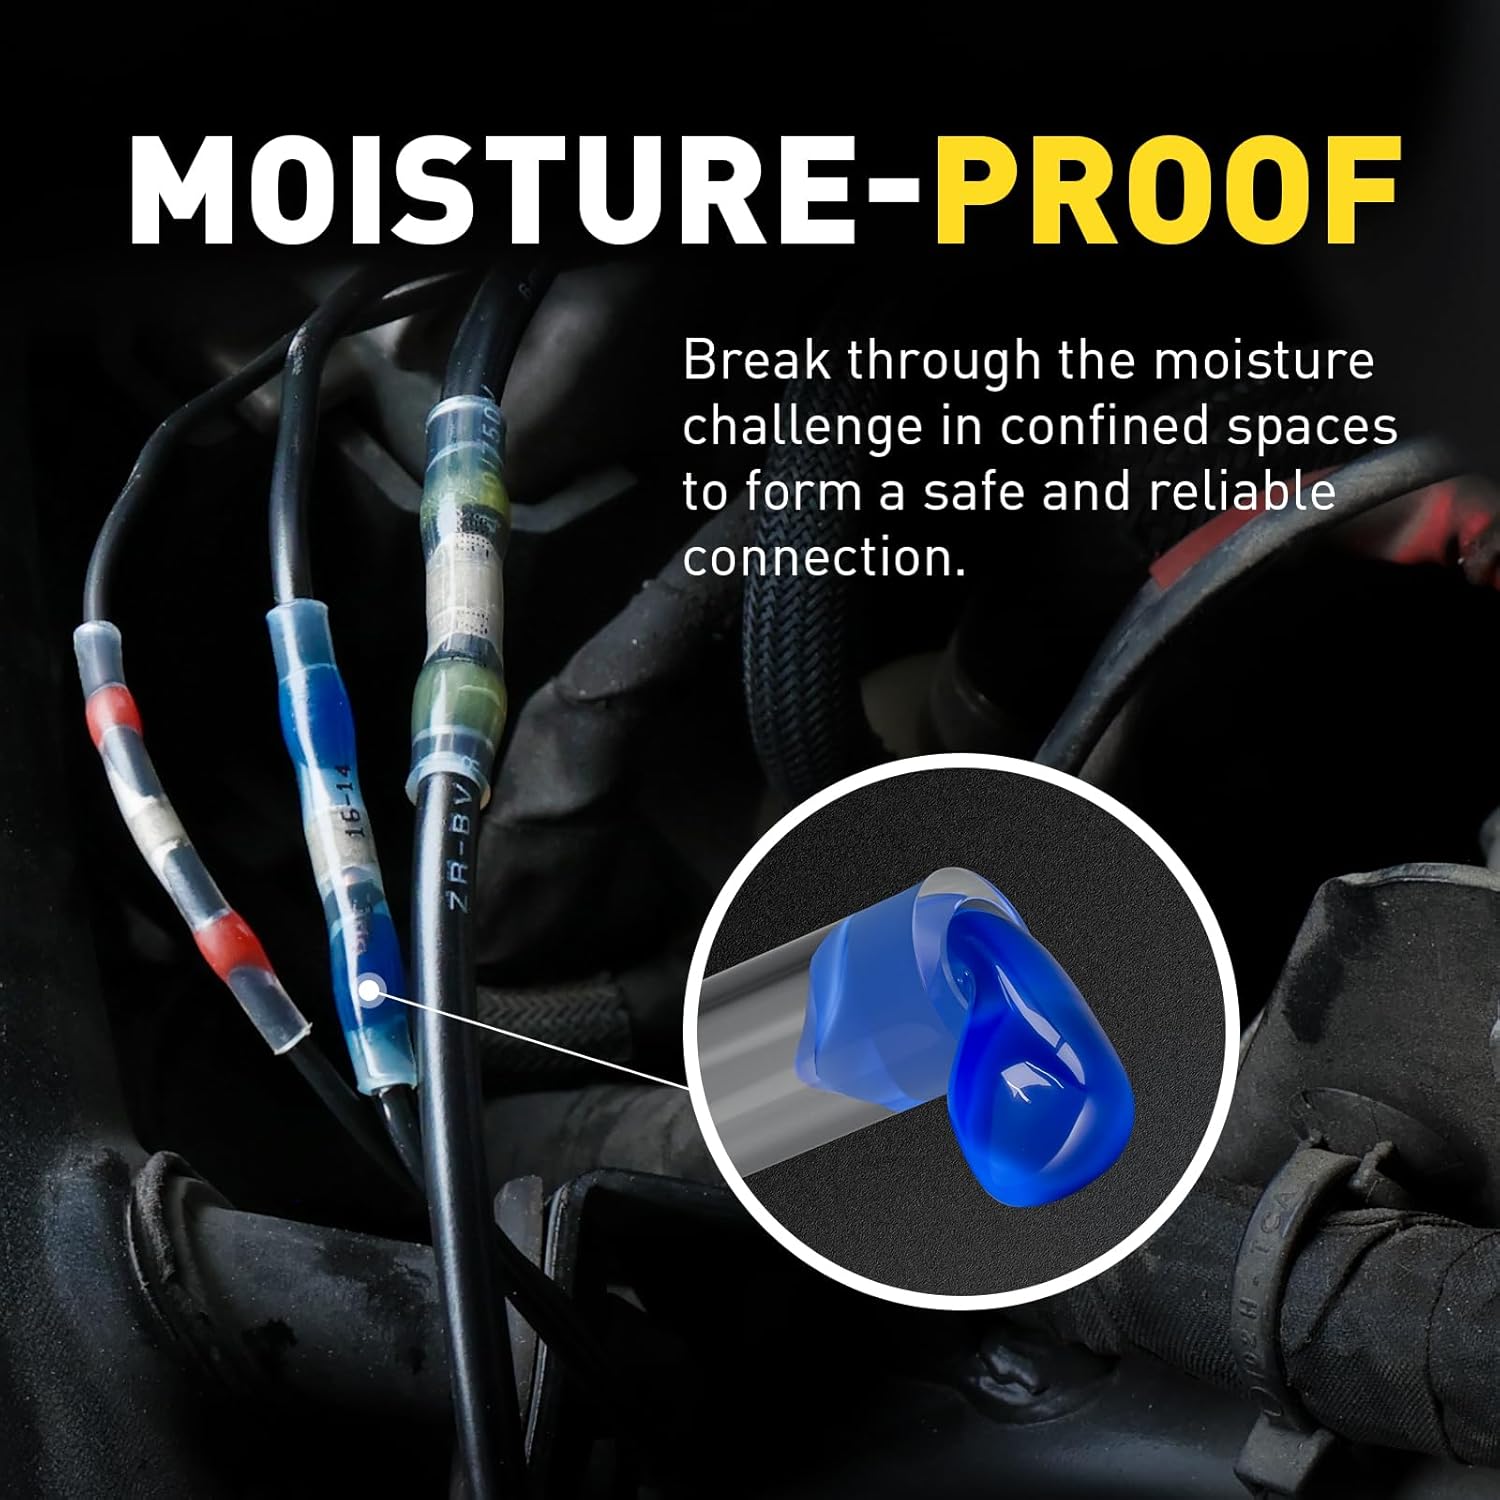
If your splice will live where there’s spray, splash, or dust, choose sleeves with dual adhesive rings (one on each side of the solder barrel). For buried, bilge, or exterior routing, consider marine-focused sleeves that explicitly claim IP67/IP68-equivalent sealing when installed to spec. When you read “heat shrink solder connectors,” look for callouts like “adhesive-lined,” “sealed solder connectors,” “solder & seal,” or “solder shrink connectors”—these phrases indicate that sealing, not just insulation, is part of the design.
5) Don’t mix copper types casually
Tin-plated marine conductors solder readily and resist corrosion; bare copper works too, but if the environment is harsh, your seal must be perfect. Avoid splicing aluminum in these sleeves; dissimilar metals and oxide layers invite failure.
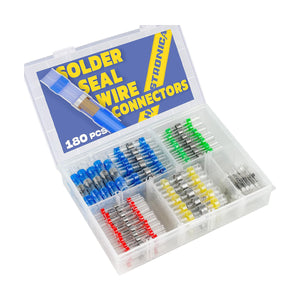
Buy with confidence: the Haisstronica 340-pcs kit labels color/AWG on the case, so picking the right wire connectors solder size is fast and repeatable.

Shrink Ratio & Adhesive (solder wire connectors)
The “heat-shrink + solder + adhesive” triple stack is why solder wire connectors can be waterproof and strain-relieved—when used correctly. Here’s what each element does, with practical numbers so you can evaluate spec sheets intelligently.
1) Shrink ratio: 2:1 vs 3:1 vs 4:1
-
2:1 is common in budget sleeves. It’s compact and fine when your insulation OD is close to the tubing ID. The downside: less range to accommodate jacket thickness changes and less squeeze on odd geometries.
-
3:1 is the sweet spot for mixed harness work. It starts large enough to slide over thick jackets and shrinks aggressively to bite down and close voids.
-
4:1 is the problem-solver for silicone jackets, multi-layer heatshrink repairs, and uneven transitions (e.g., where one side has heat-resistant glass braid). It also tolerates minor operator error (slightly too large a sleeve) by shrinking further.
A practical selection trick: If your measured jacket OD is close to the sleeve’s minimum recovered ID, choose 3:1 or 4:1 so the adhesive actually compresses and displaces air.
2) Adhesive chemistry—and why it matters
Most quality sleeves use EVA (ethylene-vinyl acetate) hot-melt adhesive. Some premium designs use polyamide or specialty formulations for fuel/oil resistance and high-temp stability. Look for:
-
Activation temperature (often 80–110 °C)—below solder melt.
-
Operating temperature of the finished splice (e.g., -55 to 125 °C typical for automotive/marine sleeves).
-
Chemical & salt-spray performance declarations for harsh environments.
When heated after the solder wets, the adhesive flows, wets the jacket, and extrudes slightly at the sleeve ends—this is a good sign you’ve reached full seal. If you see dry gaps or chalky adhesive, you under-heated or moved too fast.
3) Solder ring alloy and heat profile
Many sleeves use a low-temperature eutectic solder (commonly Sn42/Bi58, melt ≈ 138 °C) with an internal flux. Some use Sn60/Pb40 or lead-free variants with slightly higher melt points. Practical guidance:
-
Heat gun + reducer nozzle is best. Moderate airflow around 300–350 °C (572–662 °F) usually melts the ring in 8–20 seconds depending on size.
-
Start heating at the solder ring to achieve a clean melt and capillary wetting, then sweep outward to activate both adhesive bands.
-
No open flame near vapors, jackets, or in code-sensitive spaces; open flames localize heat, scorch tubes, and boil adhesive. If you must use a micro-torch, move continuously and from a distance.
Good melt signs: The solder turns shiny and collapses, you see a thin fillet at the copper interface, and the conductors can’t be pulled apart after a 10–15 second cool.
Bad melt signs: Granular or dull solder (cold joint), voids under the ring, bubbling or blackened tubing (overheat).
4) Pull strength & sealing expectations
Done right, properly sized heat shrink solder connectors deliver strong tensile performance and excellent moisture resistance. Still, in continuous high-vibration or high-temperature zones (under-hood near exhaust), many OEM standards prioritize crimp-then-adhesive-lined shrink over soldered splices to avoid a stiff, heat-affected zone. That’s not an indictment of the sleeves—it’s about application. Use them where the environment suits them.
👉 Reduce resistance using Haisstronica wire connector solder products—shop the range.

What to Buy (Kits & Alternatives) (solder wire connectors)
Here’s how to build a kit you trust—and when to reach for something else instead of (or in addition to) solder wire connectors.
A) A well-rounded solder-seal kit (what to look for)
Coverage & labeling
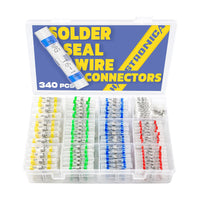
You want all four color sizes—white/red/blue/yellow—in organized bins with printed AWG ranges on the case. The Haisstronica 340-pcs set checks this box and covers AWG 26–10 without mixing obscure intermediate sizes that waste slots.
Tubing & adhesive quality
Premium sleeves shrink evenly with a matte finish and show clean adhesive extrusion at both ends when fully heated. Lower-tier sleeves can thin out unevenly or leave dry spots. The Haisstronica sleeves are adhesive-lined with consistent shrink and clear solder rings so you can verify the melt visually.
Solder ring placement
Centered rings reduce operator error; off-center rings are annoying and slow you down. Check that each sleeve has fluxed solder that melts smoothly—no gritty, gray residue.
Heat tool compatibility
Your sleeves should respond predictably to a common 1400–1800 W heat gun with reducer nozzle. If a sleeve must be torched to melt, it’s not field-friendly.
👉 Get durable joins with Haisstronica wire solder connectors—click to buy now.

B) When to choose crimp-then-shrink instead
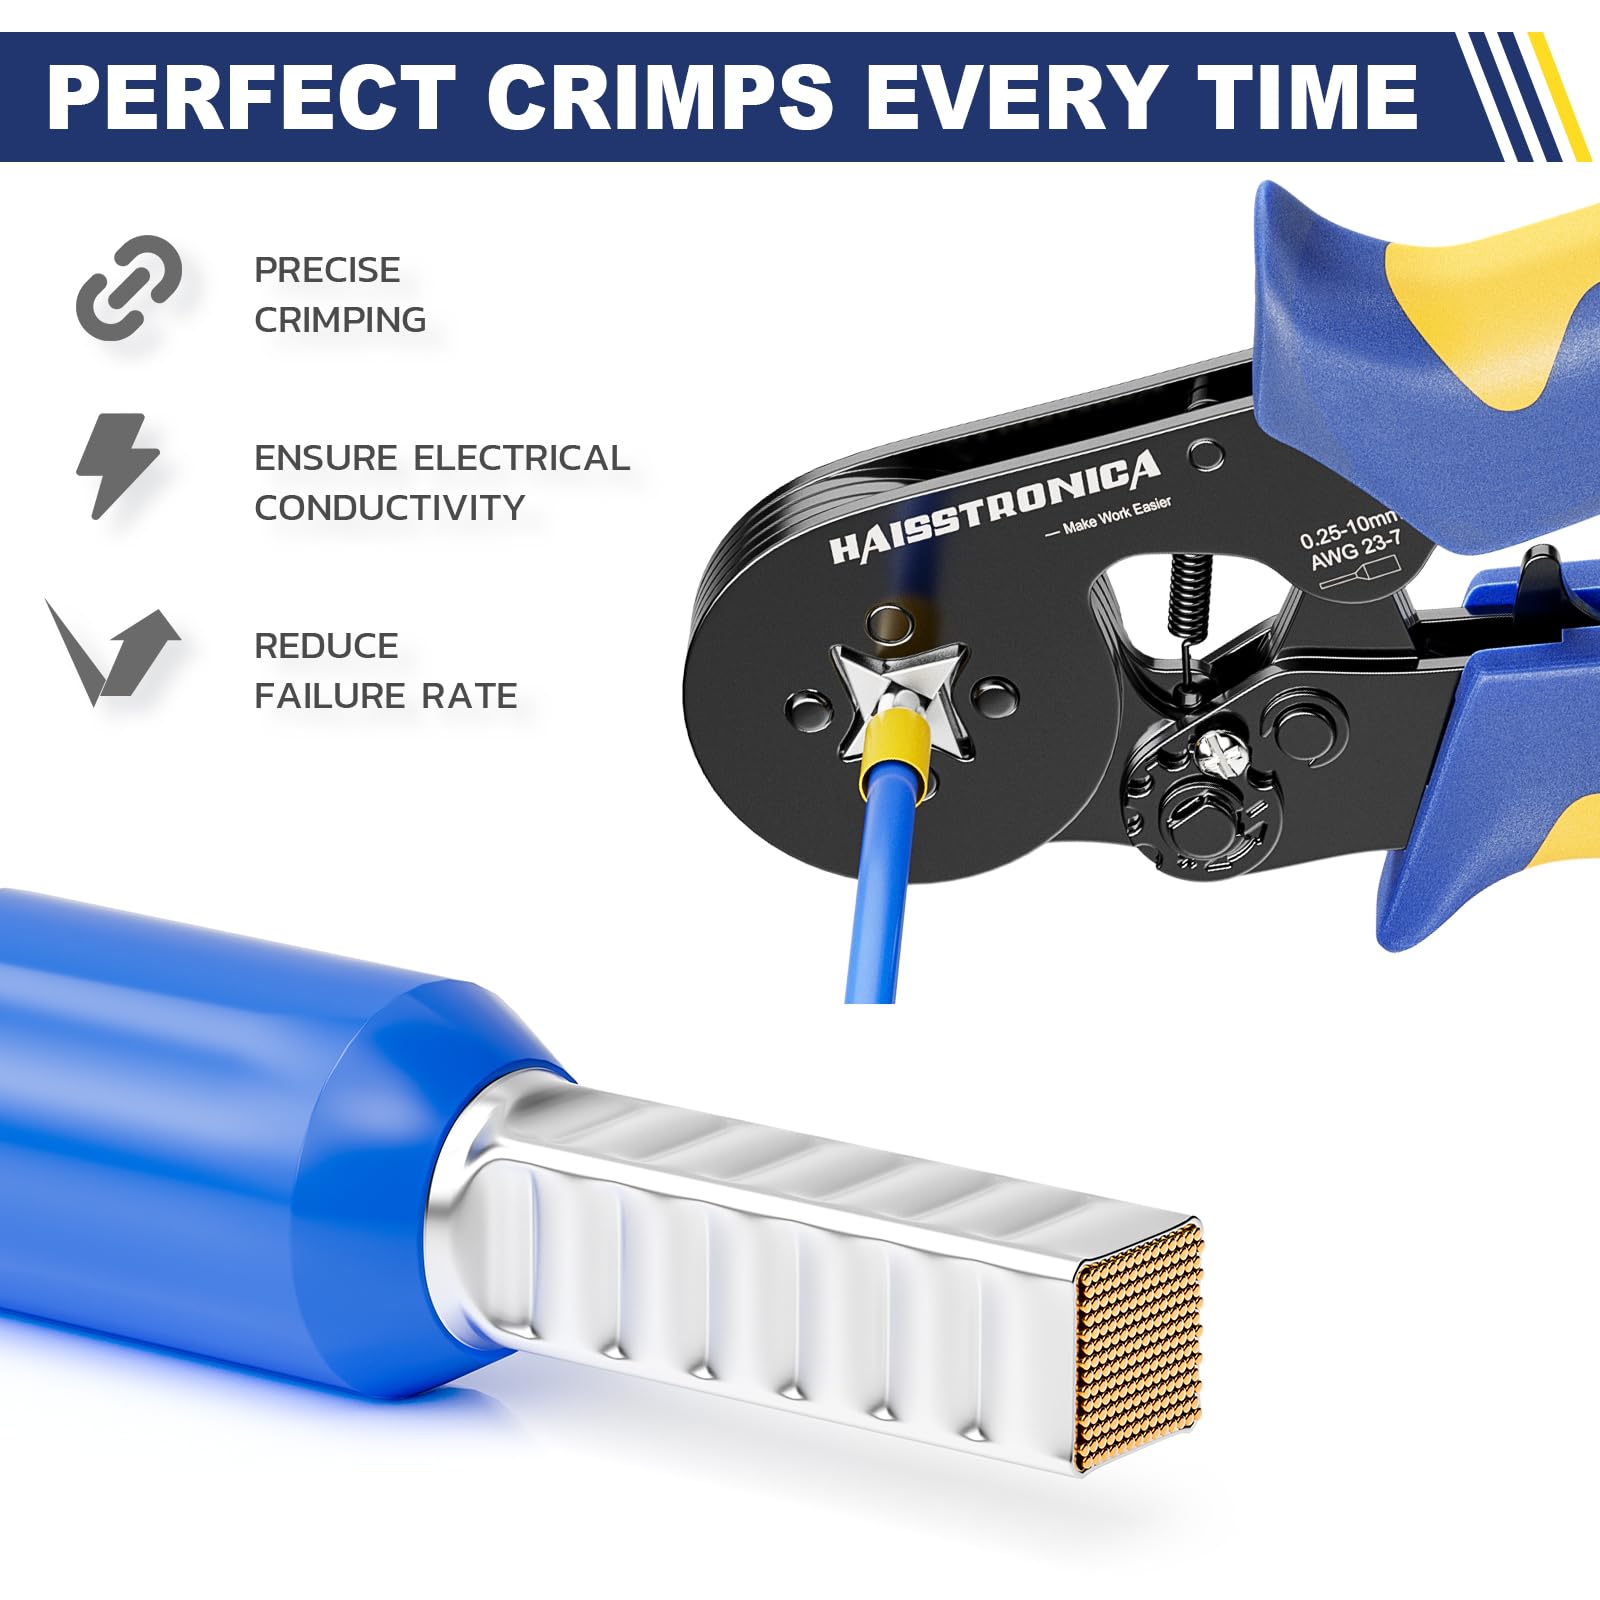
If your harness sees constant vibration, high strand-flex, or under-hood temperatures, consider adhesive-lined crimp butt connectors (crimp first, then heat). Reasons:
-
The plastic barrel and adhesive provide strain relief without introducing a heat-affected, rigid solder section.
-
Automotive and aerospace workmanship guidelines often prefer crimped splices for fatigue reasons (see FAA AC 43.13-1B & NASA workmanship notes below).
C) When terminals, ferrules, or housings are better
-
Ring/Spade/Blade terminals + adhesive-lined heat shrink for stud and screw terminations; search solder on terminals versus crimp terminals depending on spec.
-
Ferrules for DIN-rail blocks or set-screw terminals (look for a proper ferrule crimper if you go this way).
-
Connector housings (Deutsch, AMP/TE, Sumitomo) where sealing grommets and positive latches are required. In those systems you don’t use solder on connectors; you use crimped terminals with dedicated tools.
D) “Solderless” quick alternatives—know the tradeoffs
You’ll see solderless wire connectors (insulation displacement, quick taps). They’re fast, but for high-reliability work or damp areas they’re a poor substitute for soldering wire connectors or crimp-then-seal. If you must use them, protect the joint with adhesive-lined heat shrink and keep them out of high-vibration zones.
E) Tools you’ll actually use
-
Heat gun with reducer/reflector nozzle (best balance of speed and uniformity).
-
Temperature-indicating crayon or simply learn to watch the solder ring collapse and adhesive flow.
-
Wire prep: proper stripper, flush cutters, and if needed wire sealer (dielectric grease) outside the seal—not inside the spliced area.
-
Do not use open flame in enclosed spaces or near volatiles; even a micro-torch can scorch tubing before the solder wets.
F) How these fit your broader kit
For a versatile field kit, carry both solder seal connectors and sealed crimp connectors plus a few solder plugs/heat-shrink bullets for odd repairs. That way you can pick the method that fits loads, code, and environment without forcing a one-size solution.
👉 Finish neatly using Haisstronica soldering wire connectors—reliable seals, zero guesswork.

Installation, Quality Checks & Real-World Tips
Buying the right parts is half the battle; execution is the other half. Here’s a concise, field-tested process to get the most from solder wire connectors.
Step-by-step splice
-
Prep the wire
-
De-energize and confirm.
-
Cut out any corroded strands; clean copper solders vastly better than darkened copper.
-
Strip to length (see above). Avoid nicking strands.
-
-
Dry fit
-
Slide the sleeve on one side first (don’t forget this!).
-
Insert both wires so bare ends overlap under the solder ring. Jacket should be under the adhesive rings, not the solder.
-
-
Heat the solder ring first
-
Use a heat gun ~300–350 °C with a reducer nozzle.
-
Move in circles around the ring until it collapses and turns shiny, then give a few seconds longer for proper wetting.
-
-
Chase the adhesive outward
-
Sweep heat to each side until you see adhesive extrusion at both ends. That’s your visual seal check.
-
-
Cool undisturbed
-
Let the joint set for 10–20 seconds. Don’t bend it while the adhesive is molten.
-
-
Test
-
Light tug test in-line.
-
If it pulls or twists easily, you likely had poor overlap or under-melted solder. Cut back and redo.
-
Quality red flags
-
Dull/grainy solder → cold joint, reheat or redo.
-
Voids or bubbles → uneven heat; reheat while rotating.
-
No adhesive bead → underheated ends; seals won’t be waterproof.
-
Smoked/burnt tubing → overheated, compromised integrity; redo.
Where they shine (and where they don’t)
Great fits: quick pigtail repairs, automotive accessories (interior/exterior away from engine), trailer lighting, boat cabin/bilge (when properly sealed), solar combiner boxes (low-vibration), sensor leads.
Think twice: near engine/exhaust, inside flex loops of machinery, or places where OEM documentation strictly prohibits soldered splices. In those cases choose crimp vs solder in favor of crimp-then-seal.
Common terms you’ll see (and what they mean)
-
Solder seal connectors / solder seal wire connectors / sealed solder connectors → sleeves with solder ring + adhesive.
-
Solder wire splice / butt splice solder / solder splice connector → the spliced joint itself.
-
Solder and shrink tube / heat shrink with solder / solder and seal → generic descriptions; verify specs.
-
Crimp solder connectors / crimp and solder connectors → hybrid devices or kits; check instructions carefully.
Conclusion: Choose by environment, size by AWG + OD, and heat with intent
Solder wire connectors deliver a compelling mix of speed, cleanliness, and sealing—especially when you need a low-profile splice that doesn’t require a separate crimp barrel or multiple sleeves. Size them by AWG and jacket OD, favor 3:1 shrink for versatility, and heat until solder collapses and adhesive beads appear at both ends. For high-vibration/high-temp zones or where your code/standard says so, pivot to crimp-then-adhesive-lined shrink.
If you want an economical, organized way to get started—or to restock a team—grab a kit that covers all four color ranges and installs consistently with a common heat gun.
Our Top User-friendly Picks
Haisstronica solder wire connectors use a precision hot-melt adhesive that flows, cools, and locks in seconds for a weatherproof seal. The marine-grade design lets wire connectors solder around the splice for lasting conductivity, even in harsh environments. Heat-shrink tubing forms tough cable-entry protection against abrasion and impacts. Clearly printed AWG markings on the polyolefin sleeve make size selection effortless. Choose durable, soldered wire connectors that deliver fast, reliable results for automotive, marine, and outdoor electrical work.
Get the kit that pros throw in their service bags:
Haisstronica 340-pcs Heat-Shrink Solder-Seal Wire Connectors (AWG 26–10) →