Build a splice that survives the environment—not just the installation.
Moisture, vibration, and heat cycles expose the limits of ordinary connectors. This guide shows when adhesive-lined heat shrink is worth using, which terminal and AWG to choose, and how to crimp and heat it correctly.
Why Ordinary Wire Connectors Fail
A basic vinyl- or nylon-insulated connector provides electrical insulation, but it does not automatically seal the ends of the splice. That leaves three common failure paths:
- Moisture and corrosion: water or condensation migrates between the wire insulation and connector sleeve. Copper oxidizes, resistance rises, and the connection may become intermittent or hot.
- Vibration and pull-out: a weak or mismatched crimp can loosen in vehicles, trailers, pumps, machinery, and marine equipment.
- Thermal cycling and abrasion: repeated hot-cold cycles and movement can create gaps, damage insulation, or expose the conductor.
Electrical tape can add temporary coverage, but it does not turn a poor crimp into a sealed mechanical connection. The connector, wire gauge, crimp profile, and heating method must work as one system.
How Adhesive-Lined Heat Shrink Connectors Work
A heat shrink crimp connector combines three functional layers:
- Tinned copper barrel: the barrel is mechanically compressed around the conductor to create the electrical connection.
- Heat shrink sleeve: the outer tubing contracts around the wire insulation to add insulation and strain relief.
- Hot-melt adhesive lining: controlled heat melts the adhesive so it flows around the cable entry points and helps block moisture and contaminants.
The crimp carries current; the recovered sleeve and adhesive protect the joint. This is why heating alone is not enough and why a lighter should not replace a properly controlled heat source.
Where Heat Shrink Connectors Add the Most Value
| Environment | Main risk | Recommended route | Product |
|---|---|---|---|
| Automotive, motorcycle, trailer | Vibration, road spray, heat cycles | Heat shrink terminals for ring, fork, spade, bullet, and butt connections | |
| Marine, boat, dock | Humidity, splash, salt exposure | Heat shrink butt connectors for sealed inline splices | |
| Outdoor lighting, irrigation, pumps | Rain, condensation, soil moisture | Adhesive-lined heat shrink connectors | |
| Dry indoor cabinet or protected enclosure | Low moisture exposure | Standard insulated connectors may be sufficient when permitted by the circuit requirements | — |
Important: a heat shrink connector improves environmental protection, but it does not replace proper overcurrent protection, enclosure requirements, strain relief, or applicable electrical codes.
Choose the Connector Type Before Choosing the Kit
Select the terminal by the job it must perform:
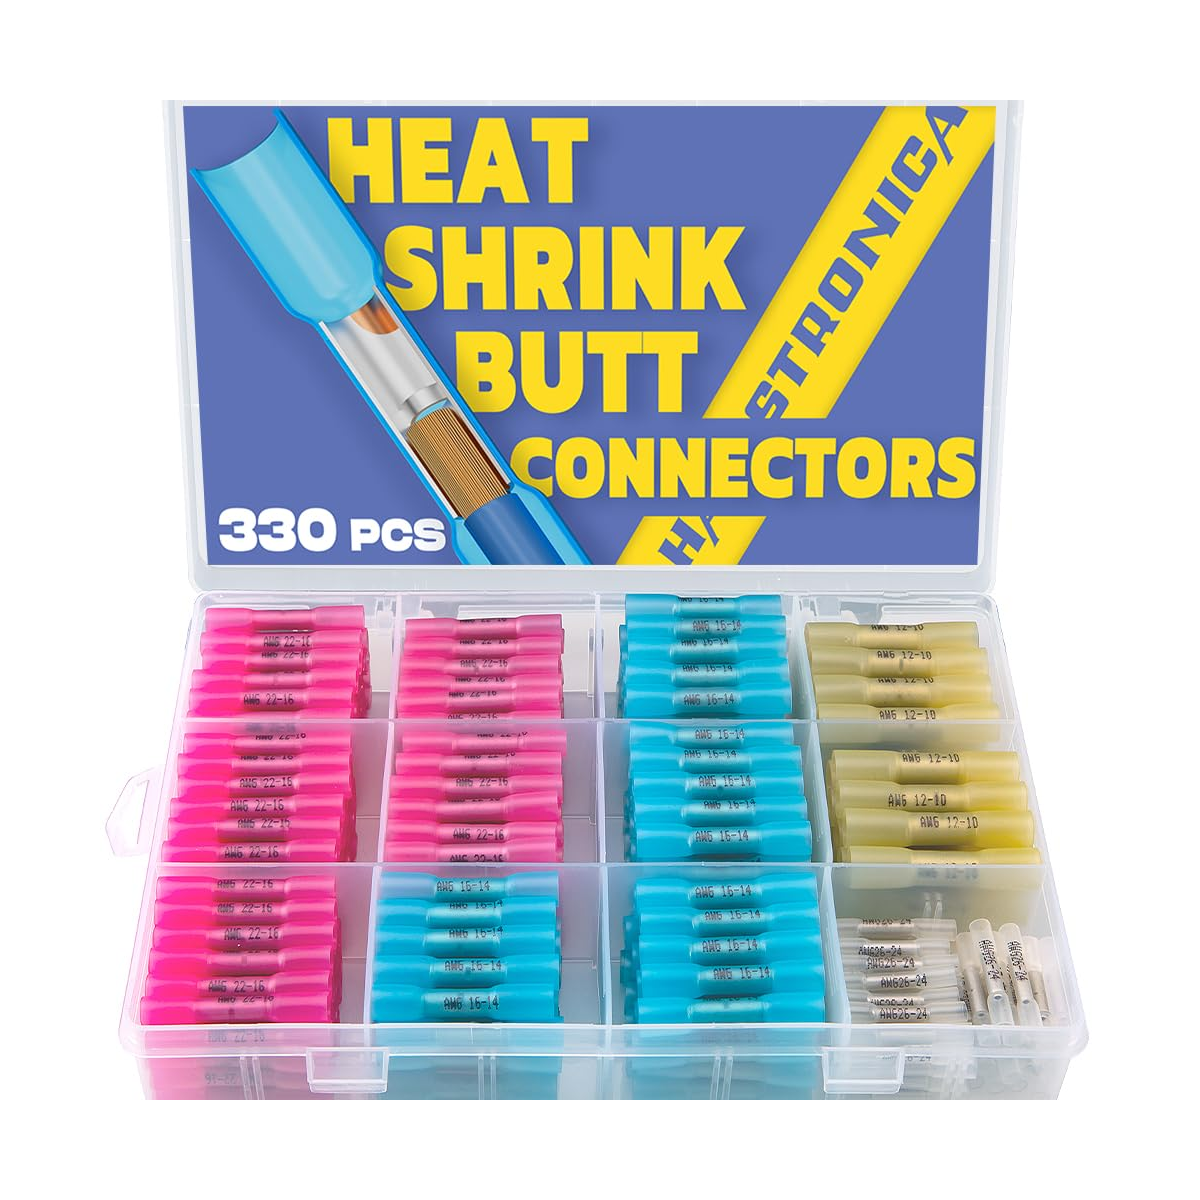
- Butt connector: joins two wires end to end. Choose a Heat Shrink Electrical Crimp Butt Connector Kit for repairs, extensions, and inline splices.
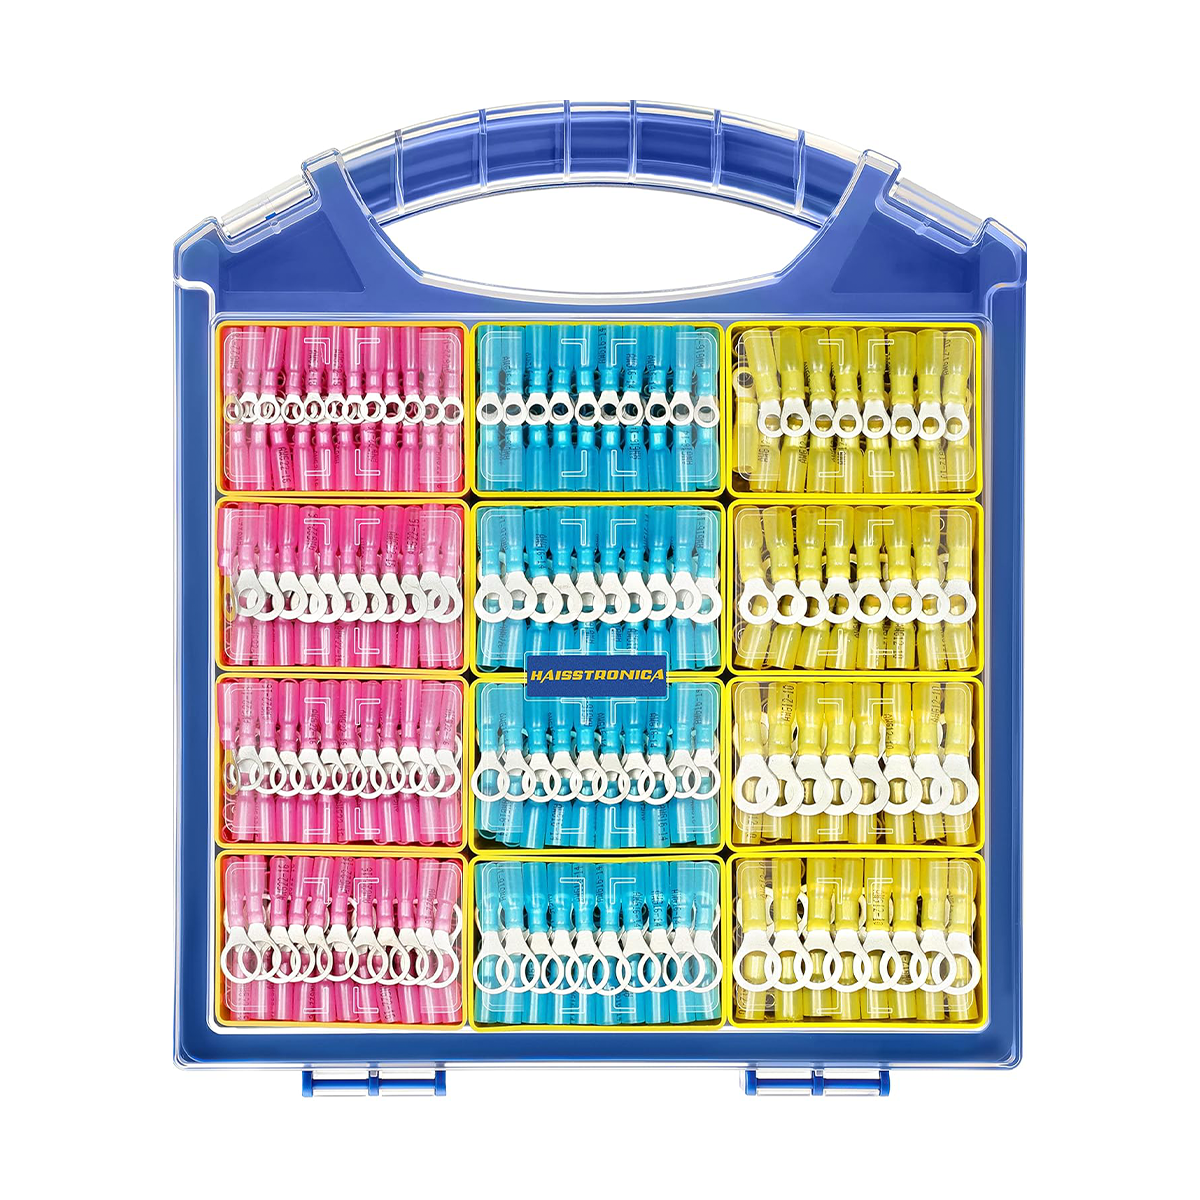
- Ring terminal: creates a secure connection to a stud, battery post, bus bar, or ground point. See Heat Shrink Ring Terminals.
- Fork terminal: connects to a screw terminal without fully removing the screw. See Heat Shrink Fork Terminals.
- Spade, bullet, and mixed terminals: useful for serviceable automotive, marine, and equipment connections. Compare the Heat Shrink Ring/Spade/Bullet Terminal Kit.
Do not choose by color alone. Confirm the conductor gauge printed on the connector or product specification, then verify that the terminal style fits the stud, screw, or mating connector.
AWG Selection Guide: Match the Wire, Connector, and Die
Strip only enough insulation for the conductor to sit fully inside the metal barrel. All strands should enter the barrel, and bare copper should not remain exposed outside the sleeve.
| Wire range | Common color | Best product route | Typical use | Product |
|---|---|---|---|---|
| AWG 26–24 | White | Heat Shrink Butt Connectors AWG 26–10 | Low-current control, electronics, small accessories | |
| AWG 22–16 | Red | Red Heat Shrink Butt Connectors AWG 22–16 | Lighting, accessories, small automotive circuits | |
| AWG 16–14 | Blue | Multi-Size Heat Shrink Butt Connector Kit | Trailer wiring, pumps, marine accessories | |
| AWG 12–10 | Yellow | Yellow Heat Shrink Butt Connectors AWG 12–10 | Higher-current accessories and heavier branch wiring |
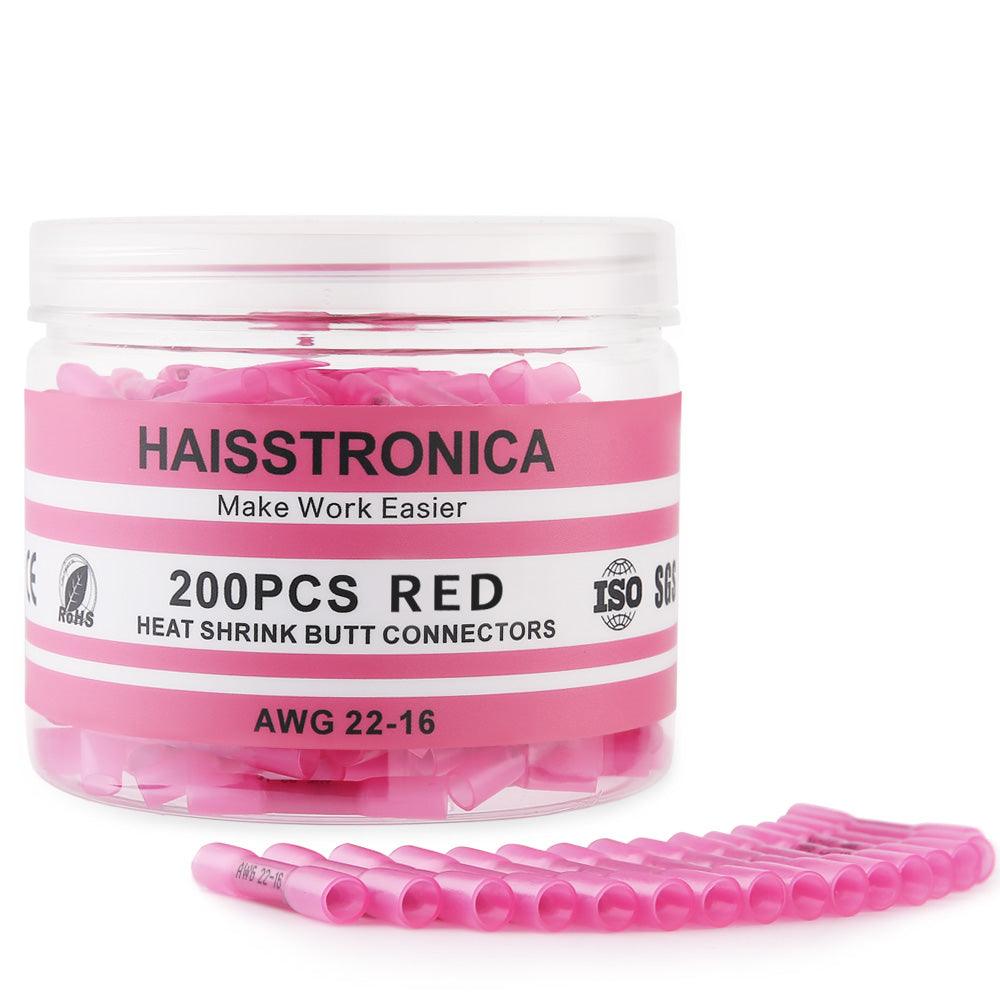
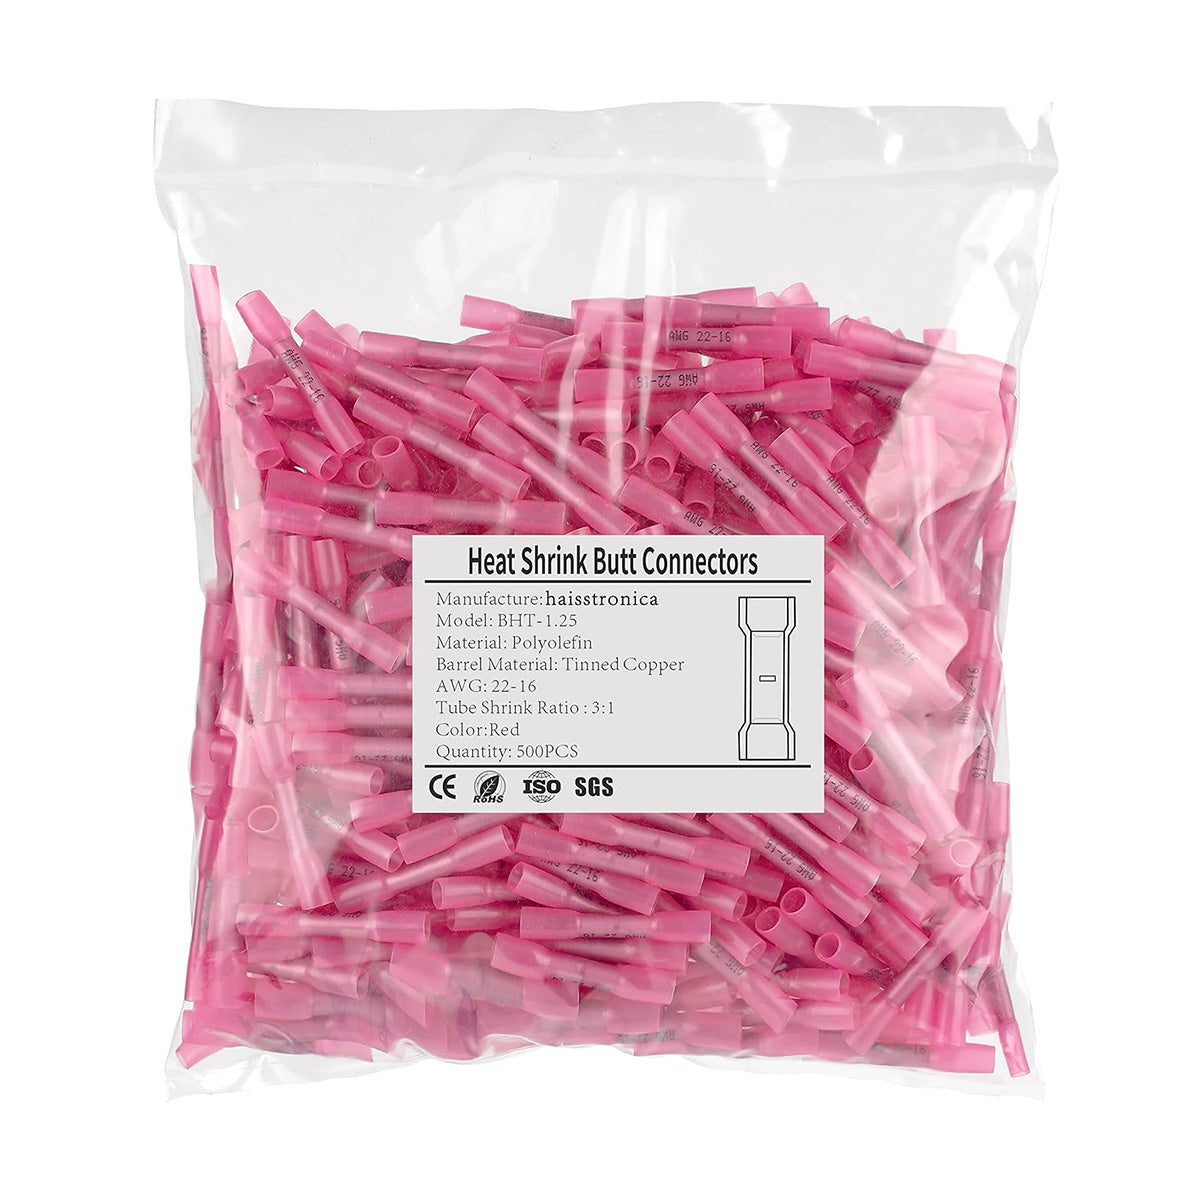
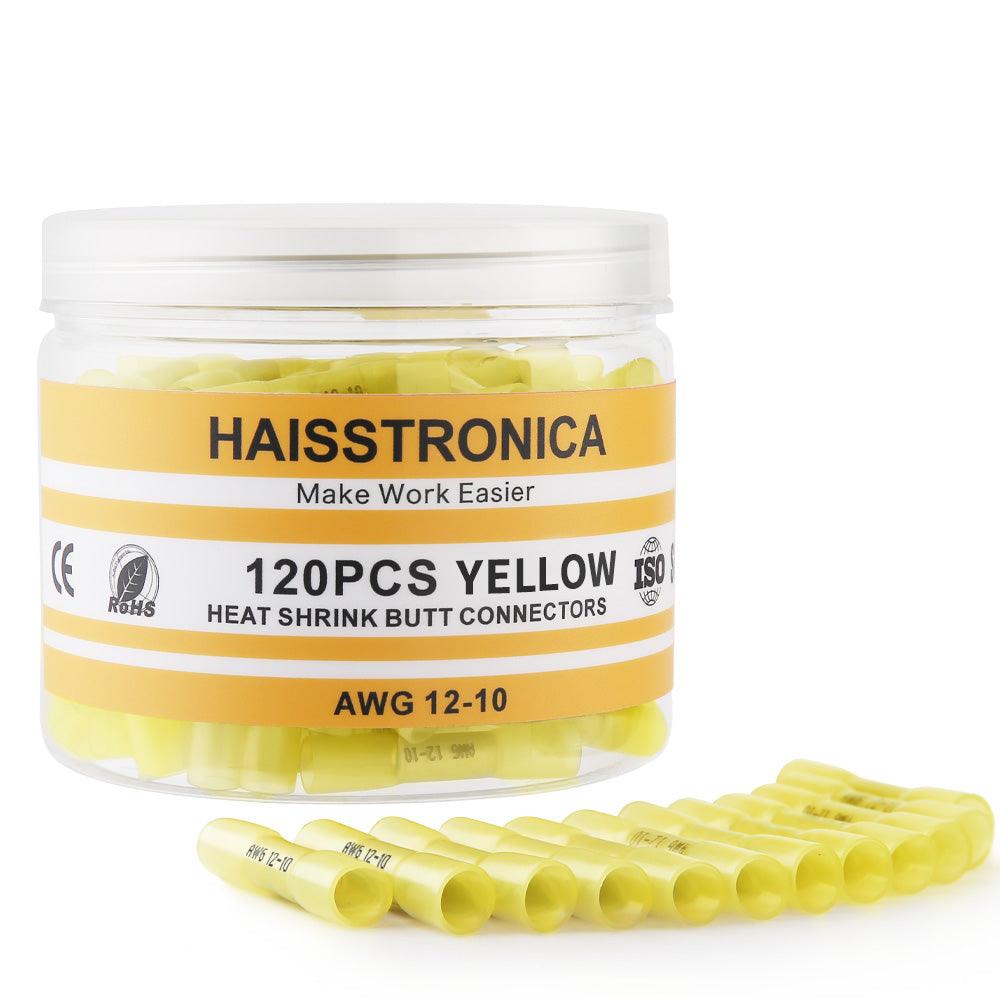
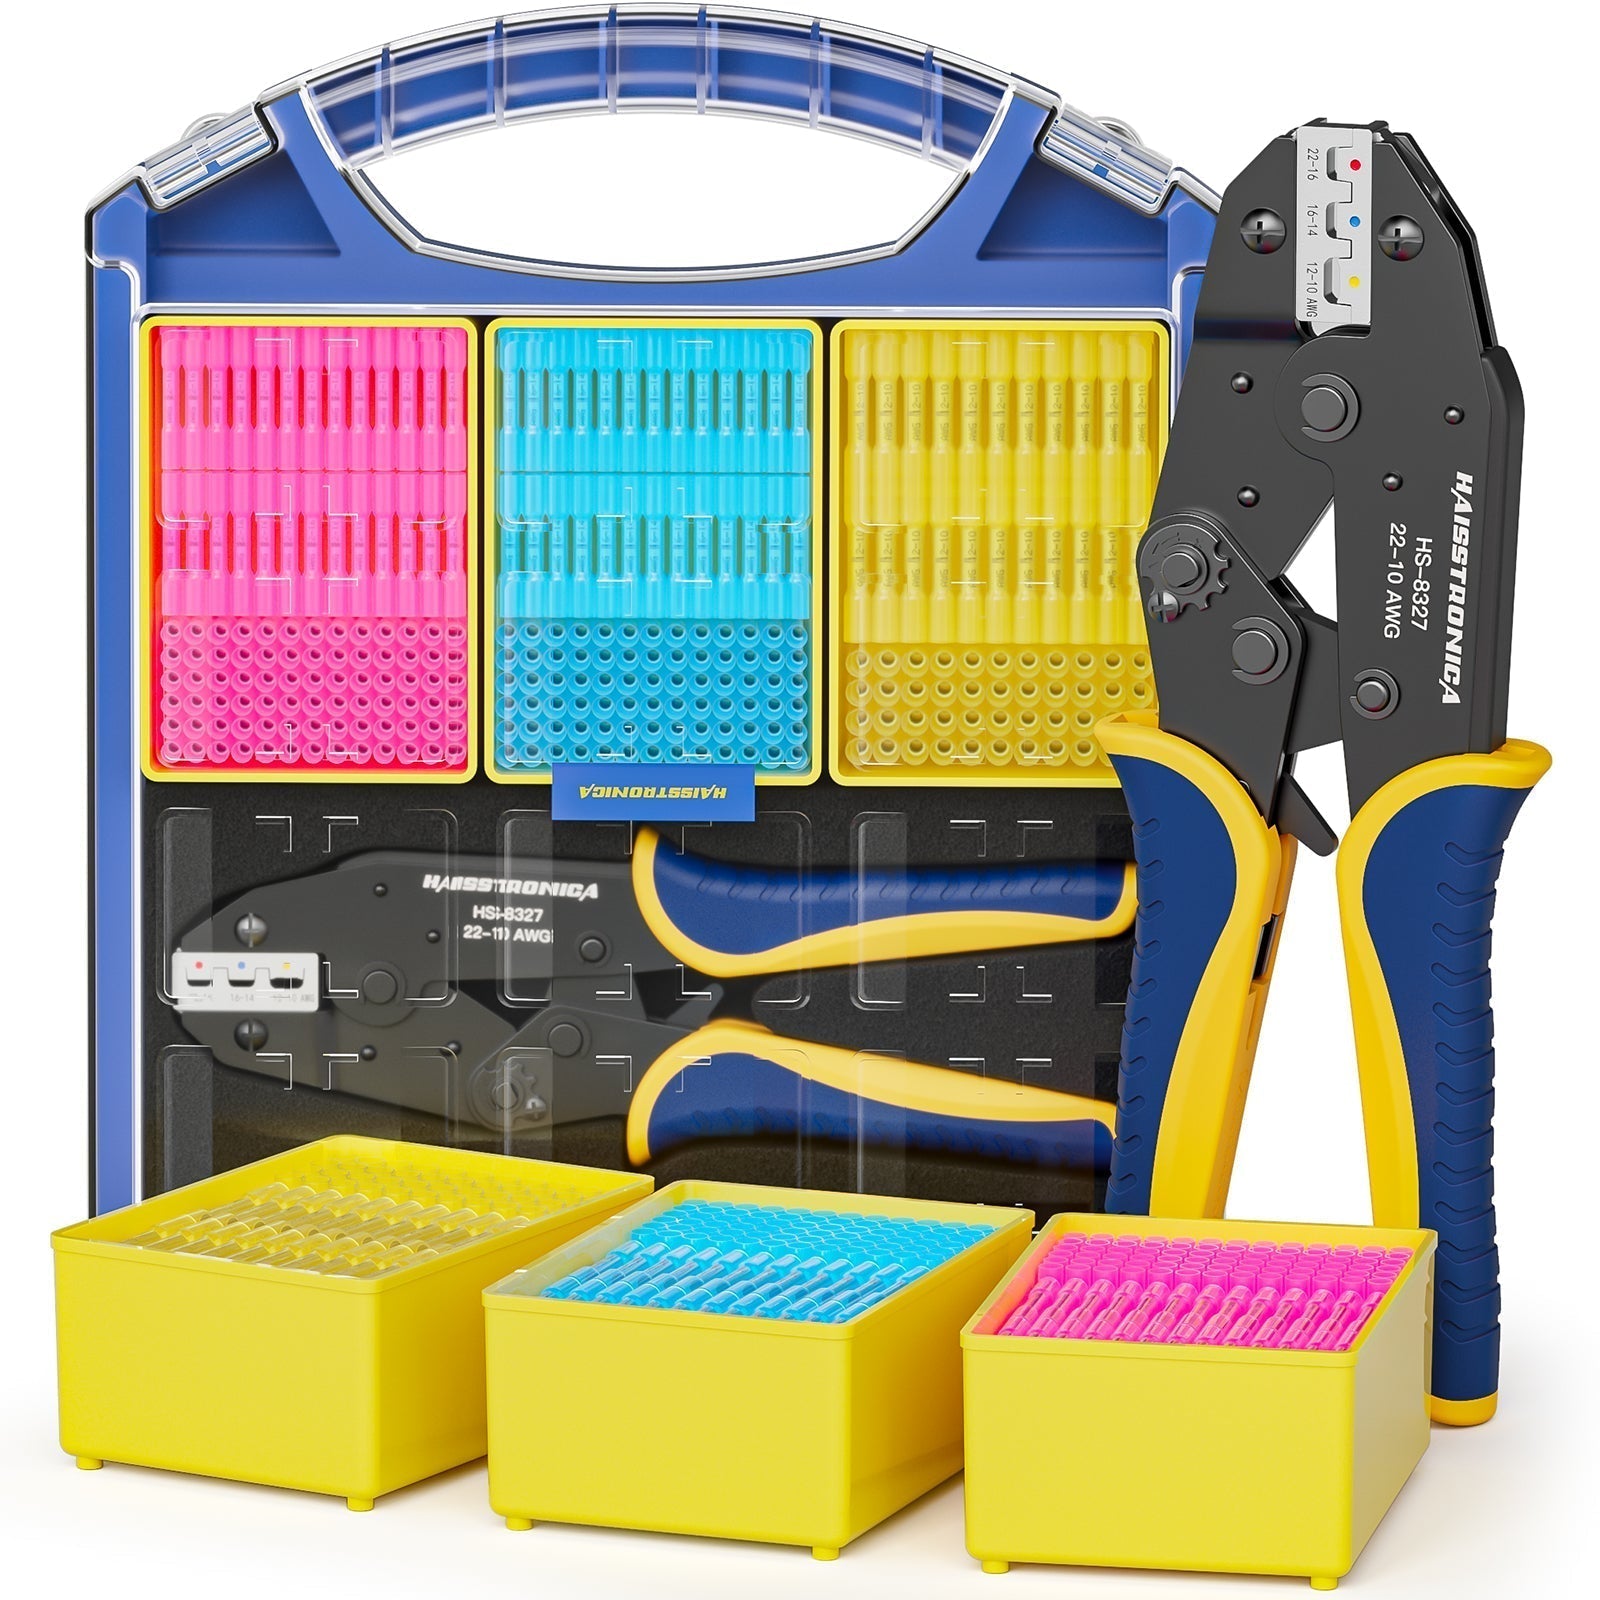
Wire color does not determine gauge. Read the cable marking or measure the conductor, and size the connector to the conductor—not to the thickness of the outer insulation. For a mixed workshop or service kit, the 330/420/580-piece AWG 26–10 assortment keeps the common sizes together.
How to Crimp and Heat the Connector Correctly
- Disconnect power and inspect the wire. Cut back corroded, nicked, or overheated conductor until clean copper is visible.
- Select the correct connector and die. Match the AWG range on the connector to the wire and use the corresponding crimp cavity.
- Strip the insulation cleanly. Do not nick strands, twist them into a smaller bundle, or pre-tin stranded wire before a standard crimp unless the connector manufacturer specifically requires it.
- Insert the conductor fully. The conductor should reach the internal stop and remain centered in the metal barrel.
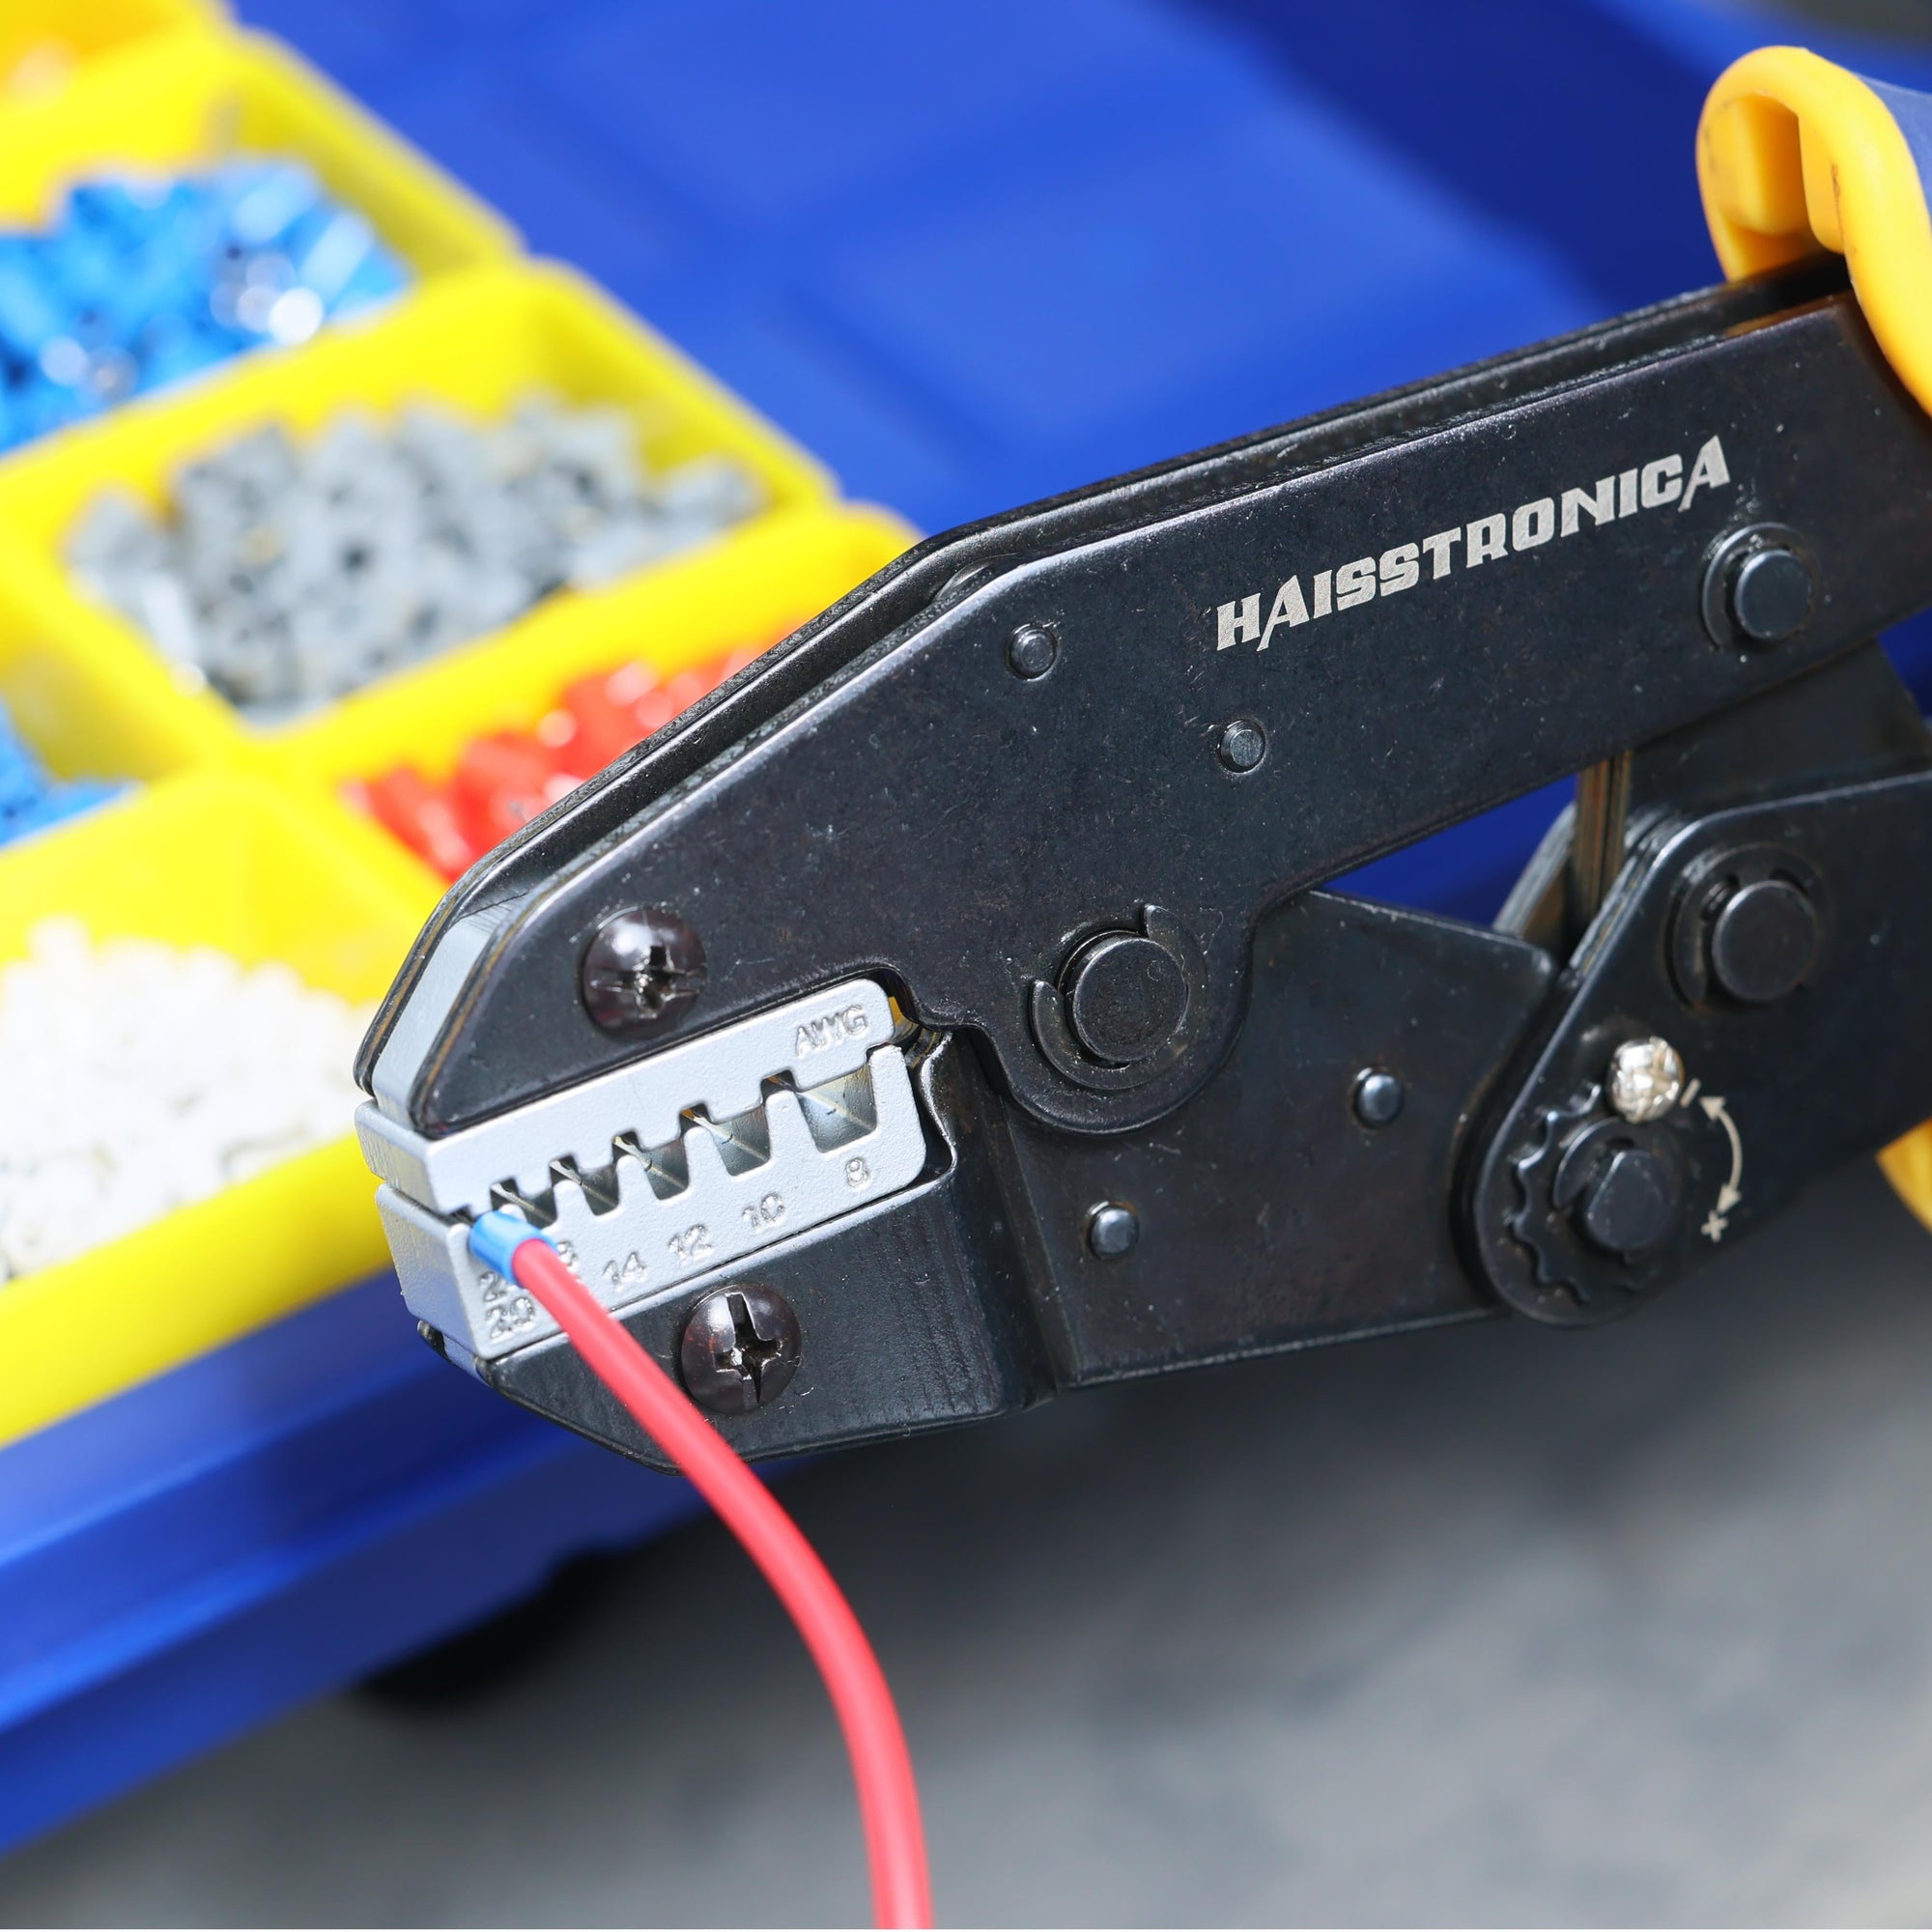
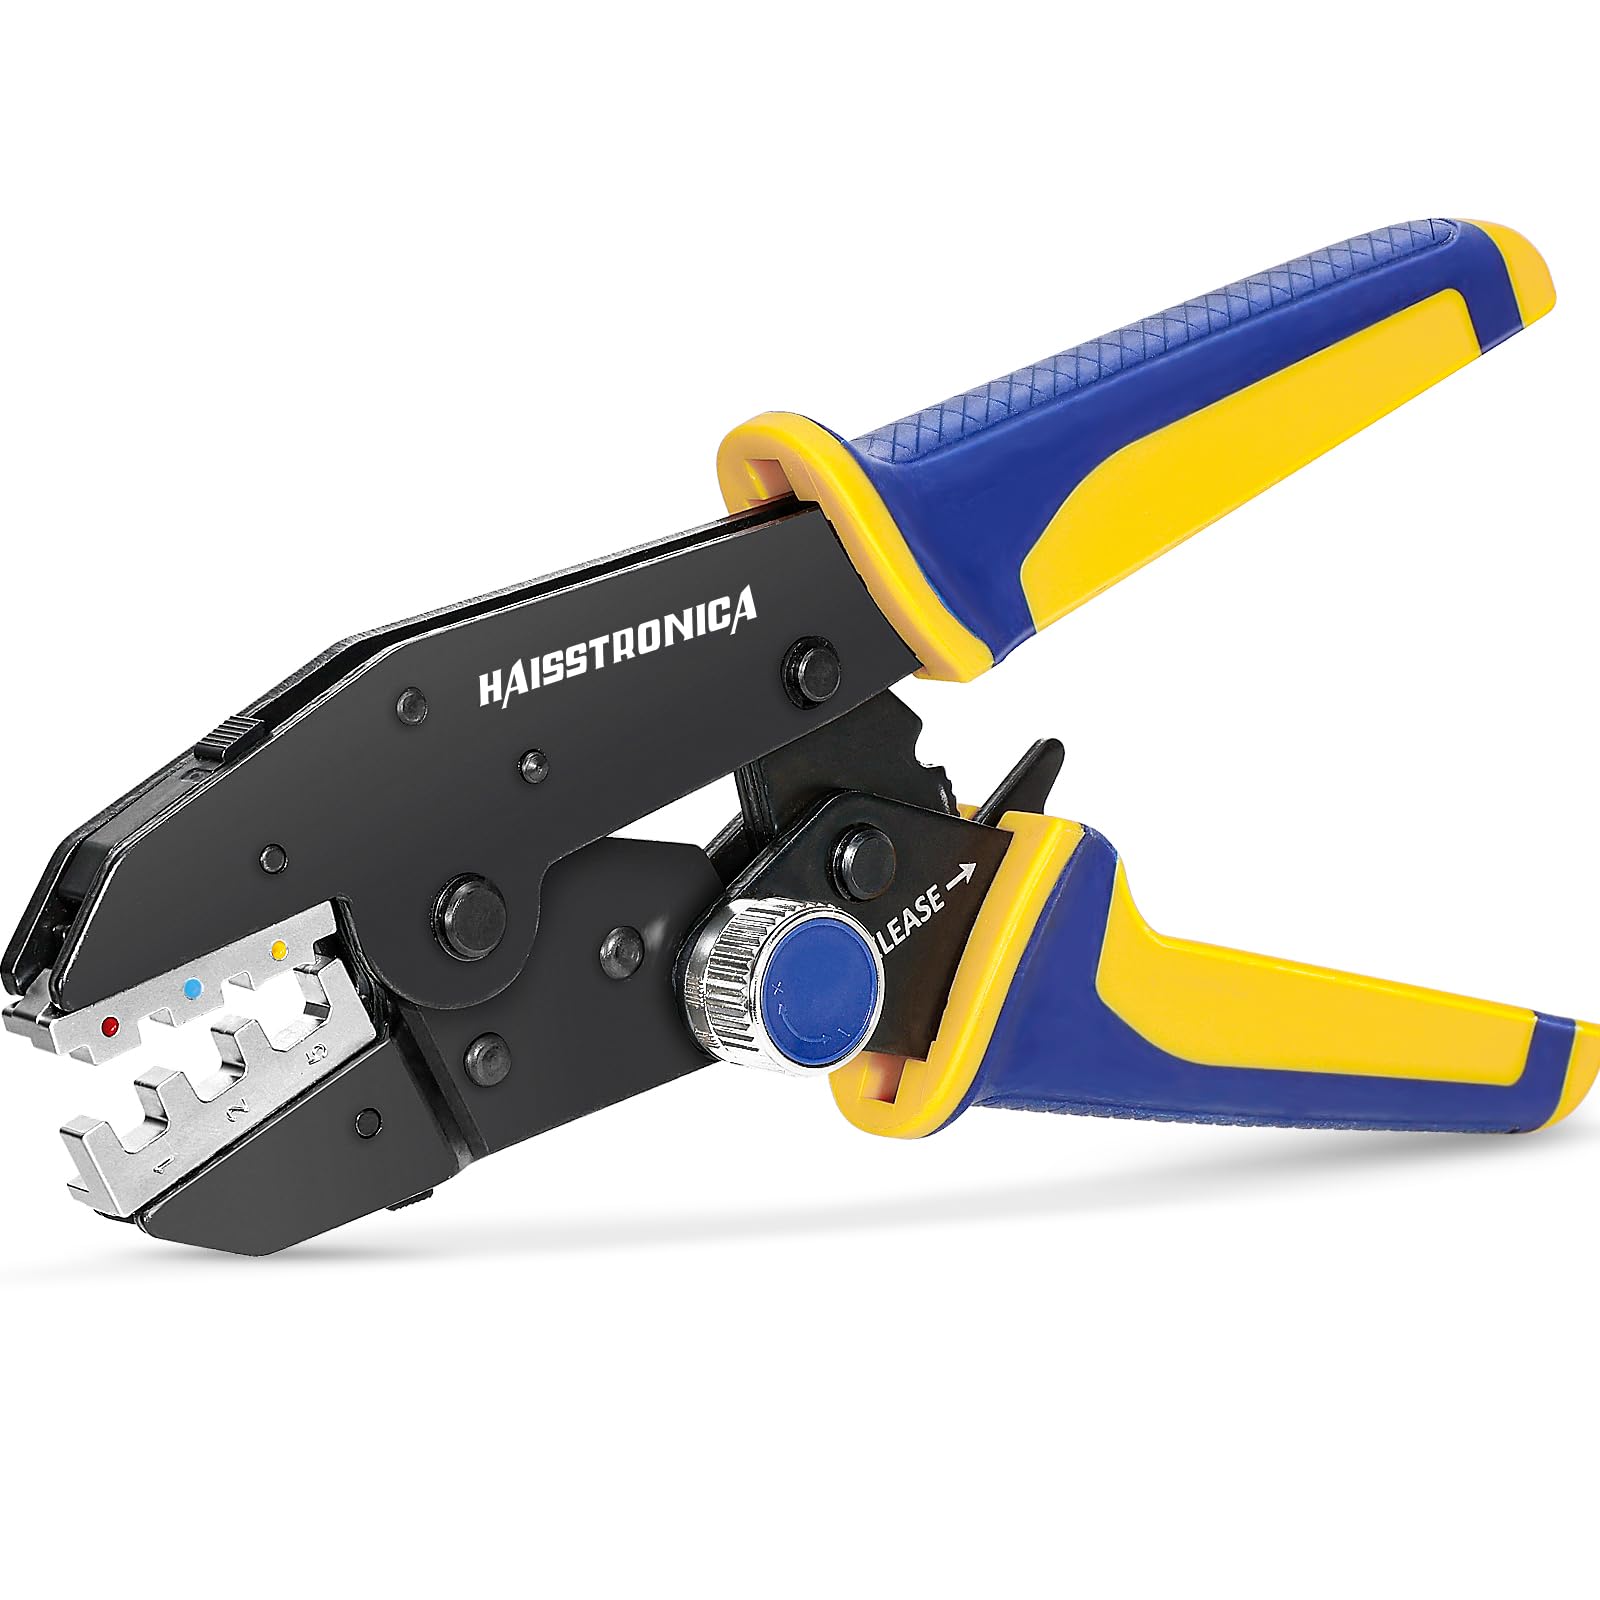
- Crimp the metal barrel. Use a matched Ratchet Crimper for Heat Shrink Connectors. Complete the ratchet cycle, then perform a firm pull test on each wire.
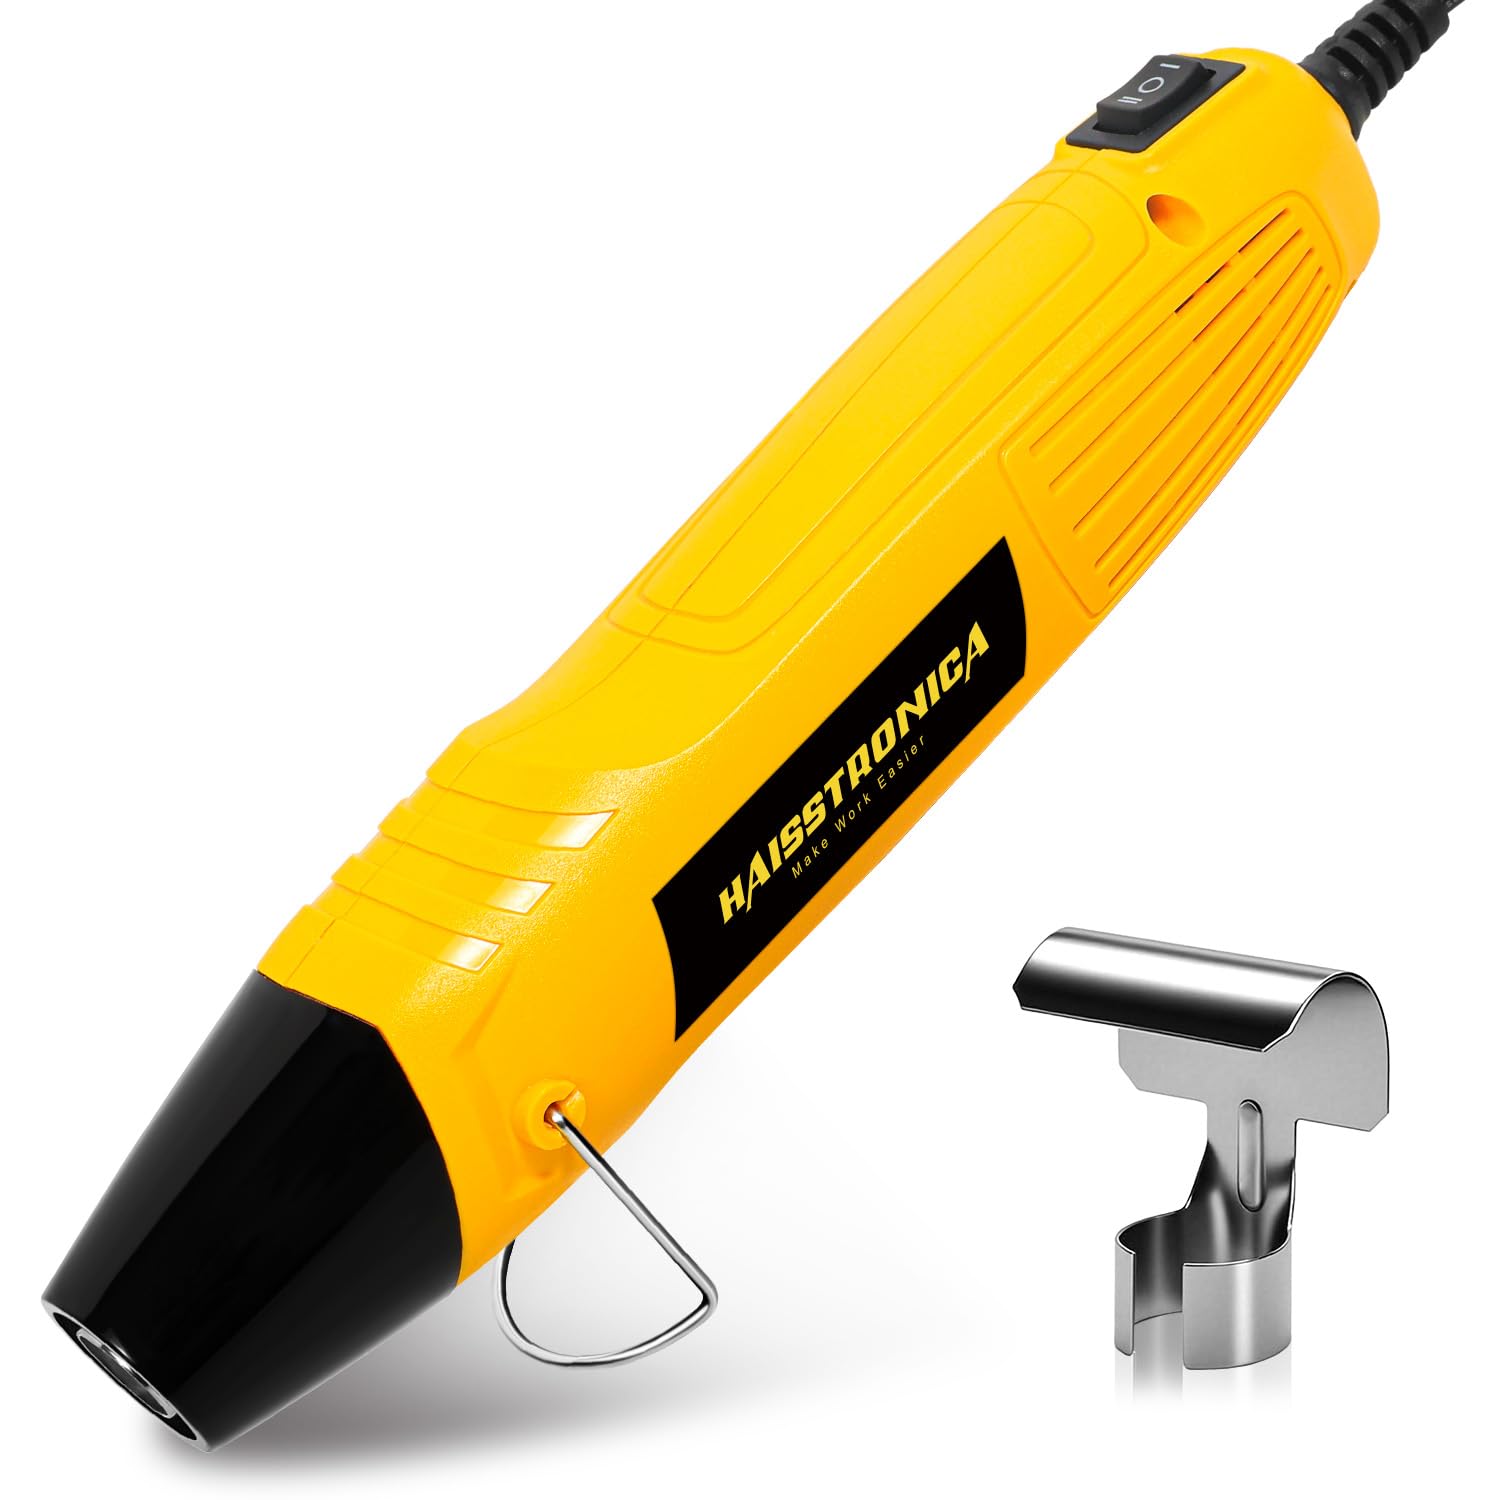
- Apply controlled heat. Use a Mini Heat Gun 350W. Begin near the center and move toward both ends while rotating the connector so the sleeve shrinks evenly.
- Stop when the seal is complete. The tubing should conform to the wire insulation and a small, even adhesive bead should appear at the ends. Avoid scorching, bubbling, or melting the sleeve.
- Cool and inspect. Let the joint cool without pulling or bending it. Confirm that no bare copper is visible and the splice is mechanically secure.
Tool pairing matters: the crimper forms the electrical connection; the heat gun activates the environmental seal. Buying premium connectors without a matched crimp die—or overheating them with an open flame—can still produce an unreliable splice.
Common Mistakes That Defeat the Seal
- Using a connector that is too large for the conductor
- Crimping the insulation instead of the metal barrel
- Leaving stray strands or exposed copper outside the connector
- Heating before crimping
- Using a lighter or torch that creates hot spots
- Stopping before the adhesive seals both cable entries
- Skipping the pull test and final visual inspection
Choose Your Path
A correctly sized standard insulated connector may be the simpler, lower-cost option when the joint stays clean, dry, and free from vibration. Confirm the circuit requirements and use the proper crimping tool.
Choose the sealed system. Match the AWG, complete the crimp, then activate the adhesive seal with controlled heat.
Compare all heat shrink wire connectors by terminal type, AWG, color, and pack quantity.