Crimping is one of the fastest ways to build strong electrical connections—when it’s done correctly. The difference between a “good enough” crimp and a professional-grade crimp usually comes down to three things: prep, tool control, and inspection.
This how-to hub walks you through the exact workflow pros use to get repeatable results: choosing the right tool, setting it up, making the crimp, and maintaining your crimper so it stays consistent year after year.
Step 1: Pick the Right Tool (Don’t Let the Connector Choose for You)
Before technique, make sure the tool matches the job:
-
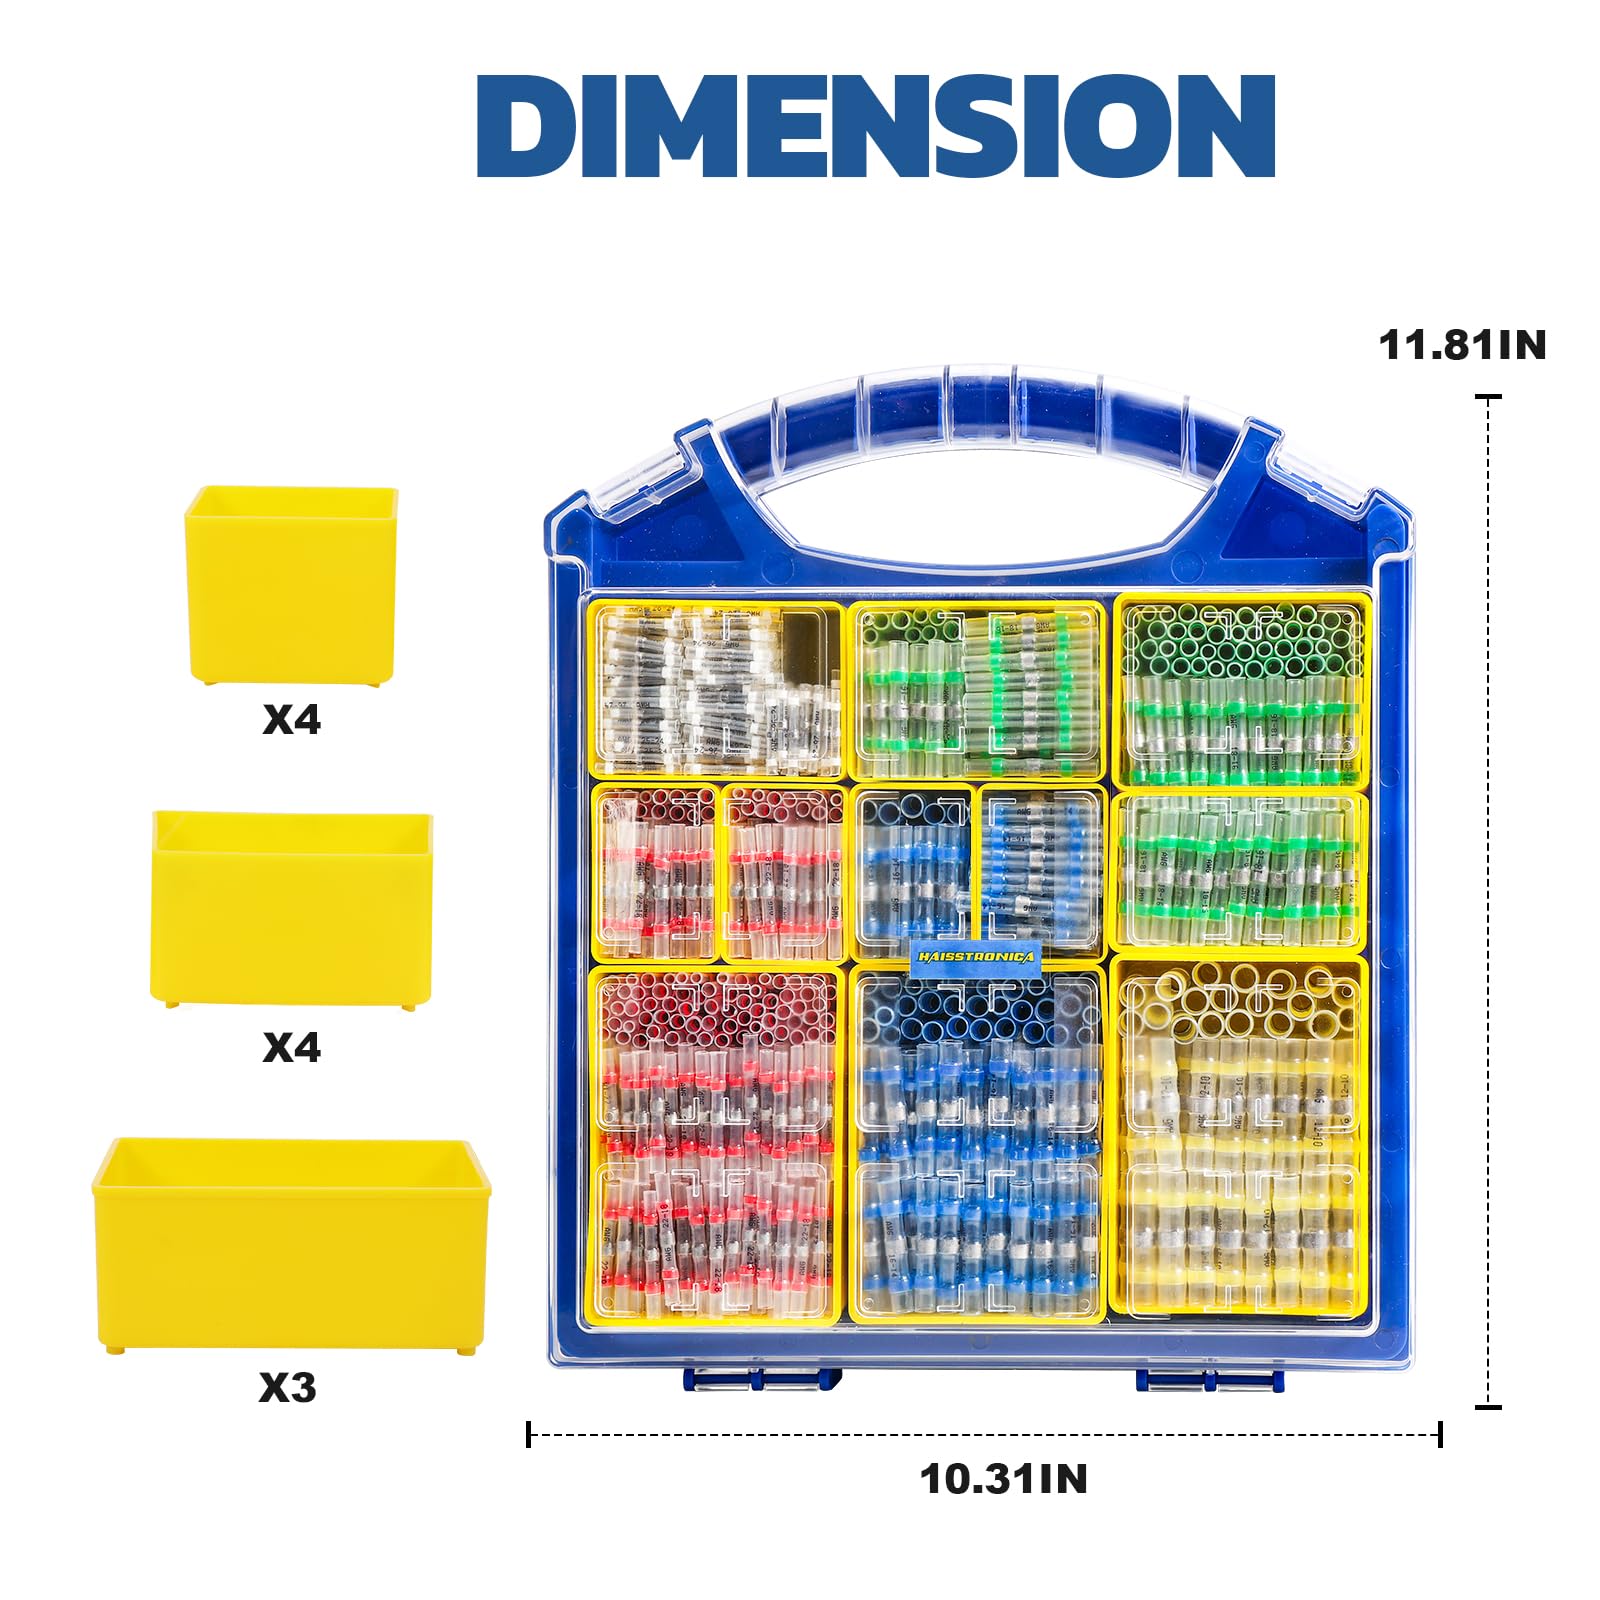
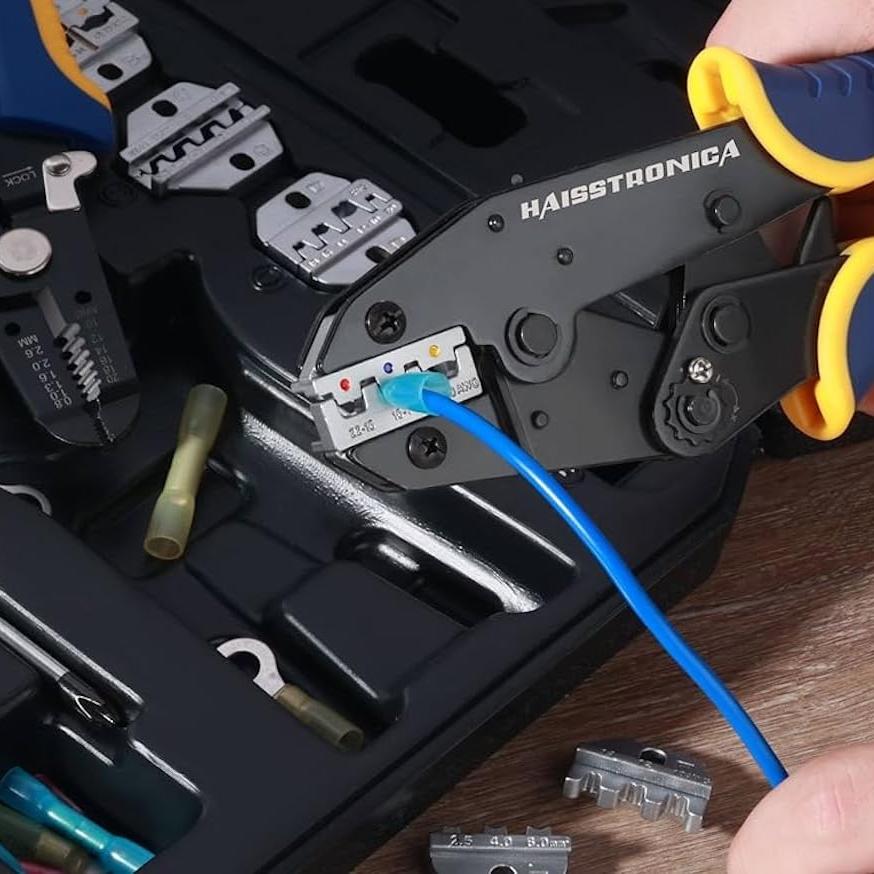
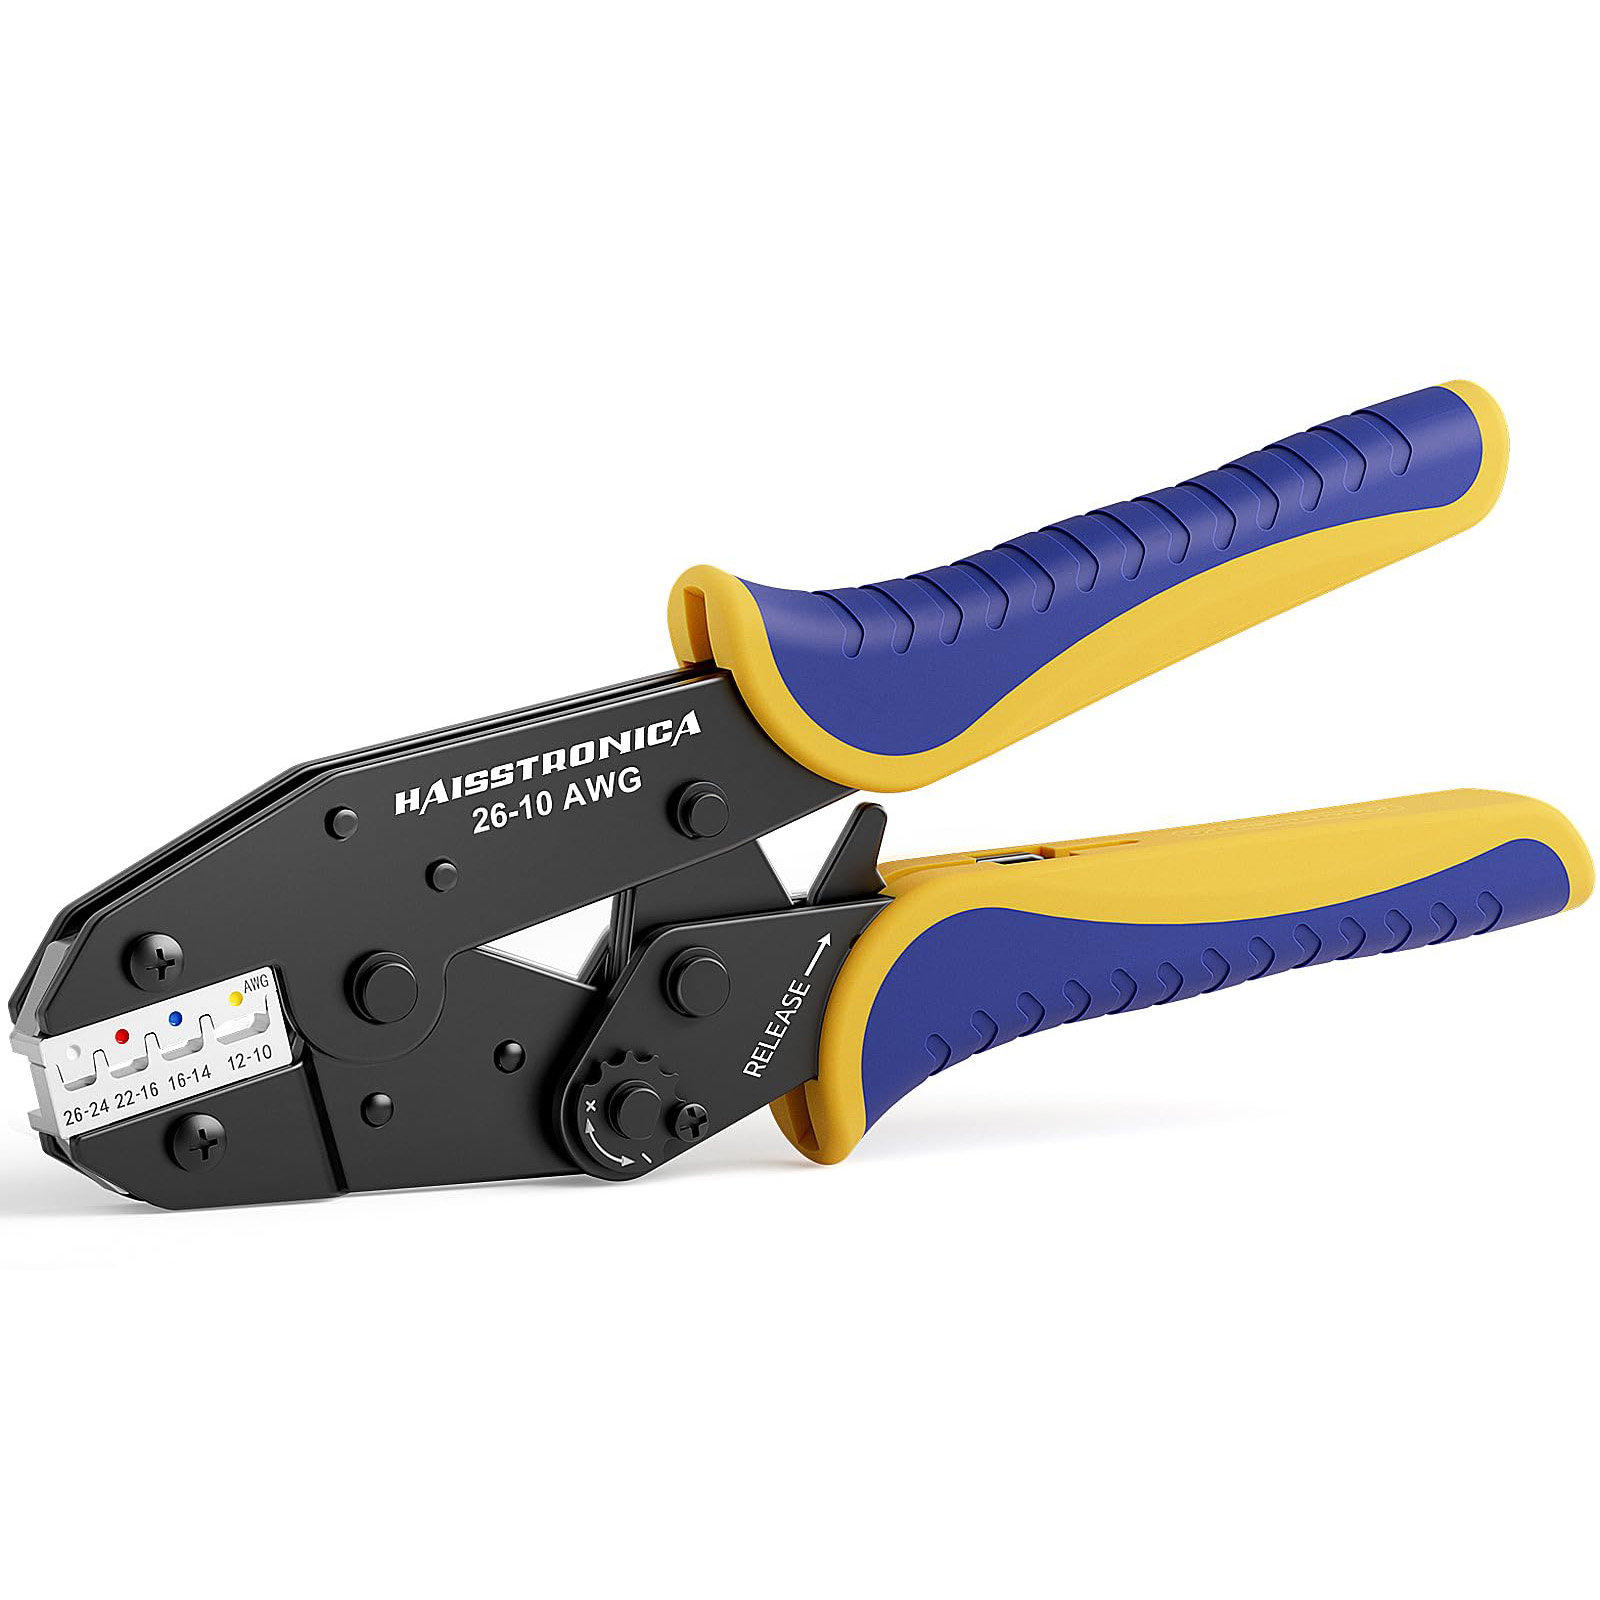
Insulated / heat-shrink terminals (22–10 AWG): ratcheting terminal crimper
-
Open barrel terminals: dedicated open-barrel crimper
-
Heavy wire lugs / battery cable: heavy-lug crimper (manual leverage or hydraulic)
Match Before Crimping
Start with the Connector, Then Choose the Tool
Extra force cannot correct the wrong die geometry. Identify the connector family and wire range first, then follow the matching route.
Step 2: Prep Like a Pro (This Is Where Most Bad Crimps Start)
Strip length and conductor condition
The goal is simple: full insertion without exposed conductor beyond what the terminal design expects.
Also decide whether you should tin the strands first. Many people do this out of habit, but it can change how strands compress inside the barrel.
Terminal fit check (10 seconds)
-
Wire strands should fill the barrel (not loose, not forced)
-
Insulation support should grip the jacket—not the bare conductor
-
If your crimp looks crooked before you squeeze, it will look worse after
Prep Control
Clean Stripping Protects the Crimp
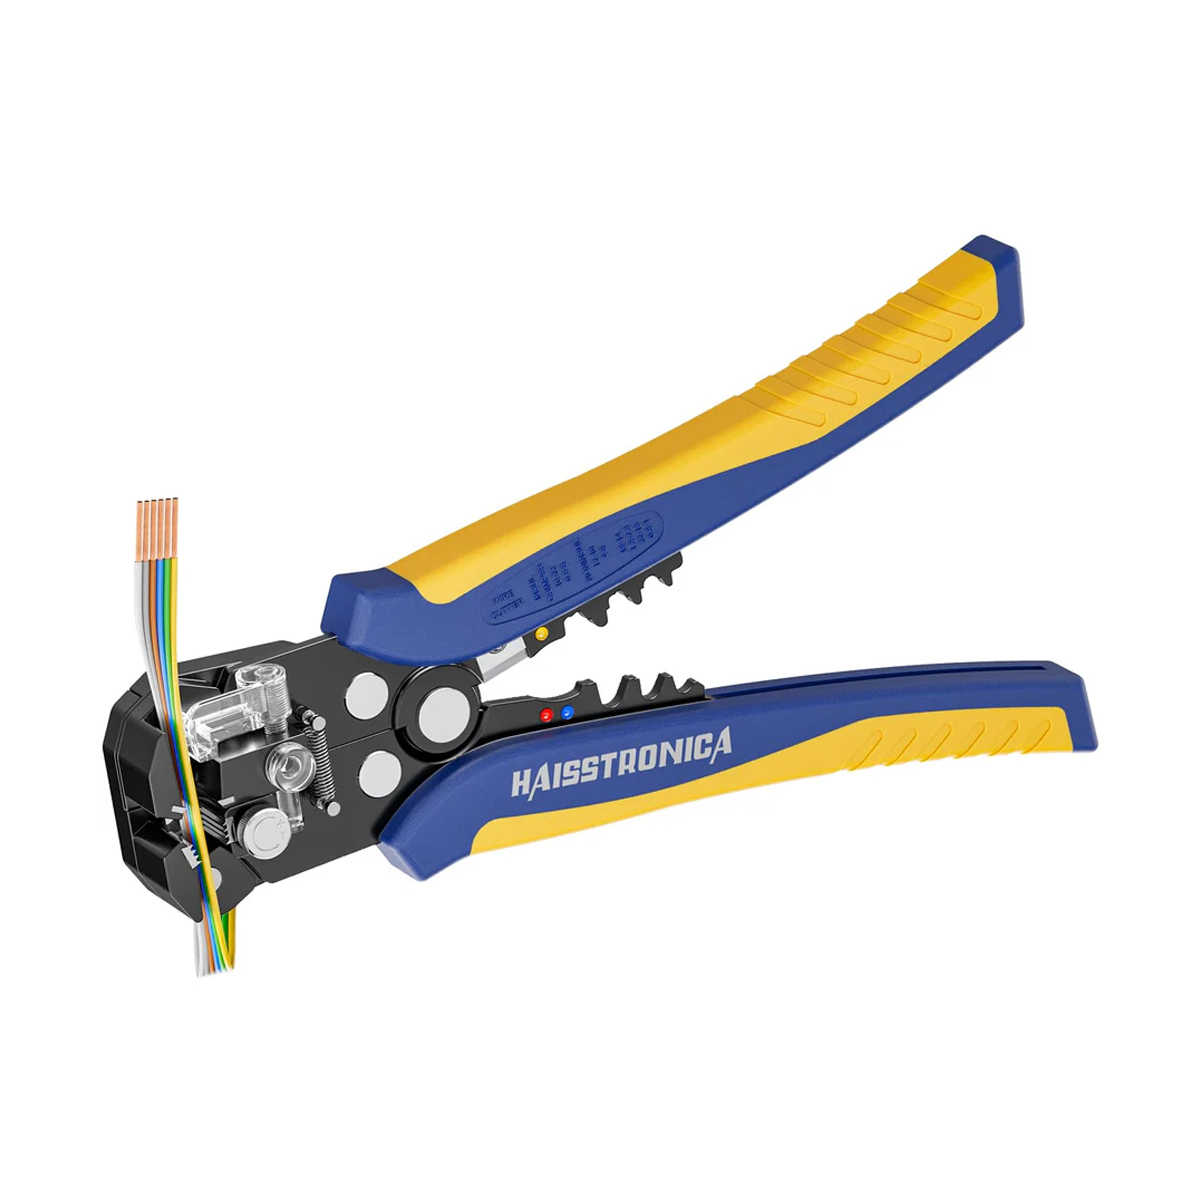
The conductor should reach the barrel depth without nicked strands or excess exposed copper. A self-adjusting stripper helps repeat the same strip length across mixed wire sizes.
Best for: repeat work on AWG 24–10 where consistent conductor condition matters.
Step 3: Set Up the Crimper Correctly (So Every Crimp Matches the Last)
Ratchet tools: tension and die alignment
A ratcheting crimper is designed to deliver consistent compression—but only if:
-
you’re in the correct die cavity, and
-
the tool closes straight, not twisted.
“Wobbly” tool? Fix it before it ruins every terminal
A loose pivot or misalignment can produce uneven crimps no matter how careful you are.
Step 4: Make the Crimp (The Pro Sequence)
The 3-beat crimp sequence
-
Pre-seat the terminal in the die (lightly close until it holds)
-
Insert wire fully to the correct depth
-
Complete the ratchet cycle with steady pressure (no twisting)
Step 5: Special Cases (Heat Shrink, 10 Gauge, Heavy Lugs)
Heat shrink connectors: avoid melting the sleeve
Common mistake: overheating during shrinking or crushing the sleeve during crimping.
Step 6: Inspect Like a Technician (So Failures Don’t Hide)
Use the “3-layer inspection”:
-
Visual: centered crimp, no cracks, no sharp burrs
-
Pull test: wire doesn’t move under firm force
-
Electrical check: continuity stable; no intermittent reading when flexed
Step 7: Fix and Rework (Uncrimping, Dies, and Recovery)
Step 8: Maintenance (The Hidden Skill That Keeps Results Consistent)
Clean + oil: not optional if you want consistent crimps
Dust and grit increase friction, alter the ratchet feel, and can lead to sloppy compression.
Storage matters more than people think
Humidity + metal pivots = rust + stiffness.
Maintain the Result
Replace Worn Accessories Before Replacing the Whole Tool
Clean joints, inspect die faces and confirm alignment first. If only an approved die or accessory is worn, replace that part; retire the tool only when the ratchet, frame or alignment cannot be restored.
Browse Tool Accessories Interchangeable Crimping Dies
Bonus: Faster Crimps Without Losing Quality
If you’re doing volume work, the goal is speed without sacrificing alignment and full-cycle compression.
For Repeat and Batch Work
Standardize the Crimper, Dies and Prep Tool
Speed comes from fewer tool changes and a repeatable setup—not from rushing the ratchet cycle. Choose the level that matches your workflow.
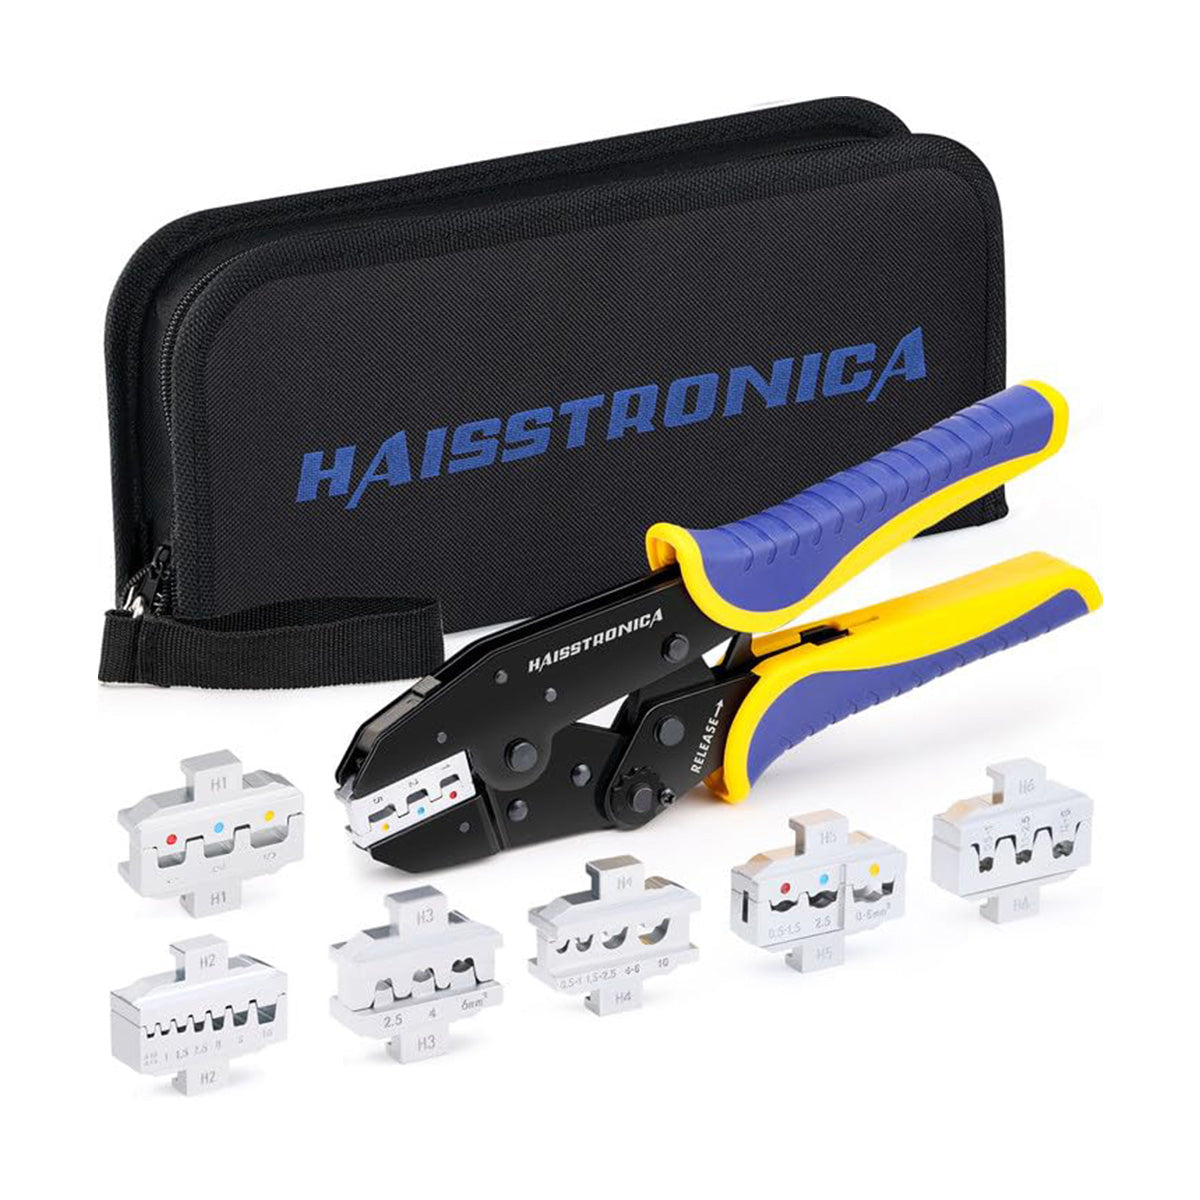
6-in-1 Ratcheting Crimper
One ratchet frame with six interchangeable dies for technicians who already have their prep tools.
View 6-in-1 Crimper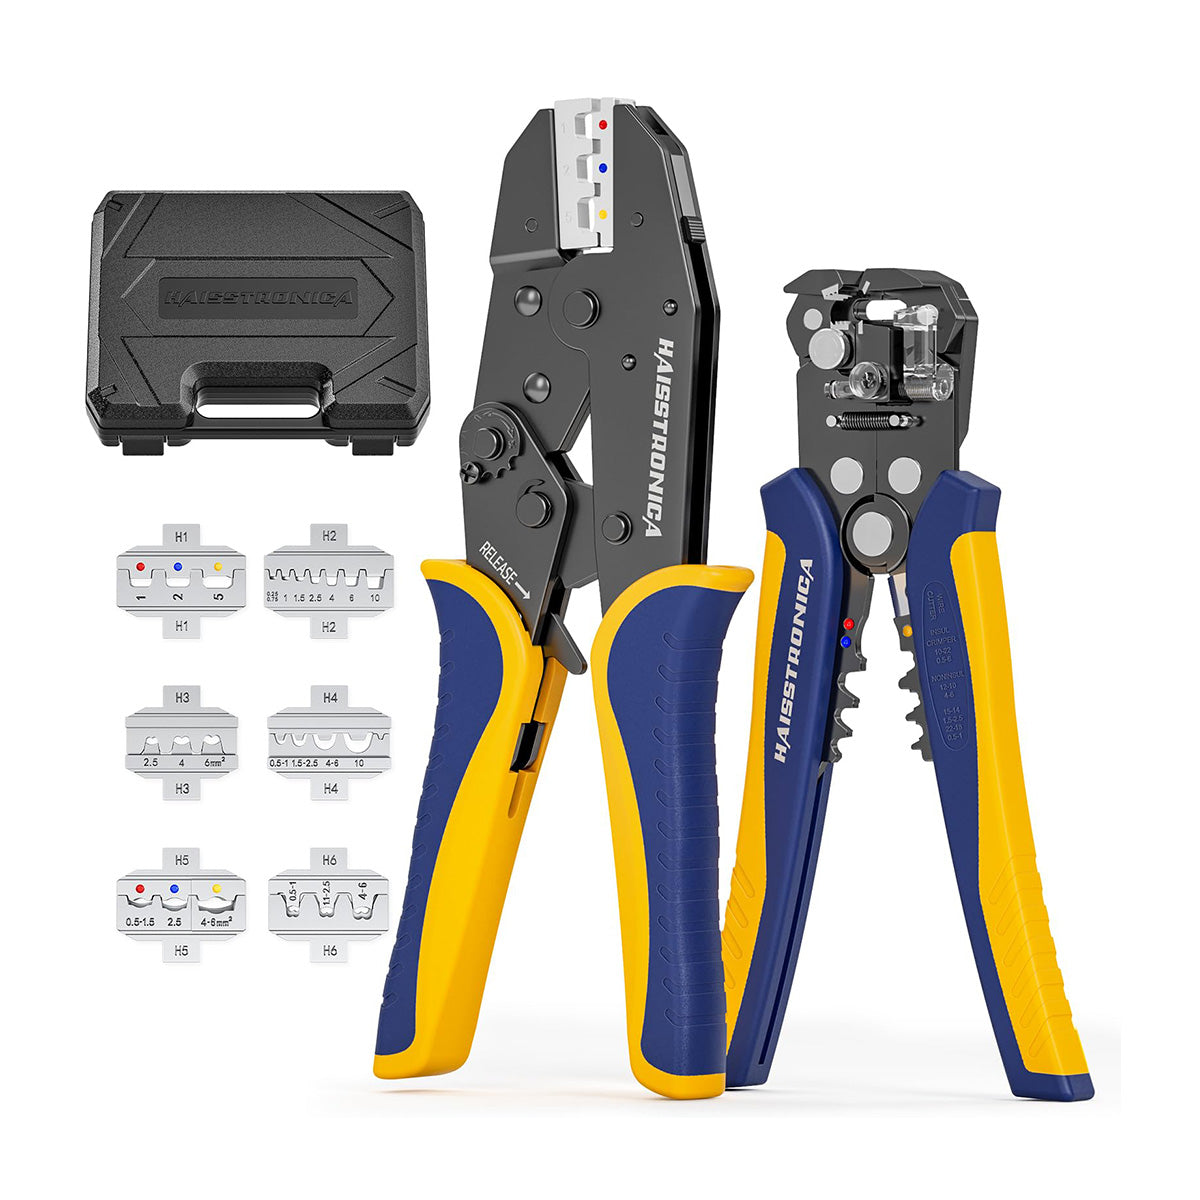
6-in-1 Pro Tool Kit
Crimper, wire stripper and six dies in one case for a portable, repeatable workstation.
View Pro Tool Kit