
Haisstronica AWG & mm² sizing guide
Choose a solder-seal connector by wire size—not by color alone
Identify both conductors, check insulation outside diameter, match the printed gauge range, then test-fit the sleeve before applying heat. The right connector should center the copper under the solder ring and seal both jackets.
Your 6-step sizing path
Start here: AWG, mm² and connector color
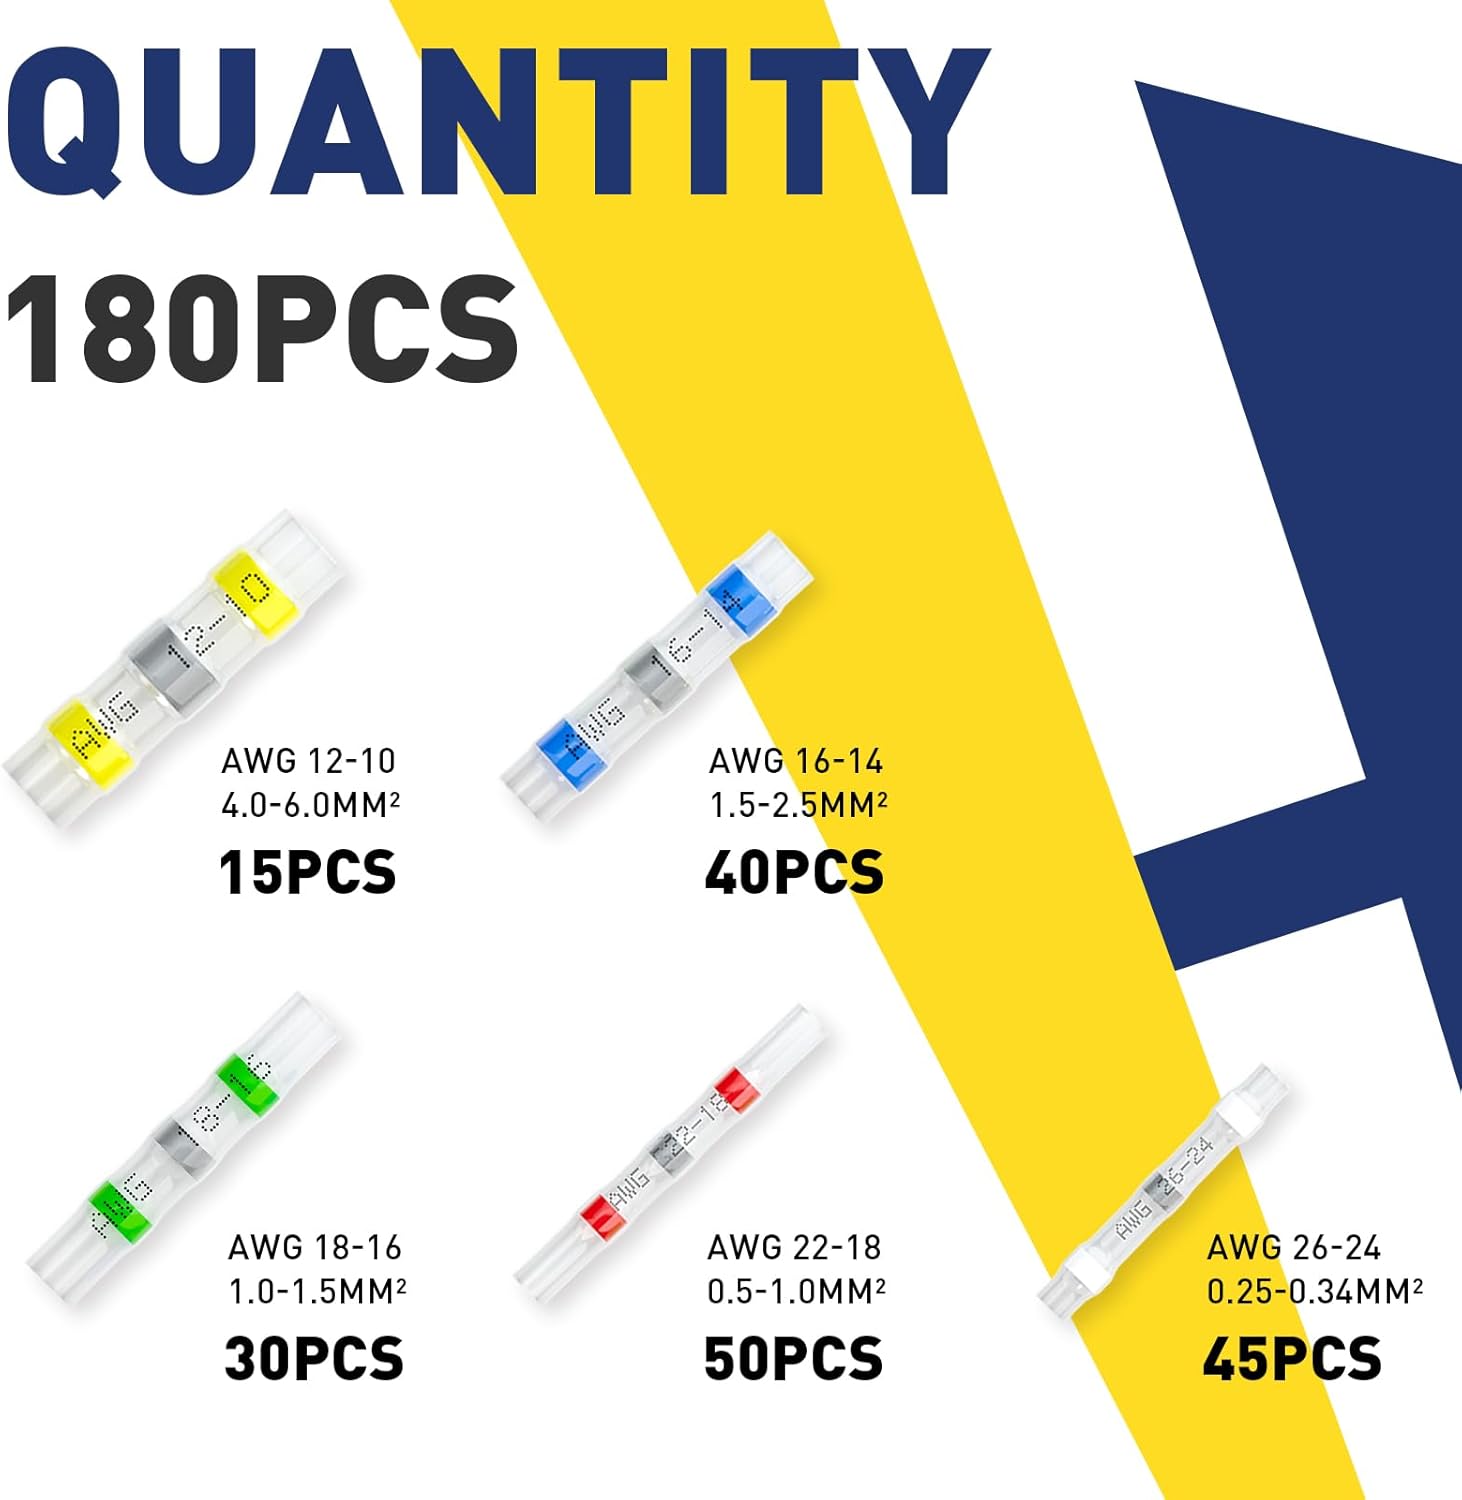
Read the gauge printed on each wire or verify the conductor cross-section from the cable specification. Use the chart as a fast buying guide, then confirm the range printed on the connector package before heating.
| Wire size | Approx. mm² | Color | Best buying path |
|---|---|---|---|
| AWG 26–24 | 0.13–0.25 mm² | White | Shop white connectors → |
| AWG 22–18 | 0.34–0.82 mm² | Red | Shop red connectors → |
| AWG 18–16 | 0.82–1.31 mm² | Green | Shop green connectors → |
| AWG 16–14 | 1.31–2.08 mm² | Blue | Shop blue connectors → |
| AWG 12–10 | 3.31–5.26 mm² | Yellow | Shop yellow connectors → |
Important: color ranges can overlap between product families. The printed AWG range on the sleeve or package is the final reference.
Step 1: identify both wires and measure insulation O.D.
Gauge tells you how much copper must sit under the solder ring. Insulation outside diameter tells you whether the sleeve can shrink tightly enough to seal. Two wires with the same AWG can have different jacket thicknesses, so check both sides of the splice.
Use the cable marking, data sheet or a wire-gauge tool.
Use calipers across the uncompressed insulation on both wires.
Confirm that both adhesive ends can recover around the jackets.
Step 2: use color as a shortcut, then verify the printed range
Color speeds up selection, but it should never replace the gauge marking. Put the stripped conductors side by side beneath the solder ring: the copper should fill the center without bunching, folding or leaving a visibly loose joint.
High-frequency single gauge? Buy a dedicated color in a larger pack. This reduces sorting time and keeps the most-used size stocked.
View red AWG connectors →
Step 3: joining two different wire gauges
Different-gauge splices fail when one jacket seals but the other stays loose, or when the smaller conductor sits outside the molten solder. Use this decision path:
- Start with the connector range that accepts the larger conductor.
- Check that the smaller conductor still overlaps fully under the solder ring.
- Confirm both adhesive ends can seal around their respective insulation diameters.
- If either side remains loose, use a purpose-made step-down solution instead of forcing the sleeve.
Step 4: test-fit before applying heat
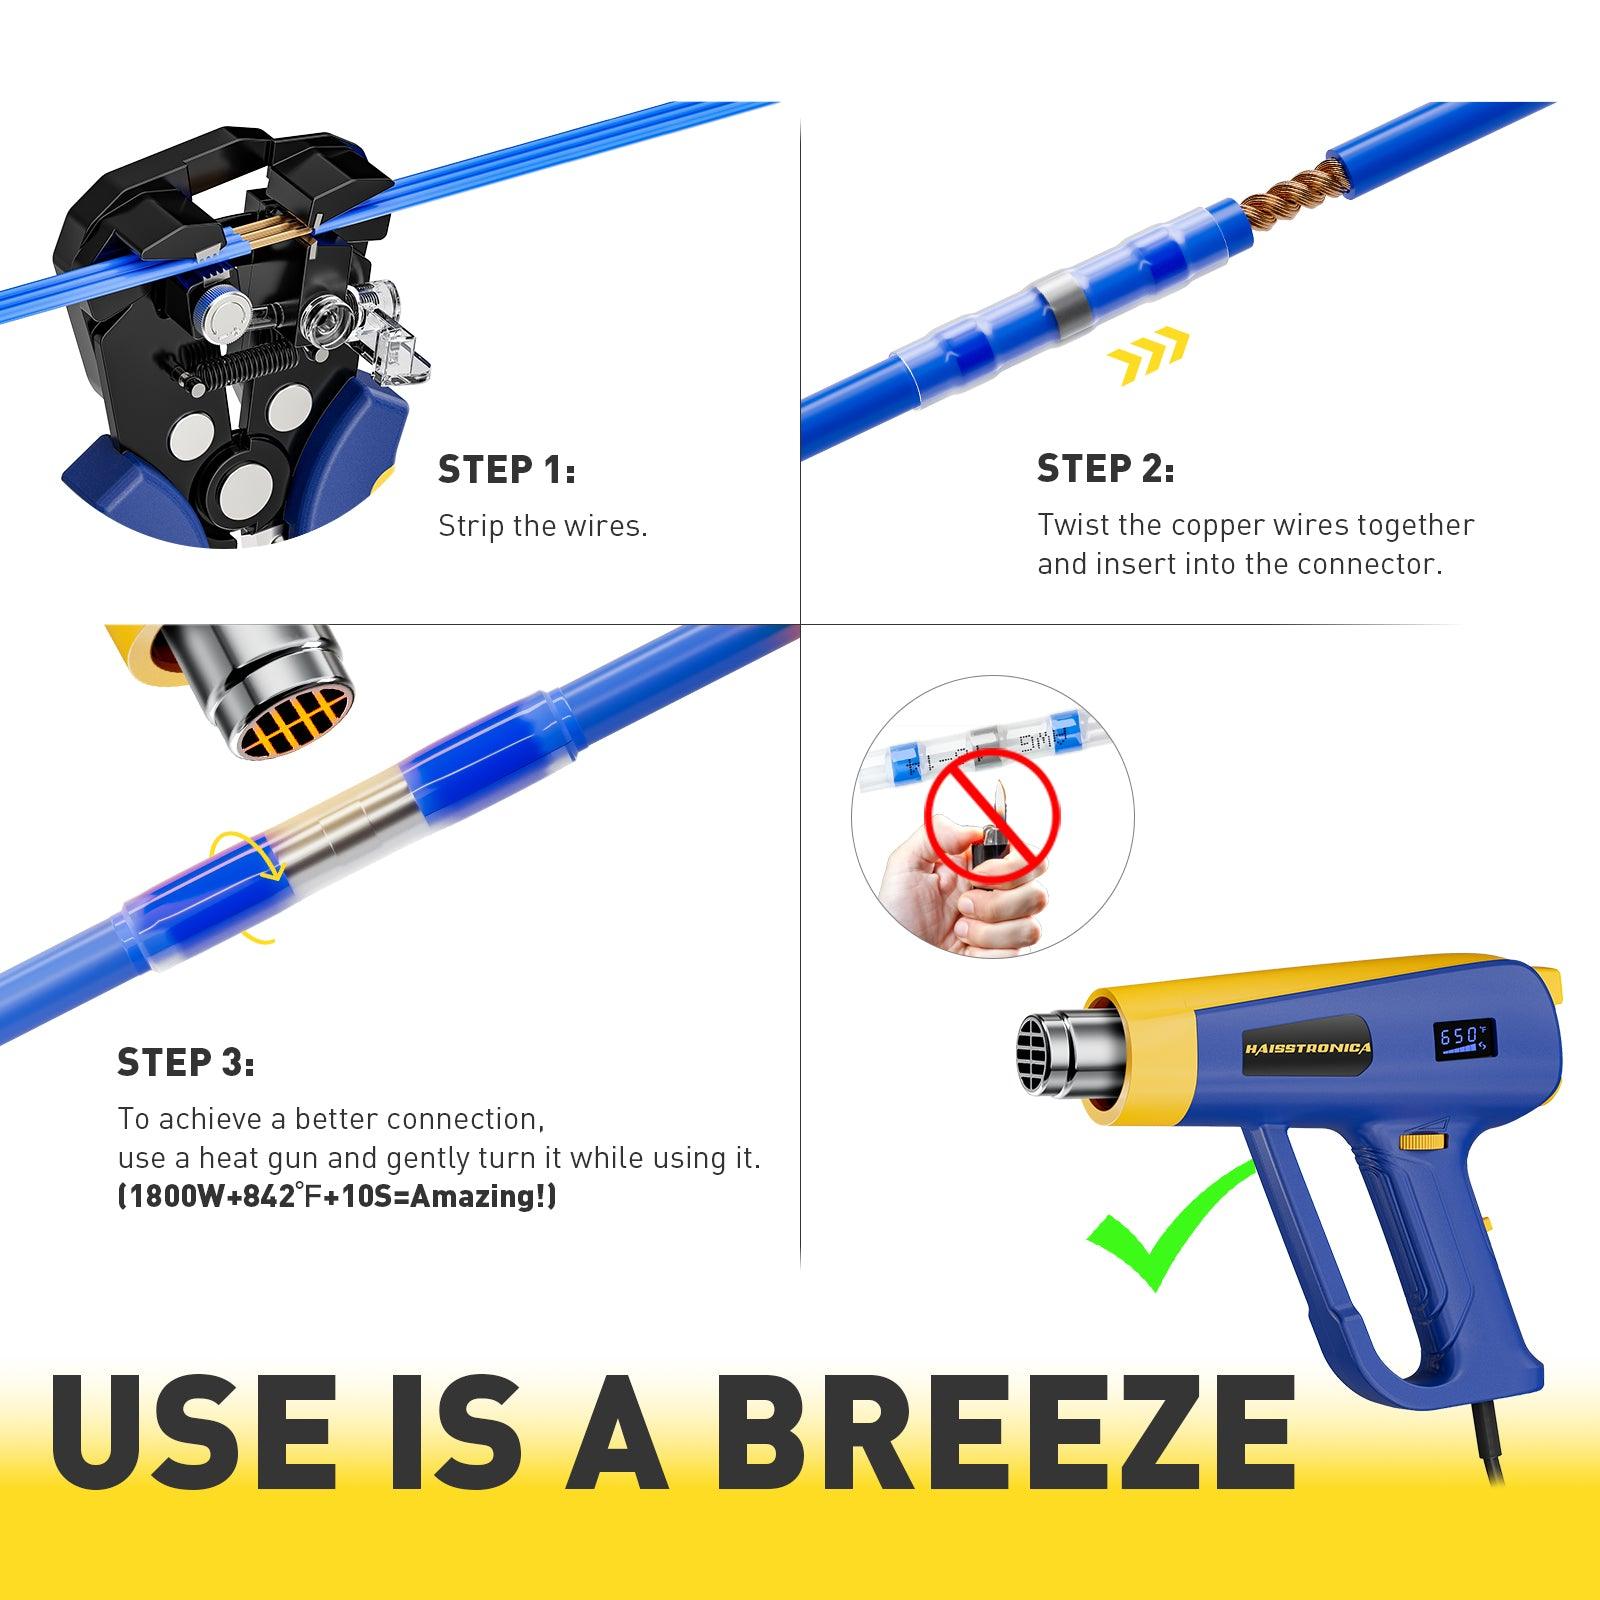
The sleeve slides over both jackets, copper overlaps beneath the solder ring, and neither side needs to be forced.
The sleeve floats around a jacket, the wire cannot enter freely, or the copper bunches outside the solder ring.
After heating, let the splice cool completely before the pull test. The solder ring should have flowed into the strands, and adhesive should be visible at both ends without scorching the sleeve.
Choose the pack that matches your workload
Repeated production or service work
Choose a single-color bulk pack
Best when most jobs use one wire gauge. You sort less, replenish faster and keep inventory predictable.
Choose a gauge and pack size →Repair kits and changing projects
Choose a mixed-gauge kit
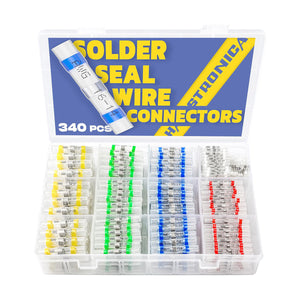
Best for automotive, marine, trailer and DIY work where the next harness may use a different wire size.
Shop the 5-gauge mixed kit →
One kit, multiple wire sizes
Keep white, red, green, blue and yellow sizes together
Use the mixed kit when flexibility matters more than maximum quantity in one color.
Quick FAQ
Can I choose a solder-seal connector by color alone?
No. Color is a shortcut; confirm the AWG range printed on the product and verify the sleeve seals the actual insulation O.D.
Which size should I use for two different wire gauges?
Use a sleeve that accepts the larger conductor while still centering the smaller conductor under the solder ring and sealing both jackets. If it cannot do both, use a proper step-down connector.
Why does the sleeve look loose after shrinking?
The insulation O.D. may be too small for that sleeve, or the connector may not have reached full recovery temperature.
Can I use an open flame?
A controlled heat gun is the safer choice because it heats the solder ring and adhesive evenly without concentrating flame on the wire jacket.
Complete heat-and-seal setup
Need connectors and the right heat source?
Choose the all-in-one set for mixed solder-seal connectors, 3:1 heat-shrink tubing and a compact dual-temperature heat gun in one buying path.
Shop the Heat Gun Set →