Stranded or solid? Let the tool adapt—but always verify the first strip.
A self-adjusting stripper can handle many common solid and stranded conductors within its documented range. It reacts to the cable’s outside diameter and jacket resistance; it does not identify the metal inside. AWG, insulation, pressure, and a test strip still determine the result.
1. Identify the wire before touching the tool
One rigid copper core
Solid wire holds its shape and can tolerate a firmer jacket bite, but a deep blade mark still creates a stress riser that can break after bending.
- Confirm printed AWG
- Check insulation type and thickness
- Reject any ring-shaped nick in the copper
Many fine copper strands
Stranded wire is flexible, but excessive pressure can remove or score individual strands, reducing the effective conductor area.
- Keep every strand intact
- Prevent splaying and birdcaging
- Twist only as the termination method allows
2. What the auto-blade actually adapts to
The clamping jaw holds the insulation while the stripping blade closes around the jacket and pulls it away. The mechanism responds to the cable’s outside shape and resistance. The pressure adjustment changes how aggressively the blade engages; it is not an AWG selector and it cannot guarantee that delicate strands remain untouched.
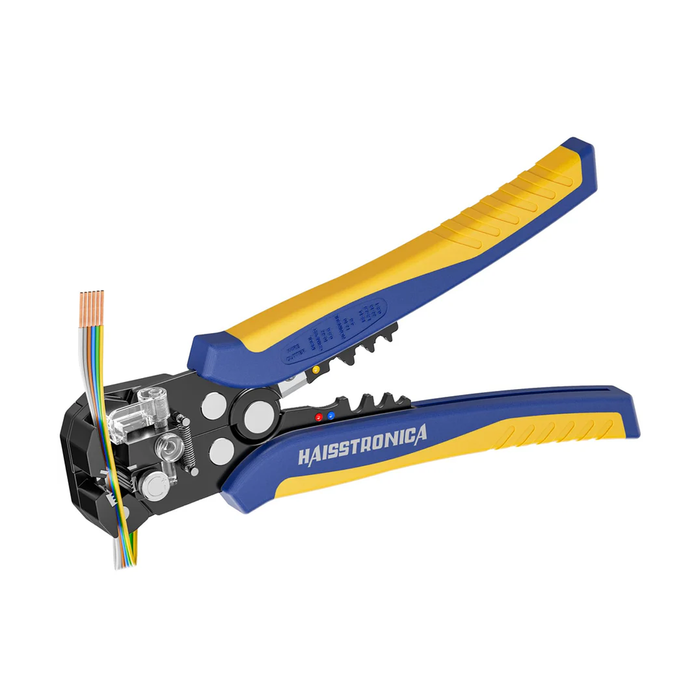
Self-Adjusting Wire Stripper AWG 24–10
Best starting route for repeat work across common solid and stranded conductors inside the documented range. Use the length stop for consistency and begin with moderate pressure.
3. Set three controls in the right order
Confirm the conductor range and check whether the tool instructions cover the cable’s insulation material and construction.
Set the stop to expose only the copper required by the terminal barrel or connector. Too much bare copper increases short-circuit and corrosion risk.
Start near the middle or lighter side of the adjustment. Increase only enough to cut the insulation cleanly without marking the conductor.
4. Use one repeatable test-strip method
De-energize and cut a clean test end
Never strip a live conductor. Remove a damaged or previously scored end before evaluating the tool.
Set the required strip length
Match the exposed length to the connector barrel, terminal block, or equipment instructions.
Center the wire in the stripping channel
Keep the cable straight. Angled entry can make the blade bite one side more deeply than the other.
Squeeze through one complete motion
Do not saw, twist, or stop halfway. Let the clamp, blade, and pulling motion complete the strip.
Inspect under good light
Check the jacket edge, every strand, and the bare copper surface before repeating the setting.
Adjust one variable at a time
If the jacket does not release, add a small amount of pressure. If copper is marked, reduce pressure and cut a fresh test end.
5. Compare the first strip on solid and stranded wire
| Inspection point | Solid conductor | Stranded conductor | Corrective action |
|---|---|---|---|
| Copper surface | No circular score, flat spot, or gouge | No cut, missing, or flattened strands | Reduce pressure if copper is marked |
| Jacket edge | Clean, square edge without stretching | Clean edge without dragging strands outward | Increase pressure slightly if insulation tears instead of releasing |
| Conductor shape | Straight, round core | Bundle remains compact and evenly twisted | Re-center the wire and keep it straight during the stroke |
| Exposed length | Matches the terminal or connector specification | Matches the barrel without loose strands outside | Reset the length stop before production work |
6. Read the damage signs before adjusting pressure
Too little pressure
The insulation stretches, tears, or remains attached; the conductor is usually unmarked. Increase pressure in a small increment and retry on a fresh end.
Too much pressure
Solid copper shows a ring or gouge; stranded wire loses or scores strands. Reduce pressure immediately and remove the damaged section.
Wrong cable position
One side strips cleanly while the opposite side drags or cuts deeper. Straighten and center the cable before changing pressure.
Wrong tool range or geometry
Repeated damage continues even after careful adjustment. Stop and choose a tool designed for that AWG, jacket, and cable construction.
7. Use controlled notches for special wire types
Very soft insulation, fine electronics wire, short leads, unusual jackets, or a cable outside the self-adjusting tool’s working range may benefit from a manual notch-based tool. Match the marked cavity to the documented conductor range and test before production work.

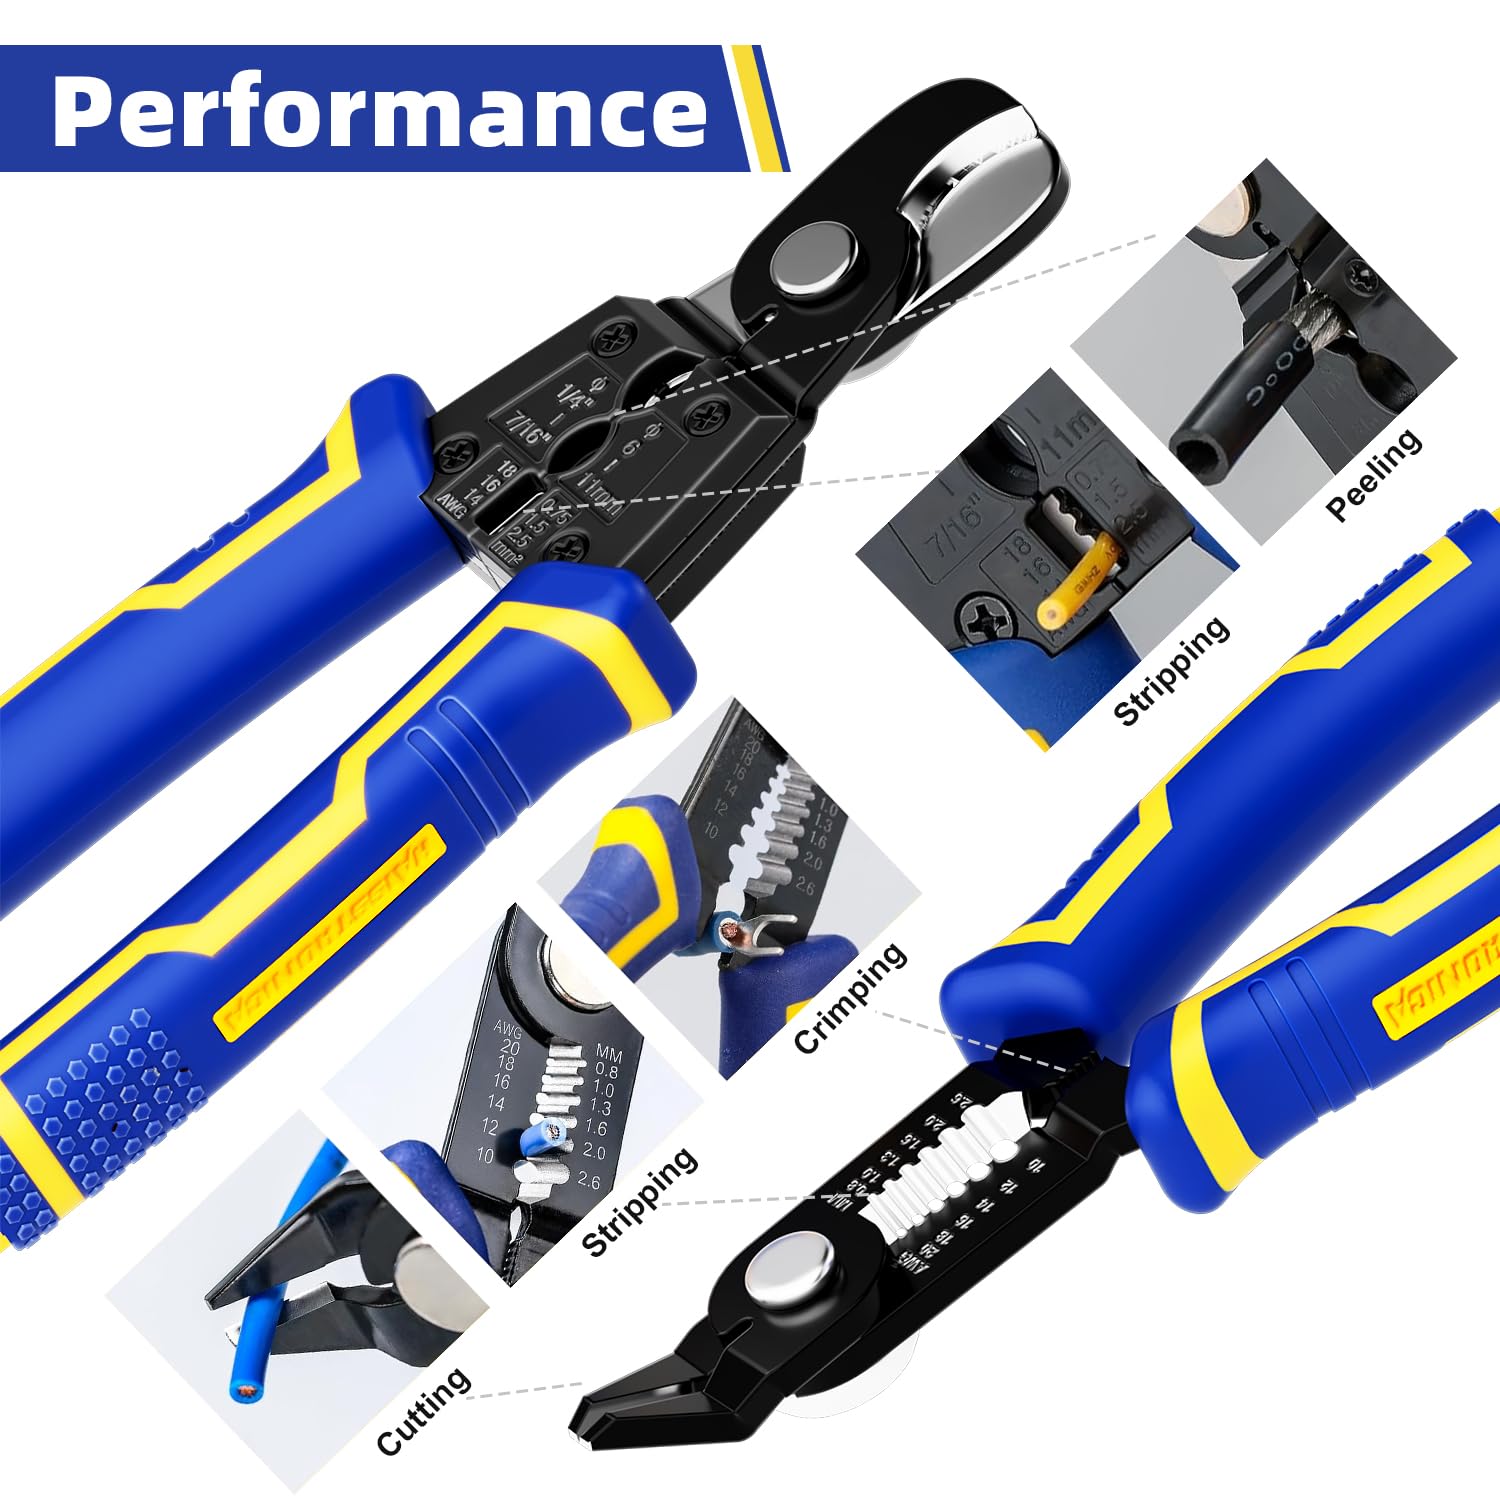
3-in-1 Adjustable Wire Stripper
Choose a controlled cavity when the cable benefits from a defined stripping notch, or when cutting and crimping functions are useful on the same bench tool.
Final selector: wire type + AWG + insulation
| Your wire | Best starting control | First tool route | Shop |
|---|---|---|---|
| Common solid or stranded copper, AWG 24–10 | Length stop + moderate pressure + test strip | Self-adjusting mechanism for repeatable work | Self-Adjusting Stripper → |
| Fine stranded wire or soft insulation | Lighter pressure; inspect every strand | Self-adjusting only when the cable is within the documented range | Check AWG 24–10 Tool → |
| Wire that benefits from a defined notch | Match the marked cavity; make one test strip | Manual 3-in-1 stripper | 3-in-1 Adjustable Stripper → |
| Unusual jacket, flat cable, or size outside the range | Stop; confirm the cable and equipment specification | Choose a purpose-matched stripping tool | Browse Wire Strippers → |
Choose by the cable—not by the tool label alone
Confirm wire type, printed AWG, jacket construction, and required strip length. Then test the lightest pressure that removes insulation cleanly while leaving every strand or solid core intact.
Browse the Wire Stripper Collection →