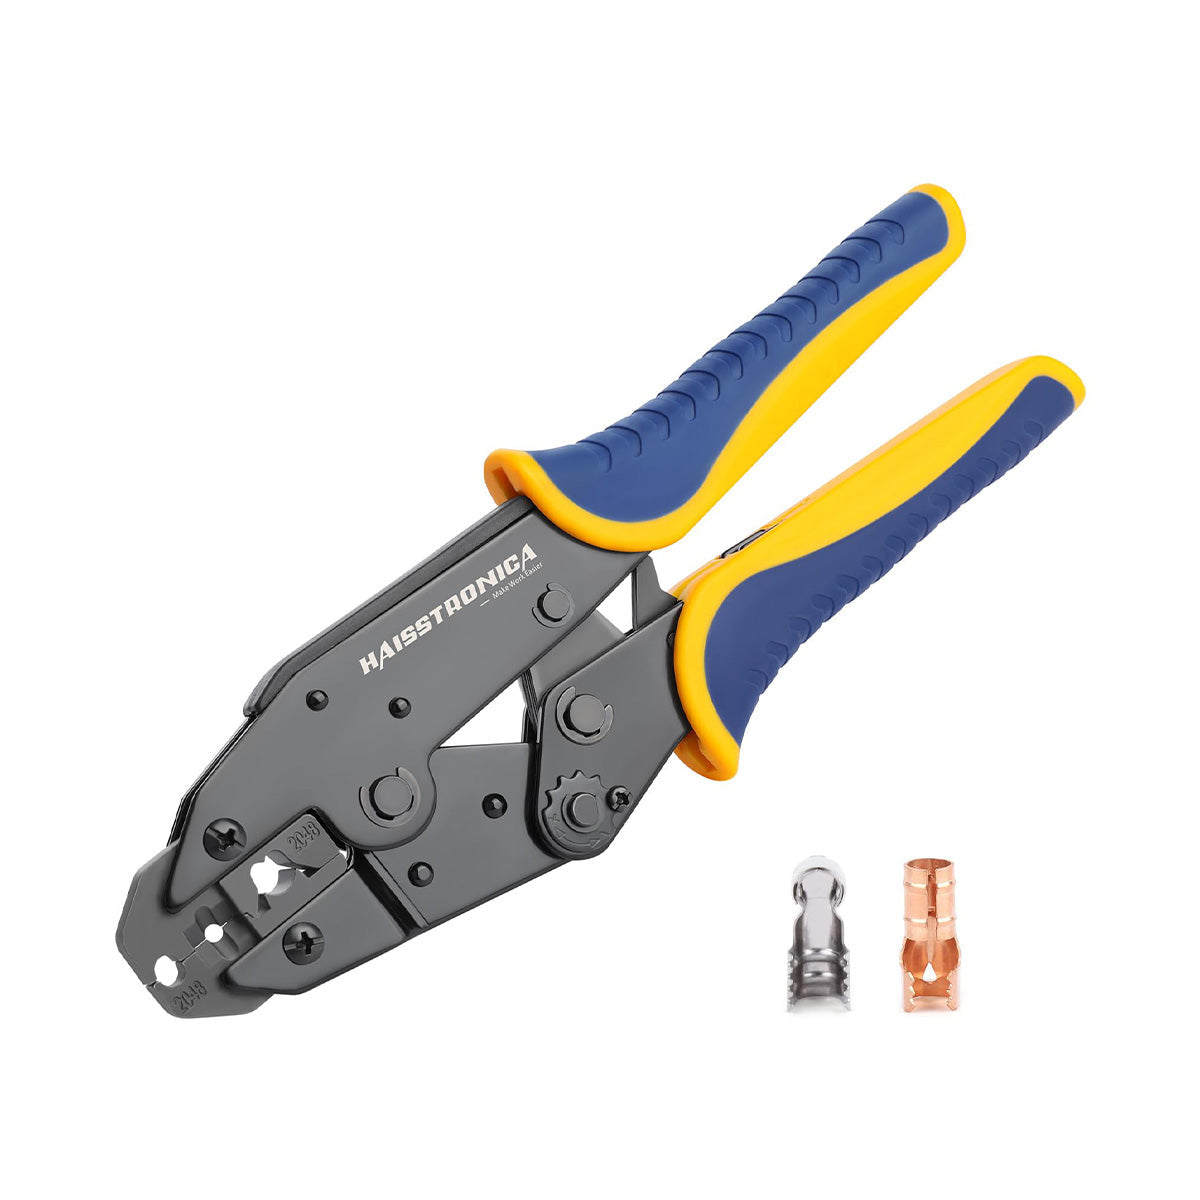


When dealing with electrical wiring, a secure crimp connection is vital for safety and performance. Poorly crimped connections can create high resistance, leading to overheating or even fires. To avoid such hazards and achieve a reliable crimp for wire joints, you must do some preparation before you start crimping. This guide will explain the key prep steps – from safety measures to tool readiness – to help DIYers and beginners make strong, low-resistance electrical connections. By the end, you’ll know exactly what to do before crimping so that every wire termination is safe and long-lasting. (For best results, use a quality ratcheting crimper designed for electrical connectors – like Haisstronica’s Ratchet Wire Terminal Crimping Tool – to ensure consistent, secure crimps.)
👉Streamline electrical wire crimping—Haisstronica ratchet advantage.

Safety & Power Down for Crimping
Before any wiring work, safety is the top priority. Always turn off power to the circuit you’ll be working on. This might mean unplugging the device, switching off the breaker, or disconnecting the battery in a vehicle. Working on live wires is extremely dangerous – you should never attempt to crimp or modify a wire while electricity is running through it. In fact, experts emphasize to “turn off power before working for safety.” This ensures you won’t get shocked and prevents accidental short circuits during your work. Take the time to verify the power is truly off using a tester or multimeter, especially when dealing with household or automotive circuits.
Beyond cutting power, clear your work area and use proper protective gear. Wear safety glasses when stripping wires or crimping; small wire strands or fragments of insulation can fly off unexpectedly. If you’re working on a vehicle or battery system, remove any metal jewelry and disconnect the negative battery terminal to avoid sparks. It’s also wise to work in a dry environment and avoid flammable materials nearby. Crimping electrical connectors should be a controlled process without surprises, so double-check everything before you begin. A few minutes of precaution can avert serious mishaps and ensure your project goes smoothly. (Remember: even the best crimp won’t matter if someone gets hurt. Stay safe first, then use quality tools like Haisstronica’s ratcheting crimper to get the job done right – our Ratchet Wire Crimping Tool makes safe, strong connections easier.)
👉Your spade connector crimp tool—Haisstronica for clean harnesses.

Choose the Wire & Prepare It Properly
Selecting and preparing the wire is a crucial step before you crimp. A strong crimp for wire connections starts with using the correct type and size of wire. Always match the wire gauge (AWG) to the current requirements of your project and to the size of the crimp connector. Using the wrong size can lead to a loose crimp or a high-resistance joint. For instance, most common crimp terminals are color-coded by wire size – red for 22–16 AWG, blue for 16–14 AWG, and yellow for 12–10 AWG. Check the connector’s packaging or sleeve color to ensure your wire falls in the supported range. Never use a solid wire for standard crimp connectors; choose stranded wire only. Stranded wires are flexible and make better contact inside the crimp barrel, whereas “solid wire does not grip as well and may slip out.” In fact, industry guidelines warn: “Never choose a solid wire. Only choose wires with individual strands.” Stranded conductors will deform and "flow" into the crimp connector more completely, creating the low-resistance, vibration-resistant connection you want.
Once you’ve got the right wire, prep it by stripping the insulation to the proper length. This is a delicate step – strip too much and you expose excess bare wire; strip too little and the wire won’t fully engage in the connector. A good rule of thumb is to strip enough insulation so that when inserted, about 1–2 mm of bare wire protrudes out the front of the connector barrel. Use a quality wire stripper tool set to the correct gauge to avoid nicking or cutting the copper strands. All the wire’s strands should remain intact, undamaged, and evenly cut. Clean, perpendicular cuts are important: “Both the insulation and wire must be cut perpendicular to the wire’s axis, with all the wire strands the same length and without excessive strand damage.” Any nicked or cut-off strands will reduce the conductor’s cross-section, raising resistance and weakening the crimp. Also, do not twist multiple wires together into one connector unless it’s rated for that – and do not solder (tin) the wire ends before crimping. Crimping is designed for bare stranded wire; adding solder can lead to a brittle connection or improper crimping pressure. Proper wire preparation – selecting the right gauge, stripping correctly, and ensuring the wire is clean (no corrosion) – is the first step toward a good crimp. (Before you move on, double-check your wire prep. This is the stage to catch mistakes. Having the right wire and a reliable connector paired with a top-notch crimp tool – like Haisstronica’s – sets you up for success. Our ratcheting crimping tool handles a range of wire crimps connectors (AWG 22–10), ensuring you get a secure crimp every time.)
👉Best crimping tool for terminals—Haisstronica, field‑tested.

Tooling & Calibration: Get Your Crimp Tool Ready
With safety assured and wires prepared, turn your attention to the crimping tool itself. Using the right tool is essential for a strong, low-resistance crimp. While it might be tempting for a beginner to use pliers in a pinch, remember: “Pliers are not crimpers. Crimpers are specially designed… to join the wire and terminal together with proper force.” A dedicated wire crimping tool (also called a crimper tool or crimping pliers) will compress the connector evenly and with the correct pressure. For reliable results, a ratcheting crimping tool is highly recommended. Ratcheting crimpers have a built-in mechanism that won’t release until the crimp is fully compressed, preventing under-crimping. They ensure consistency and take the guesswork out of the process – in other words, “a ratchet tool guarantees that a crimp has been correctly formed” if you’ve selected the right connector and die for the wire. Many electricians’ crimping tools include interchangeable dies for different connector types (like insulated terminals, uninsulated ferrules, or even specialized plugs such as RJ45 network connectors or solar MC4 connectors). Always use the appropriate die or crimp profile for the connector you’re crimping. For example, an insulated butt splice requires the proper cavity size, while a coax or ferrule may require a different tool or die set entirely. Using the wrong tool or die can deform the connector incorrectly, leading to a weak crimp on wire connectors that may fail under load or vibration.
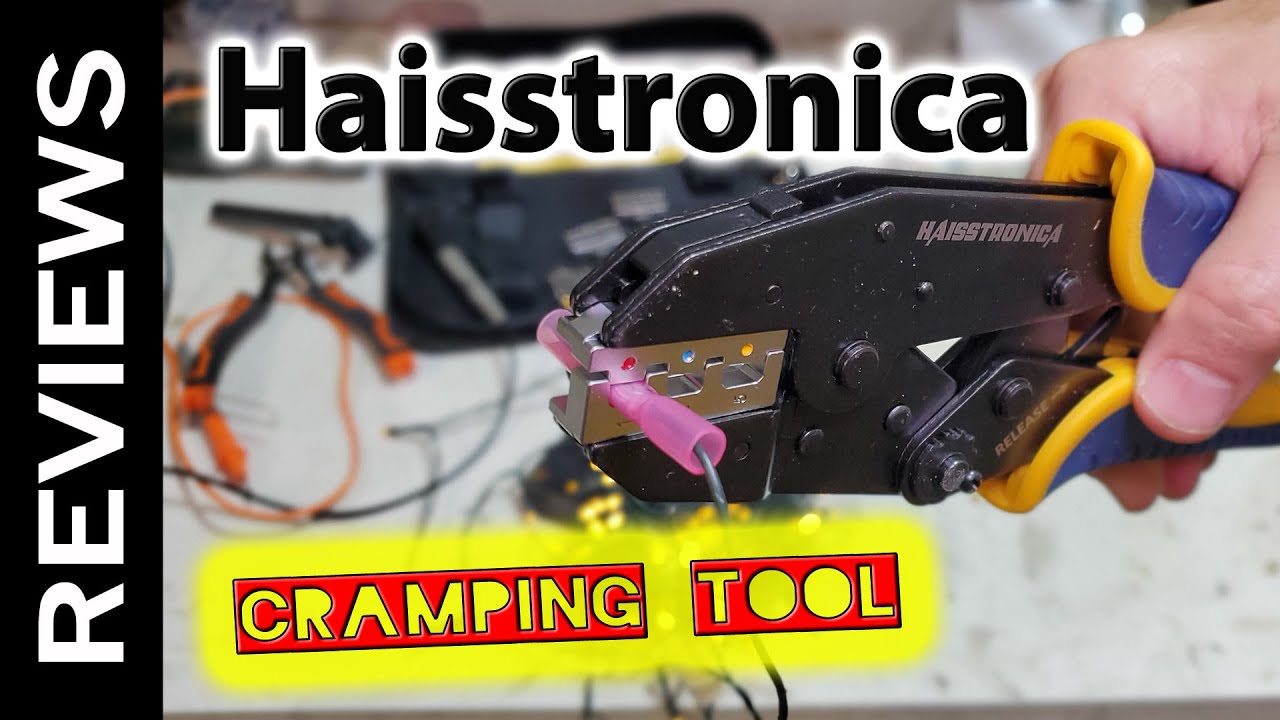
Before making your actual connection, it’s wise to calibrate or test your crimp tool. For a new hand crimper, this might simply mean making a few practice crimps on scrap wire and spare terminals. Many professionals suggest doing a trial crimp and then inspecting it: the wire should be firmly captive (you shouldn’t be able to pull it out by hand), and the connector’s barrel should be appropriately compressed (not overly crushed or still loose). If you have access to a pull test gauge or a multimeter, you can verify mechanical strength and electrical continuity of a test crimp. In industrial settings, tools are often formally calibrated and checked regularly to maintain crimp quality; for instance, one guide suggests having crimp tools calibrated **“on a yearly basis or every 10,000 crimps… to ensure you are getting the best crimp possible.”. While a DIY user won’t likely count crimps to that extent, it highlights the importance of tool accuracy. At the very least, inspect your tool for wear, keep it clean and lightly oiled, and confirm that the ratchet mechanism fully closes and releases properly. A crimping tool for wires that is damaged or misadjusted can result in under- or over-crimping. Over-crimping (excessive force) can crack the connector or squeeze out too much metal, while under-crimping leaves a loose connection – both scenarios increase resistance and risk failure.
Finally, ensure you have the correct crimp connector for your wire and application, and insert it into the tool correctly. Some ratcheting tools have a locator or color-coded reference to position the terminal just right. Place the stripped wire fully into the connector barrel so no strands are outside. Then actuate the crimper smoothly to complete the crimp. Once done, inspect the crimp visually – you should see a slight flare (bell mouth) at the end of the barrel and confirm that the insulation is also caught if it’s an insulated terminal, but no wire strands should be exposed or sticking out where they shouldn’t be. Give the crimped wire a gentle tug test to verify it’s secure (it’s a simple way to know if your crimp is tight enough). Taking these steps will ensure your tooling is up to the task and your technique is sound before you connect the real components. (Remember, even the best wire and connector won’t perform if the crimp is poor. Using a high-quality, calibrated tool is key. Haisstronica’s ratcheting crimp tool is designed to apply the perfect pressure for electrical crimp connectors, helping you avoid under or over-crimping. Invest in a dependable crimping tool like our ratchet wire crimper to make every crimp count.)
👉Work faster with electrical wire crimpers by Haisstronica.

Conclusion: Set Yourself Up for a Strong Crimp
A little preparation goes a long way toward achieving a strong, low-resistance crimp for wire connections. By powering down and verifying a safe work environment, you eliminate the risk of shocks or short circuits before you begin. By choosing the right wire (correct gauge, stranded vs. solid) and prepping it carefully (proper strip length, no damaged strands), you create the ideal conditions for a solid electrical bond. And by using the proper tools and calibration, including a quality ratchet crimping tool, you ensure each crimp is compressed with consistent force for a reliable result. Skipping any of these prep steps can introduce weaknesses: maybe the connection runs hot due to a stray strand left uncrimped, or perhaps a vibration works a loose crimp free because the wrong tool was used. But if you follow the guidelines above, you’ll be crimping like a pro in no time – your electrical connectors will be secure, and your projects will be safer and longer-lasting.
In summary, what to do before crimping comes down to this: safety first, then smart preparation of your materials and tools. Whether you’re a DIY tinkerer or an aspiring electrician, these prep steps build your confidence and improve the quality of your work. A well-prepared crimp not only has low electrical resistance for efficient power flow, but it also has the mechanical strength to resist vibration and corrosion over the long haul. So next time you set out to crimp wires for a car stereo, home repair, or any wiring project, take the time to do it right before you crimp. Your reward will be a connection that you can trust. (And if you’re looking to upgrade your toolkit for even better results, don’t forget to check out Haisstronica’s range of professional wire crimping tools – our featured ratcheting wire crimper is a beginner-friendly tool that delivers pro-level crimps every time.)
Our Top User-friendly Picks
Built for the trade, Haisstronica is a true professional crimping tool with hardened steel jaws, a quick‑release lever, and an adjustable dial for consistent compression. Master crimp tool use quickly: color cues guide sizing, the ratchet prevents partial crimps, and you’ll reach for it over other professional crimping tools every time.
👉Reach for a terminal crimping tool—Haisstronica gets it done.

References: