Fewer setup pauses. Same quality checks.
A self-adjusting stripper can reduce repeated notch selection across compatible wire sizes. Set the required strip length, verify tension on real samples, then repeat the checked process.
“Zero adjustments” is a workflow goal—not a promise that every insulation type, gauge or terminal uses one setting.

Choose the notch again
Identify gauge → select the matching notch → strip → inspect → repeat when the gauge changes.
Reset strip length only when the termination requires it. A manual stripper may still be efficient for one repeated size.
Repeat within a checked range
Confirm wire compatibility → set length and tension → test each planned wire → strip and inspect the batch.
Recheck when wire construction, insulation, termination or strip quality changes.
1. Find the pauses worth removing
Watch one representative batch before buying another tool. Count notch-selection pauses, length resets and damaged ends that need re-stripping. Separate avoidable setup time from necessary inspection: removing a quality check is not a productivity improvement.
If most work uses one gauge and your current tool produces clean, repeatable ends, changing tools may save little. Mixed-gauge harnesses and repeated fixture leads are better candidates for a self-adjusting trial.
2. What the self-adjusting head does
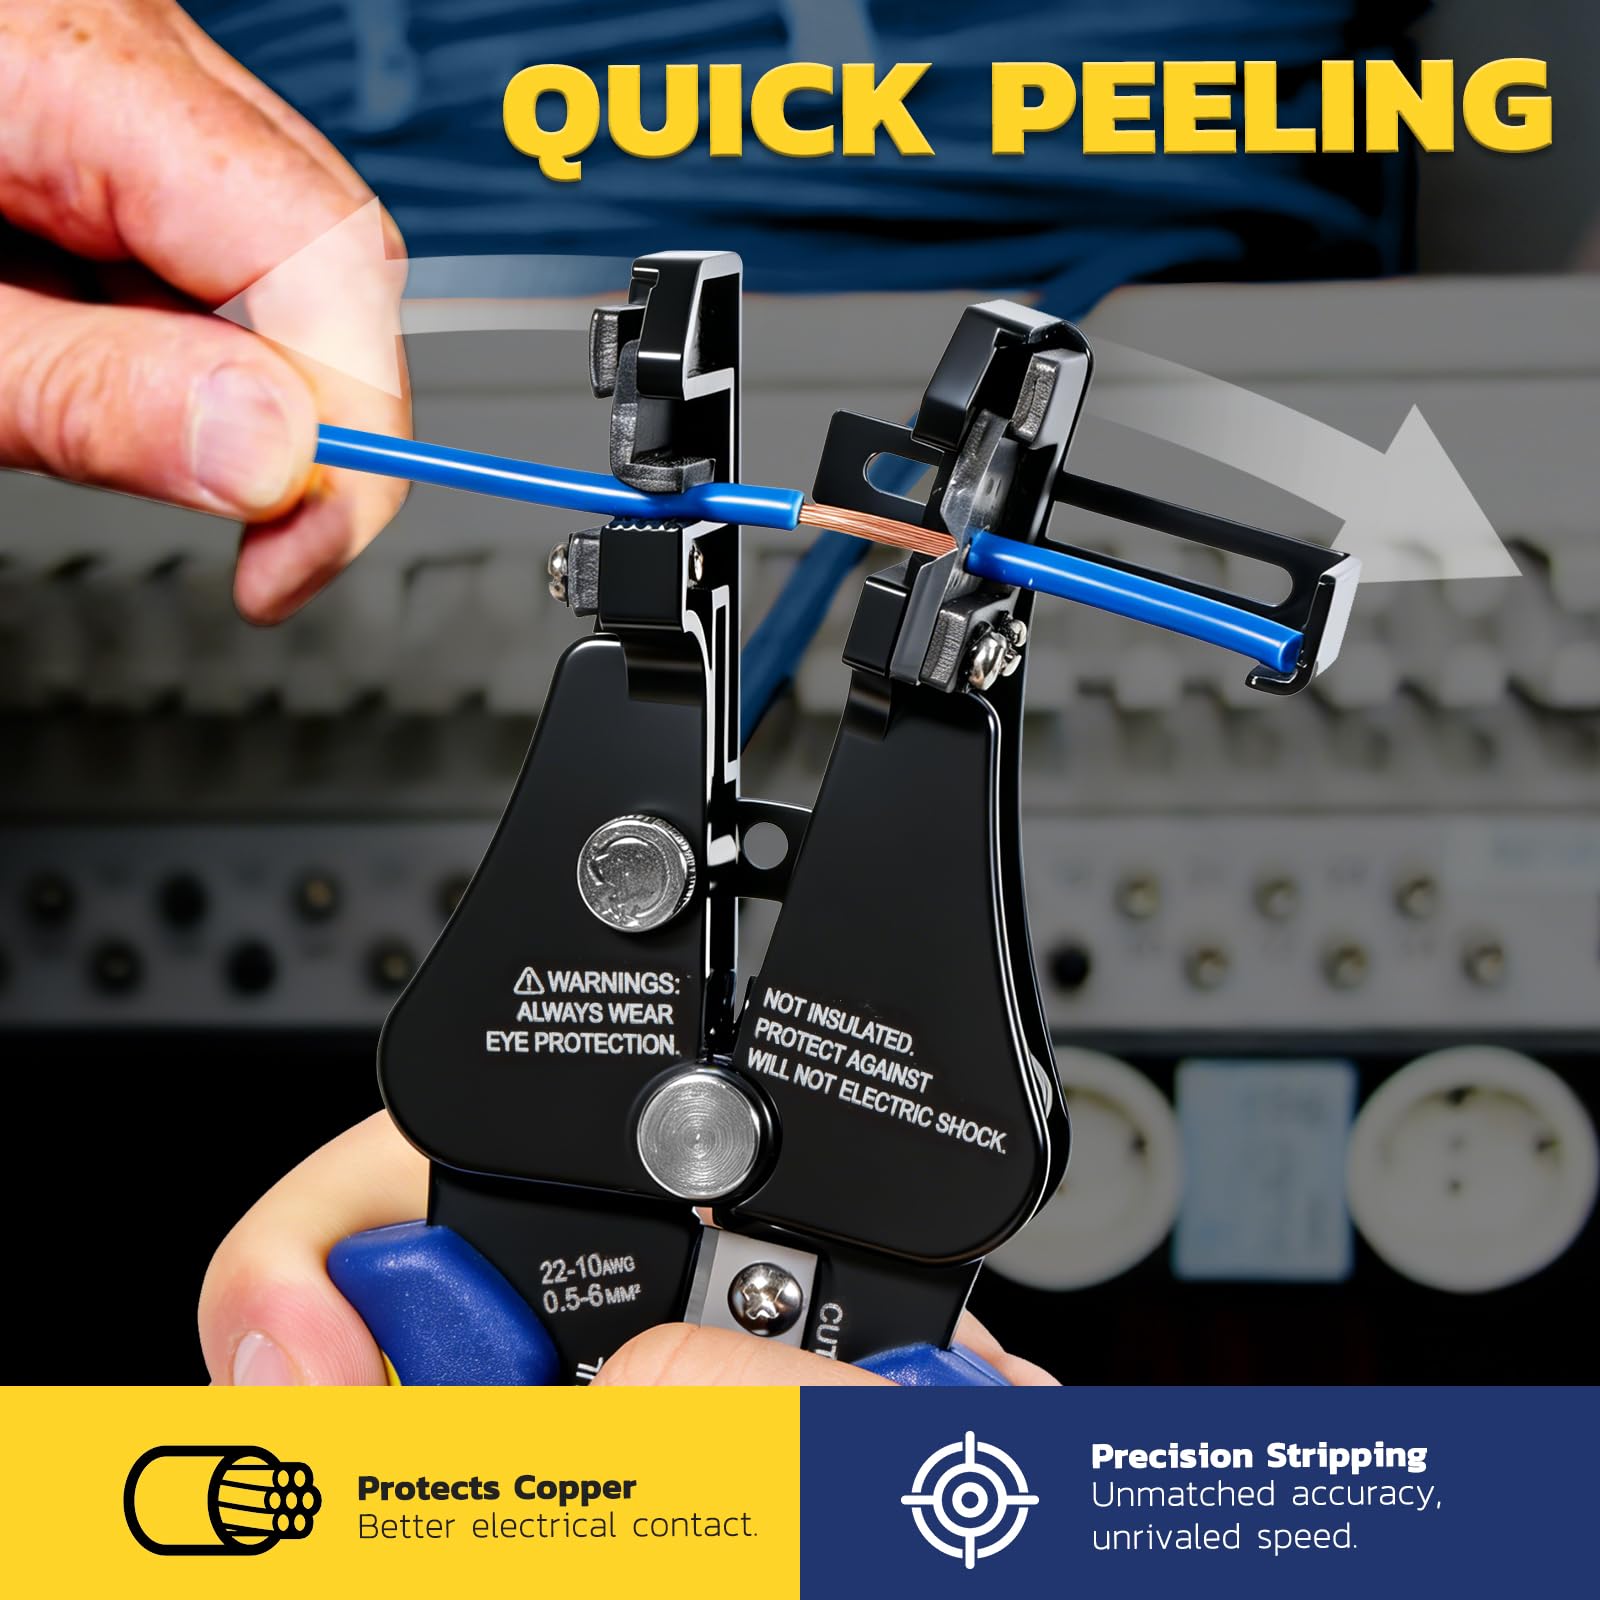
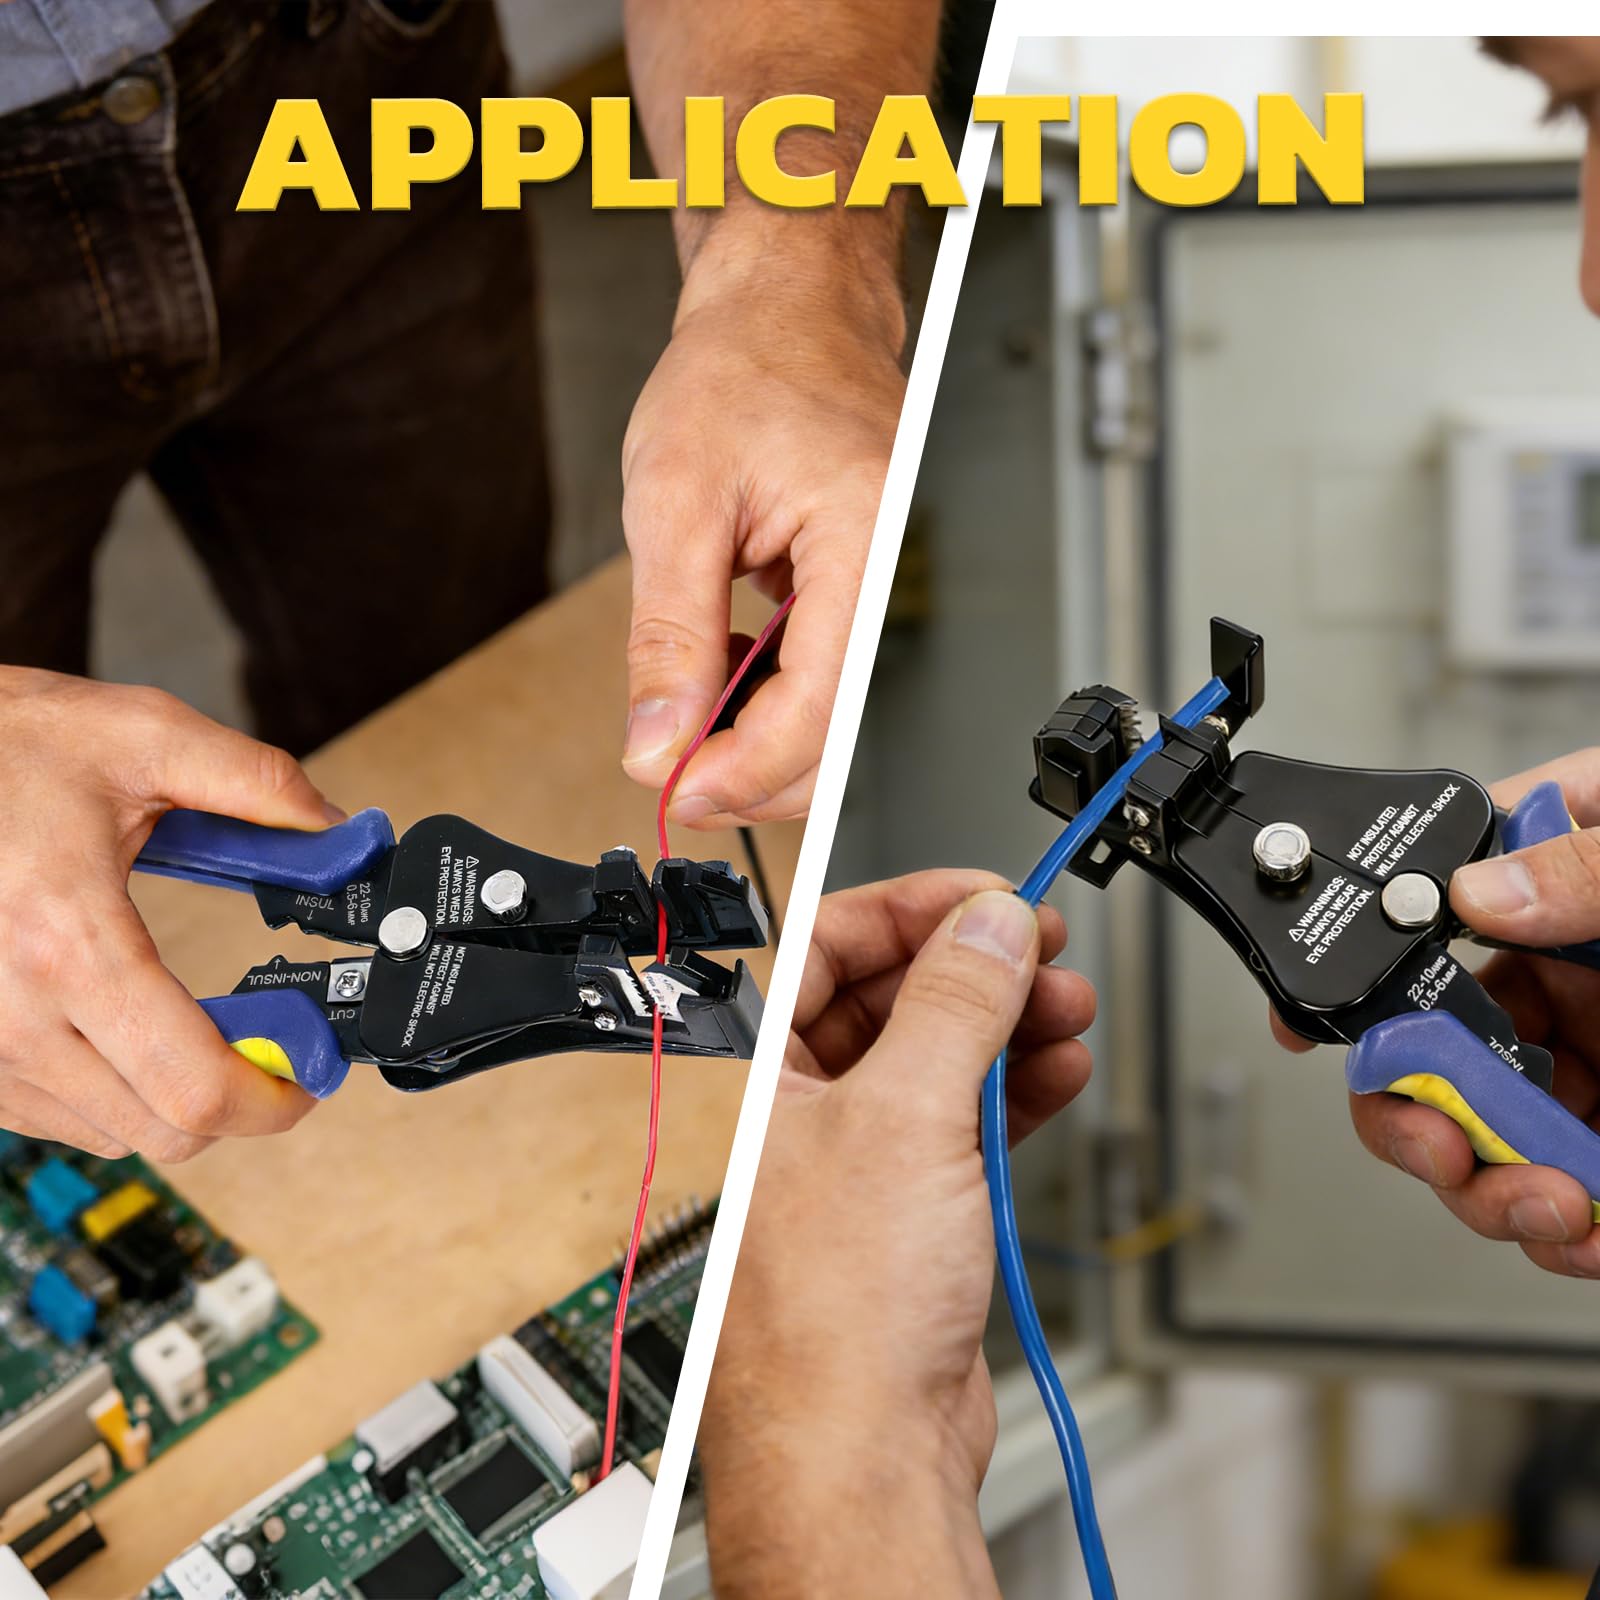
The head grips the wire and removes the insulation as you squeeze the handles, adapting to compatible conductor sizes without selecting a separate gauge notch for every end. It does not identify the terminal’s required strip length or certify that the conductor is undamaged.
The Haisstronica Self-Adjusting Wire Stripper supports AWG 24–10—the same range sometimes written as AWG 10–24. Its tension-control knob helps fine-tune stripping for different insulation. Gauge coverage alone is not a guarantee for every wire construction or jacket material.
View the AWG 24–10 Self-Adjusting Stripper →
3. Set length and tension—not just gauge
Two settings, two different jobs
Length stop: use the connector or terminal’s specified strip length. Position the stop or guide, strip a sample, then measure the exposed conductor. Reset it when the next termination requires a different length.
Tension: start from the tool instructions and test scrap from the actual cable. Make small adjustments if the jaws slip or stripping is incomplete. Stop if strands are nicked, cut or stretched.

Only keep one setup when samples from every planned wire pass. If two insulation types need different settings, split the batch and record both setups instead of forcing a universal setting.
| What changed? | What to do before continuing |
|---|---|
| Insulation material or hardness | Test a new sample. Very soft, hard, thin or unusual insulation may need different settings or a different stripping tool. |
| Conductor construction or gauge | Confirm compatibility and range, then inspect a trial strip. Do not assume solid and fine-stranded wire behave identically. |
| Terminal or connector | Check its specified strip length and reset the stop if necessary. |
| Slipping, torn insulation or damaged strands | Stop the run. Check the setup and tool condition, then retest. Do not use tension adjustments to mask an incompatible tool. |
Safety and scope: work only on isolated, de-energized wiring. Colored grips do not establish a live-work insulation rating. Use a suitable jacket-removal tool for outer sheaths; do not treat the conductor stripping range as a cable-diameter rating.
4. Run a mixed-gauge trial before the batch
- List the actual wires. Record AWG, insulation type and required strip length. Keep the planned range within the tool’s documented limits.
- Prepare samples. Use scrap from each wire in the job, not a different cable that happens to share the same AWG.
- Set and test. Verify length and tension, then alternate between the planned gauges to reveal problems that a one-size trial can miss.
- Inspect every trial end. Check exposed length, a clean insulation edge and intact strands. Reject nicked, cut or stretched conductors.
- Repeat only the passing setup. Record the accepted wire combinations. Continue inspection during production and restart the trial after any relevant change.
A clean strip is preparation, not proof of a good final connection. The next connector, crimp die or fastening method still has to match the wire and its own installation requirements.
5. Measure accepted ends—not handle squeezes
Compare your current method and the candidate setup on the same wire mix, batch size and acceptance criteria. Include initial setup, inspection and rework in both timings. Repeat comparable batches so one unusually easy run does not decide the purchase.
| Record for each method | What the result tells you |
|---|---|
| Total elapsed time + accepted ends | Whether the complete workflow is faster, not just the stripping motion. |
| Gauge-selection pauses + setting changes | Which interruptions disappear and which remain necessary. |
| First-pass accepted ends + attempted ends | Whether fewer stops also preserve quality. |
| Reworked ends + discarded wire | Whether apparent speed creates extra work or waste. |
| Hand comfort + grip changes | A user-reported comparison under the same workload—not a medical or fatigue-reduction claim. |
Time per accepted end = total elapsed time ÷ accepted ends
First-pass yield = first-pass accepted ends ÷ attempted ends × 100%
These are measurement instructions, not published Haisstronica performance results. No speed, defect-rate or fatigue improvement is assumed.
Upgrade when the whole process improves
If accepted-end time falls, strip quality stays within requirements and the wire mix is compatible, a self-adjusting stripper is a practical upgrade for frequent gauge changes.
6. Buy for your actual workload
Start with the stripper
Choose the self-adjusting tool when repeated gauge selection is a real bottleneck and your trial confirms compatible insulation and intact conductors.
Shop the Self-Adjusting Stripper →You may not need to upgrade
Keep a correctly sized tool that already produces clean ends. Compare alternatives only if setup, access or strip quality is causing a real problem.
Compare Wire Strippers →Add a matched crimper—not an unnecessary bundle
The Wire Stripper + Heat Shrink Crimping Tool option pairs AWG 24–10 stripping with a dedicated AWG 22–10 heat-shrink terminal crimper. Check the exact terminal profile; these are different working ranges.
Select that two-tool option on the kit page. Connector assortments belong to other options and are not implied here. The kit’s stripping guidance excludes THHN wire.

Building a repeatable workshop process? Explore Pro Solutions → Start with the wire, termination and inspection requirements before choosing a larger setup.
Frequently asked questions
Can I really leave the settings unchanged?
Only across the wire and termination combinations you have tested successfully. A new insulation, required strip length or visible defect is a reason to check the setup again.
Does AWG 24–10 mean every wire in that range works?
No. It states a conductor-size range. Insulation, construction and tool-specific exclusions still matter; test the exact wire before processing the batch.
Is a faster strip automatically a better result?
No. Compare total time per accepted end, first-pass quality and waste. If the faster method damages strands or adds rework, it has not solved the problem.