To splice low-voltage landscape wire: shut off the transformer, cut the cable cleanly, strip about 1/2 inch, crimp a waterproof connector, heat it until fully sealed, then test and rebury the splice.
What Is Low-Voltage Landscape Lighting Wire? (Definition)
Figure: A spool of 14/2 low voltage landscape wire. Low-voltage landscape lighting wire is a two-conductor electrical cable designed for outdoor use. It typically comes in gauges like 16/2, 14/2, or 12/2 (the first number is the wire gauge, the second indicates two conductors). The cable’s insulation is UV-resistant and rated for direct burial, meaning you can run it underground without conduit. This outdoor low voltage wire connects your low-voltage transformer to all your landscape lights in a daisy-chain or hub configuration. Each conductor of the landscape lighting cable is insulated, often bonded together in a flat “zip cord” style for easy splitting. The lower the gauge (e.g. 12 gauge vs 14 gauge), the thicker the wire and the more current it can carry over long distances with minimal voltage drop. For example, 14/2 low voltage wire is ideal for medium runs around a typical yard, while 12 gauge low voltage wire can handle longer runs or higher wattage loads without dimming. Always use low-voltage electrical wire made of pure copper and marked for landscape lighting – this ensures maximum conductivity and weather resistance. In short, landscape wiring is the special electrical wire for outdoor lighting that’s safe to handle, easy to hide, and built to withstand moisture and soil when powering your garden lights.
Operation Steps: How to Splice Low-Voltage Wires
Figure: Preparing to splice low-voltage landscape wire – cut the cable, split the two conductors, and strip off about 1/2 inch of insulation from each wire. Splicing (connecting) low voltage wires is a simple process if you follow these steps:
-
Shut Off Power: Always begin by turning off or unplugging your landscape lighting transformer. Even though low-voltage wire carries only 12–15 volts, disconnecting power ensures safety while you work.
-
Cut and Split the Cable: Decide where you need to splice (for example, to add a fixture or repair a cut). Use a wire cutter to cut the landscape lighting wire at that point. The landscaping wire is usually two wires joined together; pull them apart for a few inches so you have two separate conductors to work with.
-
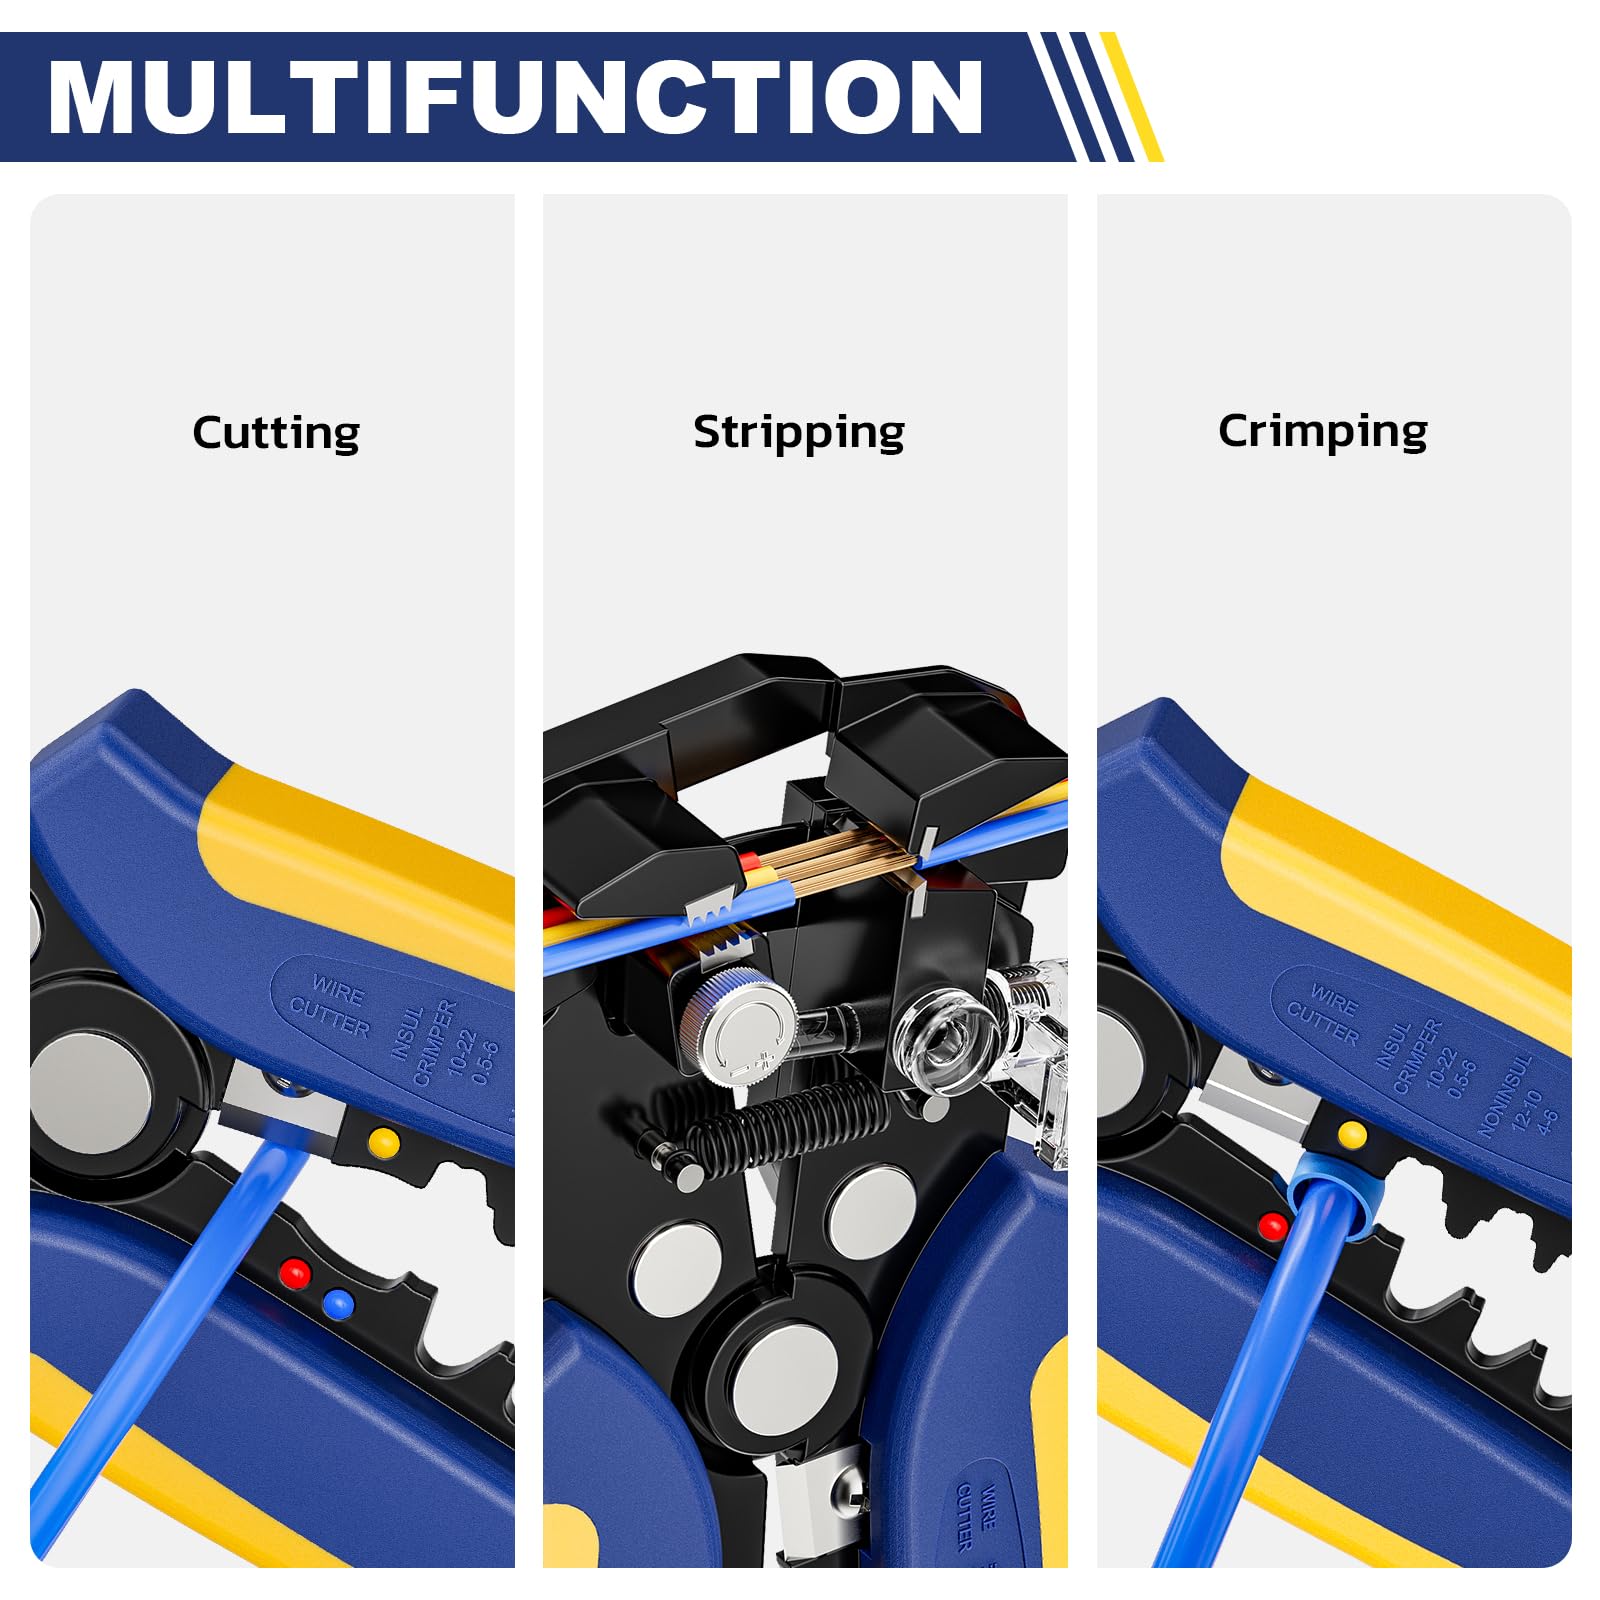
Strip the Wires: Using a wire stripper tool, strip about 1/2 inch of insulation from each exposed wire end. This will reveal the copper strands (make sure not to cut through the strands). Stripping the landscape light wire cleanly will give a good surface for the new connection.
Get precise strips with our automatic and manual wire strippers for clean connections every time.
-
Join the Wires with Connectors: Now, connect the wires using an appropriate waterproof connector. You have a couple of options:
Use waterproof heat shrink crimp connectors for outdoor splices that resist moisture and corrosion.
-
Gel-Filled Wire Connectors (Wire Nuts): These are twist-on connectors pre-filled with silicone grease to keep water out. Twist one connector onto the two stripped wire ends joining low voltage wires together until snug.
-
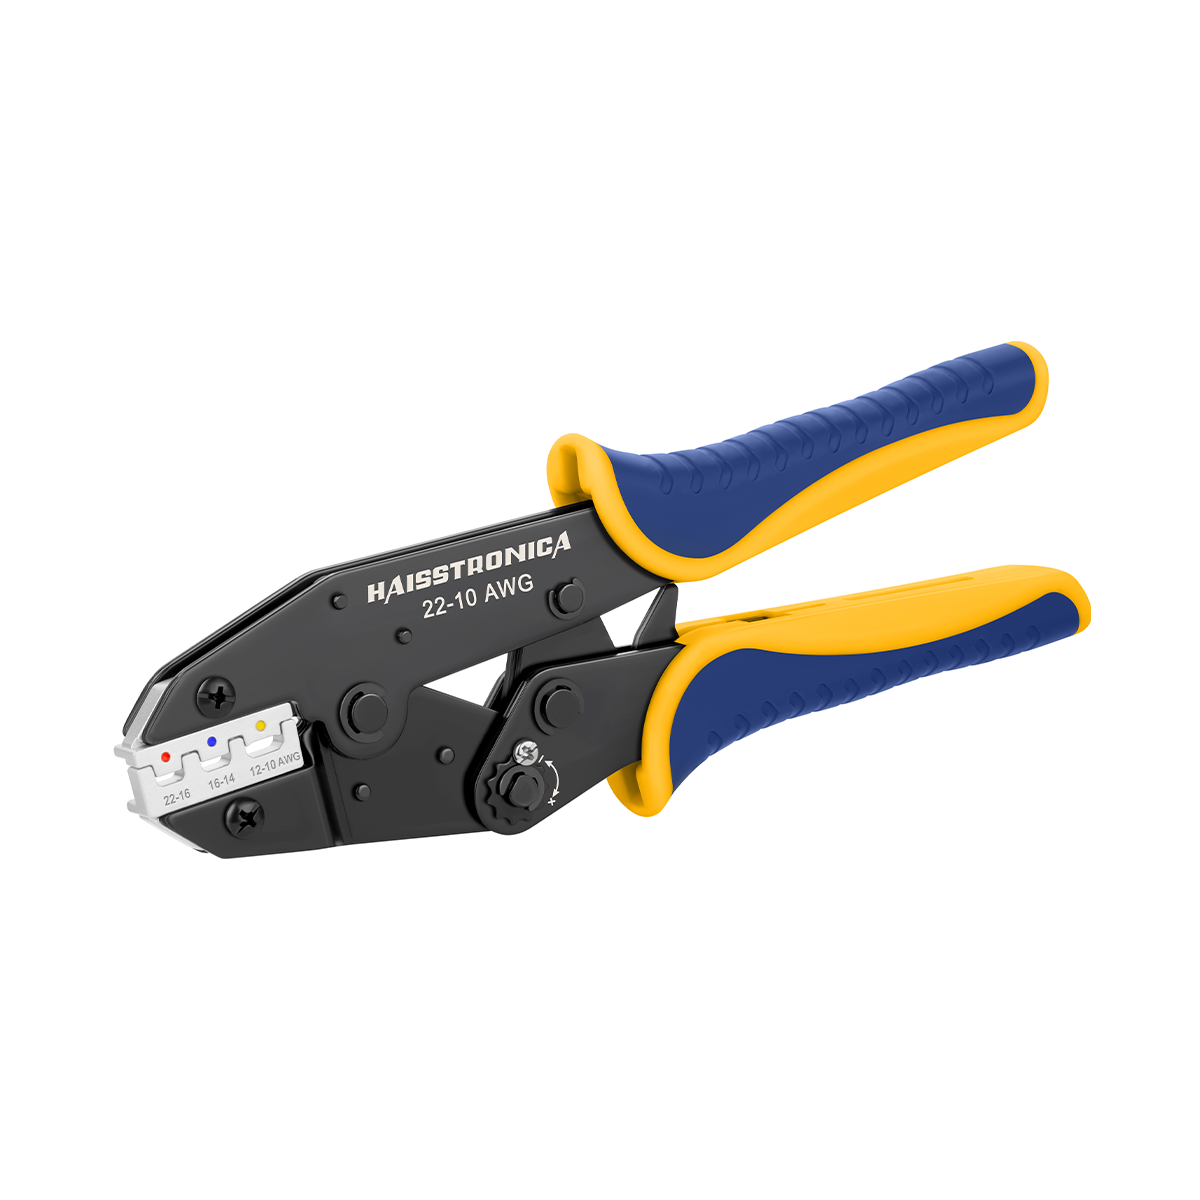
Crimp and Heat Shrink Butt Connectors: These tube-like connectors let you insert each wire end on either side, crimp the metal sleeve with a crimping tool, then heat the insulating tube with a heat gun. The tubing shrinks and sealant inside melts, creating a waterproof splice. (Haisstronica offers quality heat shrink butt connectors for a secure bond.)
Both methods create a reliable splice – just ensure the connection is tight and fully sealed against moisture. Avoid using regular dry indoor wire nuts or simply taping bare wires, as those won’t last outdoors. If you prefer, you can also solder the wires together and use heat shrink tubing over the joint, but this isn’t usually necessary with the above connector options.
-
-
BUILD THE SPLICE KIT
Strip, crimp, and seal with the right tools
Build the complete splice kit with these three matching products.
-
Test and Bury: After splicing, turn the transformer back on to test that all lights work. Finally, bury or conceal the cable and splice. Bury the low-voltage cable about 6 inches deep in the soil (or at least 6 inches deep per NEC code for most garden areas). If running under a driveway or sidewalk, bury it deeper (~18 inches) or run it through a conduit for extra protection. In flower beds, you can simply cover the low volt wire with mulch or use landscaping staples to keep it tucked out of sight. The goal is to protect the underground low voltage wire from damage and keep your yard looking neat.


Application Scenarios
Figure: A single low-voltage landscape cable can power multiple outdoor lights – garden uplights, pathway lights, deck lights, etc. You’ll need to splice or connect landscape lighting wires in many situations during installation and maintenance. Common scenarios include:
-
Installing New Lights: When setting up a landscape lighting system, you run a main outdoor lighting cable from the transformer and make a splice at each fixture. Typically, you’ll create a T-connection by attaching the fixture’s lead wires to the main landscape wire using connectors at that spot. Since landscape lights are wired in parallel (not in series), each light taps into the main line.
-
Extending Wire Runs: If your transformer is far from the garden or you decide to add more lights in a distant area, you might need to extend the existing low voltage landscaping wire. This involves splicing an additional length of cable into the line to reach new fixtures or cover a larger distance. Make sure to match the gauge when extending (e.g., splice 14 gauge low voltage wire to 14 gauge, or use thicker wire if needed for long distances).
-
Repairing Damaged Wires: It’s not uncommon for a shovel or lawn aerator to accidentally cut a buried landscape light wire. When this happens, you can fix it by splicing the broken ends back together with a waterproof connector. This repair restores the circuit without having to run a completely new cable. Be sure to waterproof the splice thoroughly so it doesn’t corrode underground.
-
Other Outdoor Applications: Low-voltage cables aren’t just for lights – they’re also used for outdoor spotlights, pond pumps, irrigation controls, or speakers. The splicing techniques are the same across these uses. In any case, knowing how to splice landscape wire allows you to customize your outdoor electrical setup, whether that’s adding a backyard speaker or replacing a faulty section of low voltage outdoor wire in your lighting system.
Buying Guide: Choosing Wire and Connectors
Selecting the right materials will make your low voltage landscape wiring project successful and long-lasting. Here are key considerations:
-
Wire Gauge and Length: Match the existing circuit gauge whenever possible. Use 16/2 for shorter, lighter LED runs; 14/2 is a common medium-run choice when available; use 12/2 for longer runs or higher wattage to reduce voltage drop. Measure the route and add extra cable for routing, service loops, and future changes.
Choose available landscape wire by run length Use 16/2 for shorter, lighter runs. For another gauge or a larger system, compare the currently available wire options. -
Wire Quality: Use direct-burial, outdoor-rated copper cable with a UV- and moisture-resistant jacket. Haisstronica currently offers 16/2 and 12/2 landscape wire in 100, 200, 250, and 500 ft options. Choose the gauge first, then the spool length—never select wire by length alone.
-
Connectors and Accessories: Outdoor splices need waterproof connectors, not indoor wire nuts or tape-only joints. For a permanent repair, use heat-shrink butt connectors, crimp them with the correct die, and shrink the sleeve evenly with a heat gun. Keep a stripper and crimper kit ready for clean preparation and repeatable crimps.
Frequently Asked Questions (FAQ)
Q1: What gauge wire should I use for low-voltage landscape lighting?
A: It depends on the distance and wattage of your lighting setup. A 14-gauge landscape lighting wire works for most average-sized yards – generally up to ~100 feet of cable run handling around 90 watts total. If you plan a longer run or have many lights (higher wattage), you should use 12-gauge low voltage wire to prevent voltage drop and dimming. For very short runs or just a couple of LED fixtures, a 16-gauge landscape wire could suffice, but many professionals avoid 16 AWG for anything beyond 50 feet. Using a thicker wire than necessary won’t harm anything (except a slight increase in cost), while using too thin a wire can result in weak, dim lights. When in doubt, go with the heavier gauge or refer to a low voltage wire size chart to match your total wattage and cable length.
Q2: How deep do I need to bury low-voltage landscape wire?
A: Industry best practice and code guidelines recommend burying low-voltage wires at least 6 inches deep in the ground. The National Electrical Code (NEC) specifies a minimum cover of 6 inches for direct-buried low-voltage cables in residential yards. This depth protects the wire for low voltage lighting from accidental damage by shovels or lawn tools. For areas under driveways, sidewalks, or other high-traffic hardscape, bury the outdoor lighting cable deeper – typically 18 to 24 inches – or run it through a conduit for extra protection. In garden beds where digging a deep trench is difficult, you can get by with shallow burial (just a few inches) or simply hide the cable under mulch – but be aware that the shallower it is, the more careful you or your gardener need to be when digging in that area. Always remember where your landscape wires are buried to avoid cutting them during future landscaping work.
Q3: What’s the best way to splice or extend low-voltage landscape wires?
A: The best method is to use waterproof connectors specifically made for landscape lighting. First, strip about 1/2 inch of insulation off the ends of the wires you need to join. Then either twist them together inside a gel-filled waterproof wire nut or use a heat-shrink butt connector to crimp them together. Both methods will create a secure electrical connection and seal out moisture. Avoid using standard household wire nuts that are not weatherproof, and never leave bare twisted wires exposed – those will corrode and fail. A properly made splice in low voltage landscape wire with quality connectors should be just as reliable as an uncut cable. Many professionals prefer the convenience of grease-filled twist connectors, while others like the permanence of a crimped heat-shrink splice. Either is fine as long as the connector is rated for direct burial. After splicing, always encase the connection in its waterproof housing or heat-shrink and give a gentle tug on each wire to ensure it’s firmly connected before burying it.
Q4: Does low-voltage landscape lighting wire need to be in conduit?
A: In most cases, no. Low-voltage landscape wire is designed with robust insulation for direct burial and outdoor exposure, so you do not have to run it in conduit. Running the wiring directly underground (to the 6-inch depth mentioned above) is standard and allows you to easily make splices or add fixtures along the line. However, if the wire must go under a hardscape (driveway or sidewalk) or through a area prone to digging, you might choose to run that section through a PVC conduit for extra protection and easy replacement later. Overall, for typical garden lighting, using the direct-burial landscape lighting wire by itself is perfectly sufficient and meets code. Just be sure the wire you use is rated for underground use (which most low voltage landscape cables are) and weather-resistant. Keeping connections waterproof (as described) is more critical than enclosing the entire cable in conduit.
Choose Your Next Step
Finish with the path that matches the reason you opened the cable. Do not buy more wire when a connector solves the problem—and do not patch a system that actually needs a longer run.