Five wiring risks a connector cannot fix by itself.
Correct connectors and tools can reduce loose joints, damaged strands, moisture intrusion, and sizing errors—but they do not make unsafe household wiring compliant. Start by deciding whether the work is an approved DIY repair or a job for a licensed electrician.
The five hidden dangers—and the right response
Loose or high-resistance connection
A weak mechanical joint can heat under load, create intermittent operation, or pull apart when the wire moves.
Cut or missing conductor strands
Nicked copper reduces the effective conductor area and creates a weak point beside the terminal.
Wrong connector or wire size
An oversized barrel may never grip; an undersized barrel can damage strands or prevent full insertion. Sleeve color alone is not enough.
Moisture and corrosion
Condensation, splash, and outdoor exposure can enter an unsealed splice and increase resistance over time.
Overload, wrong wiring method, or concealed unsafe work
A perfect-looking crimp cannot correct an overloaded circuit, wrong conductor type, missing overcurrent protection, inaccessible splice, incorrect enclosure, or an unapproved repair method.
Where butt connectors fit—and where they do not
| Application | Decision | Next step |
|---|---|---|
| Low-voltage lighting, controls, or compatible equipment leads | A butt connector may be suitable when the manufacturer and applicable requirements permit it, and the connector is rated for the conductor and environment. | Browse Butt Connectors → |
| Outdoor or damp low-voltage repair | Use a wet-location-approved connection method. An adhesive-lined heat-shrink connector can add sealing when compatible with the system. | Browse Heat Shrink Solutions → |
| Appliance, fixture, or device repair | Follow the equipment service instructions, temperature rating, conductor specification, and required strain relief. | Browse Repair Tool Kits → |
| Household mains, panel, concealed branch-circuit splice | Do not choose a connector from a blog alone. Use only the code-approved method, enclosure, accessibility, conductor, and protection required for the installation. | Consult a licensed electrician |
Choose the connector by AWG and environment
Insulated connector route
For a permitted protected repair, match the connector barrel to conductor gauge and type, complete the crimp, and provide the required enclosure or strain relief.
 Browse Butt Connector Collection →
Adhesive-lined heat shrink route
For a compatible low-voltage wet-location repair, form the mechanical crimp first, then use controlled heat to recover the seal.
 Shop Heat Shrink Butt Connectors →
Prepare the right tools before cutting
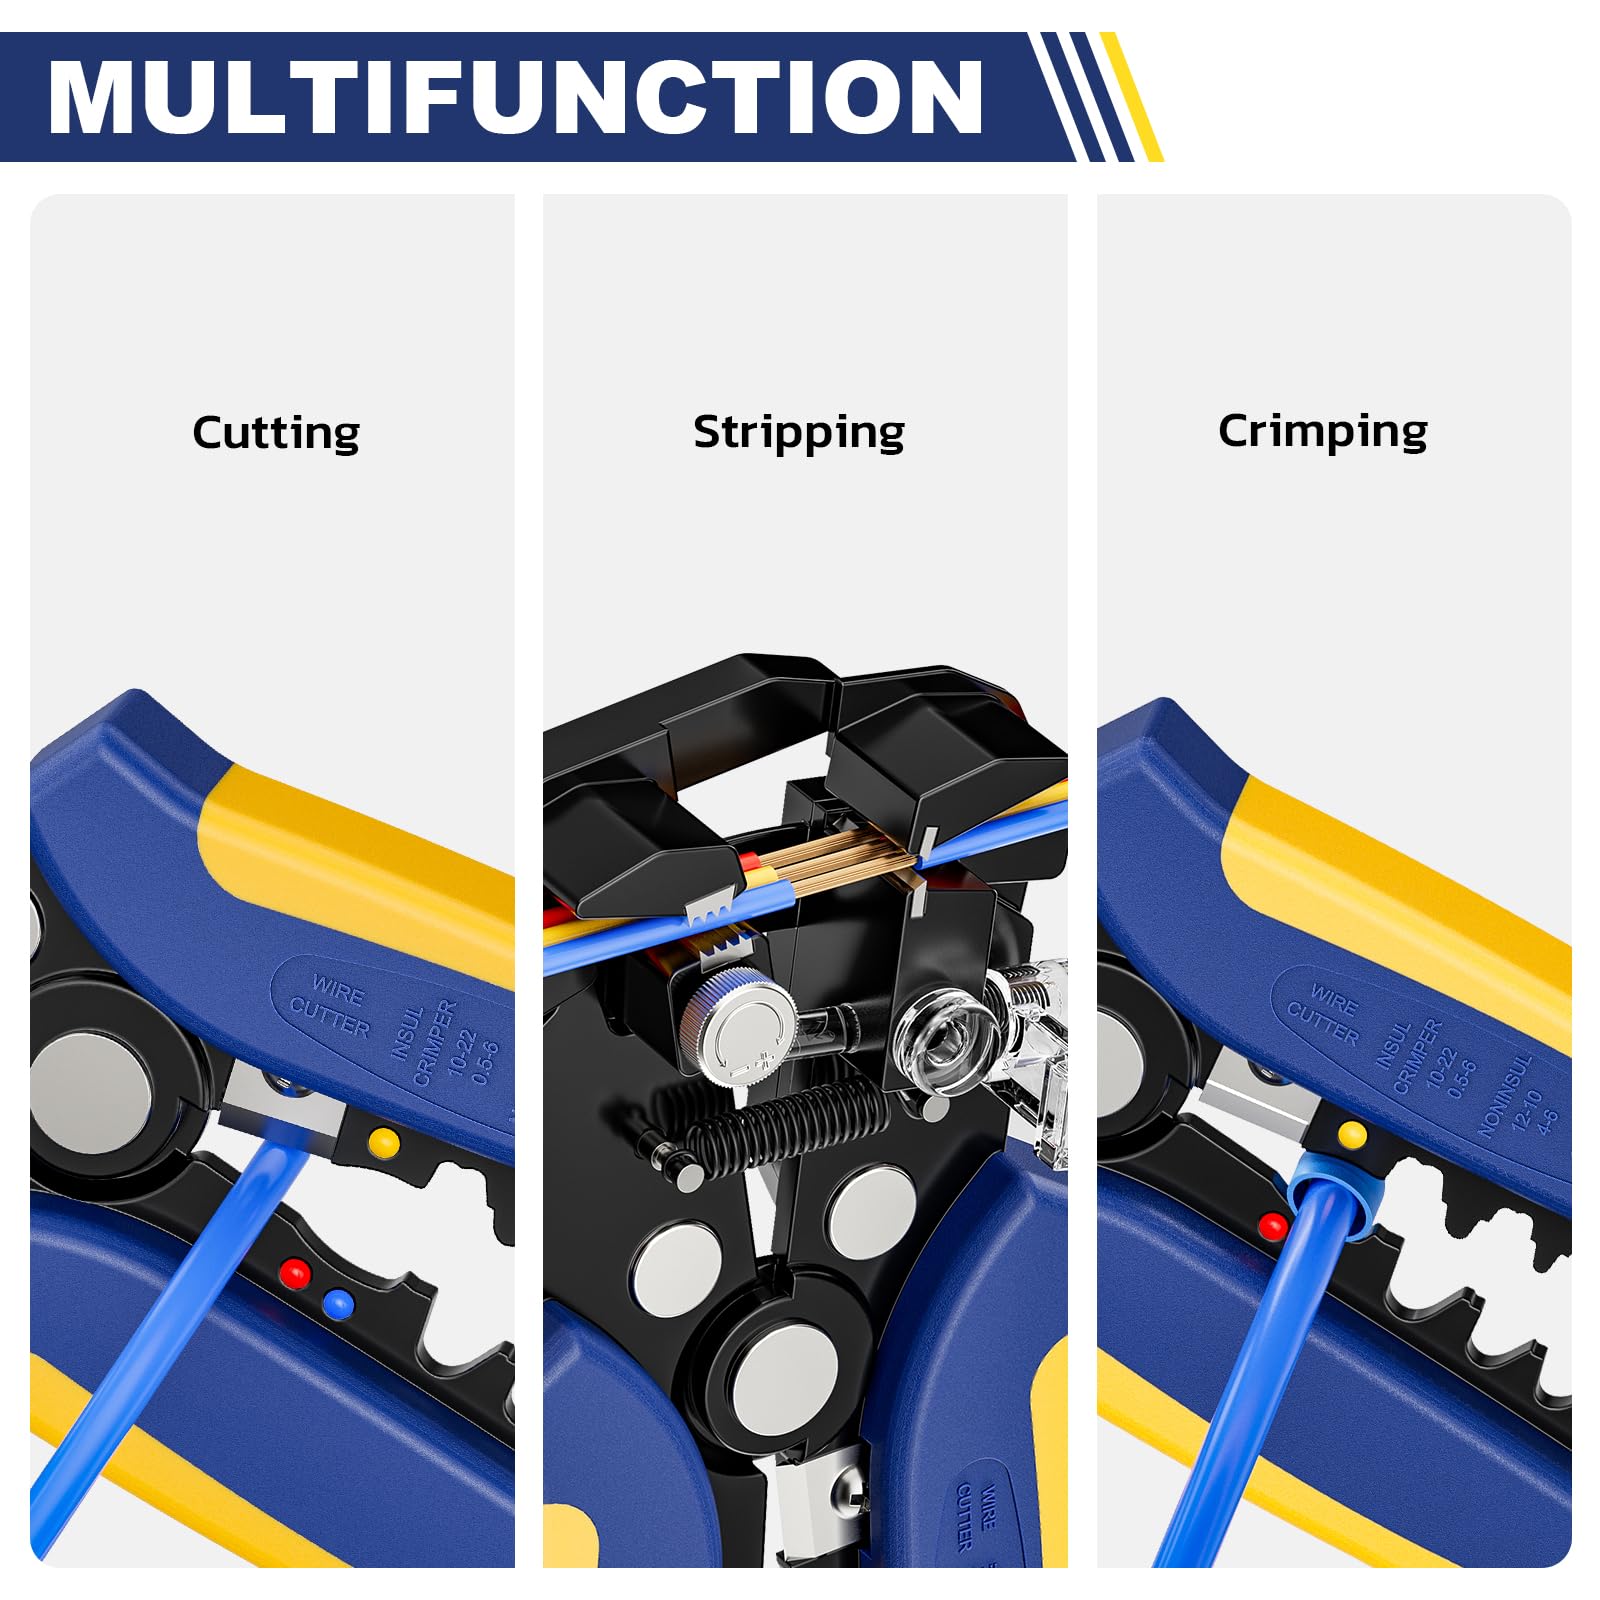
Controlled wire stripper
Use the correct stripping range so insulation is removed cleanly without cutting conductor strands. Confirm the strip length against the connector barrel.
Browse Wire Strippers →Matched ratchet crimper
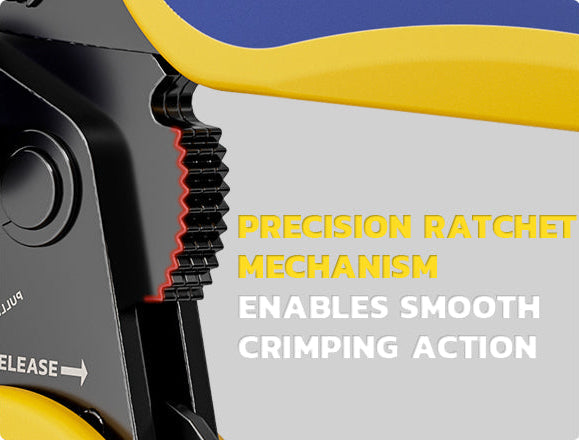
Use a die intended for the connector geometry and AWG range. Place pressure over the metal barrel—not the soft sleeve edge.
Shop AWG 22–10 Crimper →A repeatable connection process
Use these steps only after confirming that the connector and repair method are permitted for the circuit and equipment.
De-energize and verify
Shut off the correct source, prevent unintended re-energizing where required, and verify the circuit is de-energized with an appropriate tester.
Identify the conductor
Confirm AWG, conductor material, stranding, insulation temperature, load, and the approved connection method.
Strip cleanly
Expose only enough copper to fill the barrel. Reject damaged or missing strands.
Choose a Wire Stripper →Insert and crimp
Seat the conductor fully, center the metal barrel in the correct die, and complete the ratchet cycle.
Use the Matched Crimper →Seal where permitted
Pull-test first. Apply controlled, even heat until the adhesive-lined sleeve recovers; protect nearby insulation and materials.
Inspect load and safety
Check alignment, exposed copper, support, enclosure, protection, circuit load, and operating temperature before returning the equipment to service.
Final inspection checklist
Mechanical
- Correct connector and die
- Full conductor insertion
- Completed crimp cycle
- Firm pull-test passed
- No strain at the joint
Electrical + environmental
- Load within design limits
- Correct insulation and temperature rating
- Required enclosure and accessibility
- Complete moisture seal where applicable
- No exposed copper or heat damage
Build a safer repair kit
Heat Shrink Butt Connectors
For compatible low-voltage, equipment, automotive, marine, and outdoor repair applications.
Shop Butt Connectors →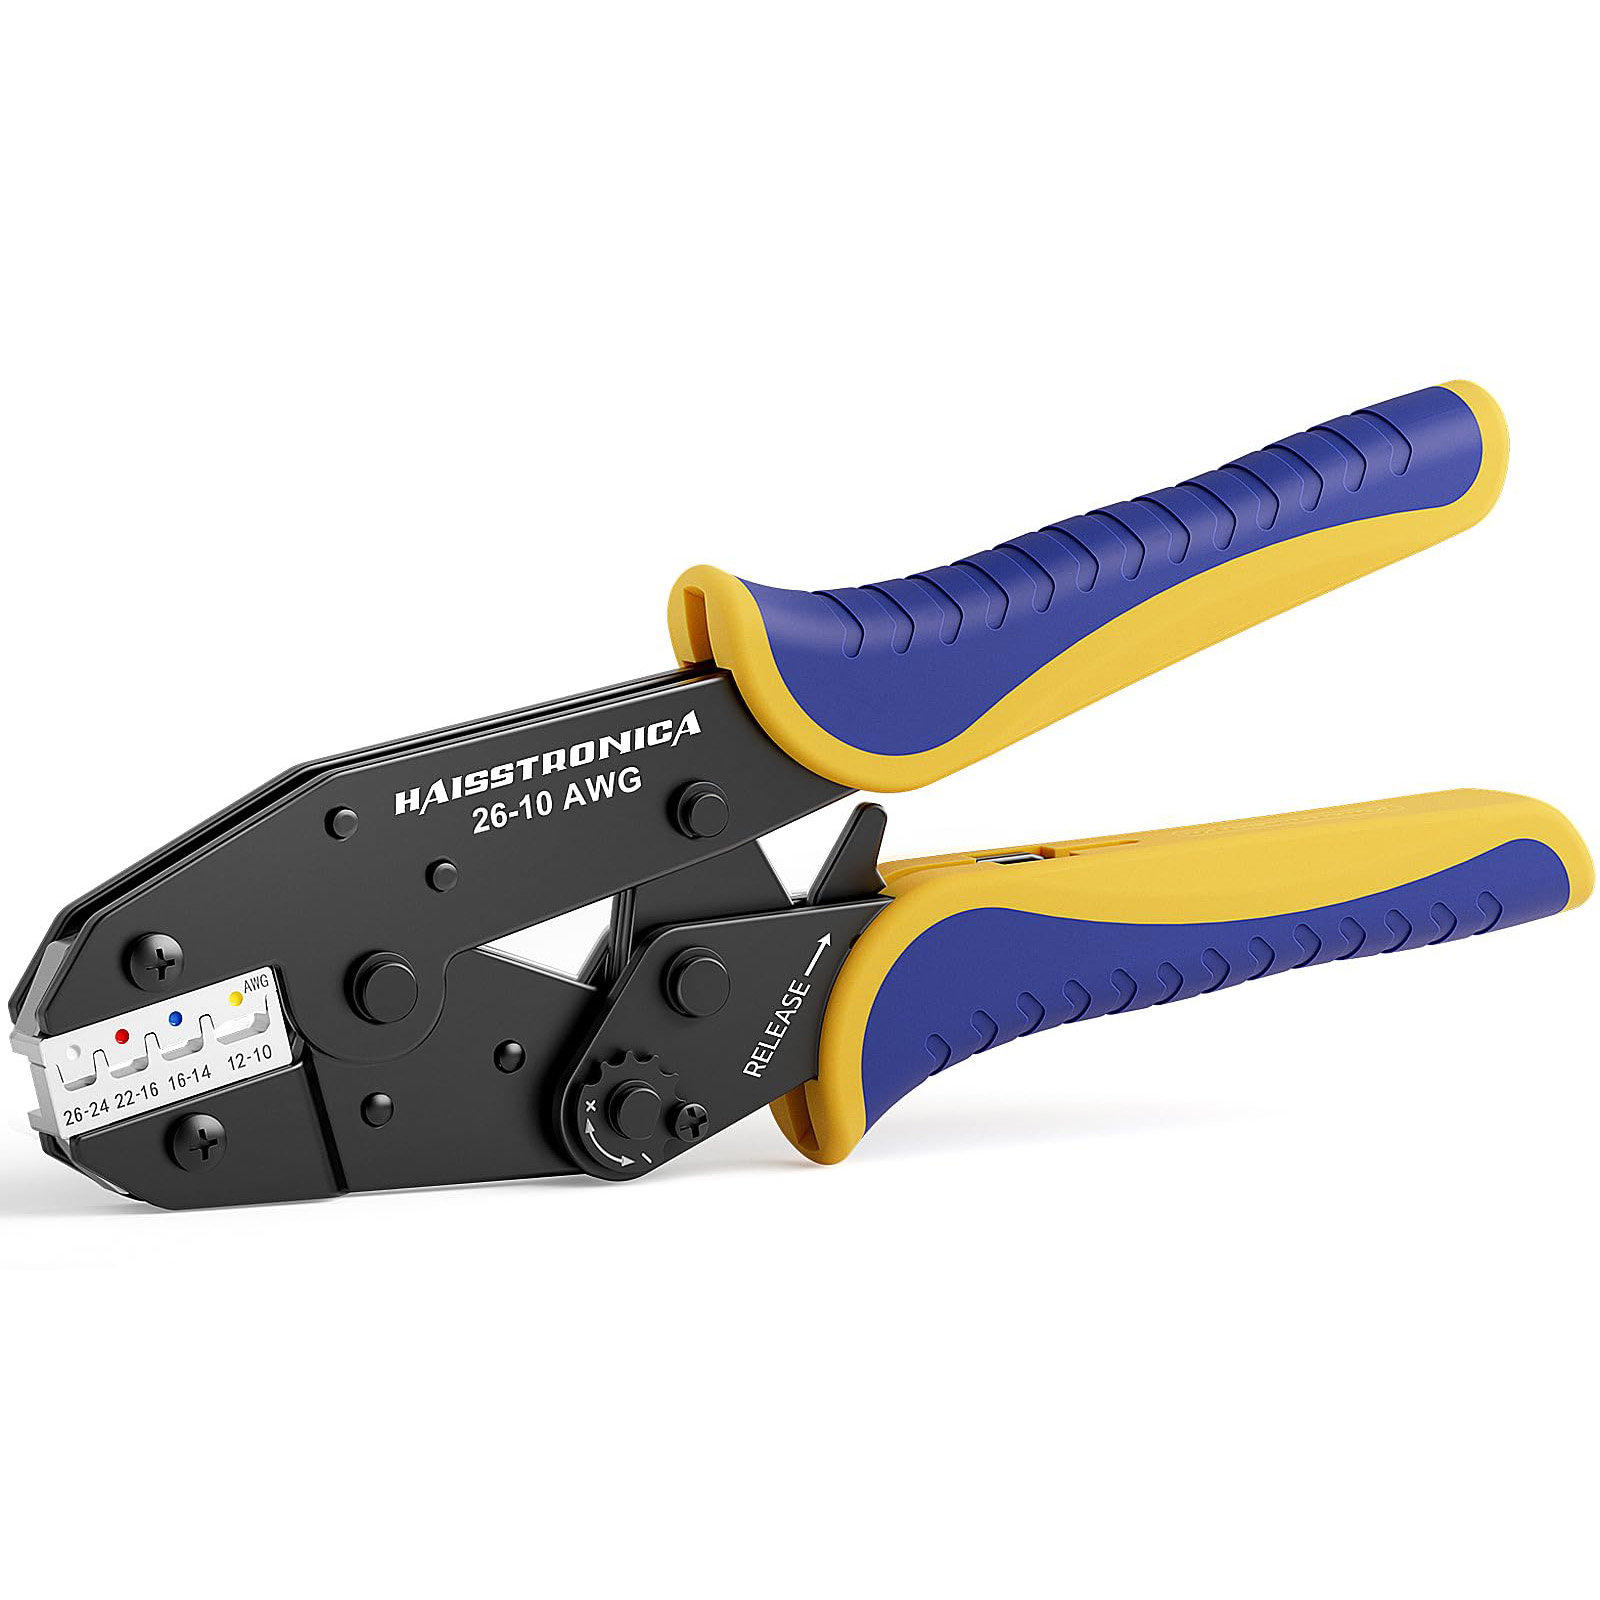
AWG 22–10 Ratchet Crimper
A matched tool route for common heat-shrink insulated connector sizes.
Shop Ratchet Crimper →
Wire Stripper Collection
Choose a stripping tool that matches the conductor range and preserves every strand.
Browse Wire Strippers →A connector reduces connection risk—not system risk
Use the correct connector, tool, and sealing process for permitted repairs. For fixed household wiring, hidden splices, mains circuits, or uncertain conditions, the safer path is code-compliant work by a licensed electrician.