




Haisstronica Crimping Guide
A reliable crimp is a mechanical and electrical connection—not just a squeezed terminal. Follow this guide to match the wire gauge, prepare the conductor, complete the full ratchet cycle, verify the result, and seal it when the job needs moisture protection.
Your 6-step path
Why proper crimping matters
A poor crimp creates resistance. Resistance creates heat, voltage drop, and failure under vibration. A correct crimp compresses the conductor and terminal into a stable, low-resistance connection that can withstand real-world use.
Reduces overheating and loose-connection risk.
Handles vibration, moisture, and temperature changes.
A full ratchet cycle applies repeatable pressure.
Choose your tool path before you start
Do not buy the same setup for an occasional repair and a high-volume bench. Choose the path that matches how often you crimp and how many terminal types you use.
DIY / occasional projects
Start with one complete kit
- Ratcheting crimper for common insulated terminals
- Wire stripper matched to your wire range
- Assorted connectors for repairs and small installs

Professional / high-frequency work
Use interchangeable dies
- Multiple dies for different terminal families
- Repeatable ratchet pressure across daily jobs
- Faster changeovers with fewer duplicate tools
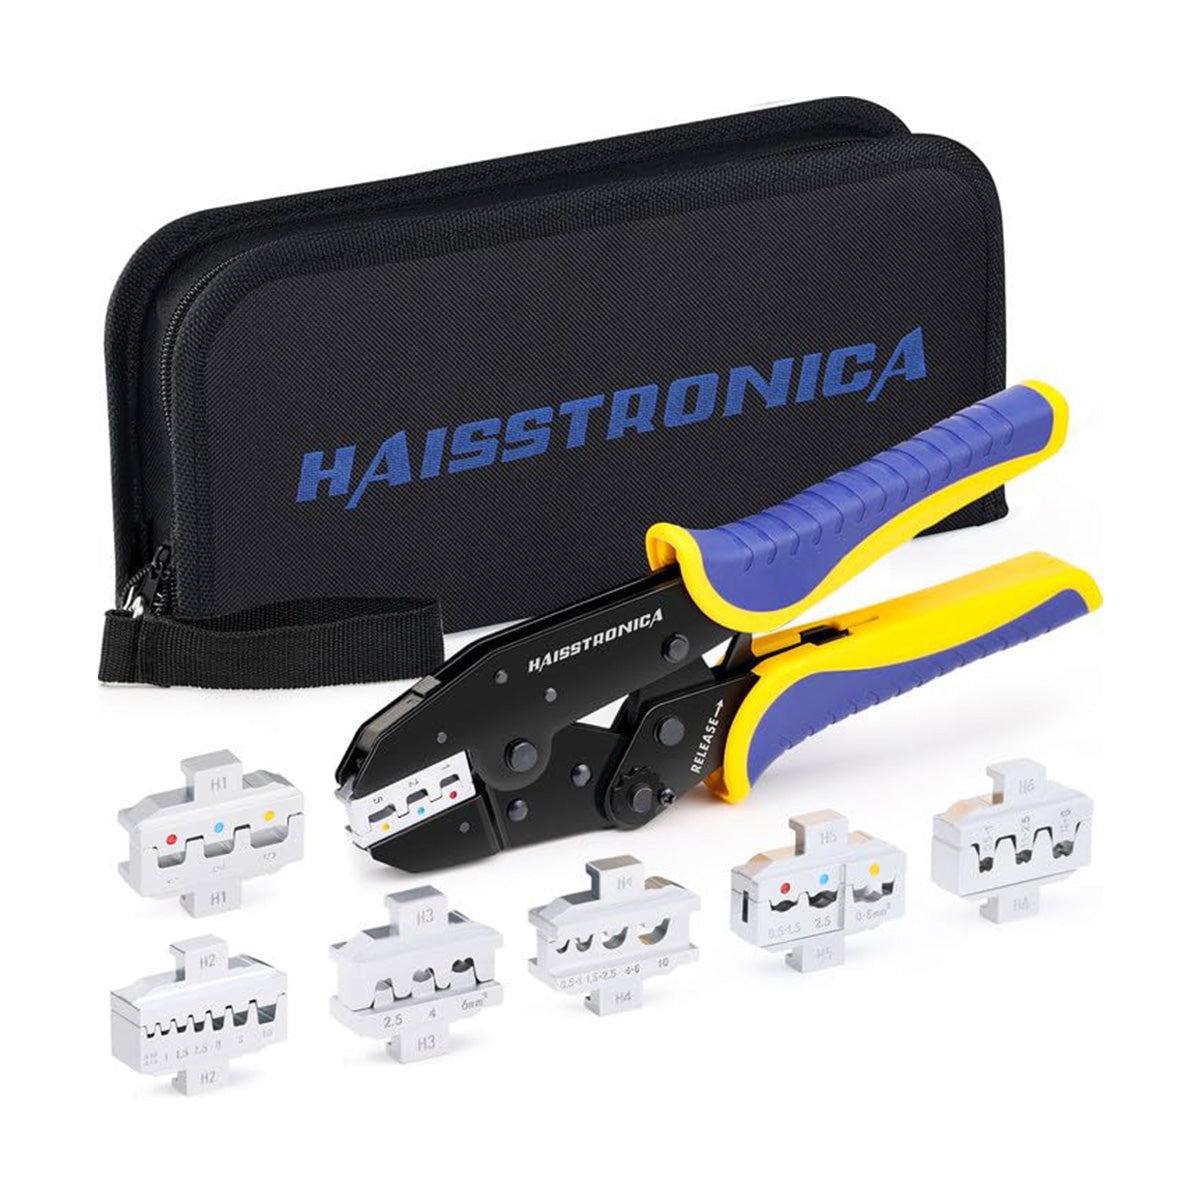
Compare all Tool Kits With Connectors
Step 1: Match the wire, connector, and die
Read the wire gauge first. Then choose a connector whose barrel range includes that AWG and a crimping die designed for that connector type. Matching only the connector color is not enough—always verify the printed gauge range.
| Terminal | Best for | Check before crimping |
|---|---|---|
| Ring terminals | Studs and screw terminals | AWG range and stud size |
| Spade terminals | Quick service connections | AWG range and fork width |
| Butt connectors | Joining two wires | Same gauge at both ends |
Tool for this step: If you work across several terminal families, use the 6-in-1 ratcheting crimper so the die—not guesswork—matches the connector.
Step 2: Strip the wire and seat it fully
- Strip only the length required by the terminal barrel—typically about 1/8 to 1/4 inch.
- Keep every conductor strand intact. Nicked or missing strands reduce current capacity.
- Insert the wire until the conductor reaches the end of the metal barrel.
- Confirm that no loose strands or excess bare copper remain outside the barrel.
Tool for this step: A self-adjusting wire stripper helps control strip length while reducing strand damage.

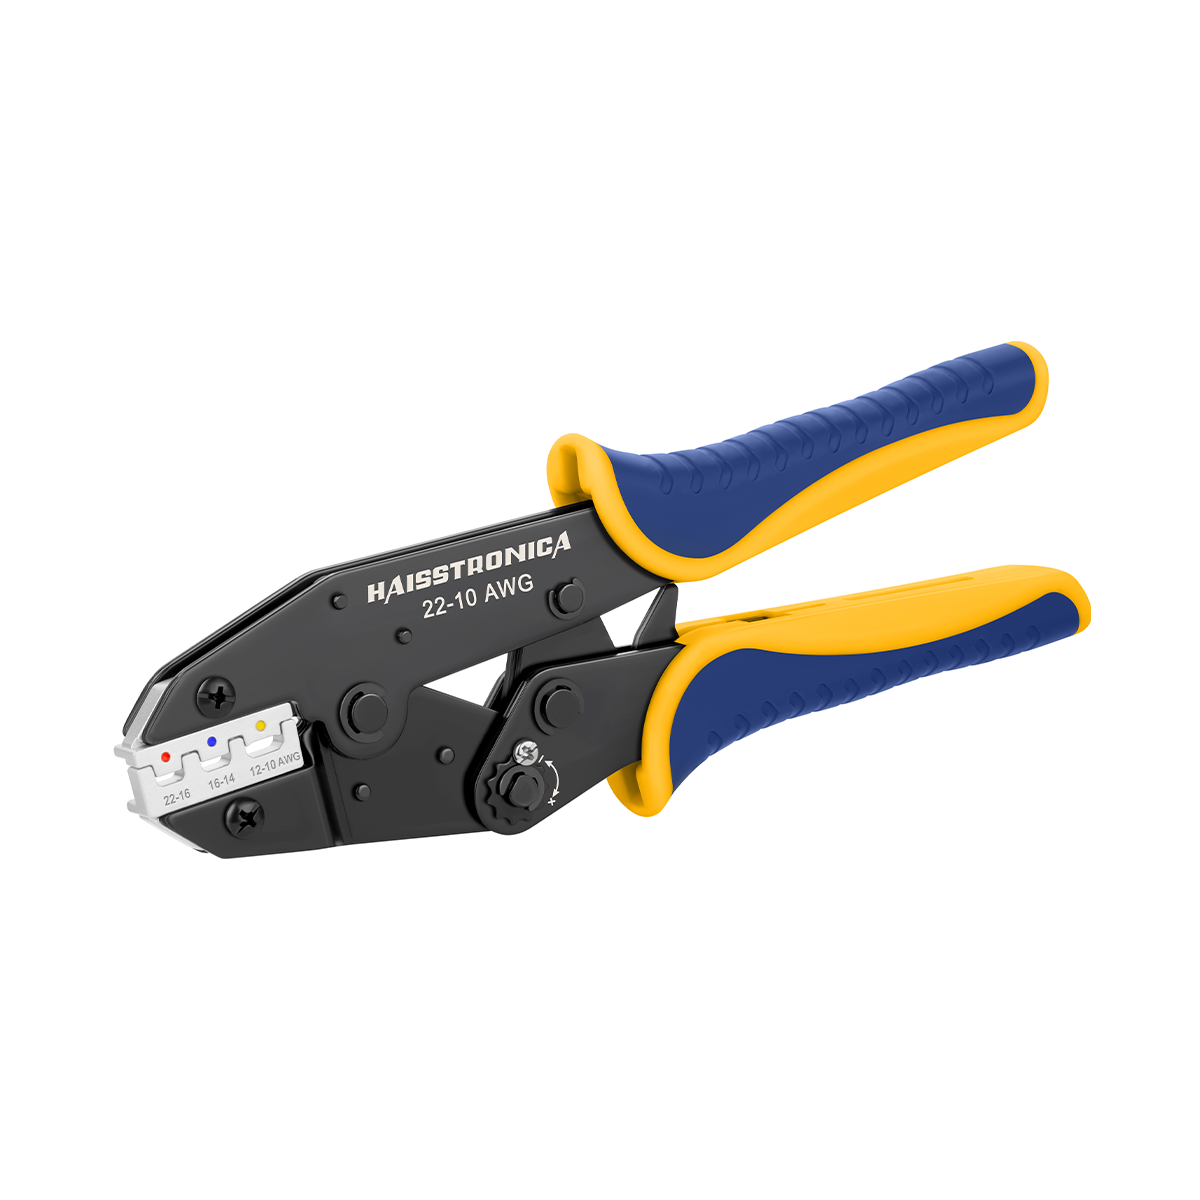
Step 3: Complete the full ratchet cycle
- Place the terminal in the correct die cavity.
- Position the metal barrel—not the insulation—in the conductor-crimp area.
- Squeeze steadily until the ratchet releases automatically.
- Do not stop halfway or add a second random squeeze; both can create an uneven crimp.
Tool for this step: The AWG 22–10 ratcheting crimper is built to finish the pressure cycle before release.
Step 4: Inspect and pull-test every crimp
The barrel is evenly compressed, insulation is not crushed, and no conductor strands are exposed.
Hold the terminal and pull the wire firmly. It should not move, rotate, or slip out.
If the wire moves, cut off the terminal and start again with a new one. A failed crimp should never be “fixed” with pliers.
Step 5: Seal the connection when the environment requires it
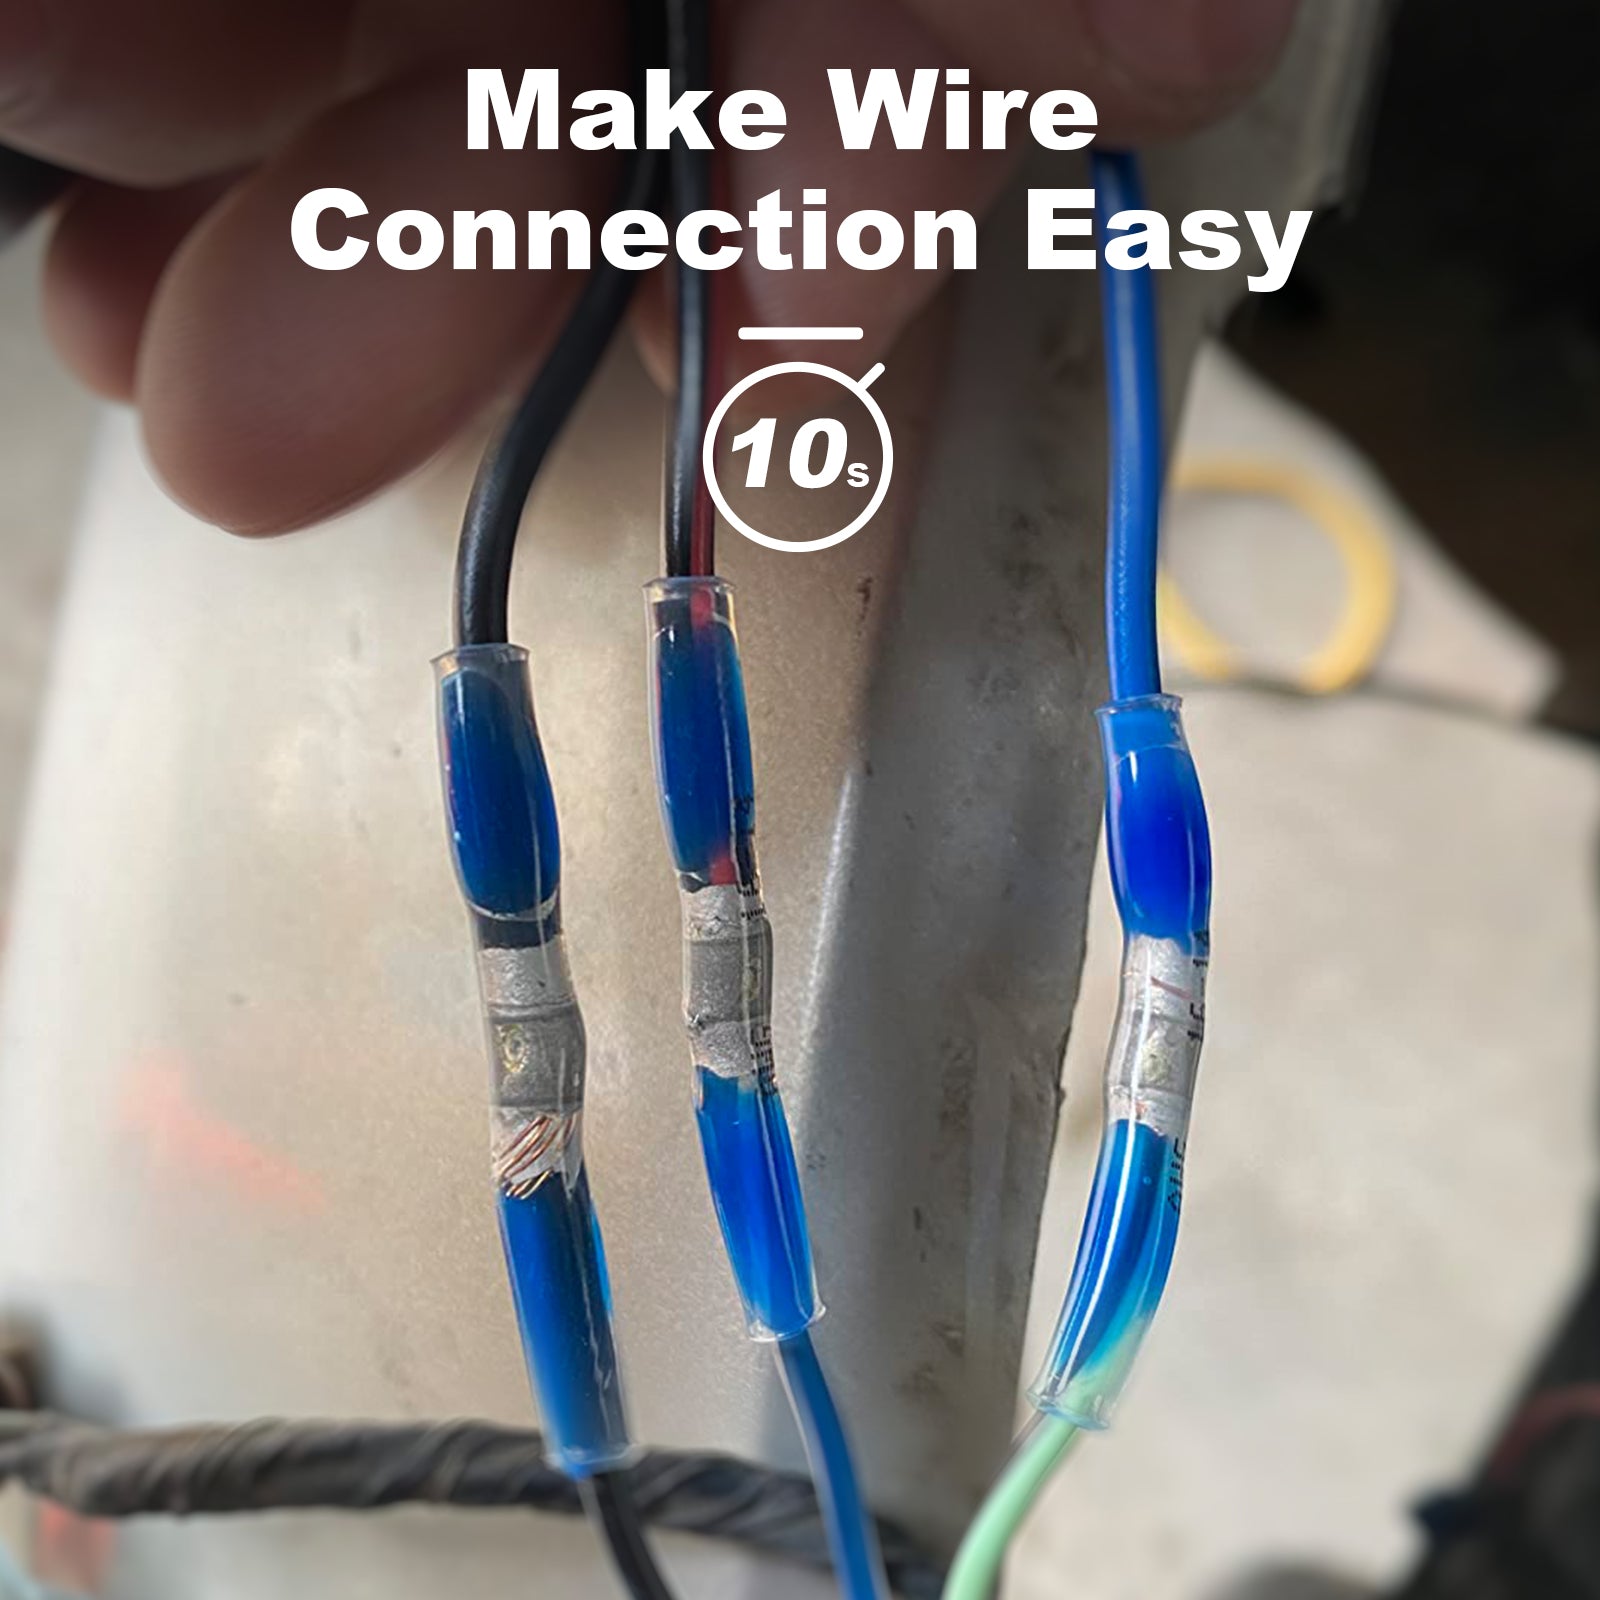
For automotive, marine, outdoor, or high-moisture work, cover the completed crimp with adhesive-lined heat shrink. Heat evenly from the center outward until the tubing conforms and adhesive appears at the edges.
Products for this step: Choose heat shrink tubing that fits the terminal, then shrink it evenly with the Mini Heat Gun.
Common mistakes—and the tool that fixes each one
Loose fit or strands that will not enter the barrel.
Reduced conductor area and weaker pull strength.
A loose barrel or damaged insulation.
Uneven pressure and an unreliable electrical joint.
Corrosion and rising resistance over time.
Quick FAQ
Can I reuse a crimped terminal?
No. Crimping permanently deforms the metal barrel. Cut it off and use a new terminal.
Can I crimp with regular pliers?
No. Pliers do not control die shape or compression pressure, so the result may look tight while remaining electrically weak.
Do all crimps need heat shrink?
No. Add it when the connection needs abrasion, strain, moisture, or corrosion protection.
Choose by what you already own
Build your crimping setup
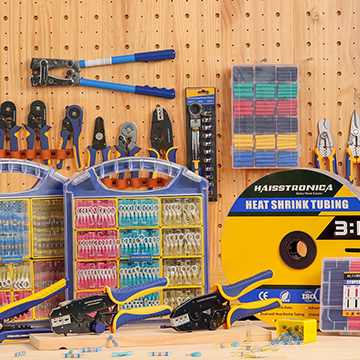
Start complete if this is your first project. If tools are already on your bench, buy only the connectors or ratchet crimper you still need.
First time crimping
Start with the complete Starter Kit
Get a ratcheting crimper and matched connectors together, with fewer compatibility decisions.
Shop the Starter KitAlready have tools
Fill only the gap in your setup
Choose connector kits by AWG, or add the ratchet crimper for repeatable pressure.




















































1 comment
pradeep perelly
Terrific article. I appreciated the structure and the various pcs of information Thanks for sharing this useful information
https://www.couponcode2save.com/
Terrific article. I appreciated the structure and the various pcs of information Thanks for sharing this useful information
https://www.couponcode2save.com/