Rigging a boat’s DC system is not like wiring a garage. Boats live in salt, spray, vibration, and heat—exactly the conditions that punish poor connections. That’s why experienced installers lean on heat-shrink wire connectors terminated with a crimp ratchet tool: they make a gas-tight mechanical joint and then seal it from moisture with adhesive-lined tubing. Below is a practical, standards-aware guide you can use dockside or in the shop.
Why Heat-Shrink Crimp Terminals on Boats (and why a crimp ratchet tool matters)
Marine wiring fights three enemies: vibration, corrosion, and water ingress. A properly executed crimp with heat shrink wiring connectors addresses all three.
Vibration: A quality crimp forms a “cold-weld” between strands and terminal barrel. That metal-to-metal compression resists loosening far better than twisted or taped joints. ABYC E-11 (the marine electrical standard) requires a mechanical connection—solder alone may not be the sole means—precisely because vibration can fatigue soldered joints and wick stiffness into the conductor near the joint. Using a crimp ratchet tool with controlled, repeatable compression is how you hit that standard every time.
Corrosion: Boats live in a salt fog. The galvanic series tells us dissimilar metals in seawater corrode quickly; any exposed copper will green and crumble. Good electrical connectors with heat shrink use tinned-copper barrels and adhesive lined heat shrink to exclude oxygen and salt. This slows galvanic attack and eliminates capillary wicking into the strands. Choosing heat shrink marine connectors over bare vinyl sleeves isn’t cosmetic—it’s service life.
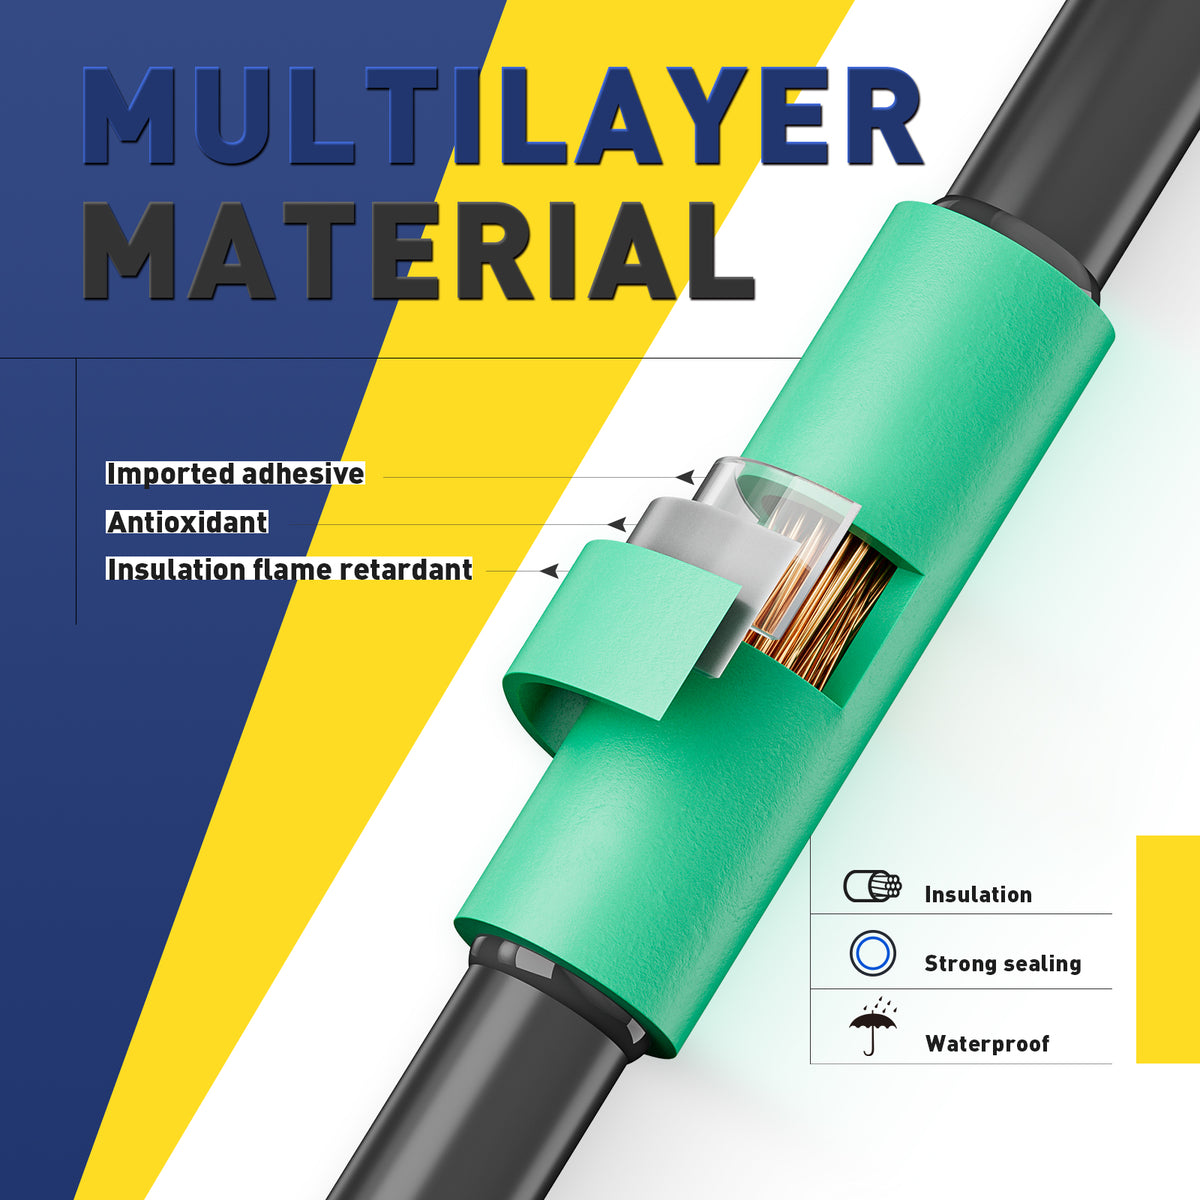
Water ingress: Heat shrink electrical terminals with hot-melt adhesive create a 360° seal on the insulation. Many premium marine shrink crimp connectors are independently tested to UL 486D, the sealed-connector standard for wet locations. Pair those with a calibrated crimp ratchet tool and you get a joint that is both mechanically sound and water-resistant.
Voltage drop: Boats often target 3% drop for critical circuits (navigation lights, electronics) and 10% for general loads. Keeping connections low-resistance with proper crimps helps you stay inside those ABYC design targets.
Quick procedure with a crimp ratchet tool:
-
Strip to the manufacturer’s length; 2) Insert fully so copper is flush with the barrel window; 3) Match the die to terminal size; 4) Cycle the crimp ratchet tool until it releases; 5) Heat the sleeve until adhesive flows and a uniform ring forms.
Ready to build ABYC-friendly joints? Equip your kit with a marine-grade assortment of heat shrink connectors and a dependable crimp ratchet tool.
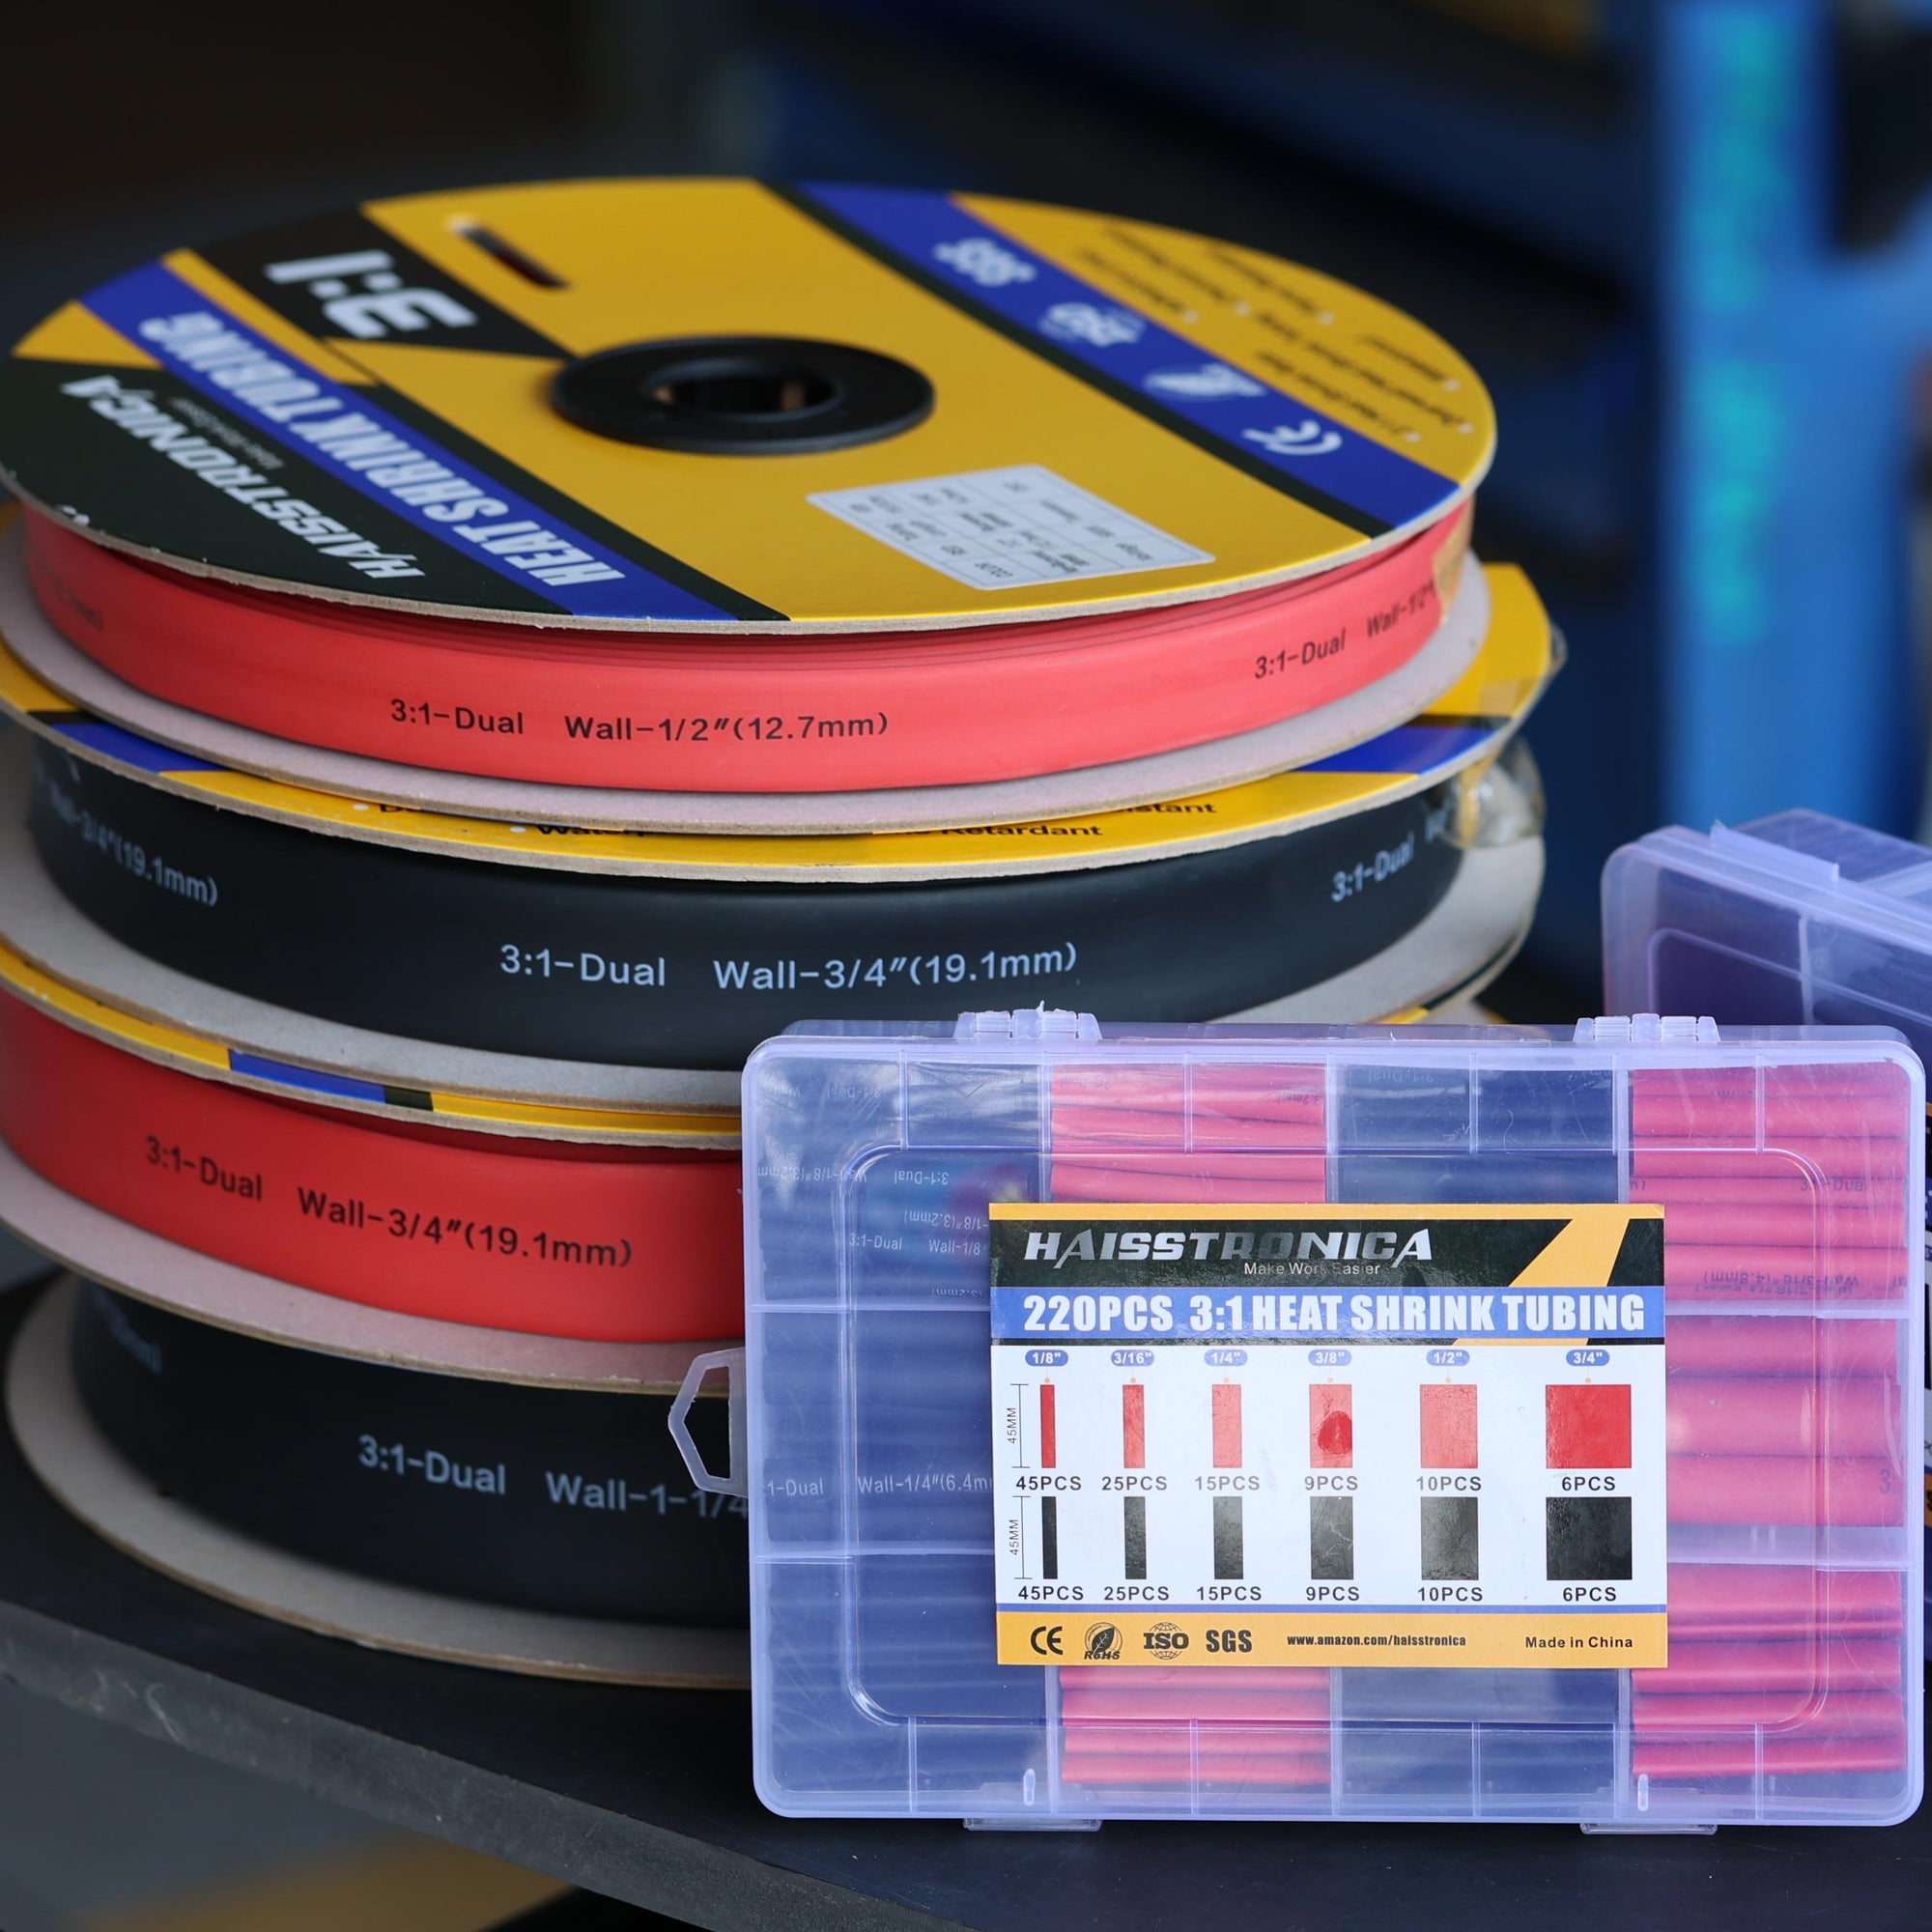
Buy it through pic or link: Heat Shrink Wire Connectors AWG 22-10 780/560PCS Ring/Spade/Bullet Terminals
Wire & Terminal Selection (a crimp ratchet tool sizing guide)
Correct parts matter as much as correct technique. Think system—conductor, terminal, and tooling—so your crimp ratchet tool can do its job.
1) Pick true marine wire.
Use finely stranded, tinned-copper marine cable with oil- and heat-resistant insulation. “House wire” (solid THHN) is a non-starter on boats: it’s not flexible, not tinned, and cracks under vibration. Marine-grade wire and terminals follow ABYC’s guidance for strand count, insulation, and temperature rating.
2) Size for ampacity and voltage drop.
Lay out your run length and current, then pick AWG from a marine sizing chart. Oversize slightly for future loads and warm lockers. ABYC-style sizing tools (e.g., Blue Sea’s Circuit Wizard) make this easy and reinforce the 3%/10% voltage-drop norms.
3) Match the terminal to the job.
-
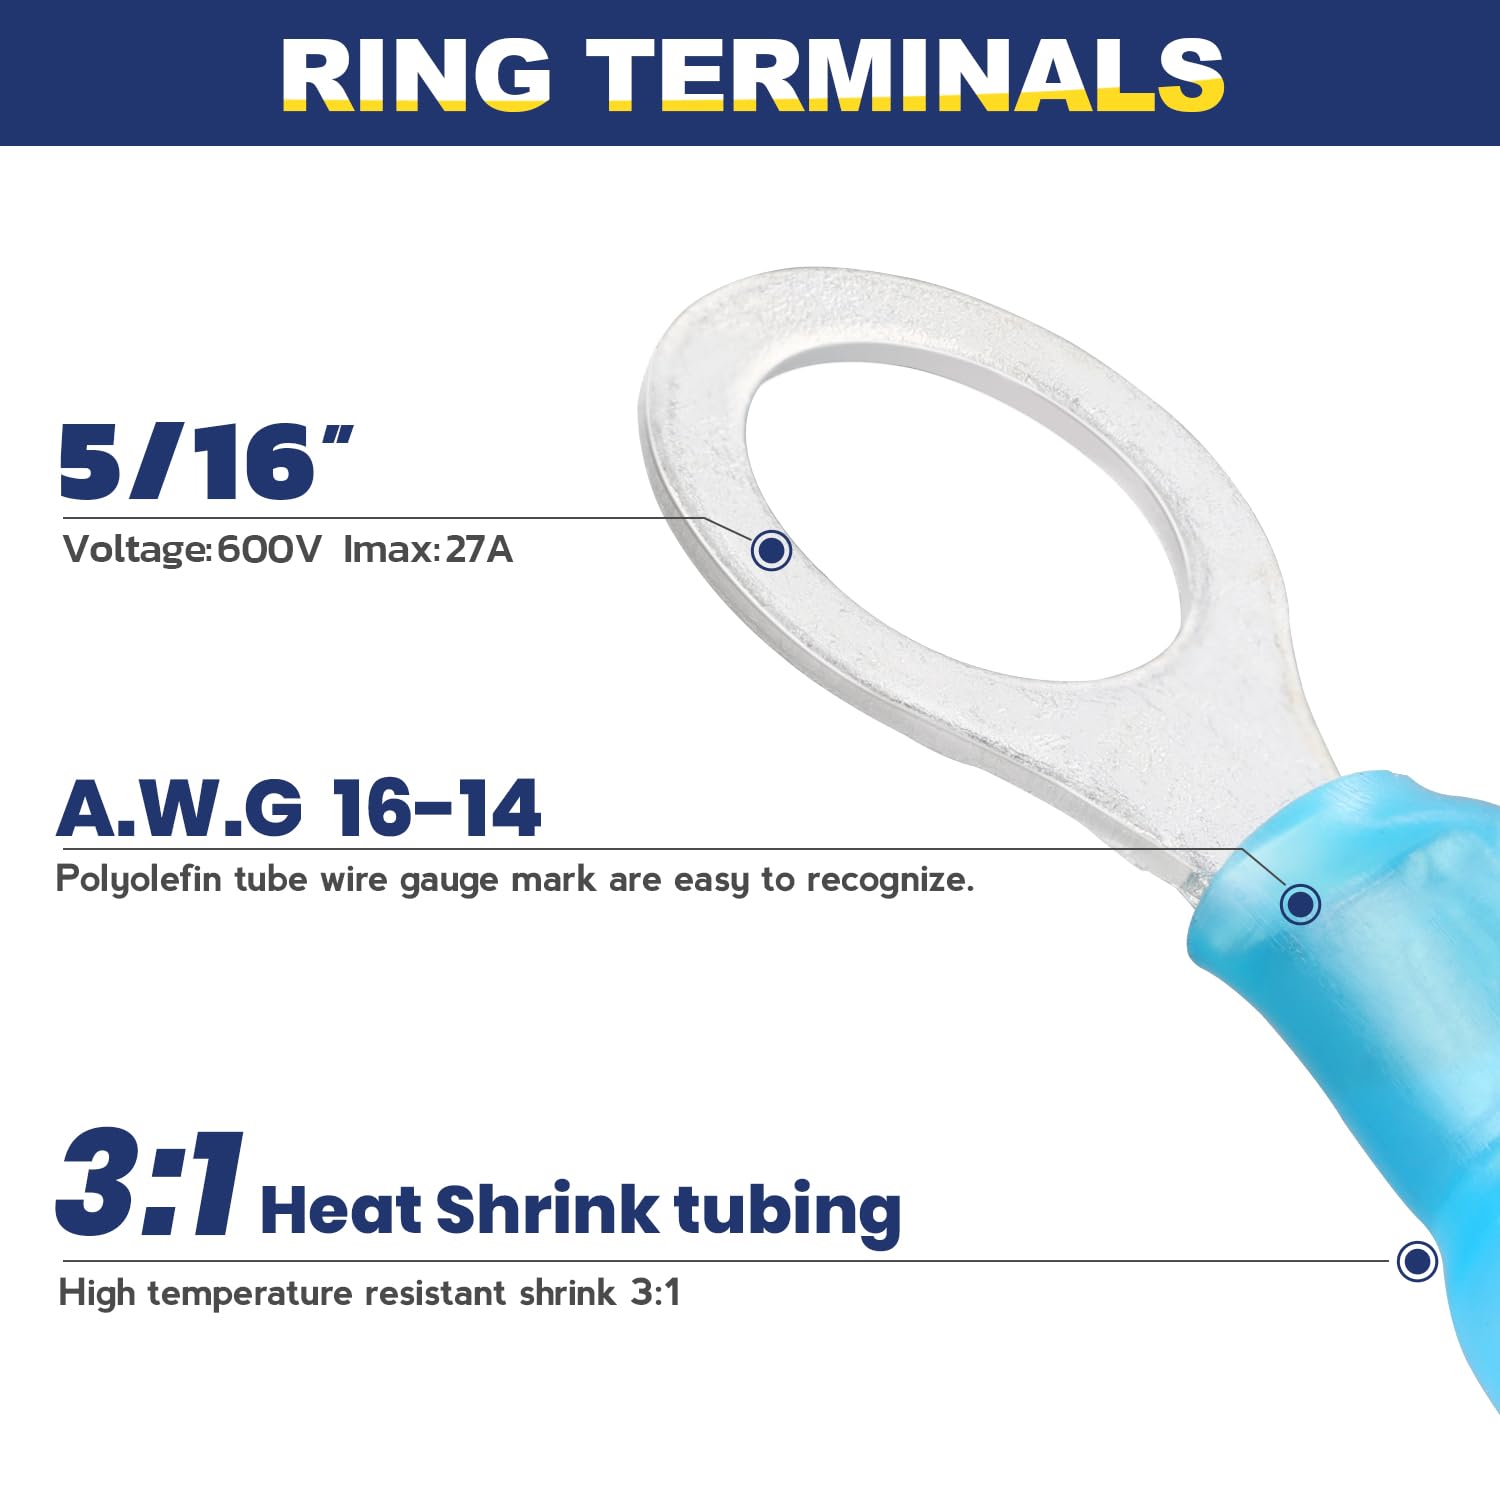
Ring terminals (preferred aboard) won’t fall off a stud from vibration.
-
Spade/quick-disconnects are fine behind panels but avoid in high-vibration or critical paths.
-
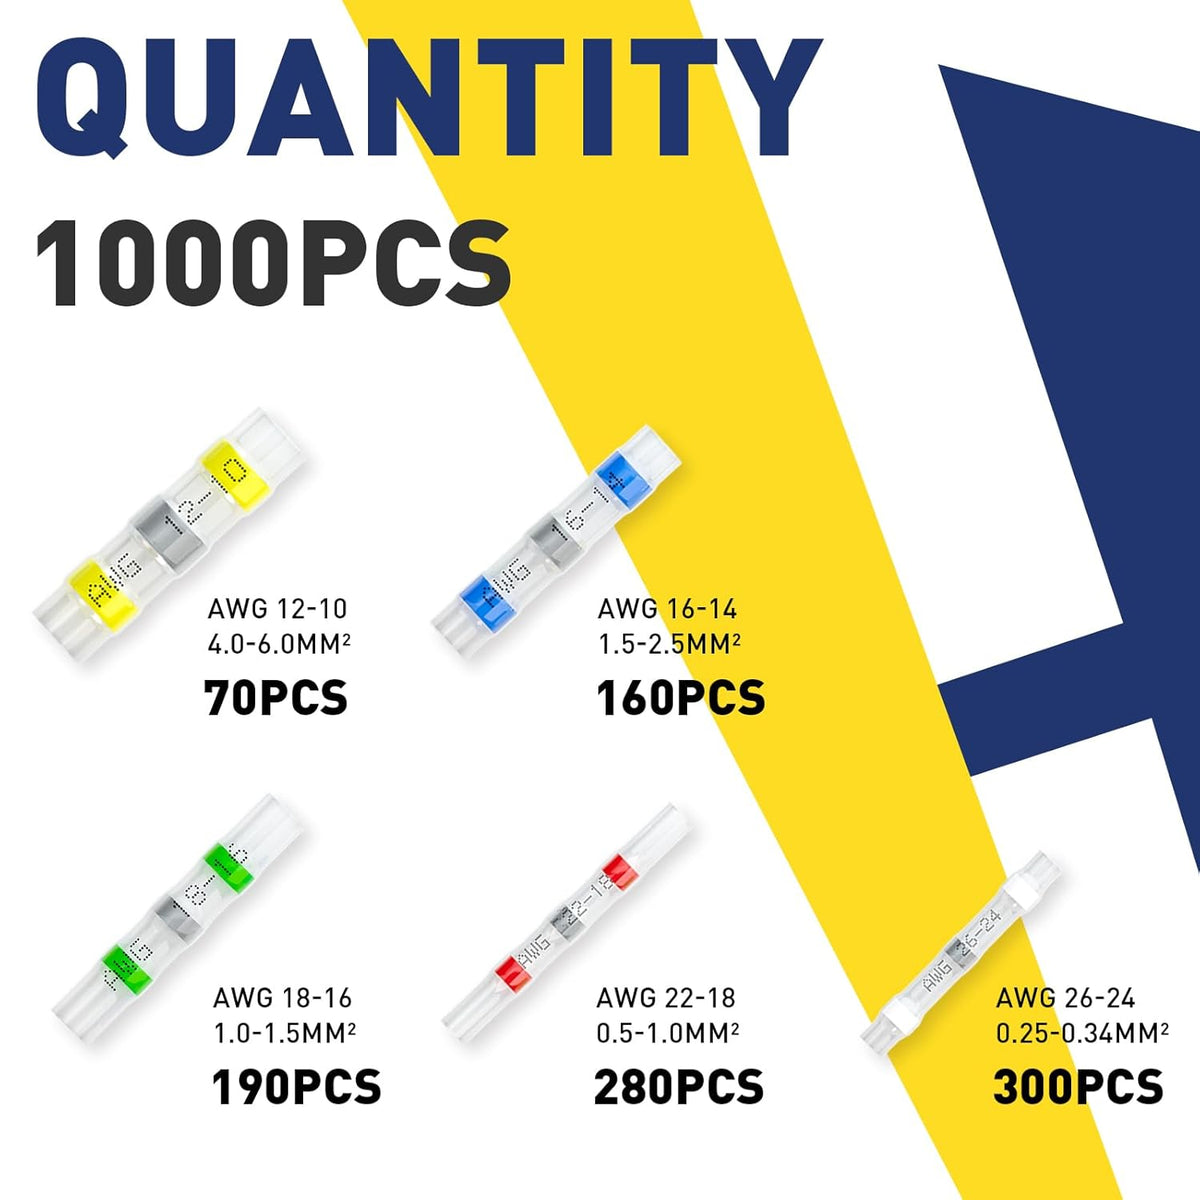
Butt splices join conductors inline; choose heat shrink connectors with adhesive for bilges and lockers.
-
Step-down butt splices help when joining different AWGs.
-
Marine heat shrink wire connectors with tinned barrels cushion and seal the joint. For harsh zones (engine rooms, deck penetrations), look for UL-listed, waterproof heat shrink designs.
4) Color code & die match.
Most heat shrink terminals follow the standard color code (red 22-18 AWG, blue 16-14, yellow 12-10). Your crimp ratchet tool should have indexed dies that match these sizes. If the tool has interchangeable dies, pick the die series specified by the terminal vendor.
5) Plan strain relief and chafe protection.
Support wires within 18 inches of terminations, add drip loops below terminals, and route away from sharp edges. A perfect crimp still fails if the cable is hanging off it.
6) Pull-test and inspect.
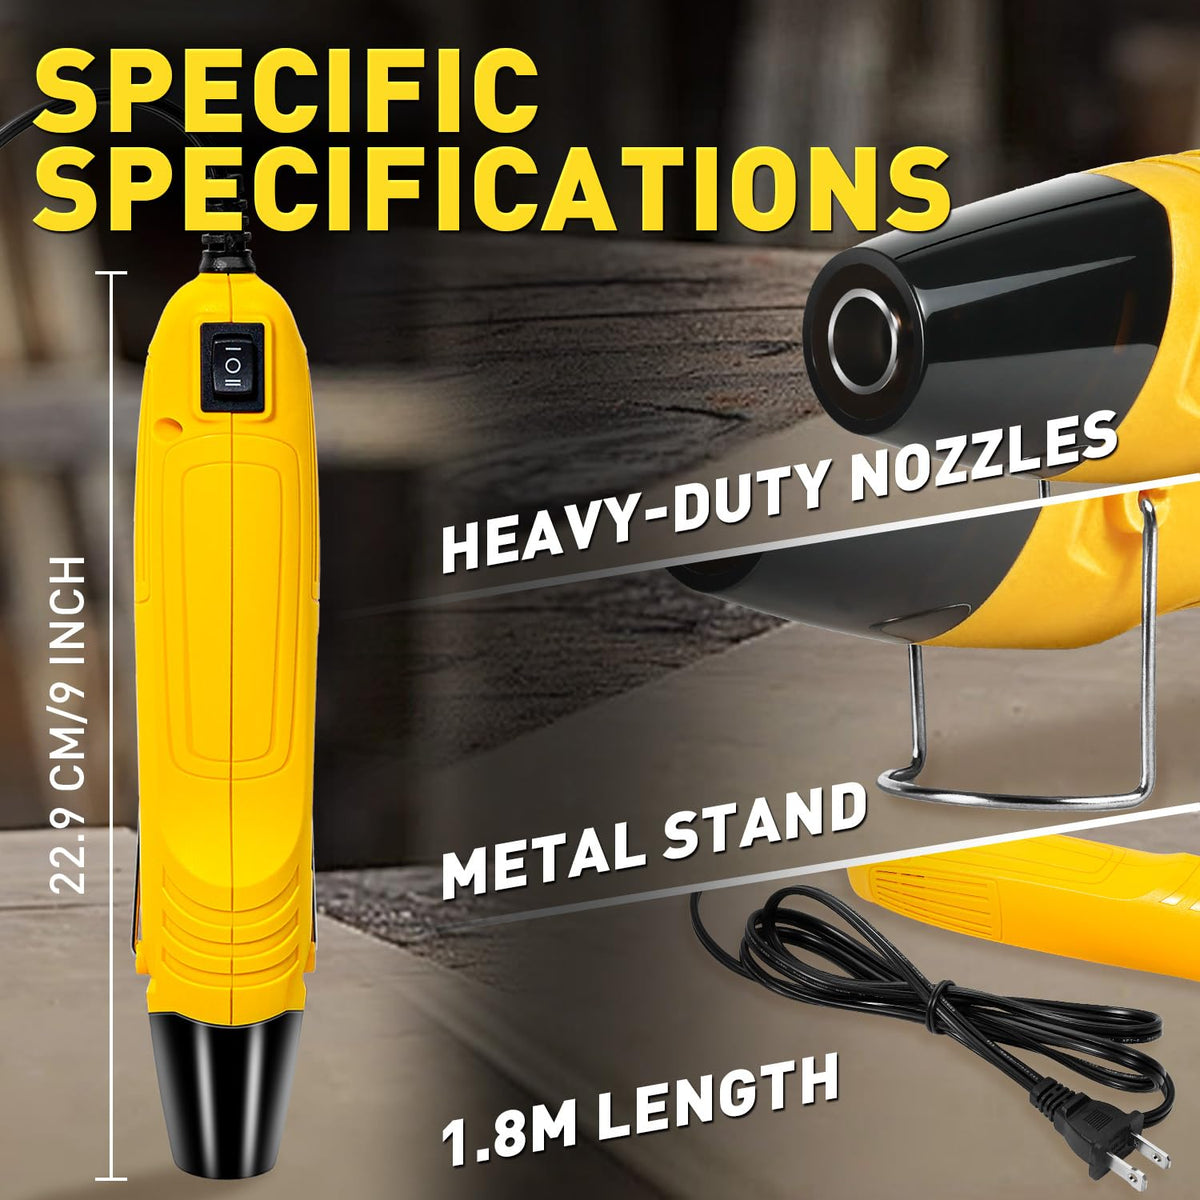
After each crimp, a firm tug verifies a gas-tight bite. Then shrink the sleeve until adhesive wets out. A clear heatshrink connectors sleeve lets you visually confirm the melt ring.
Tooling notes:
A calibrated crimp ratchet tool beats generic pliers because it guarantees full compression before release. For high-volume work, keep a second crimp ratchet tool set up with the other die size to reduce changeovers. If you routinely terminate larger lugs, consider a hex-die lever or hydraulic crimper—but still seal with connector heat shrink where applicable.
Stock quality tinned terminals and put a pro-grade crimp ratchet tool in your hand—your future self (and your bilge) will thank you.
Read more: Cable crimping tool. Everything You Need to Know
Solder vs. Crimp on Boats (the crimp ratchet tool advantage)
This debate is older than fiberglass, but ABYC is clear: solder is not permitted as the sole means of connection in DC boat wiring. The mechanical joint must stand on its own; solder can be supplemental but brings risks on boats: wick-stiffened wire right next to the joint (a fatigue point in vibration) and potential heat damage to insulation during field work.
Why crimps win afloat
-
Mechanical reliability: A good crimp made with a crimp ratchet tool forms a compact, gas-tight connection that resists loosening.
-
Consistent quality: The ratcheting mechanism delivers repeatable force regardless of operator hand strength.
-
Moisture sealing: Heat shrink electrical connector sleeves with adhesive block capillary water ingress—something solder can’t do by itself. (Look for UL 486D sealed-connector claims on the package.)
-
Serviceability: Crimped, color-coded heat shrink wire connectors make onboard troubleshooting faster and cleaner than chasing old soldered splices wrapped in electrical tape. The USCG Boatbuilder’s Handbook also points designers and builders toward recognized standards and best practices that align with ABYC.
When might solder appear?
Inside electronics modules or bench-built harnesses, soldered terminations are common because they’re strain-relieved and potted. But for field wiring on boats—especially in engine spaces and bilges—heat shrinkable wire connectors plus a crimp ratchet tool are the reliable, code-friendly choice.
Stop debating at the dock—crimp, seal, and sail. Upgrade your kit with a marine assortment and a trusted crimp ratchet tool.
Field-Proven Installation Workflow (put the crimp ratchet tool to work)
Below is a consolidated process you can reuse across most low-voltage marine DC terminations that use wire heat shrink connectors:
-
Plan the run for 3% or 10% drop, choose tinned marine cable, and verify fuse/breaker protection per load. (Use ABYC-style sizing aids.)
-
Pre-fit the terminal to confirm the ring size matches the stud and that wire strands fill ~80–100% of the barrel.
-
Strip with a calibrated tool; no nicked strands.
-
Crimp using the die that matches the connector color/AWG. Cycle the crimp ratchet tool fully until it releases.
-
Inspect & pull-test. If it slips, cut back and redo.
-
Heat-seal the sleeve with even motion until adhesive wets out at each end.
-
Support & protect with cable ties and clamps, avoiding hard bends right at the terminal.
-
Document the circuit and label both ends—future you (or the next owner) will be grateful.
Troubleshooting checklist (save time on the hook)
-
Green or powdery copper at the joint: Moisture intrusion. Replace with waterproof heat shrink terminals. Check that you shrank to full adhesive flow the first time.
-
Intermittents over wakes: Poor mechanical bite. Re-terminate with a quality crimp ratchet tool; avoid non-ratcheting plier-style tools.
-
Melted sleeve without adhesive squeeze-out: Under-heated or wrong product (plain heat-shrink tubing over a non-sealed crimp). Use genuine heat shrink connectors kit parts.
-
Mismatched metals near seawater: Beware galvanic couples; prefer tinned copper terminals and stainless fasteners, and keep joints sealed.
Summary: Crimp, Seal, Support—then Forget About It
For marine DC wiring, the formula is simple: tinned, flexible boat cable; heat shrink connectors that meet marine expectations (UL 486D for sealed splices); and a calibrated crimp ratchet tool to deliver repeatable, gas-tight compressions. Back that with proper routing, support, and labeling, and you’ll beat vibration, corrosion, and water—without nightly trips to the bilge. If you remember only three things: use marine-grade materials, crimp with a ratcheting tool, and seal the connection.
Build connections you never have to second-guess. Stock a marine-grade terminal assortment and put a dependable crimp ratchet tool in your hand before your next wiring job.


