


Introduction
Un câble d'éclairage paysager basse tension 14/2 est flexible et facile à manipuler, ce qui simplifie l'installation d'éclairage extérieur. Ce type de câble est conçu pour un enfouissement direct et un dénudage rapide pour les connexions. Le câble d'éclairage paysager basse tension (généralement de 12 à 15 volts) est une solution sûre et facile à installer soi-même pour l'éclairage de jardin et de cour. Une question fréquente chez les débutants est de savoir à quelle profondeur enterrer les câbles d'éclairage paysager basse tension pour une installation sûre et soignée. La réponse courte : environ 15 cm de profondeur dans la plupart des cas. Enterrer le câble d'éclairage paysager à cette profondeur le protège des dommages causés par les outils de jardinage ou les nuisibles et dissimule votre câblage pour un aspect soigné. Dans cet article, nous expliquerons ce qu'est le câblage paysager basse tension , vous montrerons comment l'enfouir correctement, explorerons où l'utiliser, vous guiderons dans le choix du câble adapté (par exemple, calibre 12 ou calibre 14 ) et répondrons aux questions fréquentes. (Pour un aperçu visuel, regardez cette vidéo YouTube sur l'enfouissement des câbles d'éclairage paysager pour des conseils pratiques.)
Définition : Qu'est-ce que le câblage paysager basse tension ?
Le câblage paysager basse tension (également appelé câble d'éclairage paysager ou câble d'éclairage extérieur ) est un fil électrique à deux conducteurs permettant de connecter tous vos éclairages paysagers à un transformateur basse tension. Il fonctionne généralement à 12 volts (tension réduite par rapport à 120 V standard), ce qui réduit considérablement les risques de choc électrique et permet une utilisation en extérieur en toute sécurité. Le fil est généralement disponible en calibres AWG 16/2, 14/2 ou 12/2 (le premier chiffre indique le calibre, le second indique 2 conducteurs). Un calibre inférieur (par exemple, un fil basse tension de calibre 12 ) est plus épais, offre moins de résistance et est donc plus adapté aux longs trajets. L'isolation du câble est résistante aux UV, étanche et homologuée pour un enfouissement direct , ce qui signifie qu'il peut être posé directement dans le sol sans conduit. Le câble d'éclairage paysager basse tension, parfois appelé fil basse tension ou fil électrique basse tension , est spécialement conçu pour résister aux conditions extérieures pendant des années. En bref, ce câble basse tension est l'élément clé de tout système d'éclairage paysager 12 V, acheminant l'électricité du transformateur à chaque luminaire de manière sûre et efficace.
Étapes de l'opération : Installation et enfouissement d'un fil paysager basse tension
L'installation d'un câblage paysager basse tension est simple. Suivez ces étapes pour câbler vos éclairages paysagers et enterrer le câble en toute sécurité :
-
Planifiez l'aménagement : Déterminez l'emplacement de vos éclairages et le cheminement des câbles. Mesurez les longueurs de câbles nécessaires pour chaque passage. Avant de creuser, appelez le 811 pour marquer les réseaux afin d'éviter de toucher les conduites d'eau, de gaz ou d'électricité. Une bonne planification vous permet d'utiliser la bonne longueur de câble basse tension extérieur et d'éviter les dangers.
-
Creuser des tranchées (environ 15 cm de profondeur) : À l'aide d'une pelle plate ou d'un coupe-bordures, creusez une tranchée étroite d'environ 15 cm de profondeur le long du tracé prévu du câble. Cette profondeur correspond à la profondeur d'enfouissement recommandée pour les câbles basse tension par le Code national de l'électricité (pour les câbles de moins de 30 V). Dans les massifs de fleurs ou les zones peu fréquentées, une tranchée moins profonde (par exemple de 5 à 10 cm) peut suffire et fixer le câblage paysager avec des agrafes avant de le recouvrir de paillis. Cependant, il est recommandé d'enfouir le câble d'au moins 15 cm sur les pelouses et les zones à fort trafic afin de protéger le câble basse tension souterrain .
-
Pose du câble basse tension : Introduisez délicatement le câble d'éclairage paysager basse tension dans la tranchée. Déroulez la bobine de fil au fur et à mesure pour éviter les pliures. Laissez un peu de mou (quelques centimètres supplémentaires) à chaque emplacement d'appareil et dans les angles : cela facilite le raccordement des appareils et offre une certaine souplesse en cas de déplacement du sol. Assurez-vous d'utiliser un câble basse tension pour enfouissement direct (avec une gaine isolante robuste) afin de pouvoir le poser directement dans le sol ou sous du gravier. Si vous faites passer le câble dans un aménagement paysager (sous un trottoir ou une allée), faites-le passer dans un conduit en PVC pour protéger ces sections. En sol normal, un conduit n'est pas nécessaire pour le câblage paysager basse tension , à condition que le câble soit homologué pour un enfouissement direct et suffisamment profond.
-
Raccordement des luminaires (épissures étanches) : Connectez maintenant vos luminaires au câble d'éclairage principal. La plupart des luminaires d'éclairage paysager comportent deux fils conducteurs à raccorder à la ligne d'alimentation principale (un à chaque conducteur du câble). Utilisez des connecteurs étanches pour les relier ; par exemple, des écrous de connexion remplis de silicone ou des connecteurs de fil d'éclairage paysager remplis de gel sont parfaits pour prévenir la corrosion. Si votre kit d'éclairage comprend des connecteurs à percer qui se fixent au câble, assurez-vous qu'ils contiennent également de la graisse ou du gel pour l'étanchéité. Vous pouvez également utiliser des connecteurs thermorétractables : insérez les fils du luminaire et du câble principal à chaque extrémité, sertissez-les, puis thermorétractez-les pour assurer l'étanchéité. Cela permet une épissure très solide. L'essentiel est que toutes les connexions de fils basse tension soient effectuées avec des connecteurs résistants aux intempéries conçus pour le câblage d'éclairage paysager , afin que les connexions restent sèches et sécurisées au fil du temps.
-
Branchement du transformateur : Placez votre transformateur basse tension (l’alimentation) près d’une prise extérieure avec disjoncteur différentiel (par exemple, sur un mur ou un poteau). Assurez-vous que le transformateur est adapté à la puissance totale de vos luminaires. Dénudez les extrémités du câble d’éclairage paysager principal (environ 1,27 cm d’isolant) et raccordez les deux fils aux bornes du transformateur (généralement étiquetées « Common » et « 12 V » ou similaire), conformément aux instructions du fabricant. Les transformateurs d'éclairage paysager ne nécessitent généralement pas de connecteurs spéciaux ; il suffit généralement de visser les fils nus ou de les brancher. Une fois tous les branchements effectués, branchez le transformateur (de préférence sur une minuterie ou une prise connectée pour un allumage et un extinction automatiques). Vérifiez que tous vos éclairages paysagers s'allument correctement. Si certains sont faibles ou ne s'allument pas, vous devrez peut-être vérifier vos connexions ou vous demander si une chute de tension est un problème (les longs câbles peuvent nécessiter un fil plus épais ou une prise de tension plus élevée).
-
Enterrez et dissimulez le câble : Une fois les tests effectués, remblayer vos tranchées avec la terre retirée. Rentrez le câble au fur et à mesure que vous remettez de la terre, en veillant à ce qu'il soit recouvert d'au moins quelques centimètres par-dessus le fil (idéalement, environ 15 cm de profondeur pour les pelouses). Pour les massifs, vous pouvez simplement enterrer le fil basse tension à quelques centimètres de profondeur ou le dissimuler sous du paillis et des pierres, si nécessaire. Utilisez des agrafes de jardin pour fixer les sections exposées avant de les recouvrir. L'objectif est de dissimuler tous les fils basse tension , non seulement pour l'esthétique, mais aussi pour éviter de trébucher et les protéger du soleil. Enfin, faites un croquis rapide de l'emplacement des fils de votre éclairage extérieur ou prenez des photos pour référence ultérieure (afin de ne pas les déterrer par accident). Félicitations ! Vous avez réussi à câbler vos éclairages extérieurs et à enterrer les câbles en toute sécurité !

Scénarios d'application pour les câbles paysagers basse tension
Les câbles d'éclairage paysager basse tension sont utilisés dans divers projets extérieurs. Voici quelques exemples d'applications courantes :
-
Éclairage de jardin et d'allée : L'utilisation la plus courante consiste à connecter des éclairages basse tension le long des allées, des massifs de fleurs et des jardins. Le câble d'éclairage paysager est relié d'un luminaire à l'autre, assurant un éclairage sûr des allées sans nécessiter de câblage haute tension. Grâce à sa basse tension, vous pouvez facilement ajouter des éclairages de jardin ou les déplacer en les raccordant au câble d'éclairage paysager où vous le souhaitez, ce qui le rend très flexible pour des aménagements paysagers créatifs.
-
Éclairage d'accentuation et d'ascendance : Les projecteurs et projecteurs extérieurs utilisés pour mettre en valeur les arbres, les arbustes ou les éléments architecturaux utilisent souvent du câblage basse tension. Vous pouvez installer un câble basse tension extérieur pour des éclairages d'ascendance au pied des arbres ou pour des appliques murales qui éclairent la façade de votre maison. Le câblage peut être dissimulé dans le paillis ou l'herbe, et comme il ne fonctionne qu'en 12 V, il peut être utilisé en toute sécurité dans les zones de plantation et à proximité des structures. Le câblage basse tension convient également aux éclairages de terrasse, d'escalier et d'aménagement paysager (par exemple, intégrés aux murs de soutènement), à condition de pouvoir faire passer le câble par des fissures ou des conduits pour atteindre ces éclairages.
-
Aménagements aquatiques : De nombreux éclairages de bassin, de fontaine ou LED submersibles fonctionnent en basse tension. Vous pouvez utiliser le même câble basse tension pour alimenter des luminaires submersibles (assurez-vous que les luminaires et les connexions sont étanches). Par exemple, vous pouvez faire passer le câble d'éclairage basse tension jusqu'à la station de pompage du bassin ou au pied de la fontaine, puis utiliser des connecteurs étanches pour raccorder les éclairages submersibles. Créez toujours une boucle d'égouttement et respectez les consignes de sécurité lors du mélange d'électricité et d'eau, mais la basse tension réduit considérablement les risques. (Remarque : un câble d'éclairage 12 V n'est pas identique à un câble d'éclairage de piscine, mais il est couramment utilisé pour les petites cascades ou les bassins de jardin.)
-
Audio extérieur ou autres systèmes basse tension : Ce câble ne sert pas uniquement à l'éclairage ; il peut également être réutilisé pour d'autres besoins extérieurs basse tension. Par exemple, certains utilisent du fil d'aménagement paysager pour les enceintes de jardin (il est similaire au fil d'enceinte car il est en cuivre à deux conducteurs). Vous pouvez également l'utiliser pour le câblage de pompes basse tension, de systèmes d'irrigation ou de rubans LED décoratifs dans le jardin. Assurez-vous simplement que le calibre du câble est adapté à la charge. Pour les enceintes extérieures, un fil d'aménagement paysager basse tension de calibre 14 peut transporter les signaux audio sur une distance raisonnable. Disposer d'un seul type de câble basse tension extérieur pour plusieurs applications d'aménagement paysager peut s'avérer pratique pour les projets extérieurs intégrés.
Dans tous ces cas, l'attrait du câblage basse tension réside dans sa sécurité et sa simplicité. L'installation ne nécessite pas d'électricien et ne nécessite ni conduits encombrants ni tranchées profondes. Les câbles restent en grande partie dissimulés sous terre (comptez environ 15 cm d'enfouissement) et peuvent être étendus au gré de l'évolution de votre paysage.
Guide de sélection : comment choisir le bon fil pour votre jardin
Choisir le bon câble d'aménagement paysager basse tension pour votre projet est crucial pour sa performance et sa longévité. Voici les facteurs clés à prendre en compte dans ce guide d'achat :
-
Calibre du câble (épaisseur) : Le calibre du fil (mesuré en AWG) détermine l'intensité du courant qu'il peut transporter et la chute de tension sur la distance. Les câbles d'éclairage paysager les plus courants sont 16/2, 14/2, 12/2 et parfois 10/2 pour les très grandes longueurs. Un AWG plus petit correspond à un fil plus épais. Les fils plus épais (comme 12 AWG ou 10 AWG) peuvent fournir de l'électricité sur de longues distances avec une chute de tension minimale, tandis que les fils plus fins (16 AWG) conviennent aux longueurs plus courtes ou aux installations de faible puissance. Pour la plupart des éclairages paysagers domestiques, un fil basse tension 14/2 convient jusqu'à une distance moyenne, mais si vous prévoyez un circuit très long ou plusieurs luminaires (puissance totale élevée), optez pour un fil basse tension 12/2 par sécurité. Il est souvent recommandé d'utiliser du calibre 12 AWG si votre longueur dépasse environ 30 mètres ou si votre charge totale est proche de la limite supérieure de votre transformateur, afin d'éviter que les lumières les plus éloignées ne s'éteignent. N'oubliez pas que vous pouvez combiner les calibres sur différentes longueurs d'un même transformateur si nécessaire (par exemple, utilisez un fil plus épais pour un long éclairage d'allée et un fil plus fin pour une boucle de jardin plus courte). En cas de doute, consultez un tableau des tailles de fils pour l'éclairage paysager ou un calculateur de chute de tension pour vous guider dans votre choix.
-
Longueur et taille du rouleau : Déterminez la longueur de câble d’éclairage extérieur dont vous avez besoin. Il est préférable d’acheter une seule bobine continue couvrant l’ensemble de votre projet (avec un peu de surplus) pour éviter les épissures inutiles. Le fil d’éclairage paysager est généralement vendu en rouleaux de 15, 30, 60, 76, 80 ou même 152,4 m. Par exemple, le fil d’éclairage paysager basse tension 14/2 de Haisstronica est disponible en rouleaux de 60, 76 et 152,4 m pour s’adapter à différentes tailles de projet. Si vous avez un grand jardin ou plusieurs zones d’éclairage, la bobine de 152,4 m peut être économique. Privilégiez toujours une longueur supplémentaire : mieux vaut avoir 6 m de plus qu’un mètre de moins. Vous pouvez utiliser tout surplus de câble d’éclairage paysager pour de futurs ajouts ou réparations.
-
Qualité de fabrication et caractéristiques : Tous les fils ne se valent pas. Assurez-vous que le fil basse tension que vous choisissez est homologué UL pour une utilisation en extérieur et homologué pour enfouissement direct . Cela signifie qu'il possède une isolation épaisse et durable qui résiste à l'humidité, aux rayons UV et aux températures extrêmes. Privilégiez les conducteurs entièrement en cuivre (cuivre nu ou étamé). Évitez les câbles bon marché en aluminium cuivré (CCA) : ils offrent une résistance supérieure et une durabilité moindre. Un fil d'éclairage paysager de qualité sera flexible (facile à plier dans les coins), mais suffisamment résistant pour ne pas se déchirer lorsqu'il est tiré autour des rochers ou des bordures. Par exemple, le fil d'éclairage paysager basse tension Haisstronica 14/2 est composé de brins de cuivre pur et d'une gaine en PVC résistant aux UV, conçue pour durer en extérieur. Une isolation de haute qualité empêche également les entailles et les coupures lors de l'installation, qui pourraient entraîner des courts-circuits. Si vous prévoyez de faire passer le fil dans un conduit ou sur des bords durs, envisagez un câble avec une gaine extra-résistante ou faites-le passer dans une gaine de protection pour ces sections.
-
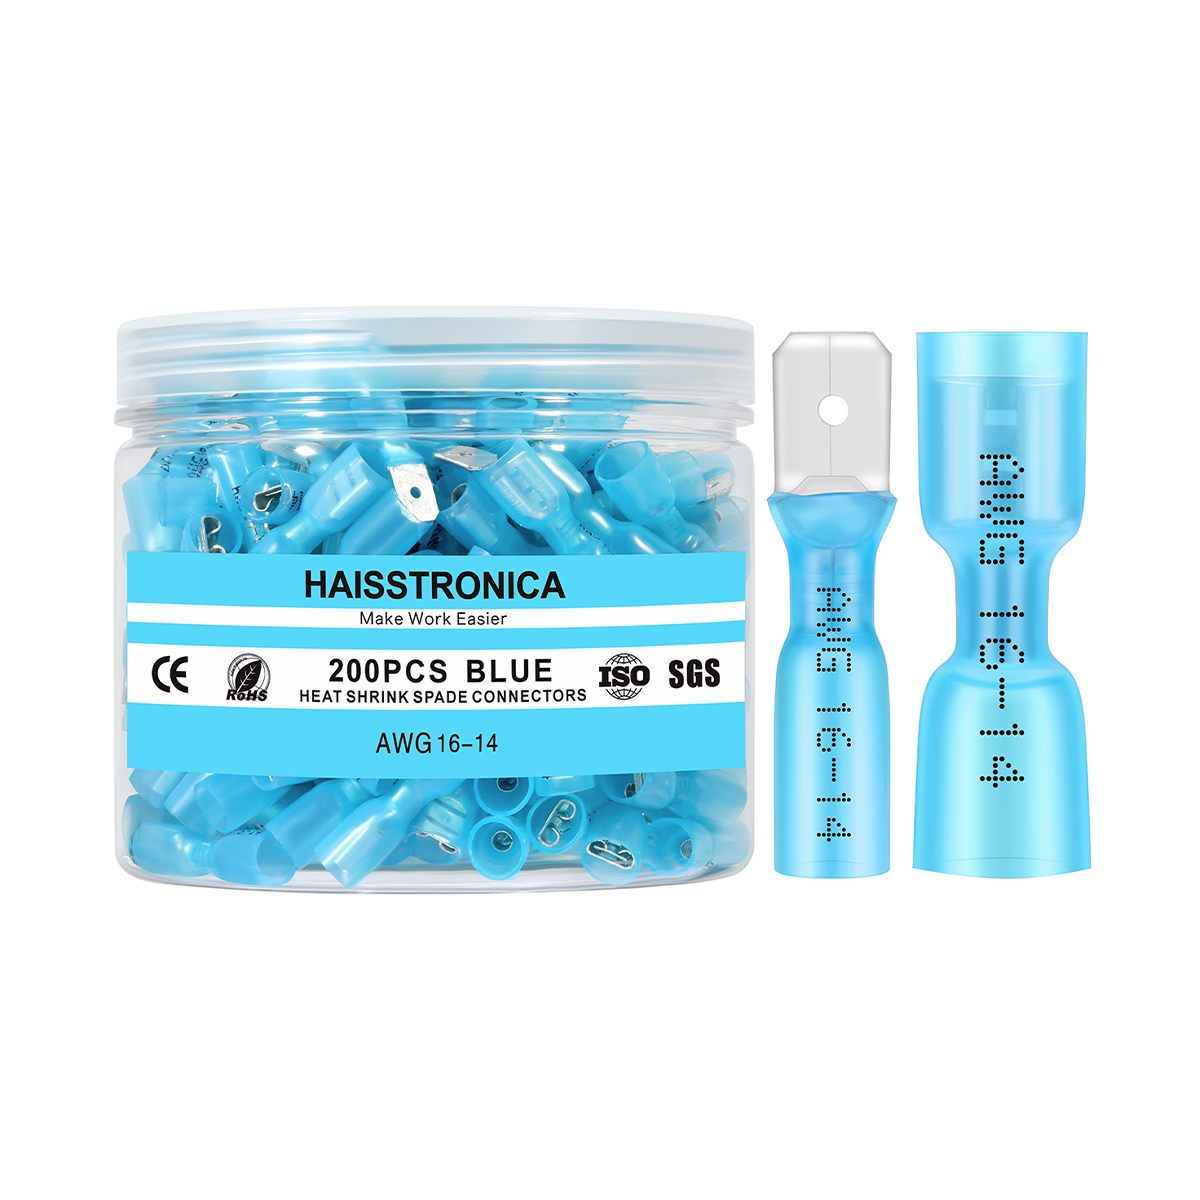
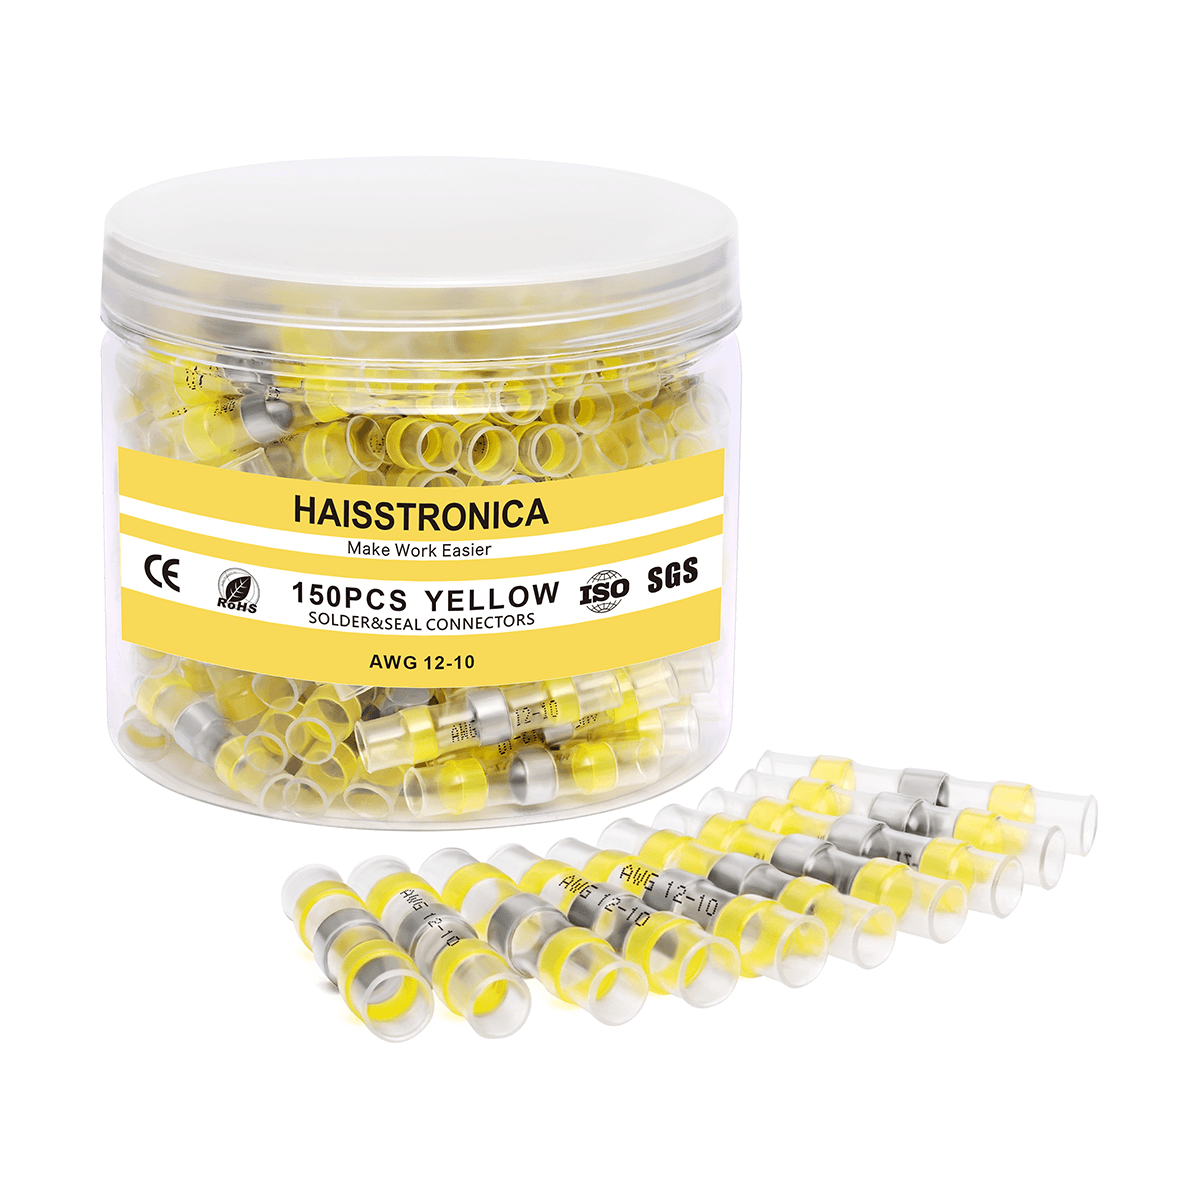
Connecteurs et accessoires : Lors de l'achat de votre câblage paysager , prévoyez également des connecteurs et des outils d'installation adaptés. Les connecteurs de câbles paysagers (étanches) sont indispensables : vous pouvez choisir des connecteurs vissables remplis de gel, des connecteurs à sertir thermorétractables ou des connecteurs rapides, selon vos préférences. Assurez-vous qu'ils correspondent au calibre du fil utilisé (les connecteurs sont généralement homologués pour une plage de calibres, par exemple 12-14-16 AWG). Si vous achetez un kit d'éclairage, il peut inclure des connecteurs de base, mais investir dans des connecteurs de câbles paysagers étanches de meilleure qualité peut améliorer la fiabilité. De plus, vous aurez peut-être besoin d'agrafes pour câbles, d'une pince à dénuder adaptée à la taille de votre câble et, éventuellement, d'une bêche à tranchée si vous n'en avez pas. Certains kits de connecteurs d'éclairage paysager de qualité supérieure sont même fournis avec un petit tube de graisse diélectrique ; appliquez-la sur les connexions métalliques exposées pour une protection supplémentaire contre l'humidité.
-
Coût vs Performance : Enfin, équilibrez budget et qualité. Il est tentant d'opter pour un fil plus fin ou moins cher pour économiser, mais les chutes de tension et les problèmes de durabilité peuvent être source de problèmes (lumière faible, entretien fréquent). Il est généralement judicieux de dépenser un peu plus pour un câble de calibre supérieur ou une marque réputée afin de garantir le parfait fonctionnement de votre système d'éclairage paysager basse tension . La différence de prix entre un fil de calibre 14 AWG et un fil de calibre 12 AWG n'est pas énorme, mais le gain de performance peut être significatif pour les systèmes plus importants. Si votre budget est serré et que vous avez un petit jardin, un fil de calibre 16/2 peut convenir, mais dans la plupart des cas, un fil de calibre 14/2 ou 12/2 offre le meilleur compromis entre coût, facilité de manipulation et capacité électrique.
Conseil de pro : Si vous n’êtes pas sûr de la taille ou de la longueur dont vous avez besoin, consultez un expert ou consultez un tableau de calibres de câbles pour l’aménagement paysager . De nombreux fabricants fournissent des indications sur la puissance maximale par longueur de câble pour chaque calibre. Par exemple, une règle générale est de viser une chute de tension inférieure à 1 volt sur votre ligne ; l’utilisation du calibre approprié vous aidera à y parvenir. Choisir le bon câble dès le départ vous évitera d’avoir à recâbler ultérieurement.

FAQ (Foire aux questions)
Q1 : Les câbles d'aménagement paysager basse tension doivent-ils être enterrés et à quelle profondeur ?
R : Oui. Bien que les câbles d'éclairage paysager basse tension ne soient alimentés qu'en 12 V, il est conseillé de les enterrer pour des raisons de sécurité et d'esthétique. La recommandation générale (et l'exigence du code NEC) est d'enfouir les câbles basse tension à au moins 15 cm de profondeur. Cette profondeur protège le câble des dommages accidentels causés par les piétons, les tondeuses à gazon, les coupe-bordures, les pelles ou les animaux domestiques. Elle permet également de préserver l'aspect soigné de votre jardin (aucun fil ne traîne à la surface). Il n'est pas nécessaire d'enterrer les câbles basse tension aussi profondément que les lignes électriques 120 V standard (elles mesurent généralement entre 45 et 60 cm, voire plus), mais une profondeur d'enfouissement de 15 cm est une bonne règle. Dans les sols meubles ou les massifs, vous pouvez l'enfouir un peu moins (et éventuellement le recouvrir de paillis ou de pierres) si 15 cm n'est pas pratique, mais veillez toujours à ce que le câble soit bien dissimulé et sécurisé. Si vous devez faire passer le câble au-dessus du sol sur une courte section (par exemple, sur un aménagement paysager), utilisez une gaine de protection ou dissimulez-le le long d'une structure. En général, il est fortement recommandé d'enterrer le câble d'aménagement paysager pour prévenir tout danger et prolonger sa durée de vie en le protégeant du soleil et des intempéries.
Q2 : Quel calibre de fil dois-je utiliser pour l’éclairage paysager basse tension ?
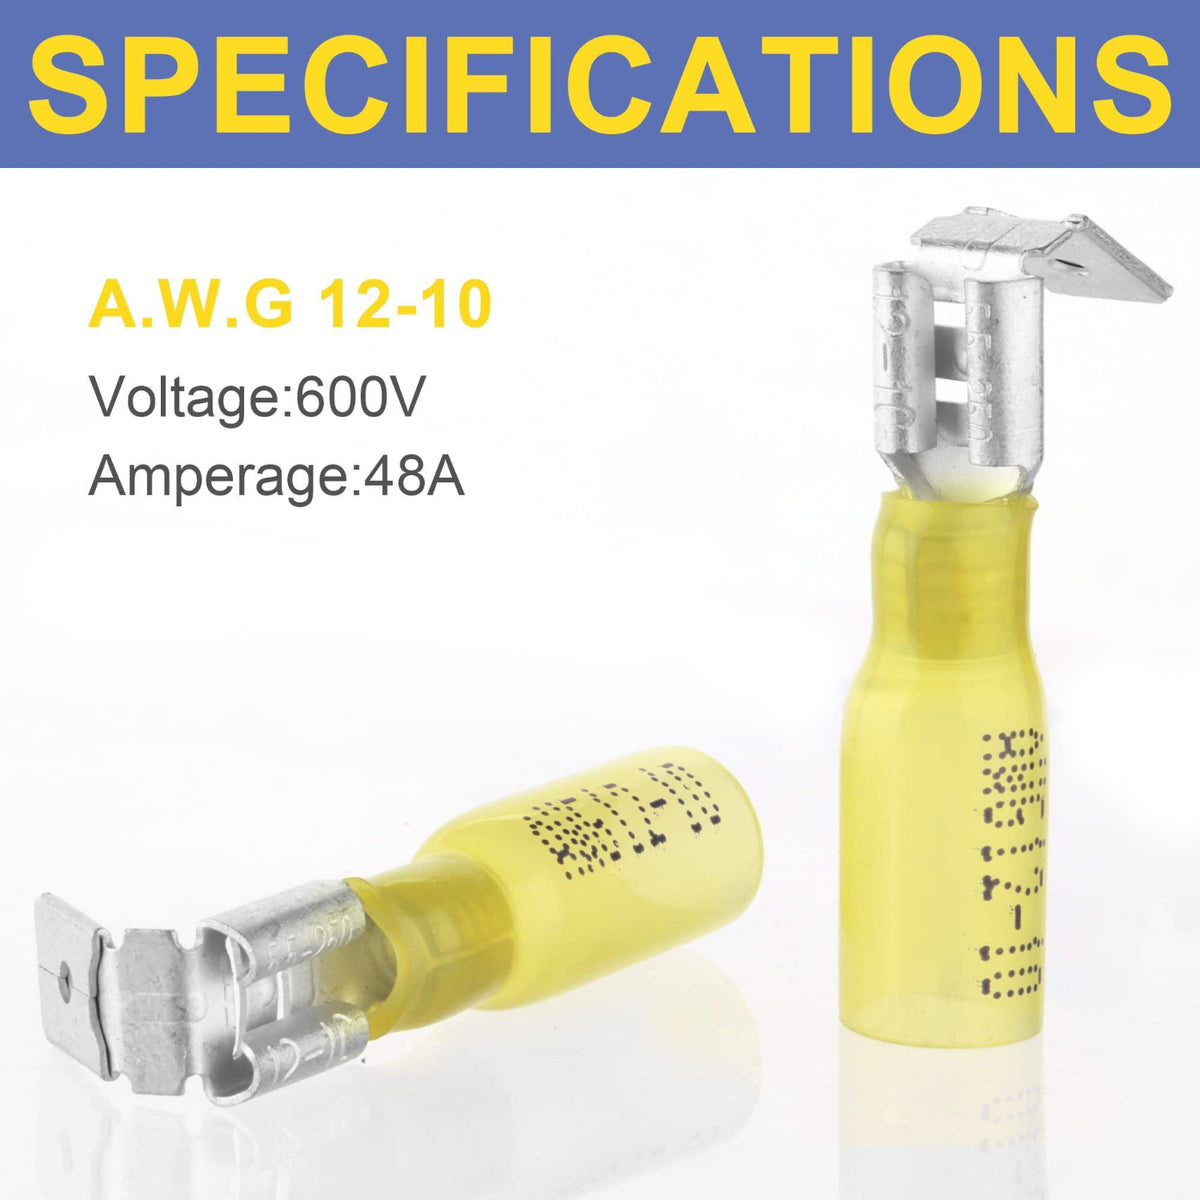
R : Le choix du calibre du fil dépend de la configuration de votre système, principalement de la puissance totale de vos éclairages et de la longueur du câble. Les calibres les plus courants sont 12 AWG et 14 AWG pour l'éclairage paysager. Un fil basse tension 12/2 (calibre 12, 2 conducteurs) est plus épais et peut transporter plus de courant avec une chute de tension moindre, ce qui le rend idéal pour les longs trajets ou les charges plus puissantes. Un fil basse tension 14/2 (calibre 14) est légèrement plus fin et convient aux longueurs moyennes ou aux petites installations. Si votre trajet est très court (disons moins de 15 mètres avec seulement quelques LED), un fil 16/2 peut suffire, mais il est généralement plus sûr de conserver un calibre 14 ou 12 pour la plupart des projets afin de permettre une extension. Utiliser un fil plus épais que nécessaire ne sera pas gênant (sauf une légère augmentation de coût), mais un fil trop fin peut entraîner une faible luminosité à l'extrémité en raison de la chute de tension. À titre indicatif, si votre ligne électrique mesure plus de 30 mètres ou si vous alimentez 200 watts ou plus de luminaires sur une seule ligne, utilisez un câble basse tension de calibre 12 pour éclairage paysager. Pour les lignes de moins de 30 mètres et de puissance inférieure (par exemple, une douzaine de lampadaires LED de 4 W chacun = 48 W), un calibre 14 convient parfaitement. Vous pouvez également combiner les calibres : par exemple, utilisez un câble court de calibre 14 pour un petit jardin et un câble séparé de calibre 12 pour un ensemble de luminaires éloigné, tous alimentés par le même transformateur (chaque ligne étant protégée par son fusible ou son circuit, le cas échéant). Consultez toujours le manuel du transformateur ; beaucoup incluent un tableau ou des recommandations concernant le calibre des fils pour éclairage paysager . En résumé, choisissez un calibre 12 ou 14 AWG pour la plupart des éclairages paysagers : cela garantit que votre câble basse tension peut supporter la charge et la distance avec une chute de tension minimale.
Q3 : Comment connecter ou épisser des fils paysagers basse tension ensemble ?
R : Connecter des fils basse tension est simple, mais il est essentiel d'utiliser les bons connecteurs pour garantir une épissure fiable et étanche. Voici quelques méthodes :
-
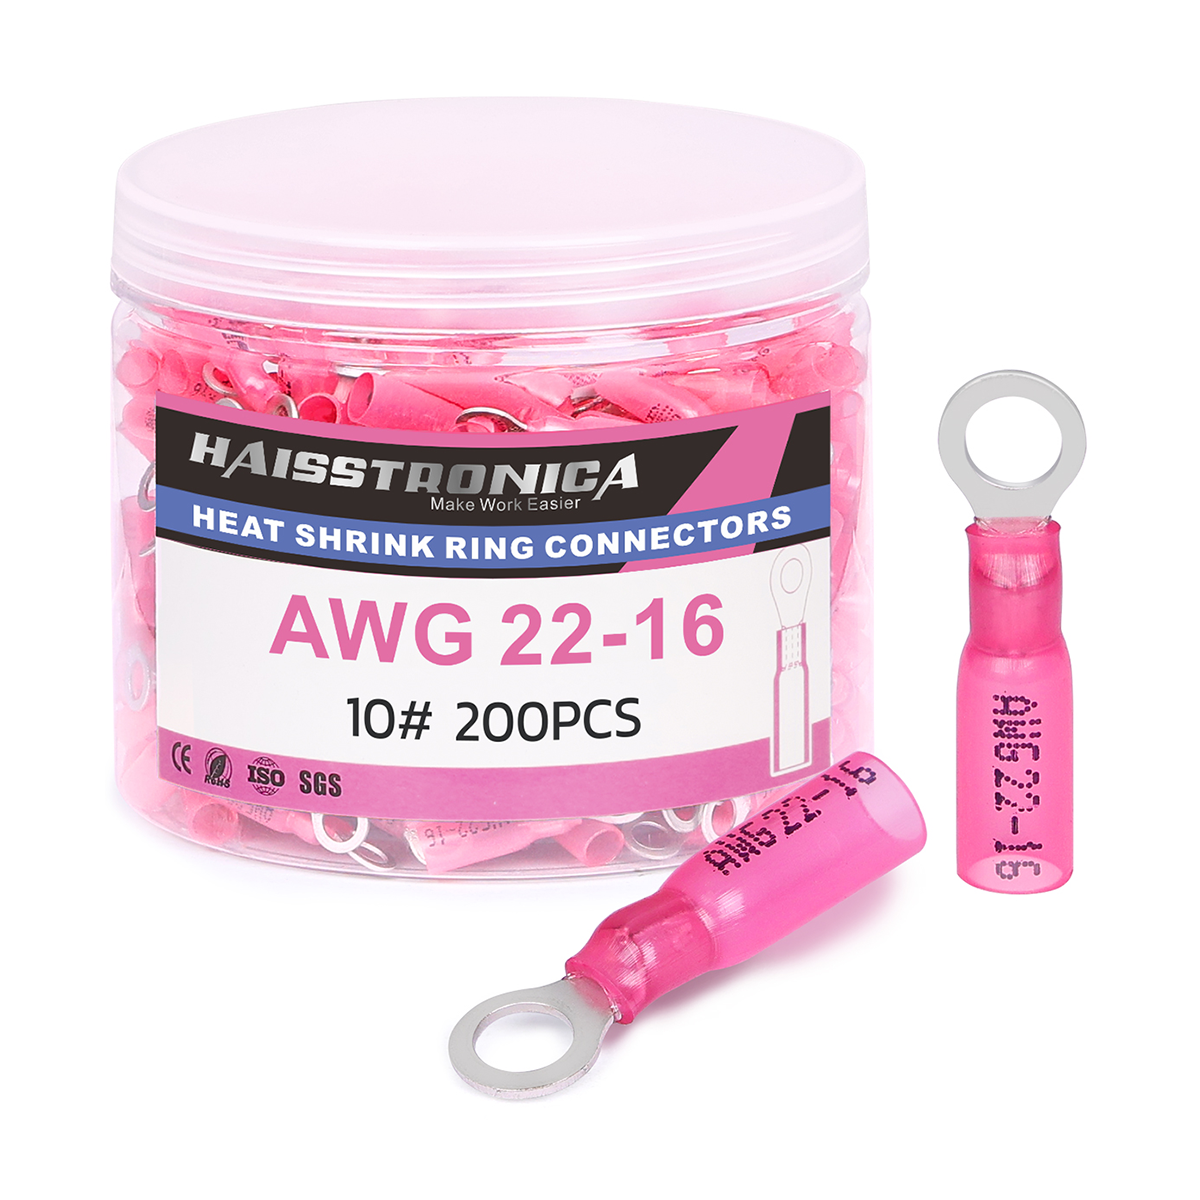
Connecteurs étanches à visser : Ils ressemblent à des serre-fils classiques, mais sont remplis de silicone ou de gel. Pour les utiliser, dénudez environ 1,25 cm de chaque extrémité de fil, maintenez les fils ensemble (un du câble d'alimentation, un du luminaire et la deuxième paire de l'autre côté) et vissez le connecteur. Le connecteur rempli de silicone le protège de l'humidité. Très populaires pour les éclairages paysagers, ils sont souvent de couleur bleue, orange ou grise pour une utilisation basse tension.
-
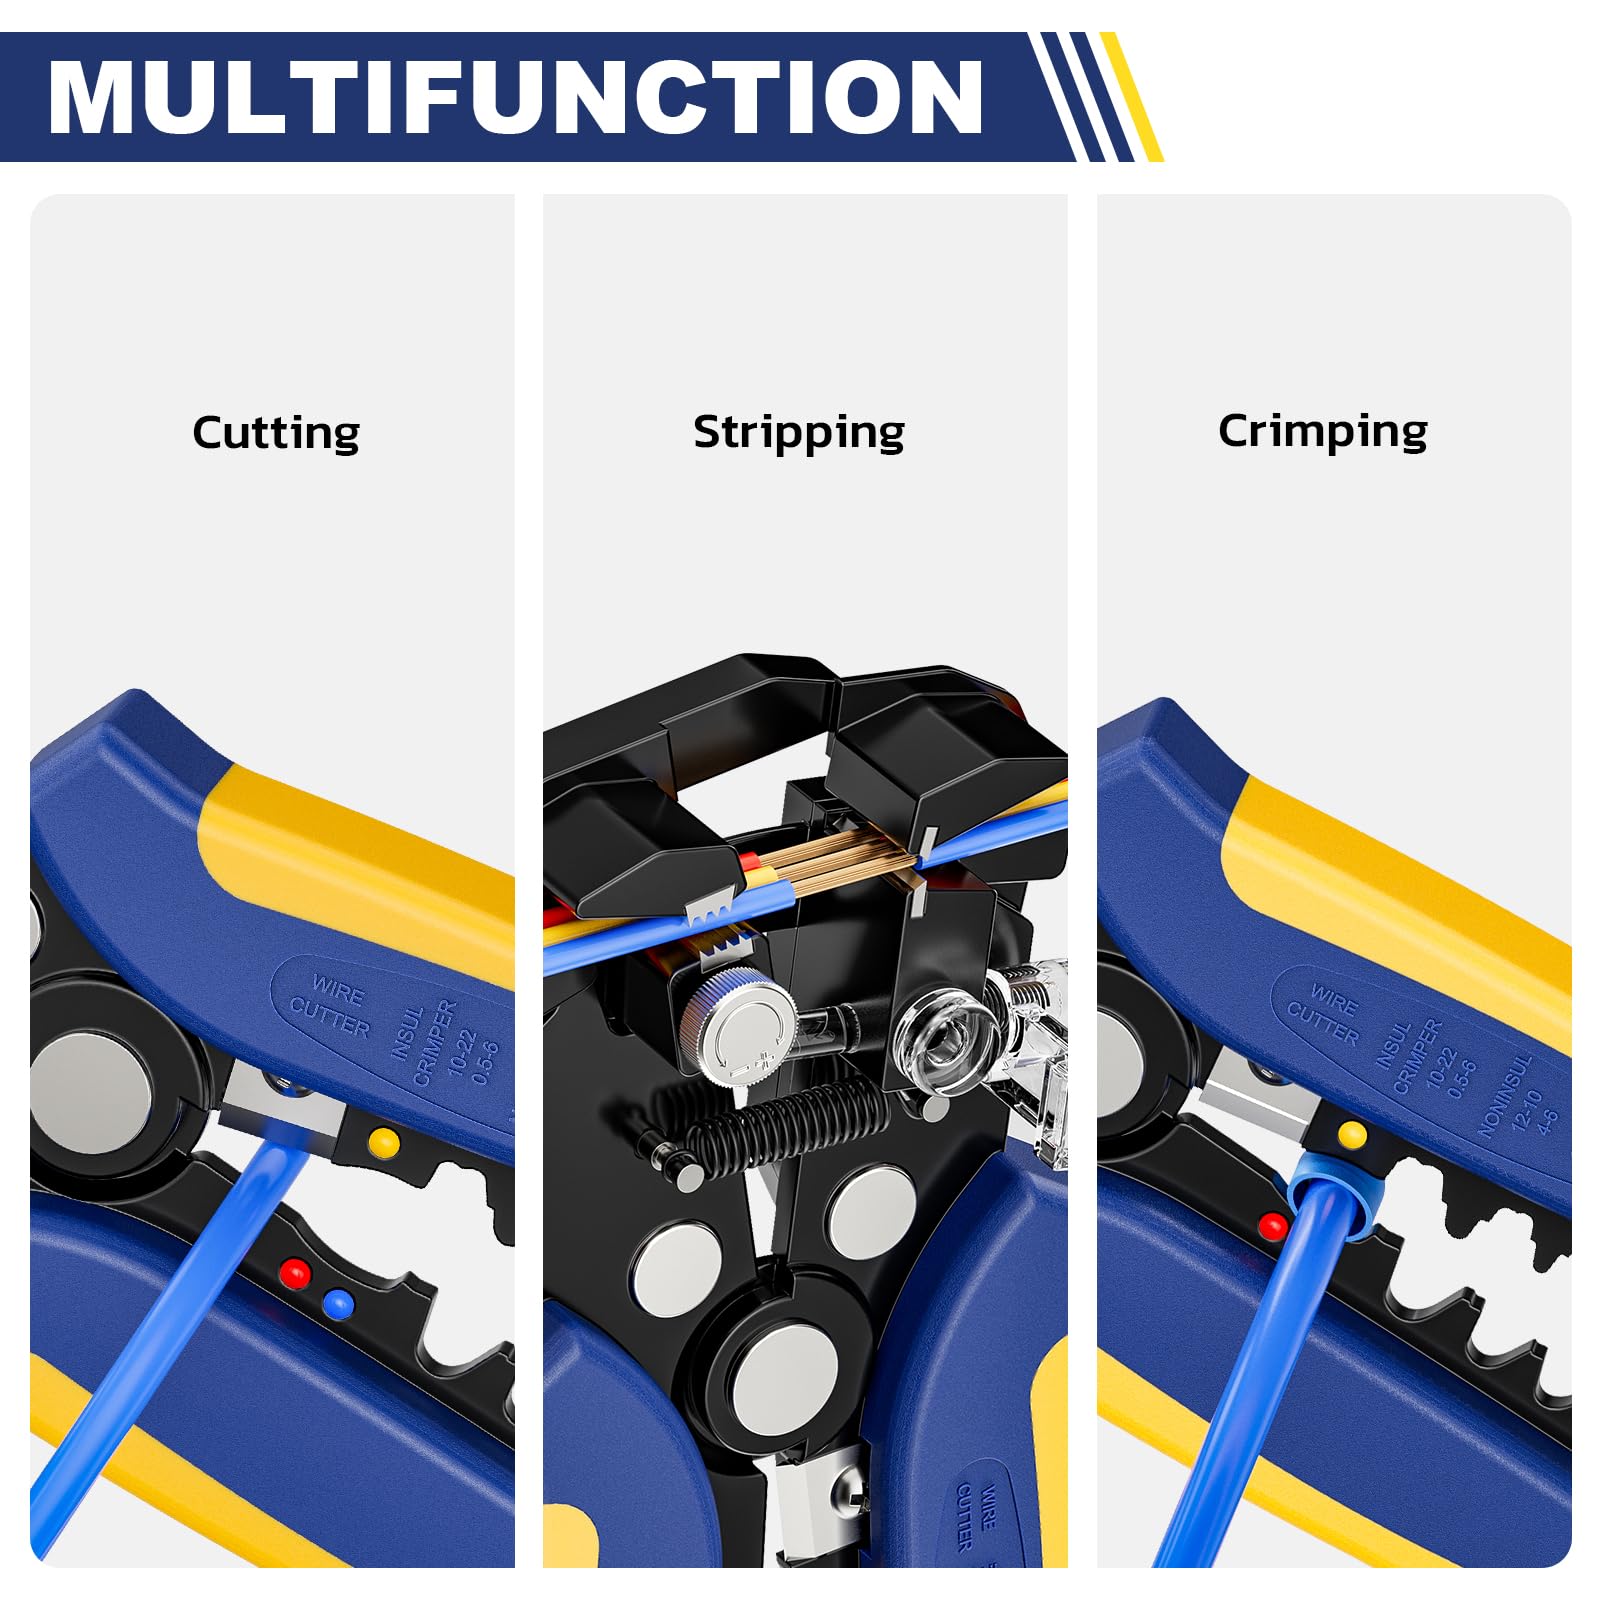
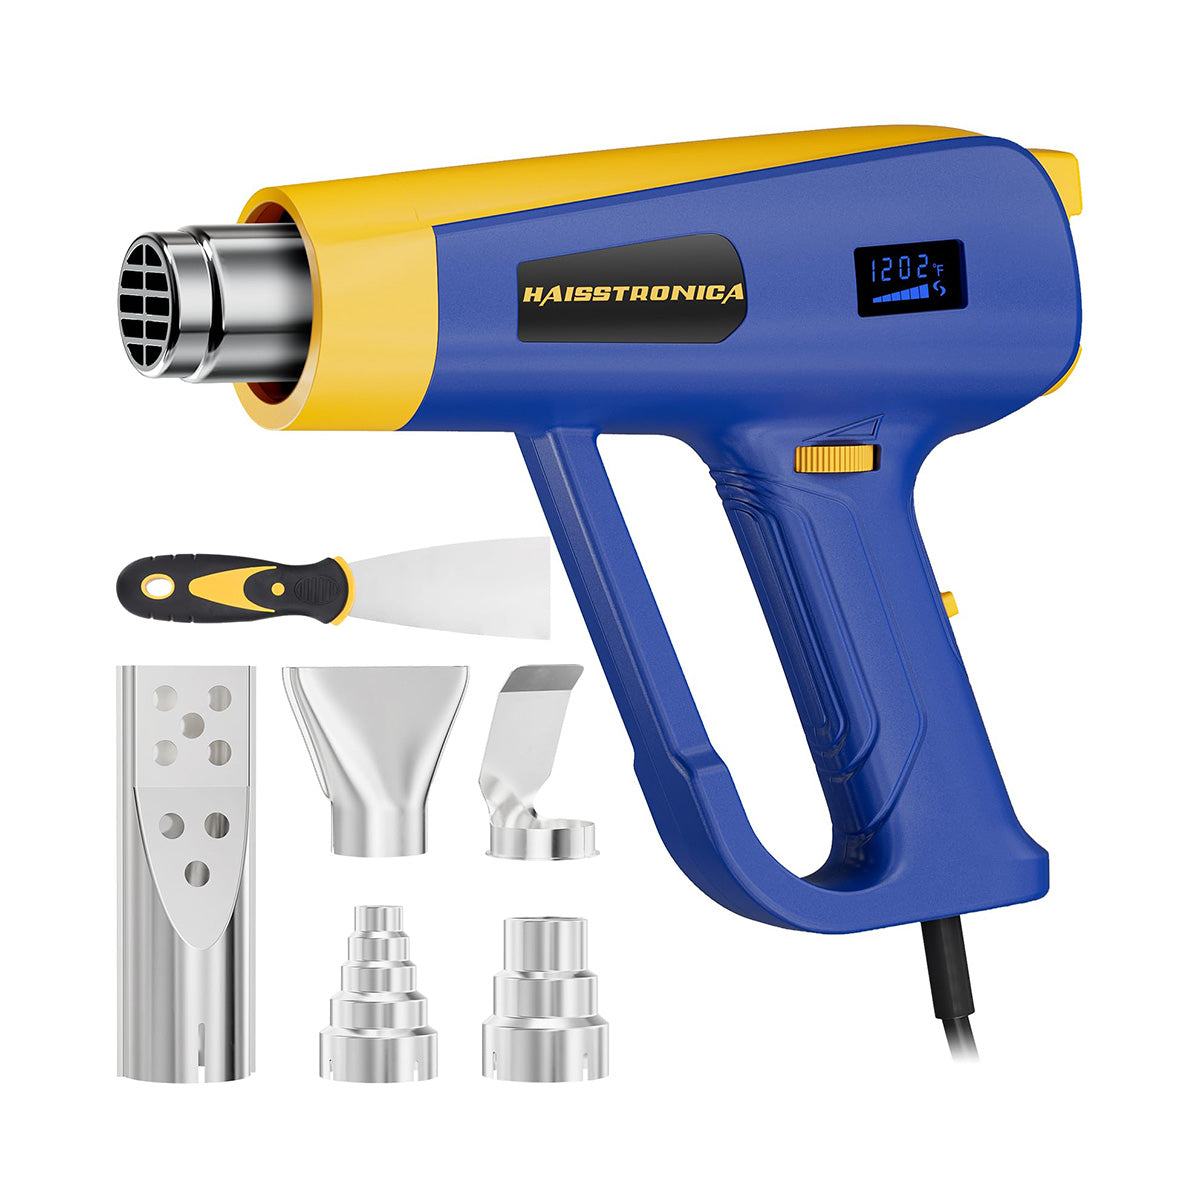
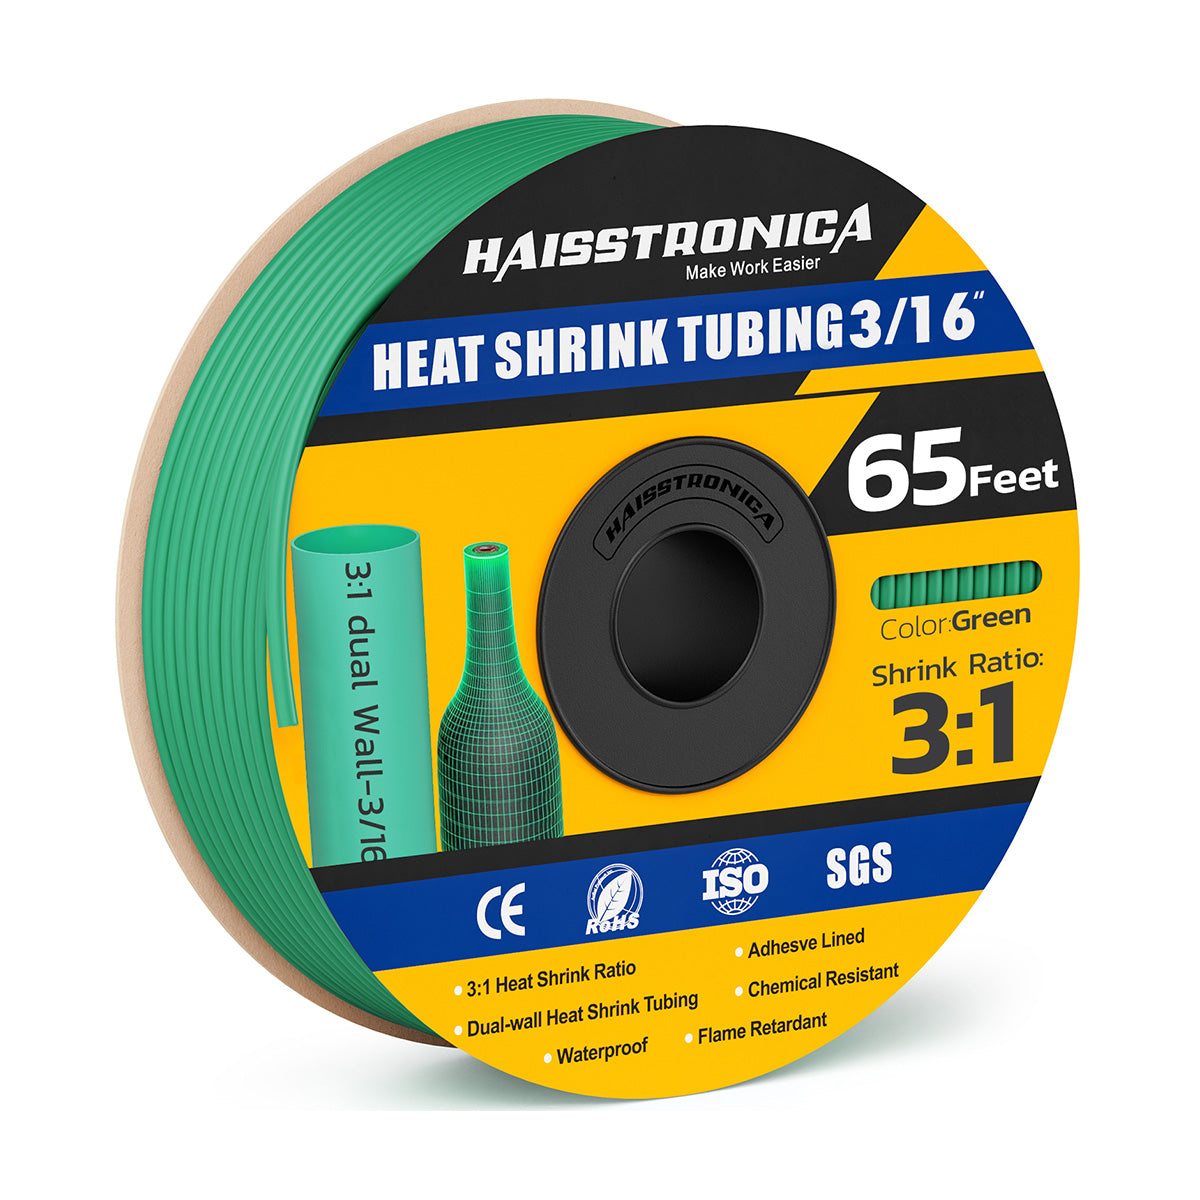
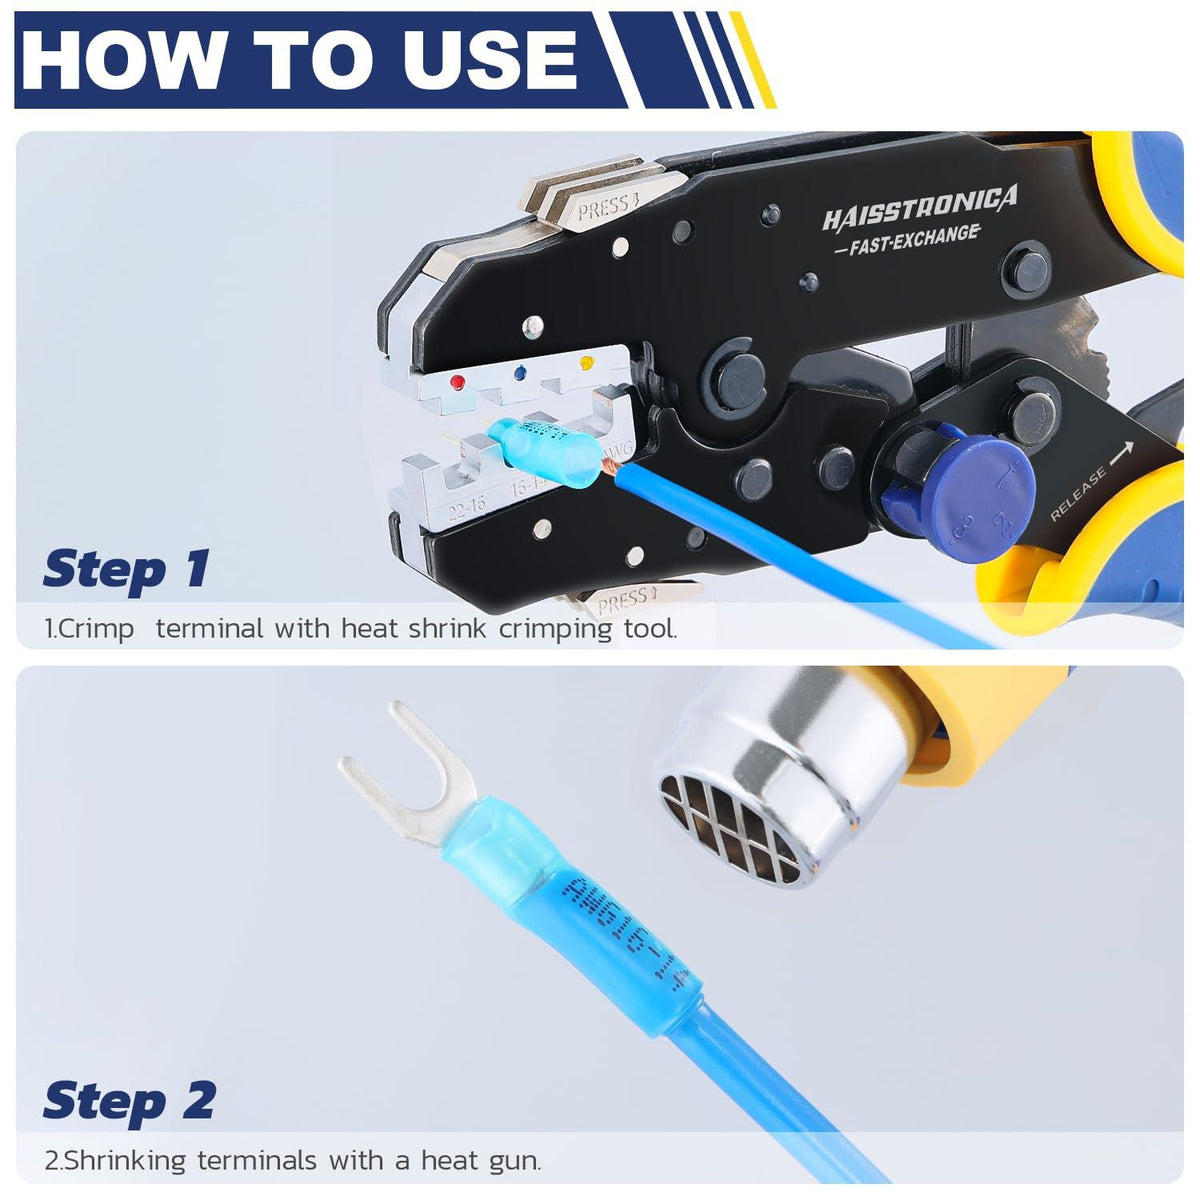
Sertissage et thermorétractable : Cette méthode utilise un connecteur bout à bout (tube métallique à sertir) et une gaine thermorétractable. Dénudez chaque extrémité de fil sur environ 1,9 cm. Insérez les fils de chaque côté dans le connecteur bout à bout et sertissez-le à l'aide d'une pince à sertir. Glissez ensuite un morceau de gaine thermorétractable sur l'épissure et chauffez-le (avec un pistolet thermique ou un chalumeau) jusqu'à ce qu'il se rétracte et que la couche adhésive fonde, scellant ainsi l'épissure. Certains connecteurs sont équipés d'une gaine thermorétractable intégrée. Cette méthode permet d'obtenir une épissure très robuste et permanente, idéale pour un enfouissement direct.
-
Connecteurs à percer ou à encliqueter : De nombreux kits DIY incluent des connecteurs qui s'enclenchent sur le câble principal et percent l'isolant pour y insérer les fils d'un luminaire. Bien que faciles à installer (pas besoin de dénuder), ils peuvent être sujets à des défaillances à long terme s'ils ne sont pas bien conçus. Si vous les utilisez, assurez-vous que les points de contact sont enduits de graisse ou de gel pour les imperméabiliser et qu'ils s'enclenchent fermement. Il est souvent judicieux de les envelopper de ruban isolant ou de les recouvrir de gaine thermorétractable pour plus de sécurité.
-
Soudure et gaine thermorétractable (avancé) : Certains bricoleurs choisissent de souder les connexions des fils, puis de les étanchéifier avec de la gaine thermorétractable. La soudure peut assurer une excellente connexion électrique, mais elle n'est généralement pas nécessaire pour les câbles basse tension en extérieur si vous disposez de connecteurs à sertir ou à gel de qualité. De plus, souder en extérieur peut être délicat (et il faut toujours imperméabiliser la connexion par la suite).
Lors de l'épissure de câbles électriques , raccordez toujours les fils identiques (les deux conducteurs ne sont pas polarisés en basse tension, mais soyez cohérent : connectez ensemble tous les fils isolés « lisse » et tous les fils isolés « nervurés » ou rayés, car un côté du câble présente généralement de légères stries ou marques). Ne laissez jamais le cuivre nu exposé ; chaque épissure doit être scellée. Si un fil est coupé accidentellement (par exemple, par une pelle), vous pouvez le réparer en dénudant les extrémités cassées et en utilisant l'une des méthodes de connexion décrites ci-dessus pour les reconnecter. Pour réparer une coupure, il est souvent plus facile d'utiliser un connecteur d'épissure droit ou un capuchon de connexion résistant aux intempéries pour relier les extrémités. Dans les climats humides, les capuchons de connexion graissés sont généralement la solution la plus rapide pour les réparations. N'oubliez pas que toutes les connexions aériennes (comme au niveau du transformateur) doivent également être étanches et idéalement protégées, mais celles-ci présentent moins de risques que les épissures souterraines. En utilisant les connecteurs de câblage paysager appropriés, vos connexions seront tout aussi résistantes aux intempéries que le câble lui-même, garantissant des années d'éclairage sans problème.
Q4 : Où puis-je acheter des câbles et accessoires d'aménagement paysager basse tension de qualité ?
R : Le câblage et les accessoires d'éclairage paysager basse tension sont largement disponibles. Les magasins de bricolage (Home Depot, Lowe's), les fournisseurs d'électricité, les spécialistes de l'éclairage paysager et les détaillants en ligne proposent tous des câbles adaptés. Lors de votre achat, recherchez des spécifications telles que « câble d'éclairage paysager basse tension à enfouissement direct » et le calibre requis (par exemple, un câble d'éclairage paysager basse tension 12/2 ). Nous vous recommandons le câble d'éclairage paysager basse tension Haisstronica 14/2 (disponible en rouleaux de 30, 60, 76 ou 152 mètres). Ce câble est homologué UL, fabriqué en cuivre pur et doté d'une isolation durable et résistante aux UV, ce qui le rend idéal pour les projets d'éclairage extérieur basse tension . Vous pouvez l'acheter directement sur le site web de Haisstronica ou sur leur boutique Amazon. De plus, assurez-vous d'inclure un lot de connecteurs étanches lors de votre commande. Des marques comme Haisstronica proposent également des connecteurs bout à bout thermorétractables et des serre-fils étanches de haute qualité, parfaitement adaptés à leurs câbles. Achetez toujours un peu plus de fil que nécessaire (une longueur supplémentaire de 10 à 20 % est un atout pour la flexibilité et les ajouts futurs). En choisissant un câble d'éclairage paysager basse tension de bonne qualité et les connecteurs appropriés, vous vous assurerez une installation fluide et un résultat durable.
Conclusion et achat
Installer un câblage paysager basse tension est un projet accessible qui peut grandement embellir votre espace extérieur. En enterrant vos câbles à environ 15 cm de profondeur et en utilisant un câble de section appropriée, vous garantissez un système sûr et fiable qui éclairera vos allées et jardins pendant des années. Si vous êtes prêt à vous lancer, assurez-vous d'avoir un câble fiable sous la main. Pensez au câble paysager basse tension Haisstronica 14/2 pour votre projet : c'est un câble de qualité supérieure, conçu pour l'enfouissement direct, disponible en longueurs pratiques pour toutes les tailles de travaux. Vous pouvez acheter ce câble basse tension 14/2 ici et le faire livrer à domicile. Avec le bon câble, les bons connecteurs et nos conseils ci-dessus, installer votre éclairage paysager sera un jeu d'enfant. Profitez de votre magnifique paysage illuminé et n'hésitez pas à étendre votre système : les câbles d'éclairage paysager basse tension facilitent l'ajout de lumières et rendent vos soirées lumineuses et accueillantes !